Lesson 1
Project Goals
– Make a 3D hologram for use in presentations;
– Editing pictures in Paint.
Teacher’s Guide
– Divide students into groups;
– In the first part of the lesson, make a design for the hologram and test it;
– In the second part, you need to select a picture and prepare an image for a hologram in Paint.
Safety in Steam Lessons
Before starting a lesson, the teacher is advised to familiarize himself with the safety precautions. If necessary (in the case of using the items specified in the TB), conduct a brief briefing for students. Follow this link Safety in Steam Lessons
Theoretical part
A 3D hologram is a three-dimensional image created using the holography method. With the help of a special laser in the air, a three-dimensional image is created. Such an image can be observed from all sides, resized, and even touched.
In science fiction films, holograms look like a three-dimensional image of a person or object with which you can interact. But in reality, they don’t exist yet. Now scientists are working in this direction.
3D holograms are used in various fields. For example, in medicine, education, marketing, advertising, show business, and entertainment.

<a href=’https://ru.freepik.com/photos/technology’>Technology фото создан(а) rawpixel.com – ru.freepik.com</a>
<a href=’https://ru.freepik.com/vectors/design’>Design вектор создан(а) freepik – ru.freepik.com</a>
In our case, to create 3D projections, you need a special image, which is located on the screen at an angle of 90 ° to each other. The holographic pyramid is a focusing prism. The light from the four images hits the four faces of the pyramid and is reflected and superimposed on each other. Since the faces of the pyramid are located at a certain angle, the light of the images passing through the faces is refracted and falls into the one point. So our eyes see one three-dimensional image.
Practical part
1. On a thick transparent film, draw and cut out a figure as in the picture with dimensions: lower base – 6 cm, upper base – 1 cm, height – 4 cm.
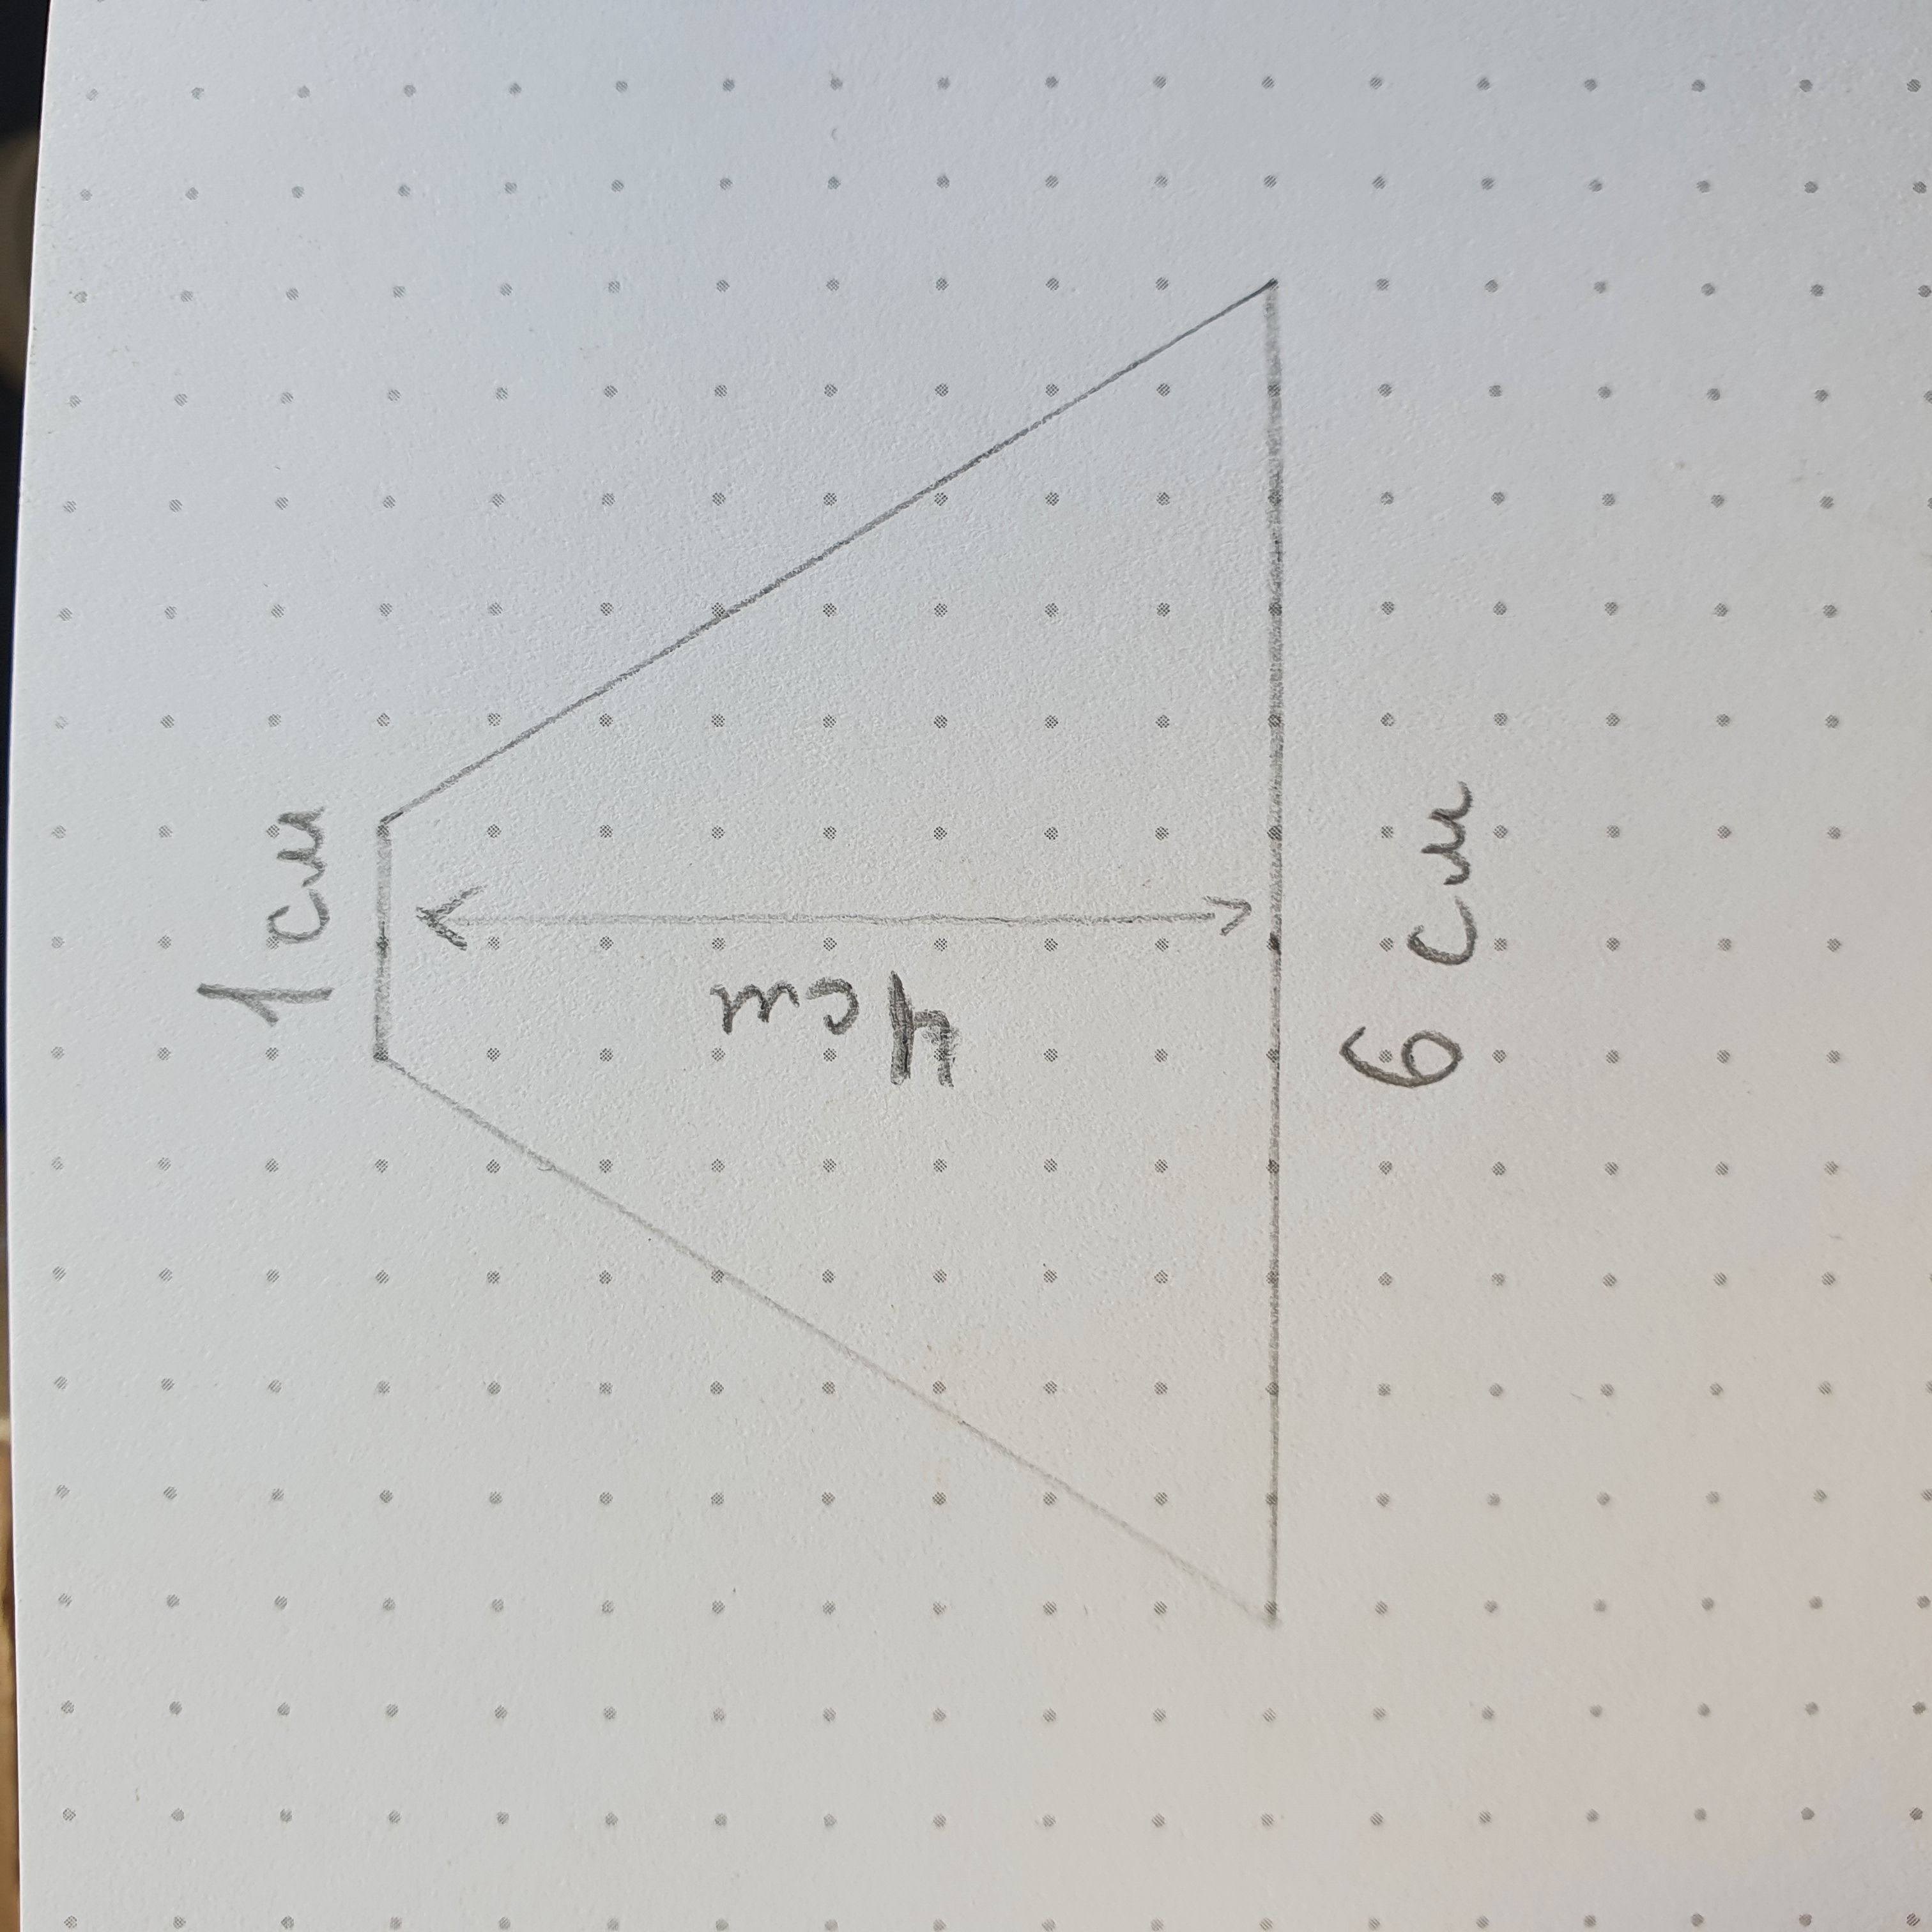
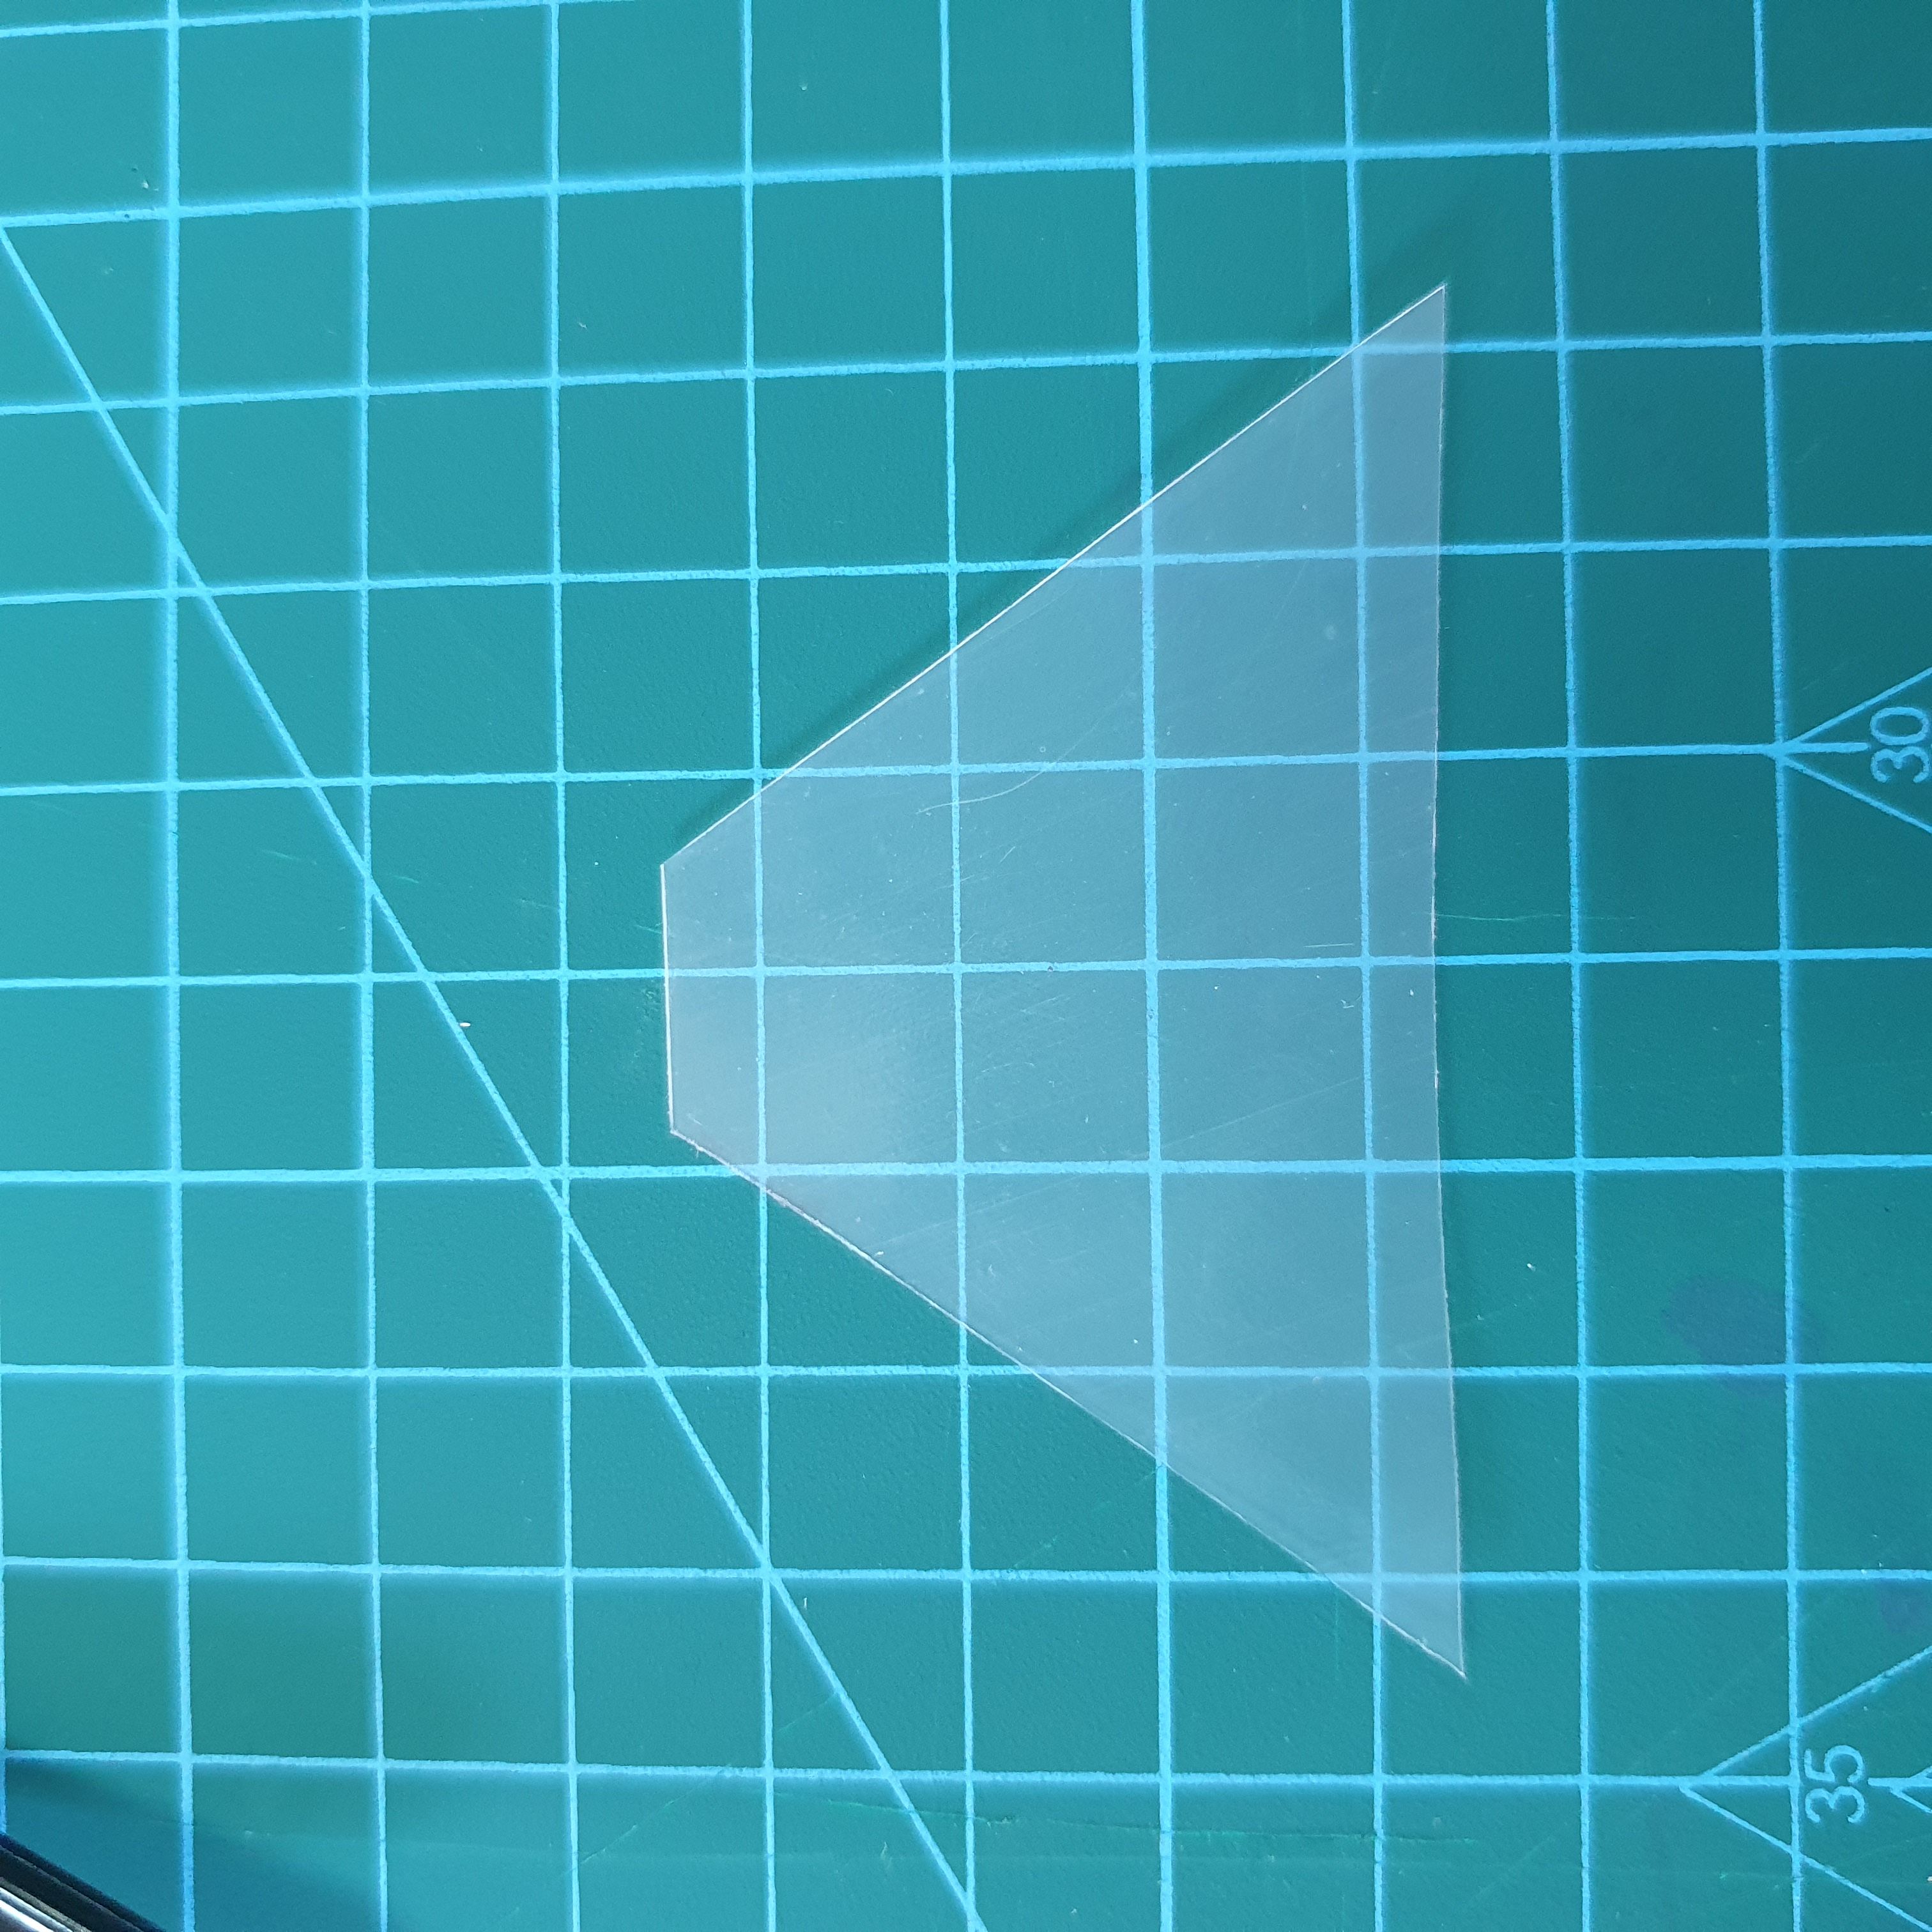
2. Make 4 such figures.
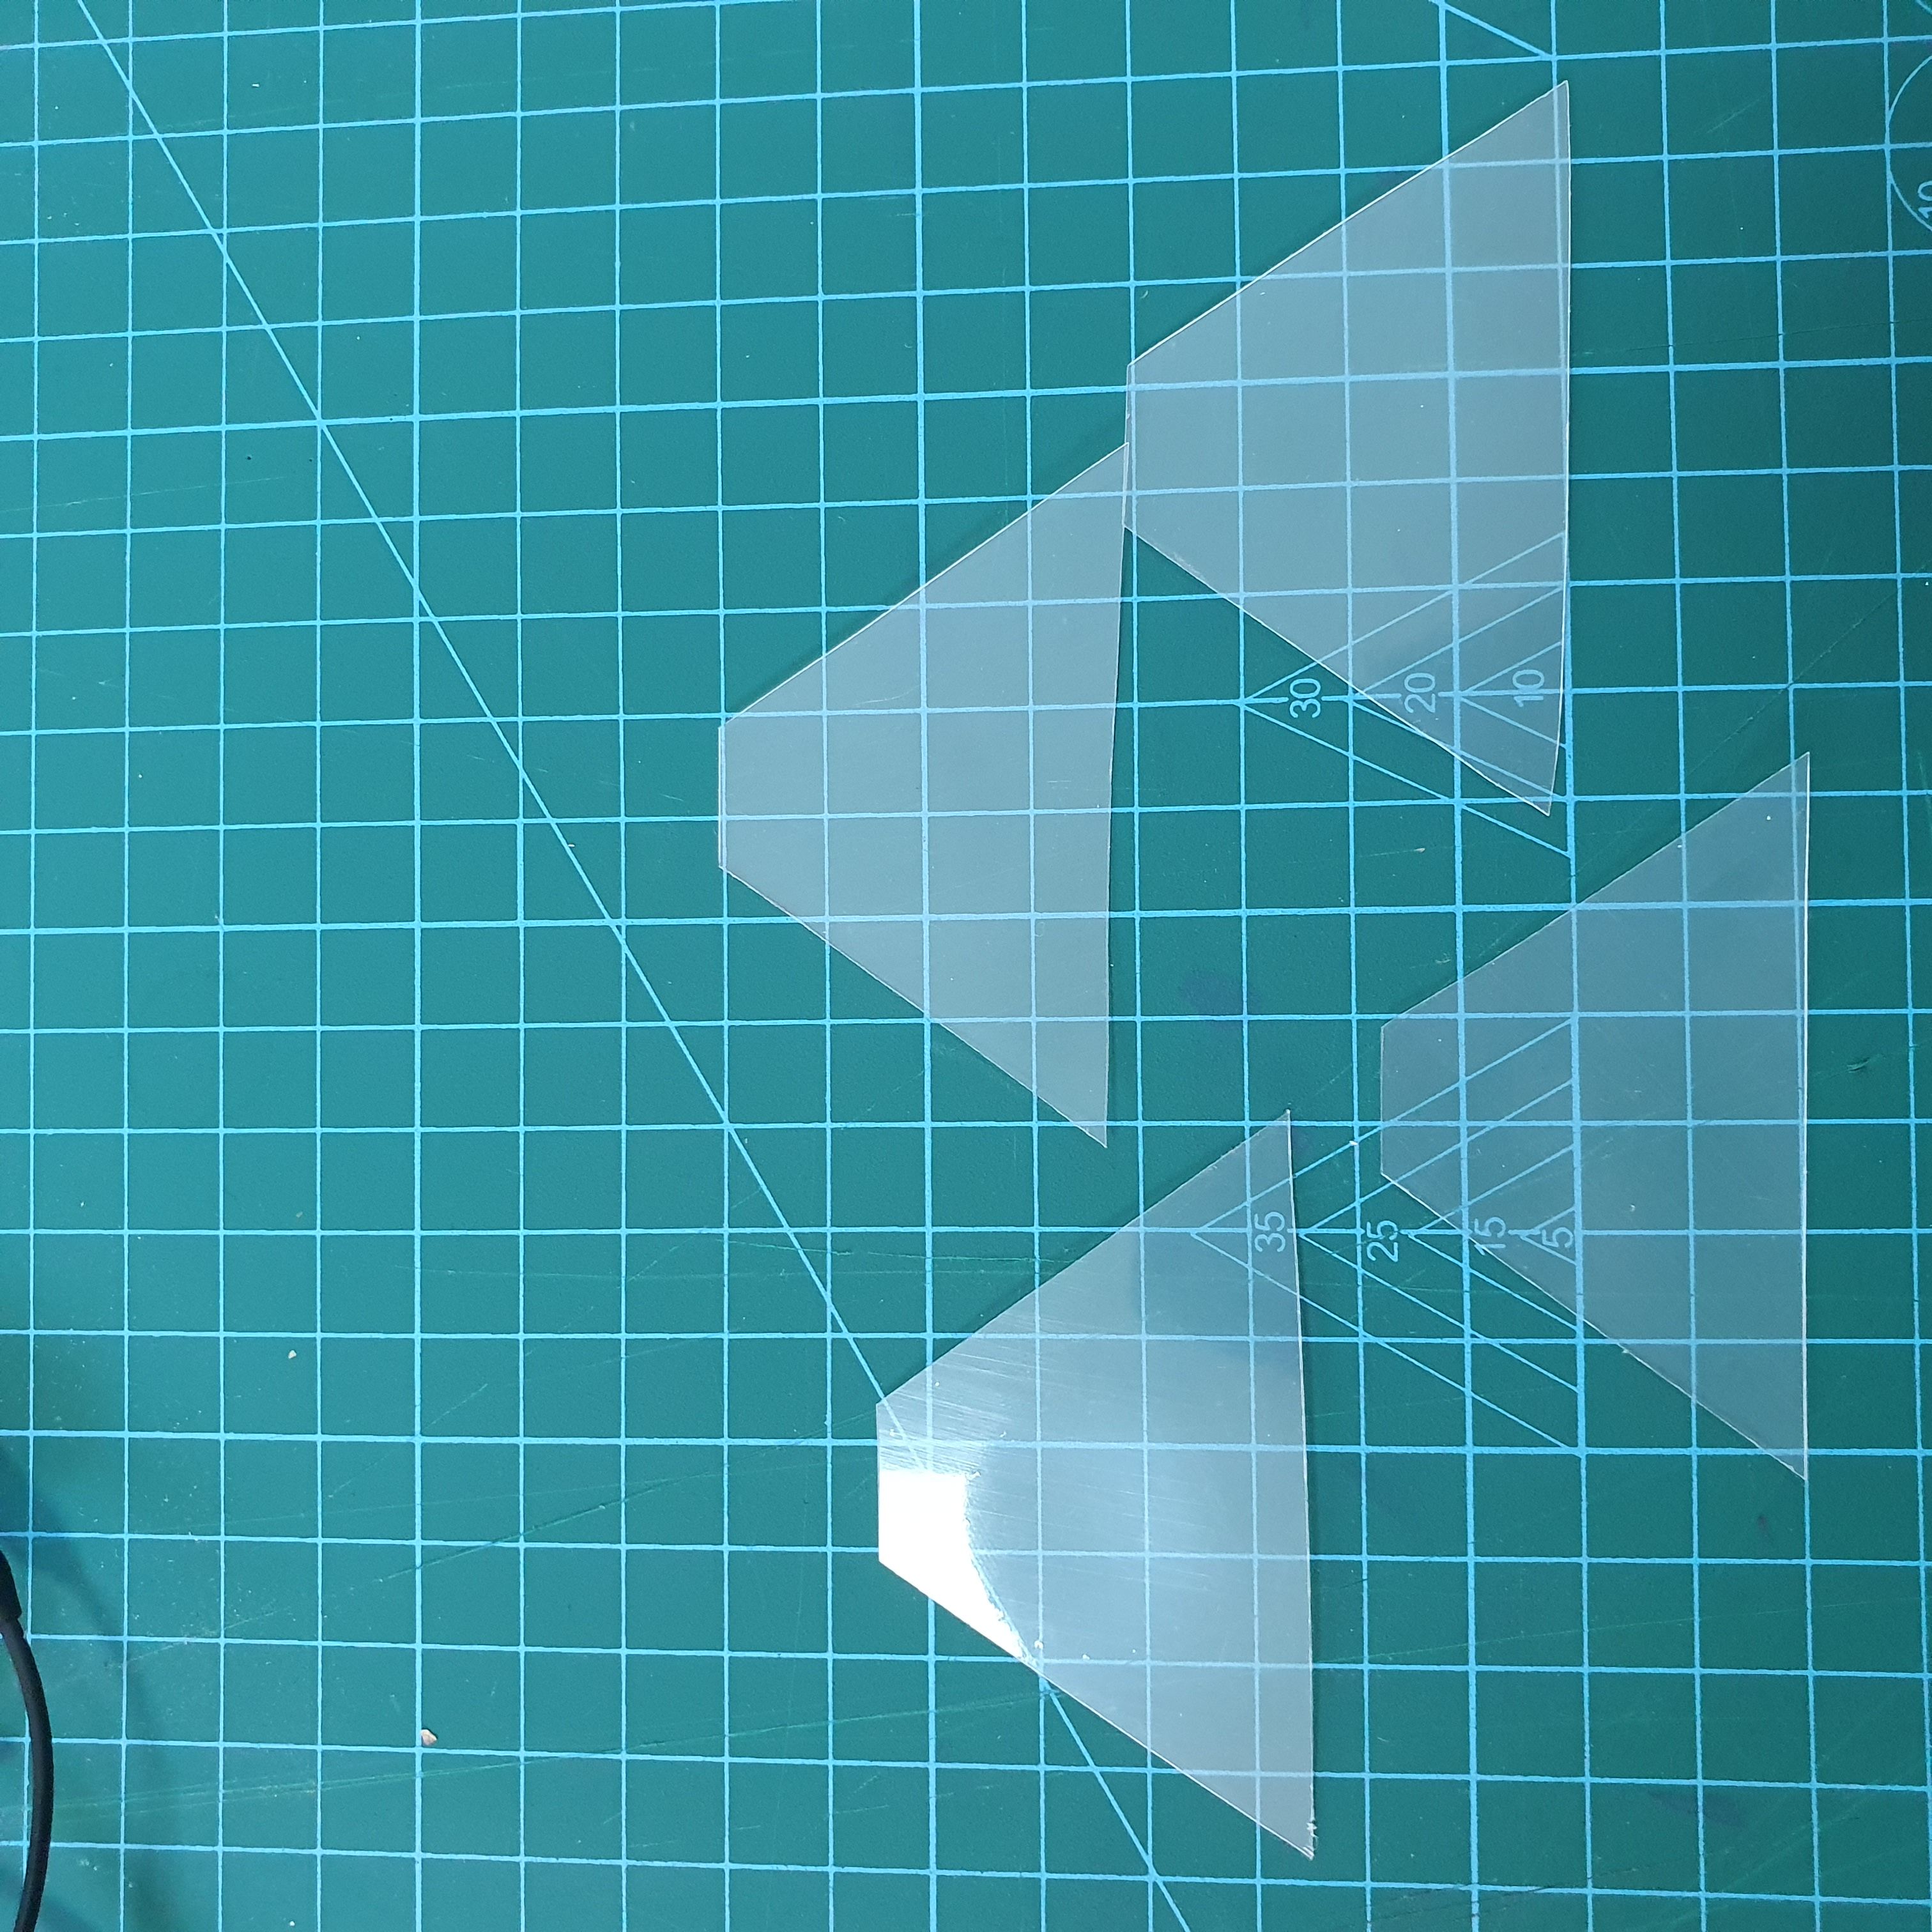
3. Connect them with adhesive tape.
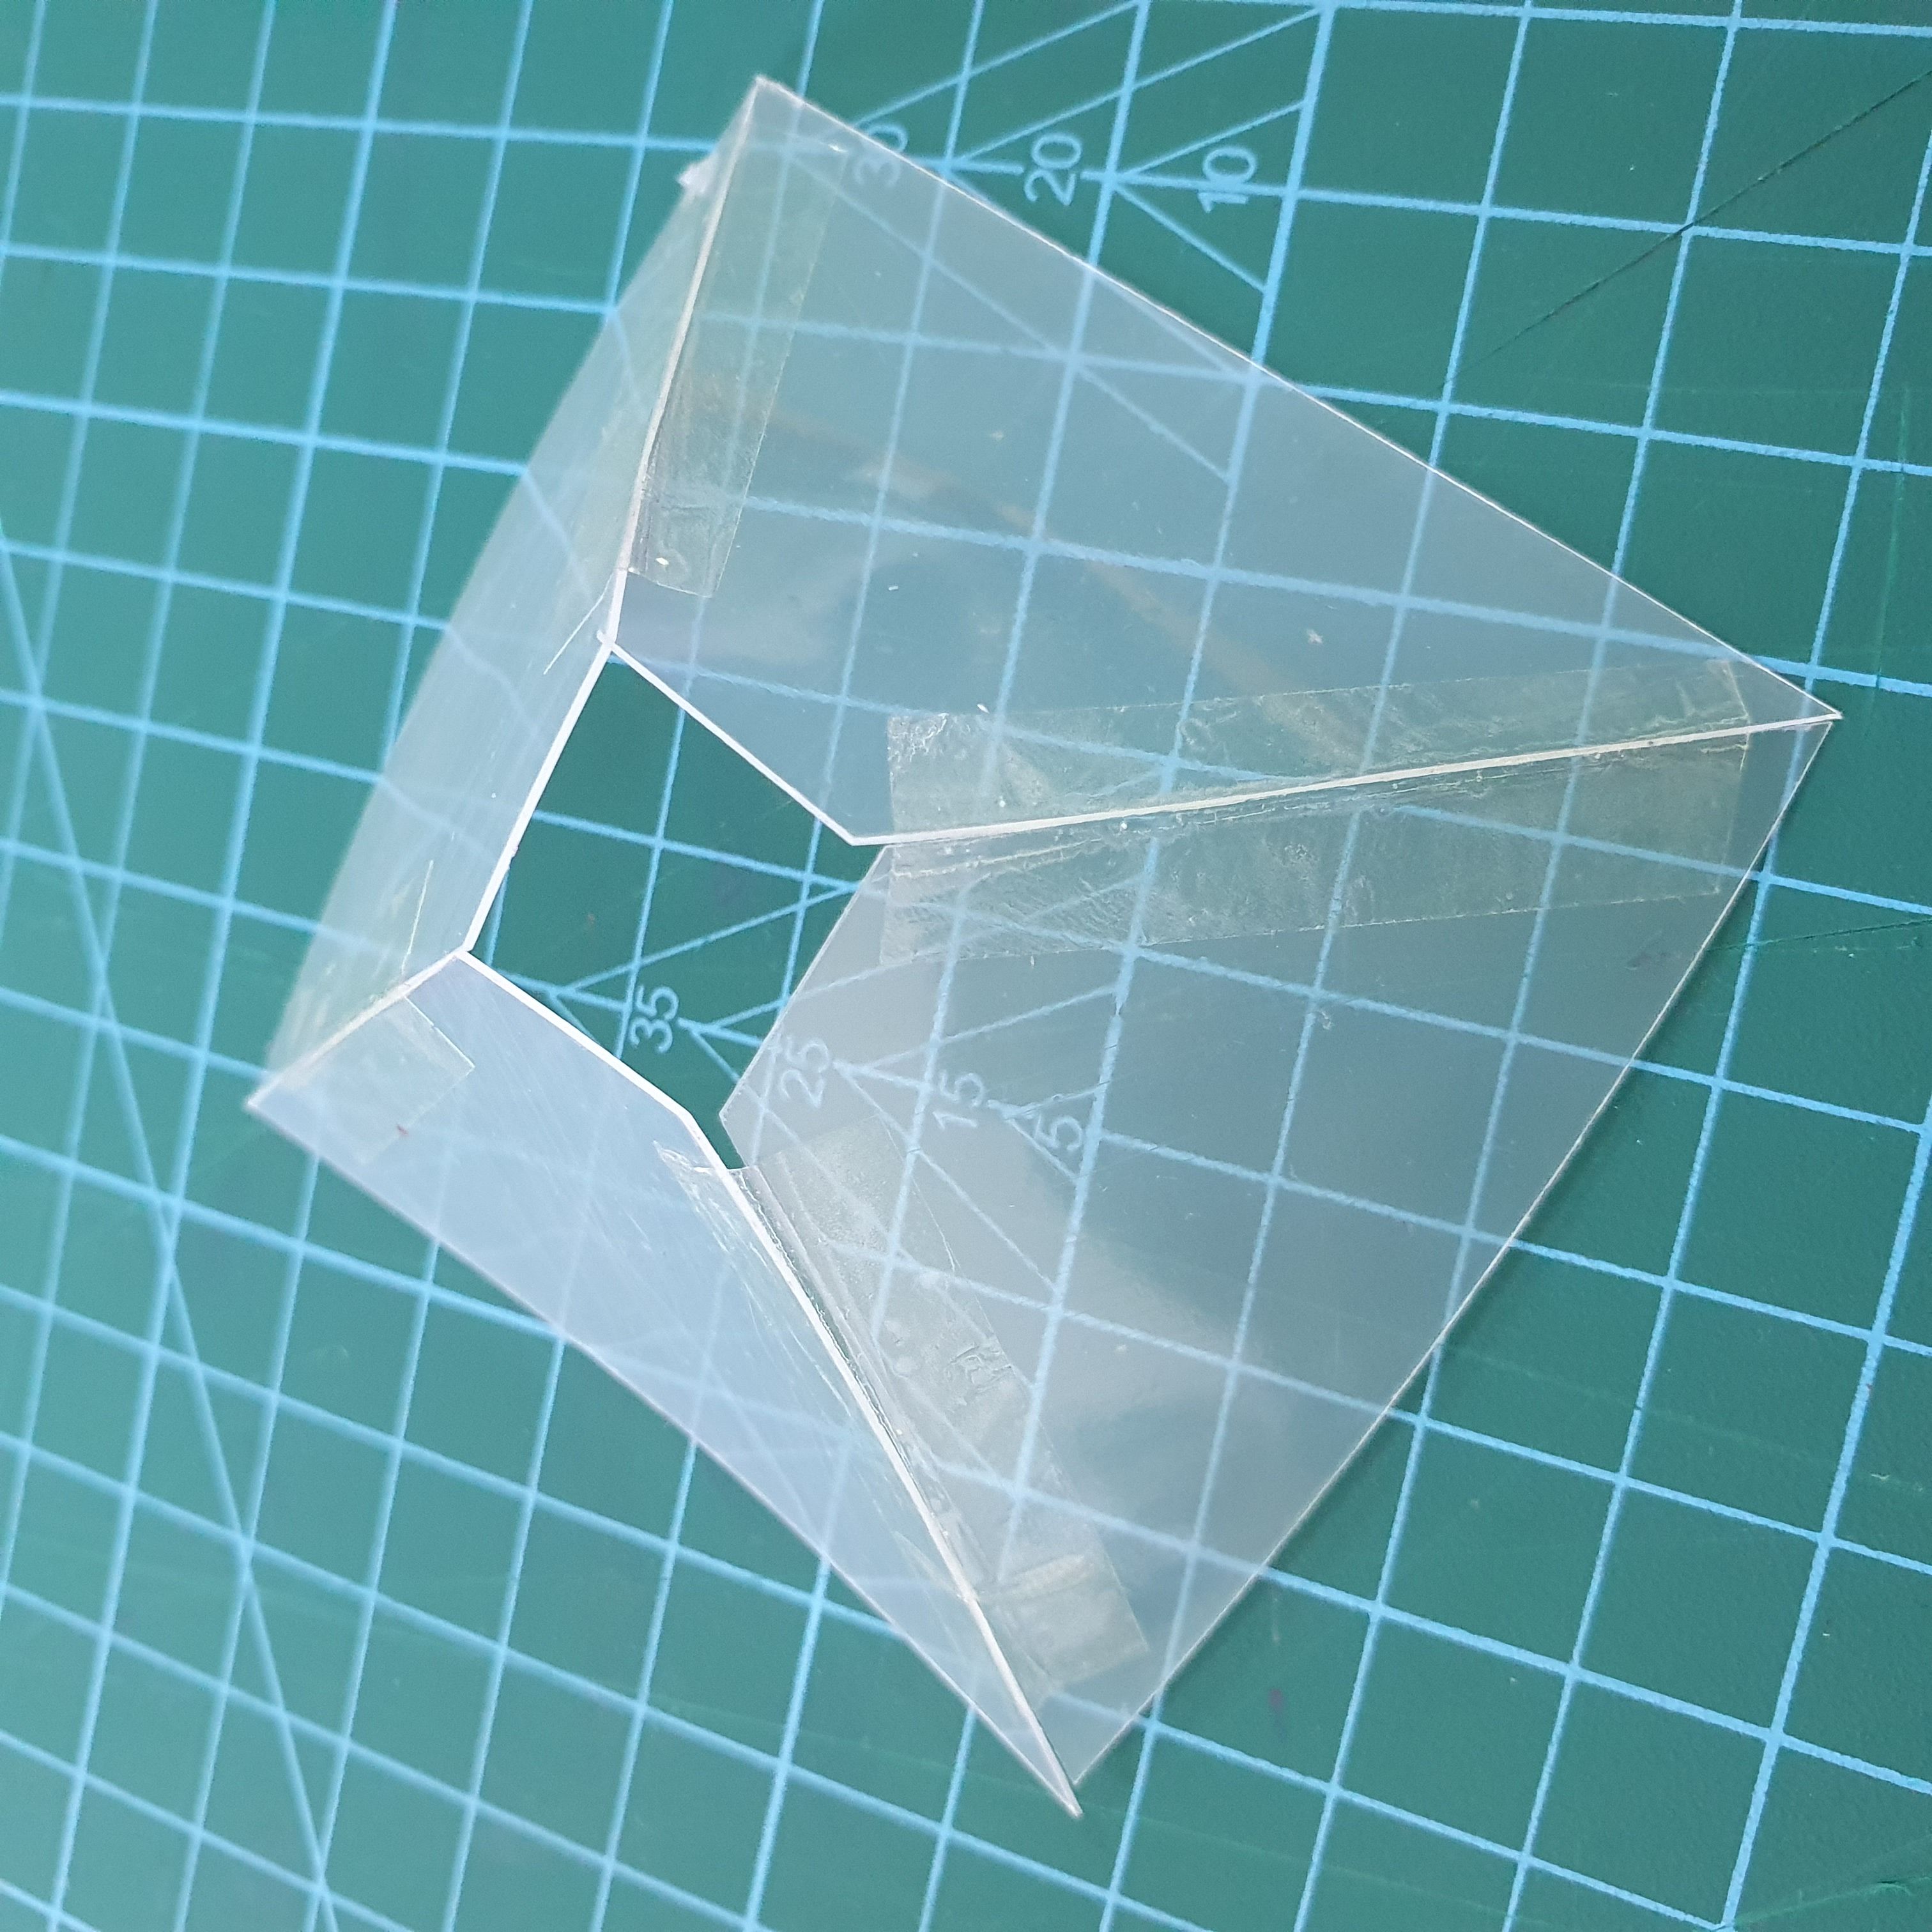
4. Let’s check our pyramid. On your smartphone, find on Youtube and open the video for the query “3d hologram”, put the pyramid in the center, turn off the light and enjoy the result.
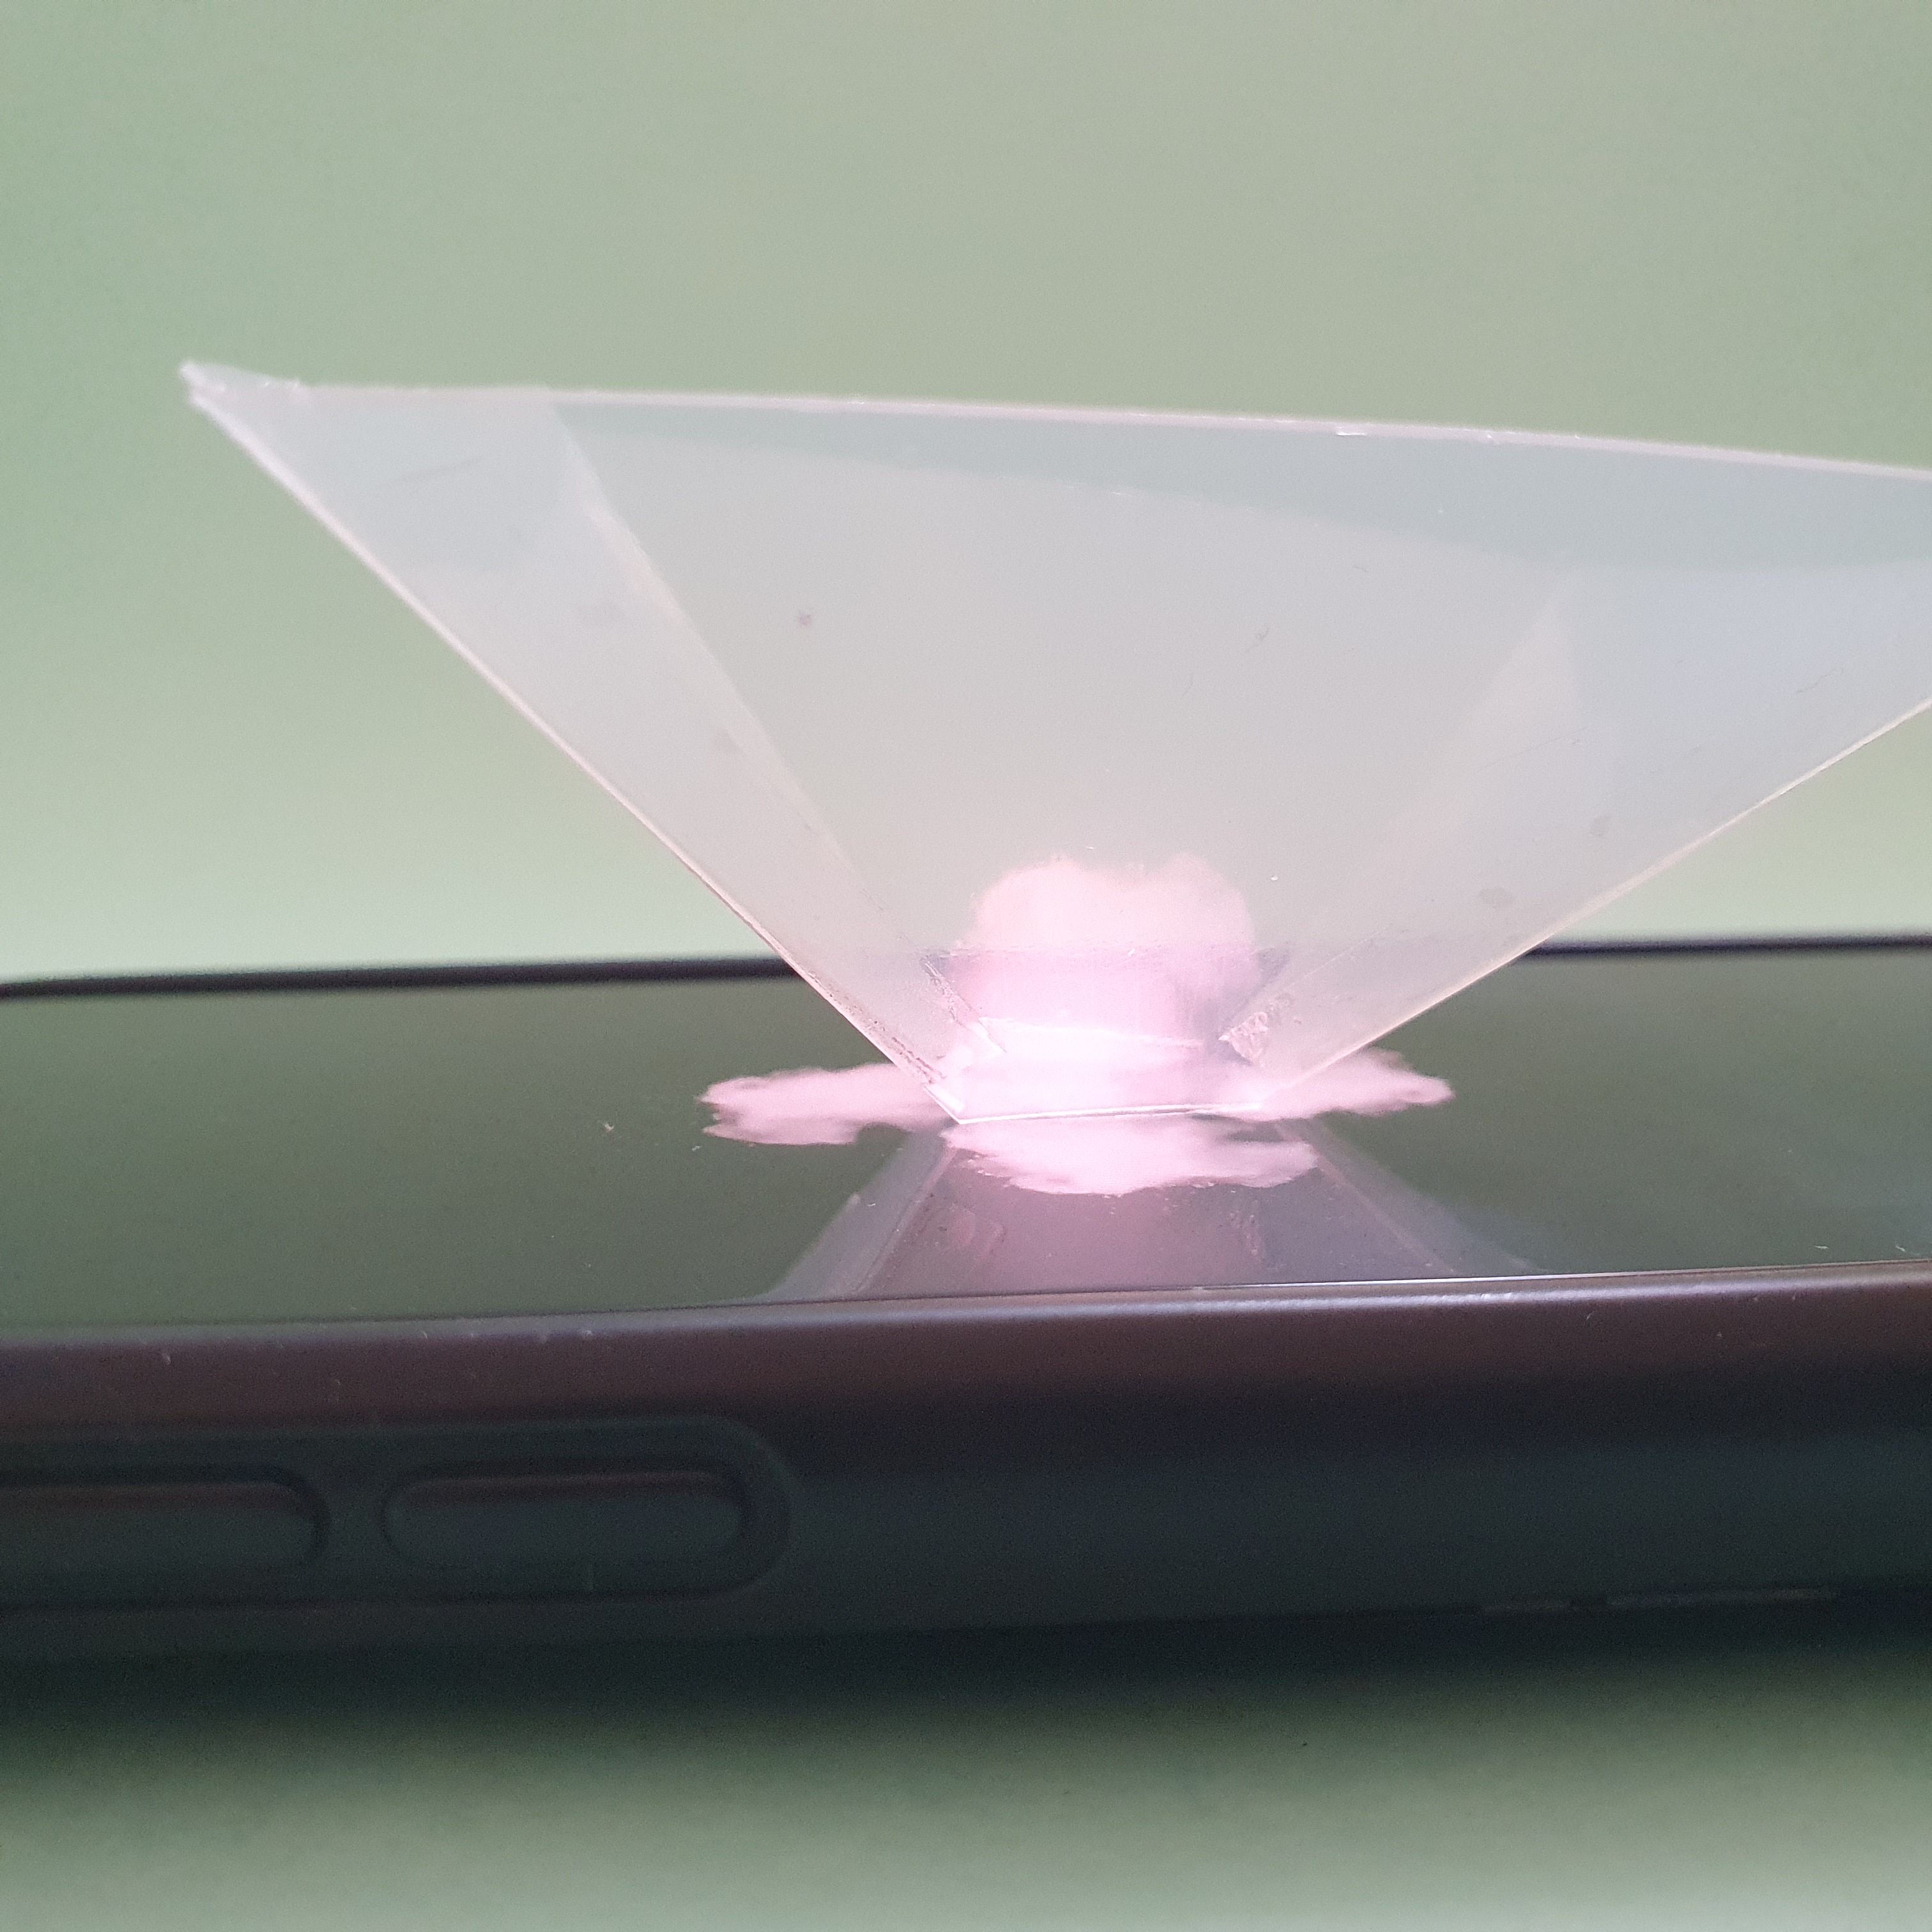
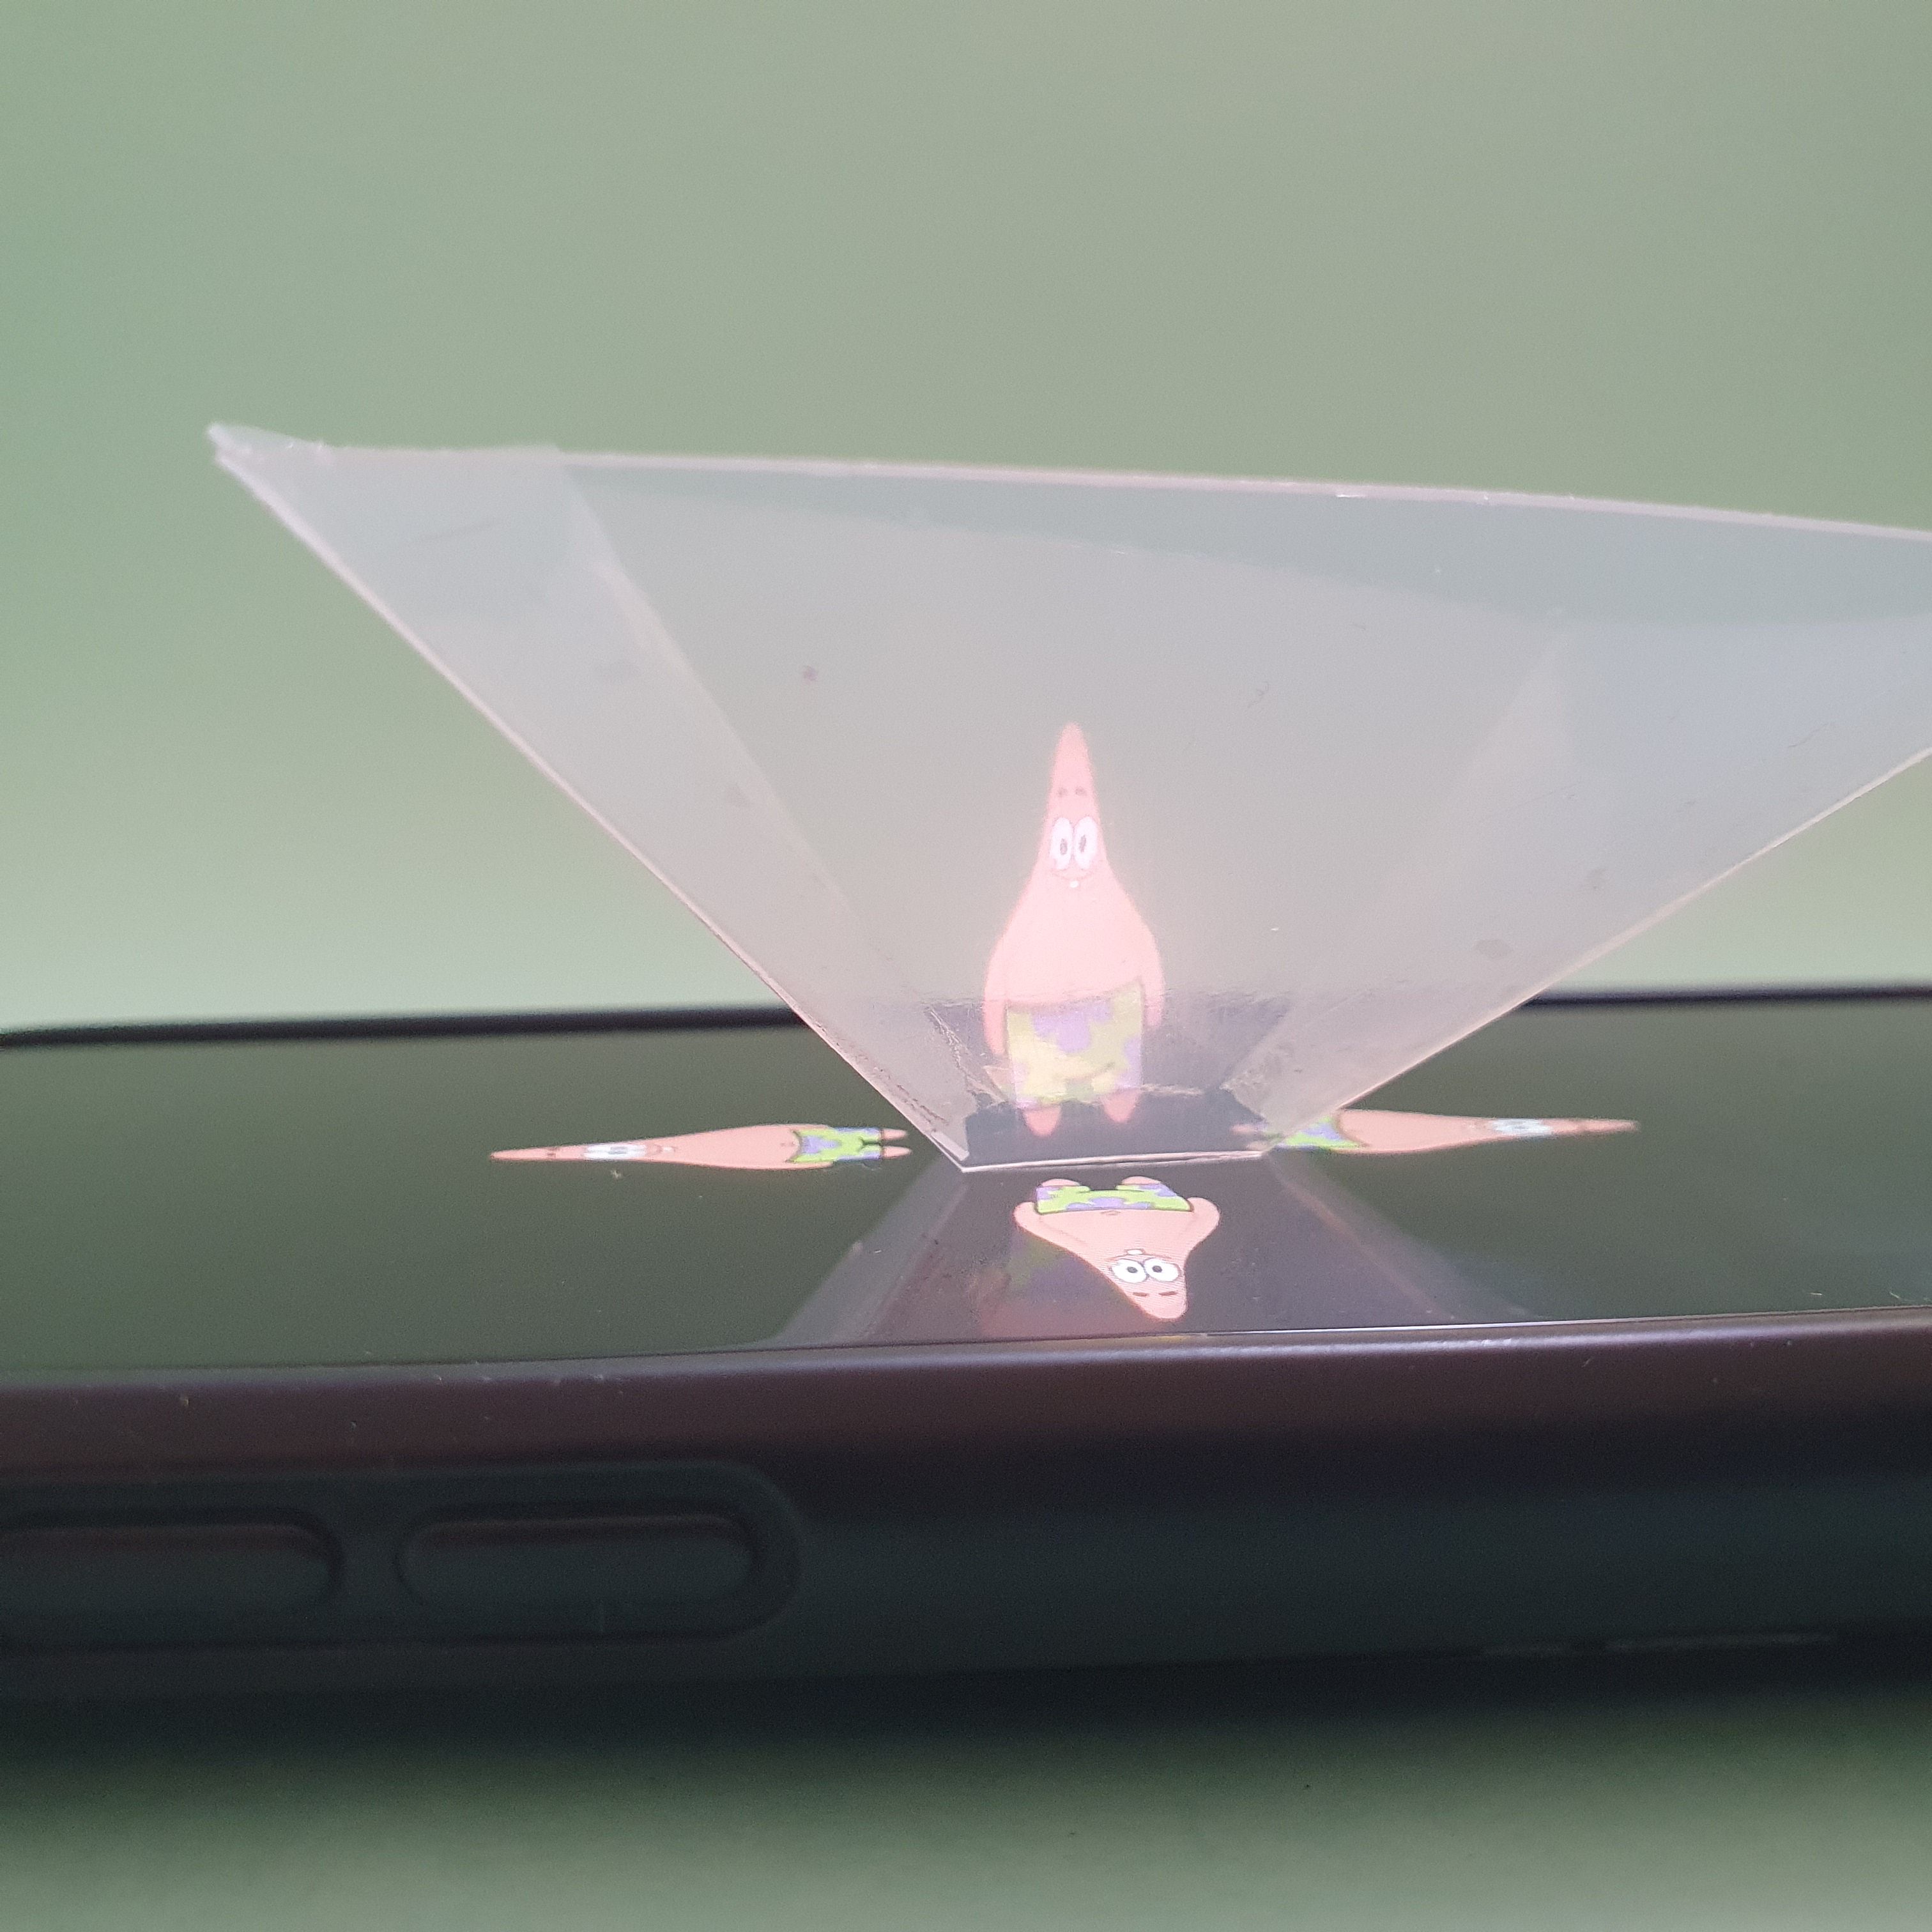
5. Now we will make our image for projection in a 3D hologram. To do this, take any image on the Internet on a black background. Download. For example.
https://ru.freepik.com/photos/food’>Food фото создан(а) wirestock – ru.freepik.com
6. Edit in Paint.

7. We send to the phone via USB or in another way. And open the picture on the phone. Put the pyramid on the screen like last time. Ready.
If such pyramids are improved, it will be possible to use them at presentations of new products, for teaching at schools in order to more clearly show phenomena and mechanisms that are difficult to explain in ordinary pictures.
How can this pyramid be improved?
Where else can such holograms be used?
 In this project, each student will be awarded a STEAM title in two categories:
– You managed to get a hologram using light refraction, you are a real scientist – a future physicist!
– You managed to make a pyramid design to get a three-dimensional hologram, you are a future engineer!
Evaluation
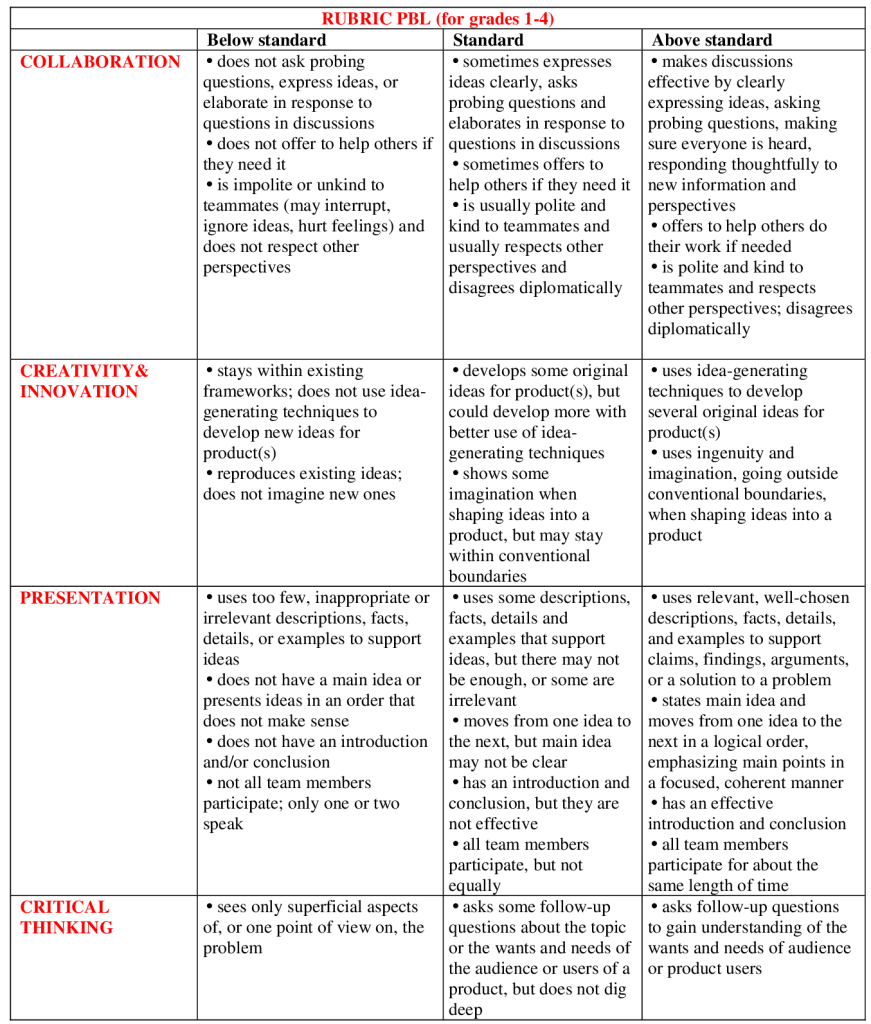
PBL grading criterion:
Project based learning is a learning method in which students acquire the knowledge and skills by working on a single project to explore and find an answer to a genuine, interesting, and complex question, problem, or challenge.