
Lesson 1
Project objective
1. To study the major elements of the earth’s surface. Geographical features.
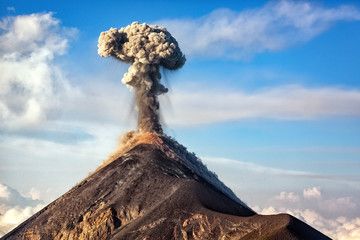
2. Study of a volcano and its eruption.
3. Create a demonstration model of a volcano.
Guidelines for the teacher
– In the practical part of the project, students work in groups of 4-5 people.
– The students should be familiar with the topics covering the purpose of the project.
– Before starting the practical part, familiarize and provide the students with all the necessary materials.
– At the beginning of the lesson explain the PBL (project based learning) rubrics to the students. 4K skills (critical thinking, collaboration, creativity, presentation).
Safety in Steam lessons
Before we begin the lesson, teachers are advised to familiarise themselves with the safety procedures. If necessary (if using items specified in the PPE), brief the students. Click on Safety in Steam Lessons.
Theoretical part

Relief – all irregularities on the earth’s surface are called reliefs.
Name the above objects and give a brief description:
| The plain | |
| Hill | |
| Plateau | |
| Low Mountains | |
| High Mountains | |
| Canyon | |
| Volcano | |
| Iceberg | |
| Quarry |

A volcano is an opening in the Earth’s crust where hot liquid rock from deep within the Earth is ejected to the surface, called lava.
A volcano can be active, dormant or extinct. An active volcano is one that has recently erupted or is currently erupting. A dormant volcano is one that has not erupted in the past 10,000 years but still has the potential to do so. An extinct volcano is one that has never erupted in 25,000 years.
Magma and lava
When rock beneath the Earth’s surface becomes very hot, it becomes molten or liquid. Although it is still under the surface, it is called magma. Once magma erupts to the surface from behind a volcano, it is called lava. The hotter and thinner the lava, the further it will flow. Lava can be very hot, sometimes reaching up to 1000 °C. However, there is something that distinguishes a bench from magma – gases and water vapour evaporate from the bench as it erupts.


Sources:
1. <a href=’https://ru.freepik.com/vectors/snow’>Snow вектор создан(а) pch.vector – ru.freepik.com</a>
2. https://www.yaklass.ru/p/okruzhayushchij-mir/4-klass/krai-v-kotorom-ty-zhivesh-728423/nash-krai-osobennosti-poverkhnosti-tvoego-kraia-4769372/re-8e9187e0-fbf0-4d8d-8209-ce4cf36b5d91
3. https://shkola.obozrevatel.com/news/vulkan-stroenie-i-vidyi.htm
The practical part
Step 1: Take a 300ml plastic bottle. Then use scissors to drill a small hole in the top of the bottle as shown.


Step 2. Afterwards, take out the infusion system. Remove the cap from the filter base. Guide the sharp plastic end into the hole on the bottle.
.jpg)

Step 3. Then use plasticine to secure the system and close all the holes. And open the little blue cover.

Step 4: Place the bottle in a plastic plate. Take the red plasticine. And stick it on the bottom of the bottle.
The red plasticine on the bottom will indicate a -volcanic hearth or magmatic hearth. Which in most cases is a reservoir of magma in the Earth’s crust or upper mantle that feeds the volcano

Step 5: Take more orange clay and apply red clay on top.
The orange clay is magma. This is a liquid melt of rock that occurs in the Earth’s interior (mainly in the mantle)
.jpg)
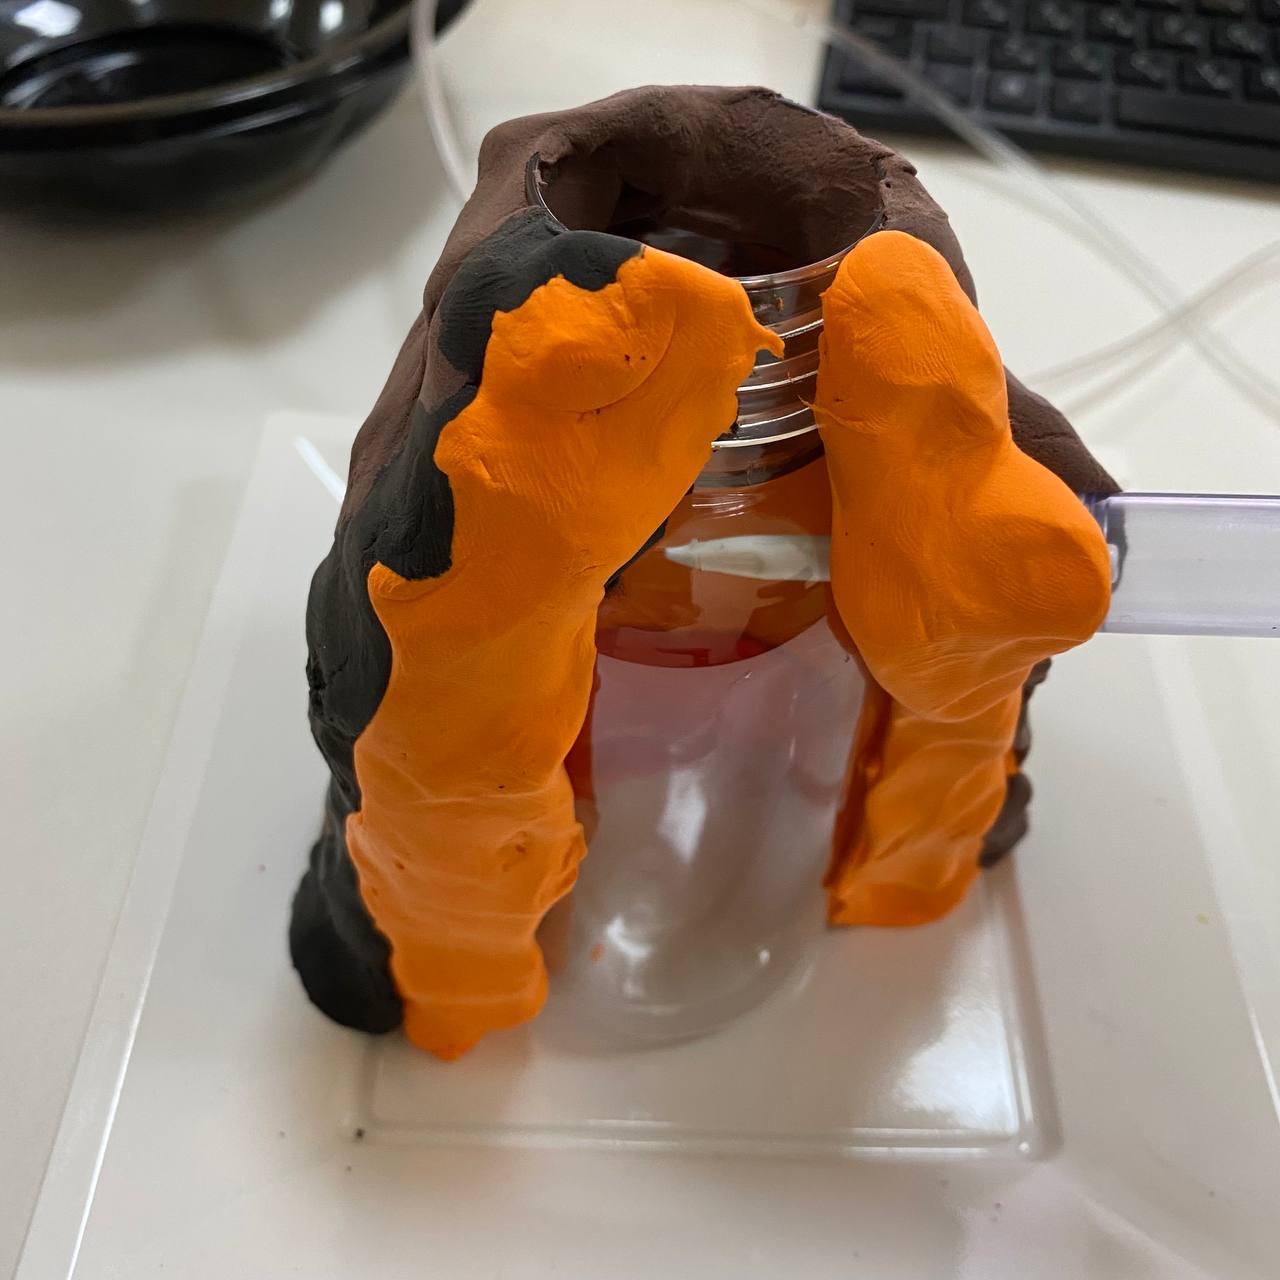
Step 6: Prepare brown plasticine or mix a few colours of plasticine to make brown. Then coat one side of the bottle.
The brown colour means the surface of the volcano.
.jpg)
Step 7: Leave one part of the volcano open. In order to observe the chemical process (eruption) later on.
Step 8. Next you can decorate the surface of the volcano. Make a simulated eruption using white yellow or red colours.
.jpg)
Step 9. Then make theino brown plasticine by combining some dark and light colours. Then cover half of the plate.

Step 10. Afterwards, also tidy up the ground.

Step 11. Prepare the mixture. Pour 5 spoonfuls of citric acid and 10 spoonfuls of baking soda into a container. Mix well.


Step 12. Then carefully:
– first, pour a couple of spoonfuls of detergent or liquid soap into the bottle
– and then pour the prepared mixture into the bottle.


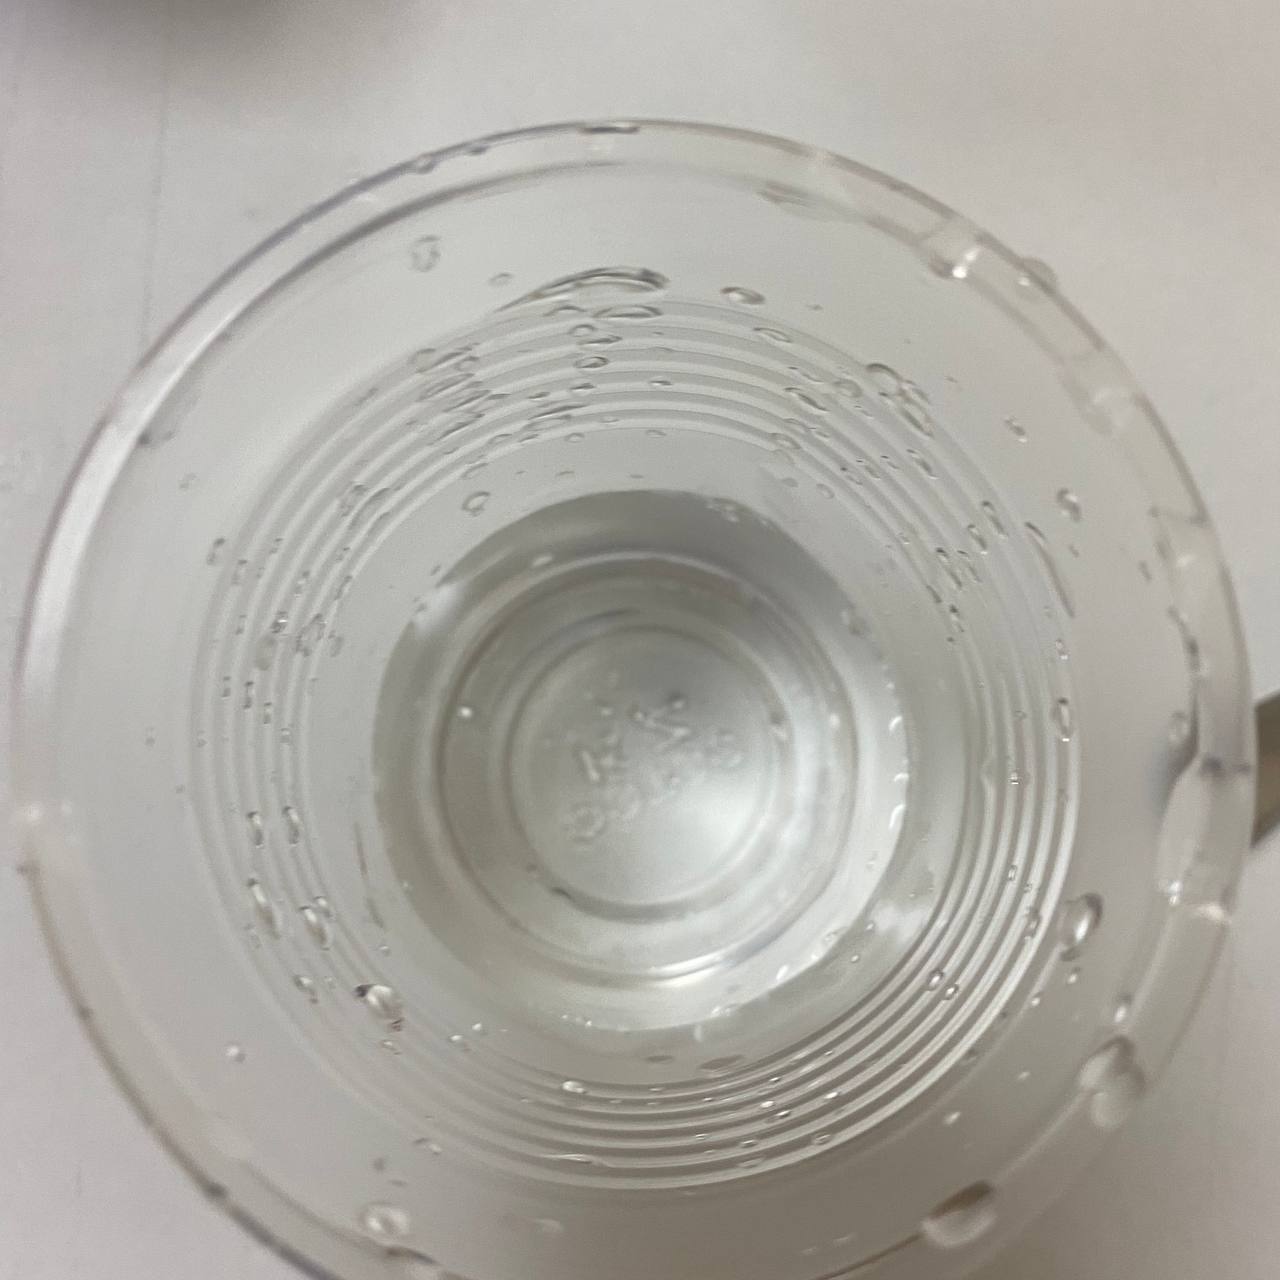
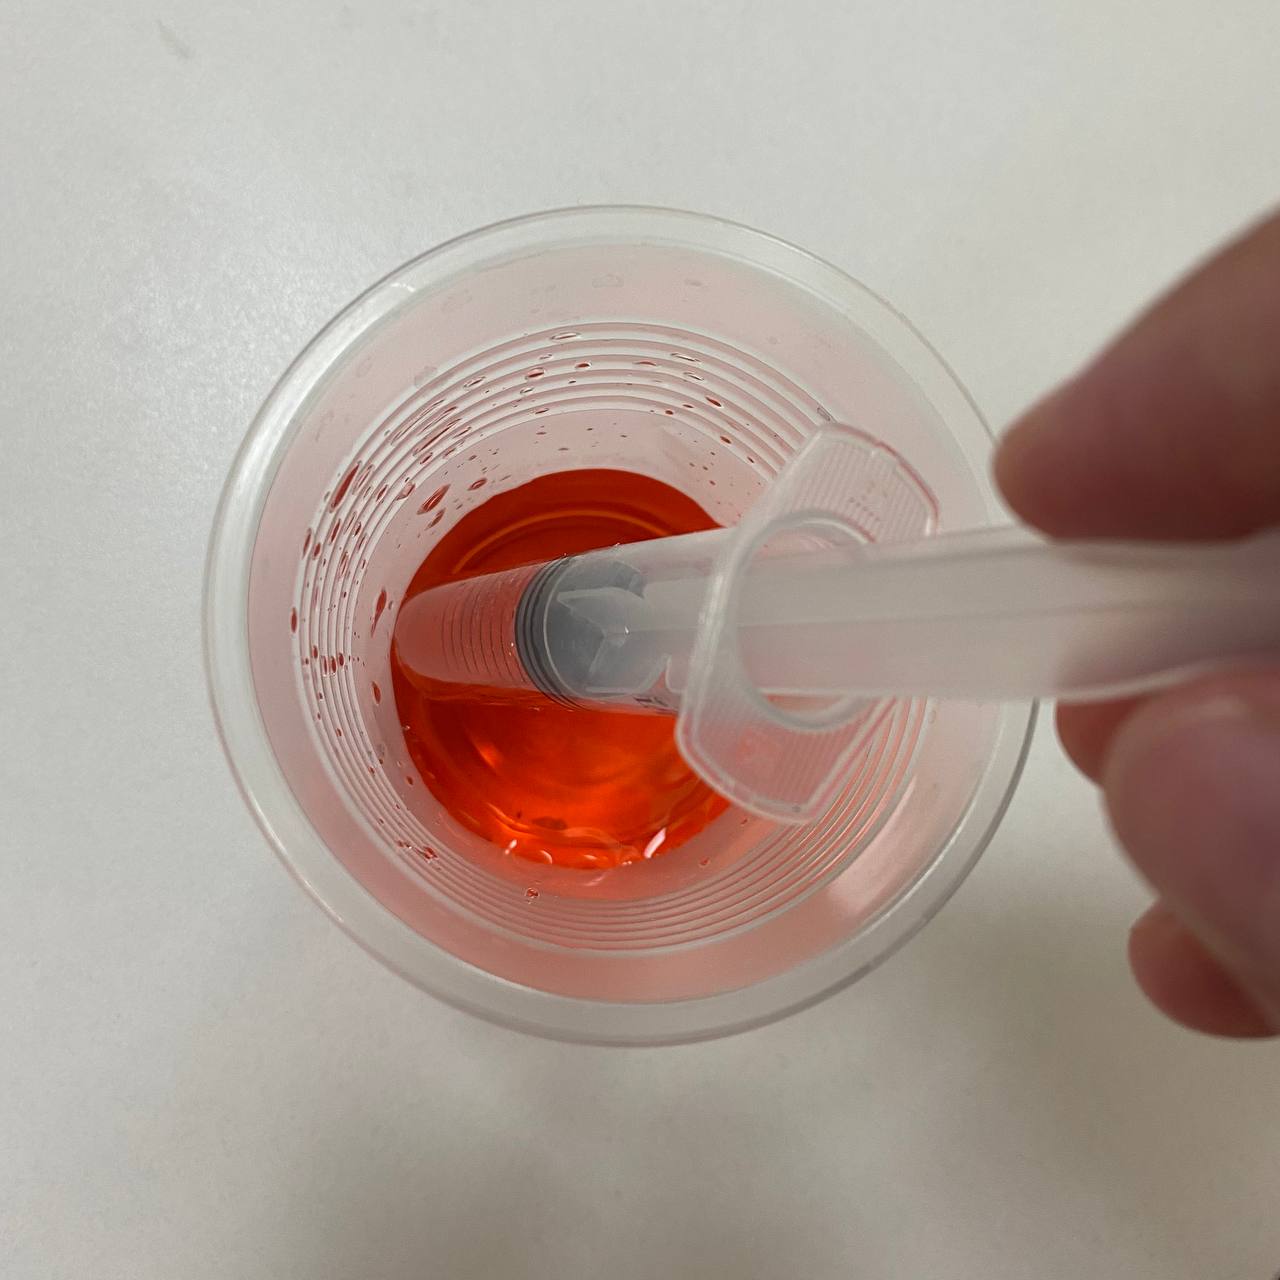
Step 13. Prepare the water.
Pour half of the water into a cup and add a pinch of red dye
.jpg)
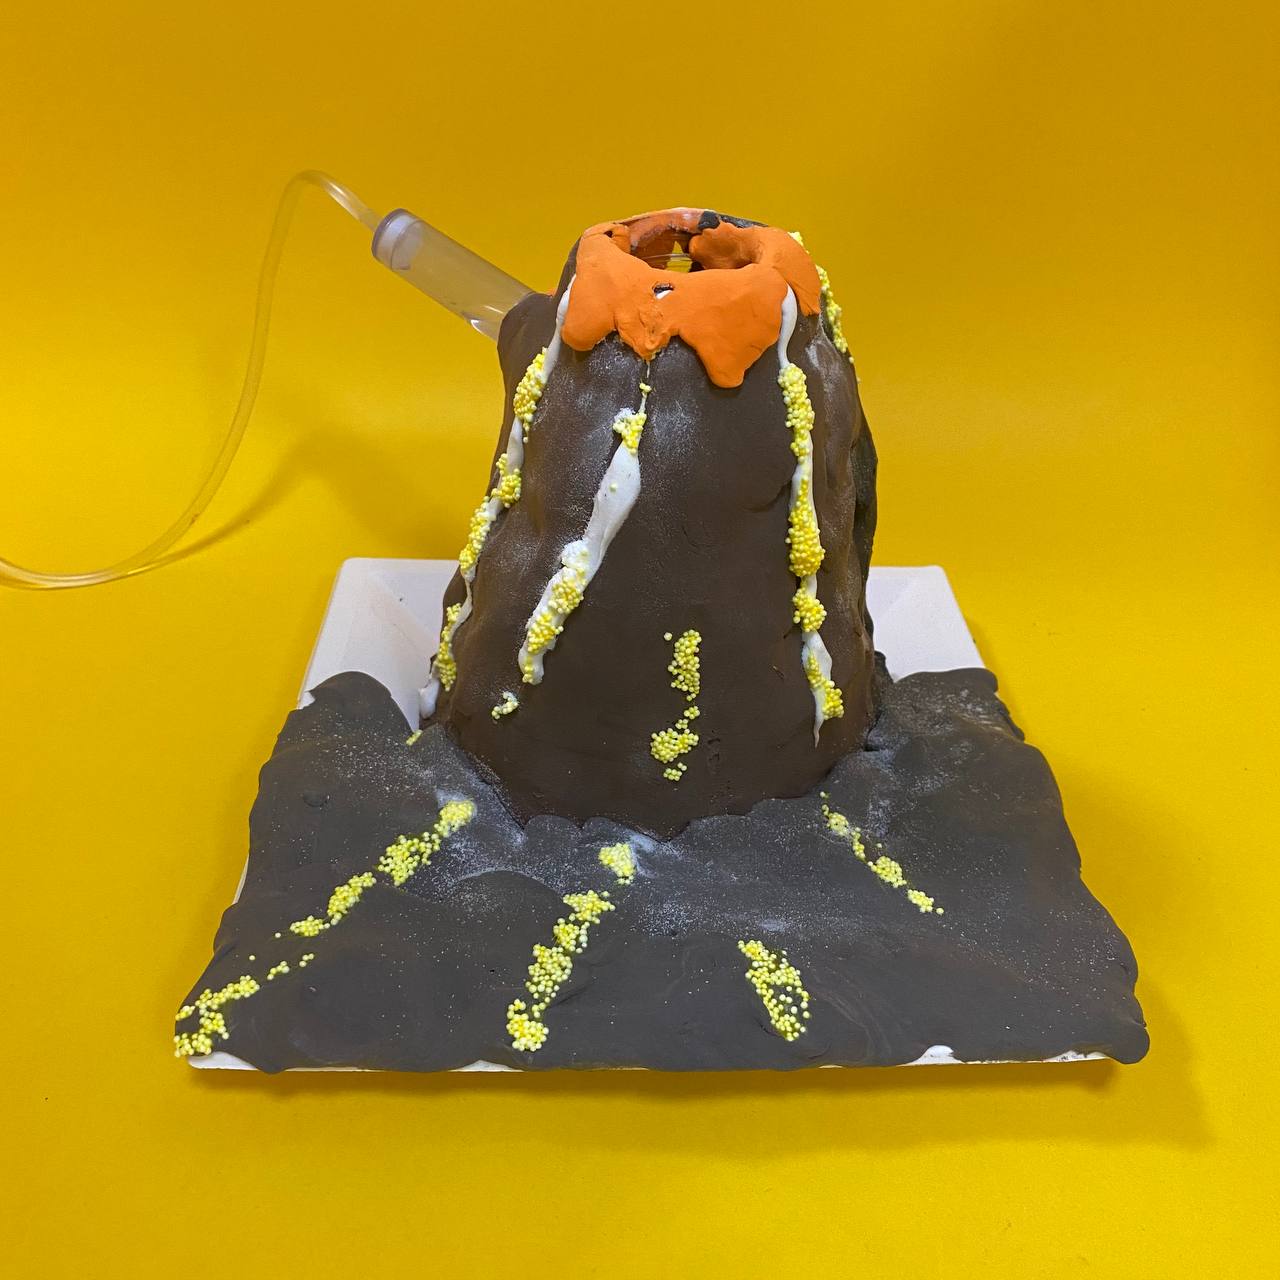
Step 14. Our mortar and volcano are ready!
Let’s start the experiment:
1. Fill the syringe with red water and then attach it back to the system
2. Then you need to squeeze (syringe) the red water into the system
3. a violent reaction will start: this is the reaction between:- Fae + citric acid + baking soda + water.
.jpg)

Conclusion
Thus, in this project, the pupils have mastered the geographical features of the globe. They have studied the structure of a volcano. They made a demonstration model of a volcano. They also studied some chemical solutions and studied the process of neutralization of citric acid with baking soda.
On this project, each student is awarded a STEAM title, in several categories:
– You have studied many geographical features and landforms on the Earth’s surface, you are a full-time geological explorer!
– You have independently created a pre-model of a volcano based on its structure and structure, you are a creative engineer!
– And you have also independently created your own reactions to volcanic eruptions (magma) based on your knowledge of the properties of substances – you are a budding research chemist!
Evaluation

