Lesson 1
Project objective
1. to investigate the spatial properties and thermal conductivity of air
2. Design of a candle-powered carousel
Teacher’s guide
– For the experimental part of the project, students work in groups of 4-5.
– The students should be familiarized with the topics that cover the purpose of the project.
– Before beginning the experimental part, introduce and provide the students with all the necessary materials.
– Give brief instructions on how to use the hot melt glue (only the teacher uses it)
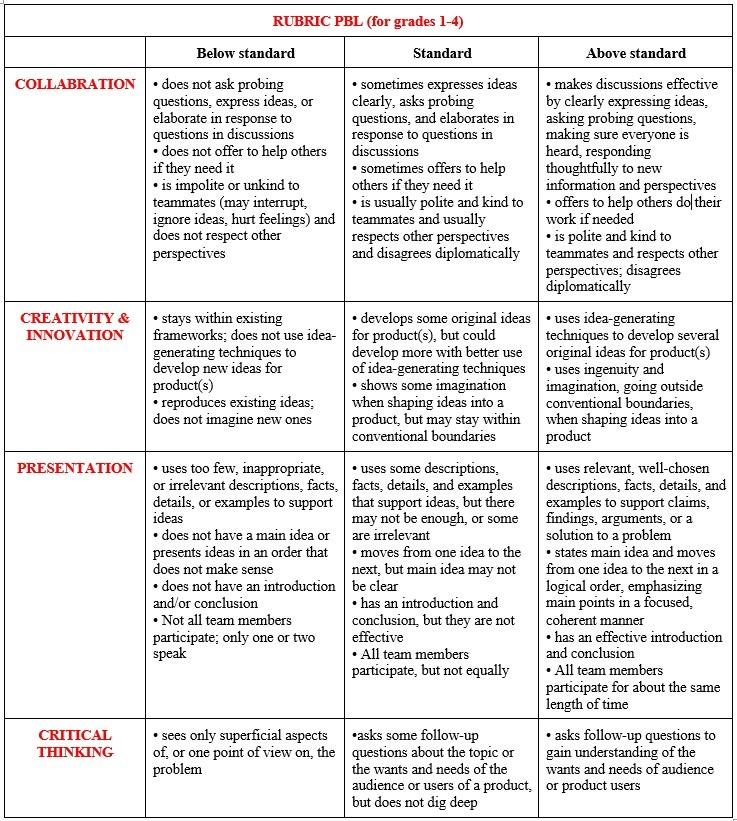
– Explain the PBL (project based learning) rubric to students at the beginning of the lesson. Skills 4K (critical thinking, collaboration, creativity, presentation)
Safety in Steam lessons
Before we begin the lesson, teachers are advised to familiarise themselves with the safety procedures. If necessary (if using items specified in the PPE), brief the students. Visit Safety in Steam Lessons Safety
Theoretical Part
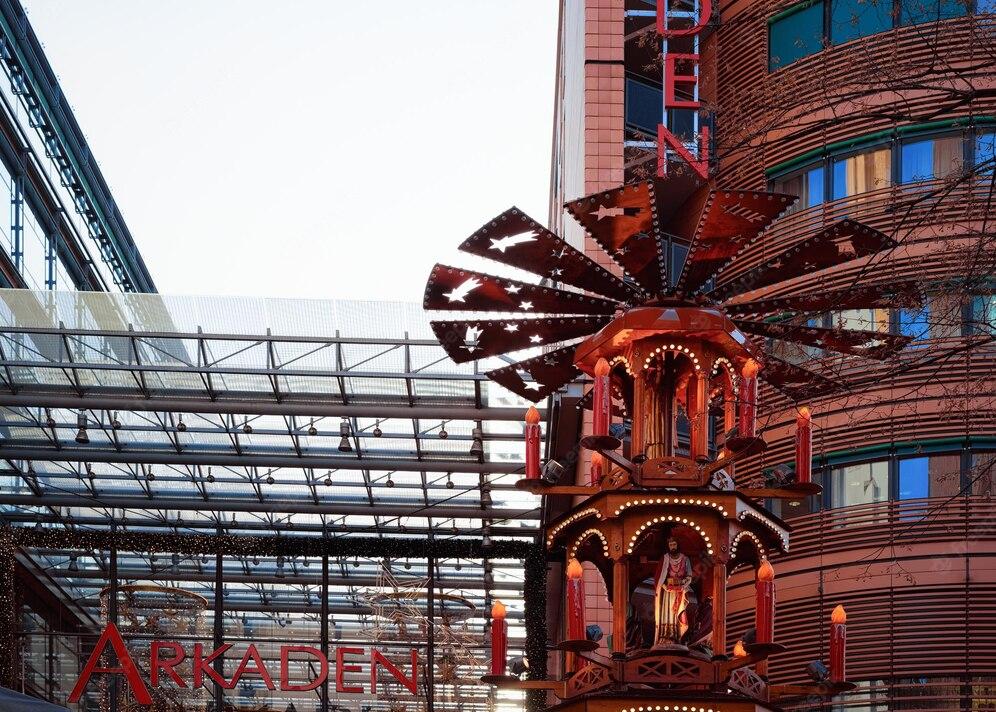
Carousel with candles rotates like an electric carousel or a merry-go-round that you would ride in an amusement park. But a carousel with candles is much smaller – some can fit in the palm of your hand – and it is powered by the heat of candles. Figure 1 shows an example of a candle carousel. Note that the candle carousel has several inclined paddles at the top, how all the paddles are attached to a central shaft, and that there are candles underneath the paddles.
When the candles burn, hot air rises above them, causing the blades to rotate.
How does lighting the candles make the candle carousel spin? The candle flame heats the air above the candle. Heat is a form of energy and it causes the air directly above the candle to rise above the colder air around it. This rising hot air presses against the blades above it. As the blades are tilted, this push causes the blades/wings of the carousel to move sideways (to the right or left, depending on how tilted) and rotate around the shaft. Each paddle that moves over the flame is also ‘pushed’ by the hot air.
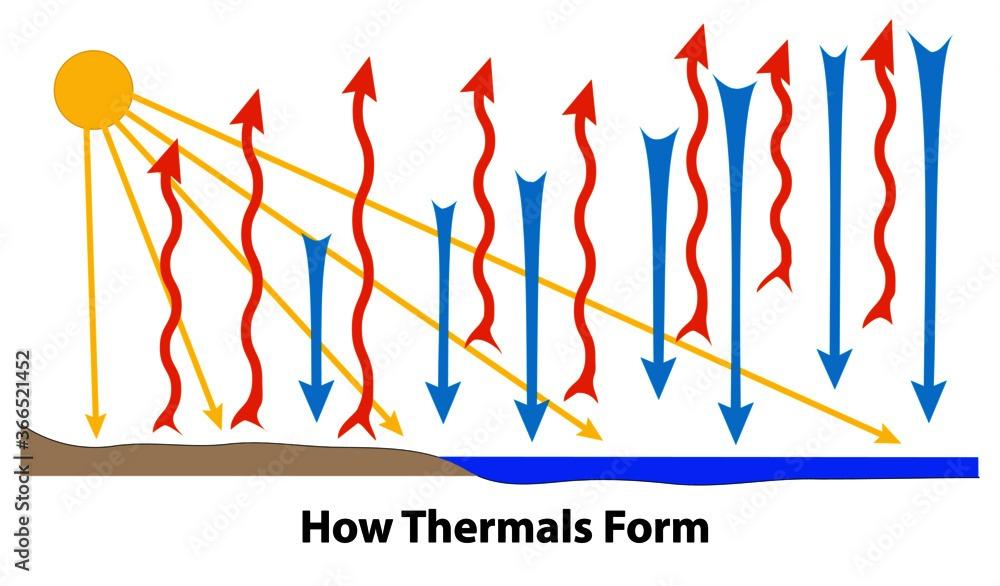
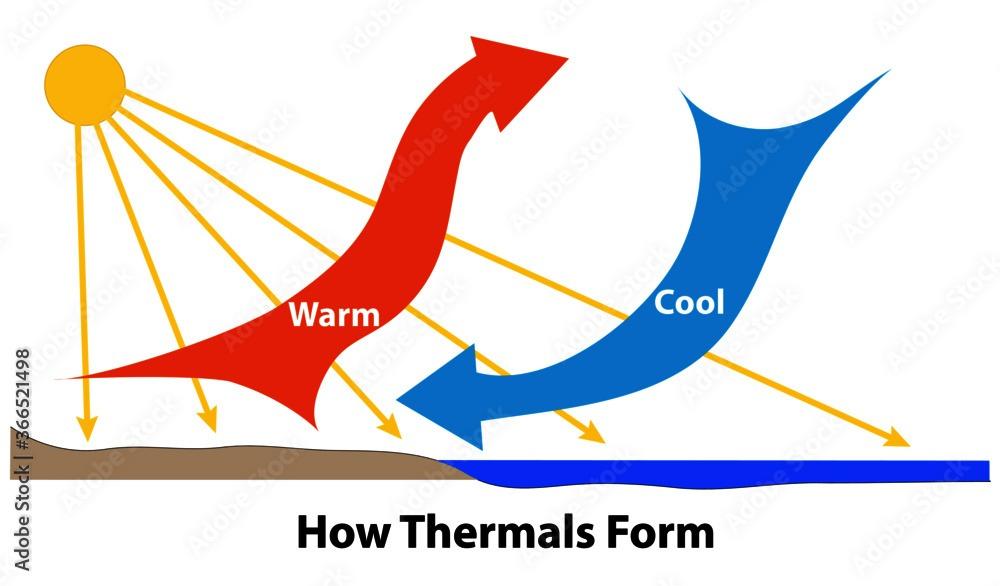
RED ARROW – Heated (hot) air
BLUE ARROW – COLD air
Which air is lighter: hot or cold? And why does the merry-go-round move?
The practical part
Step 1: Prepare an A4 piece of cardboard in any colour. Mark the centre of the circle with a pencil. Then use a compass to draw a circle. The diameter is 18-20 cm.The radius is half of 9-10 cm.
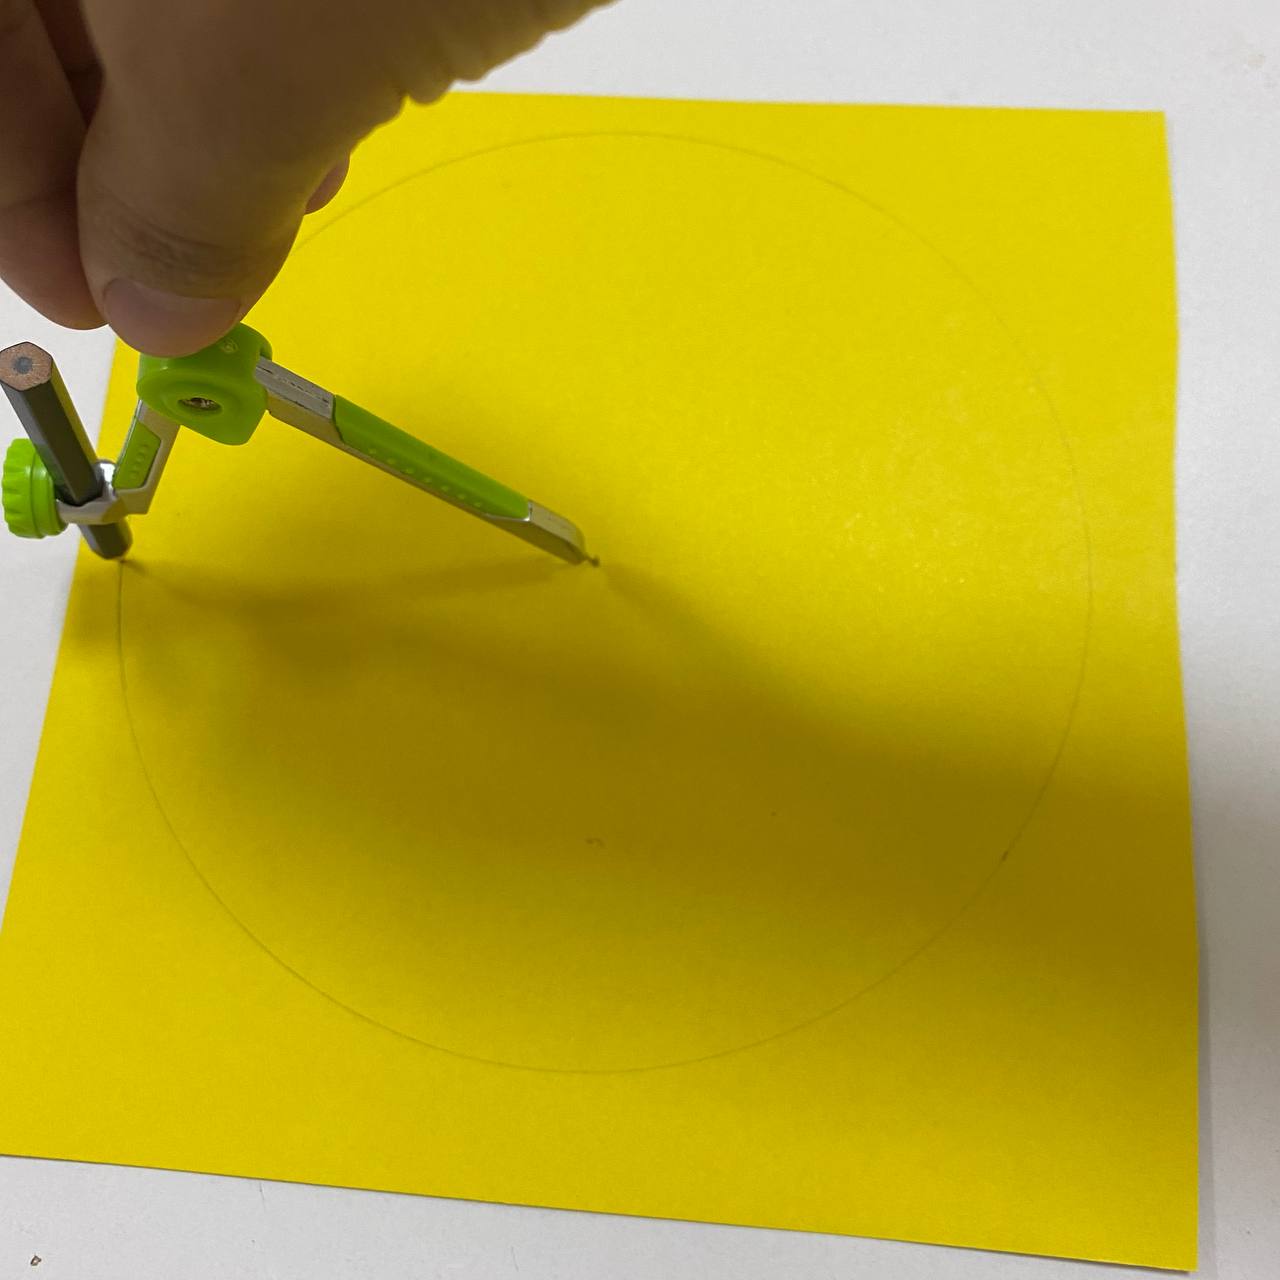
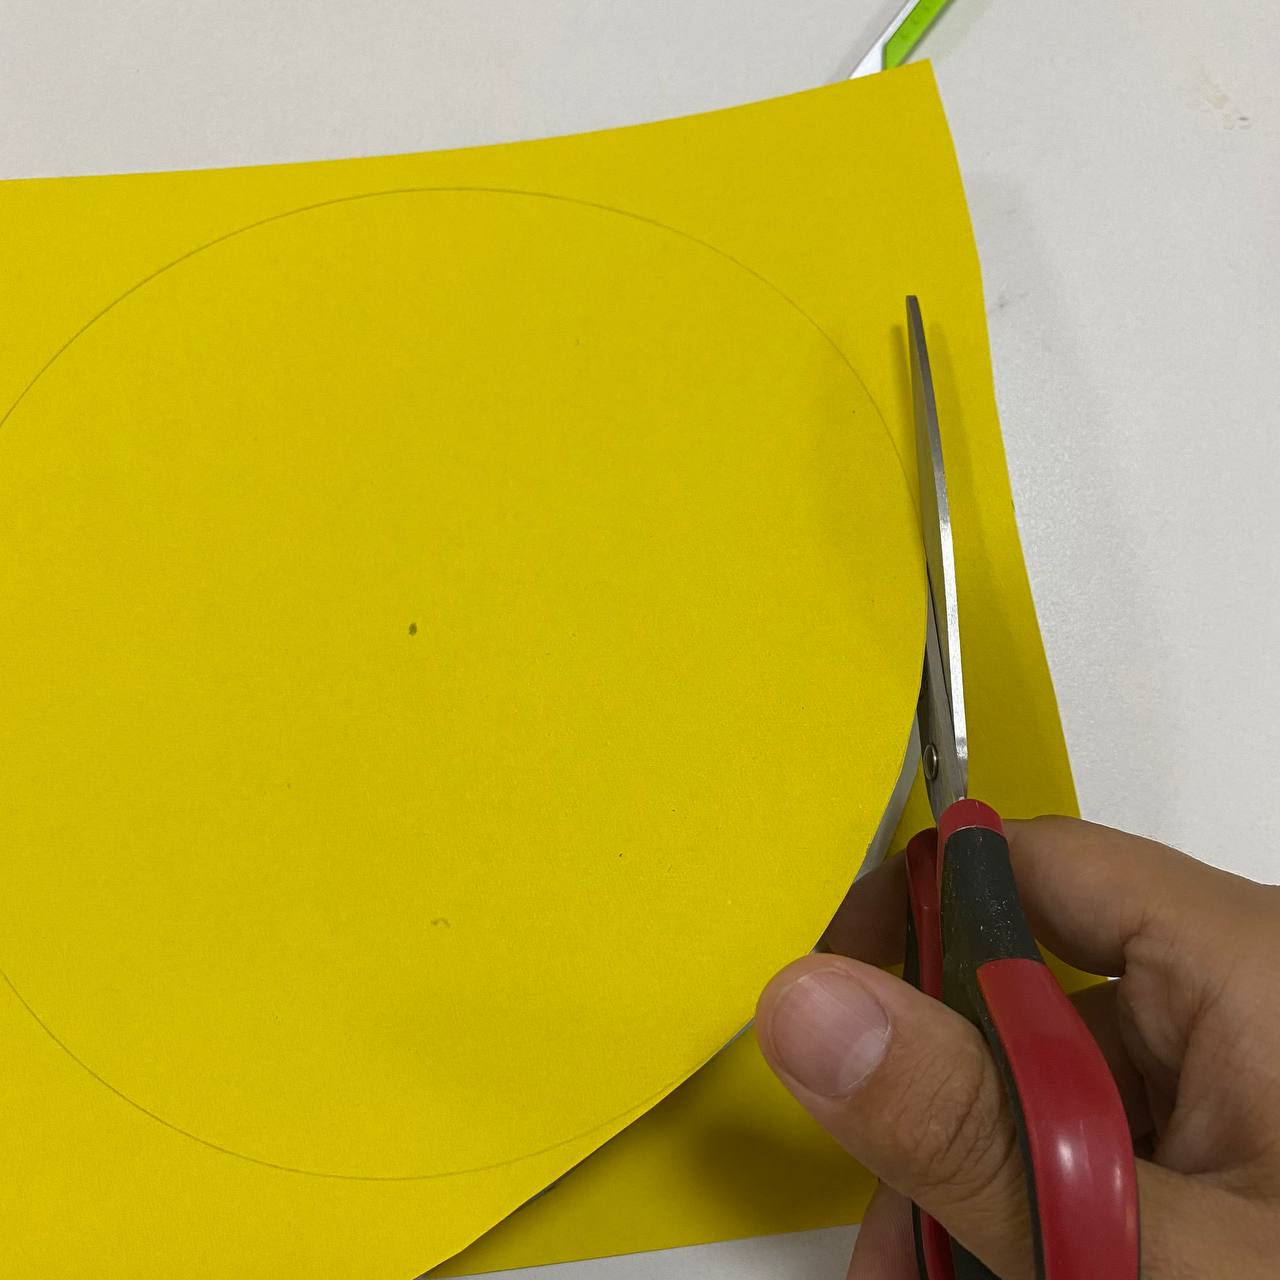
Step 2: Cut out a circle.
Step 3. Then from the centre of the circle make another small circle with a diameter of 4-5cm.
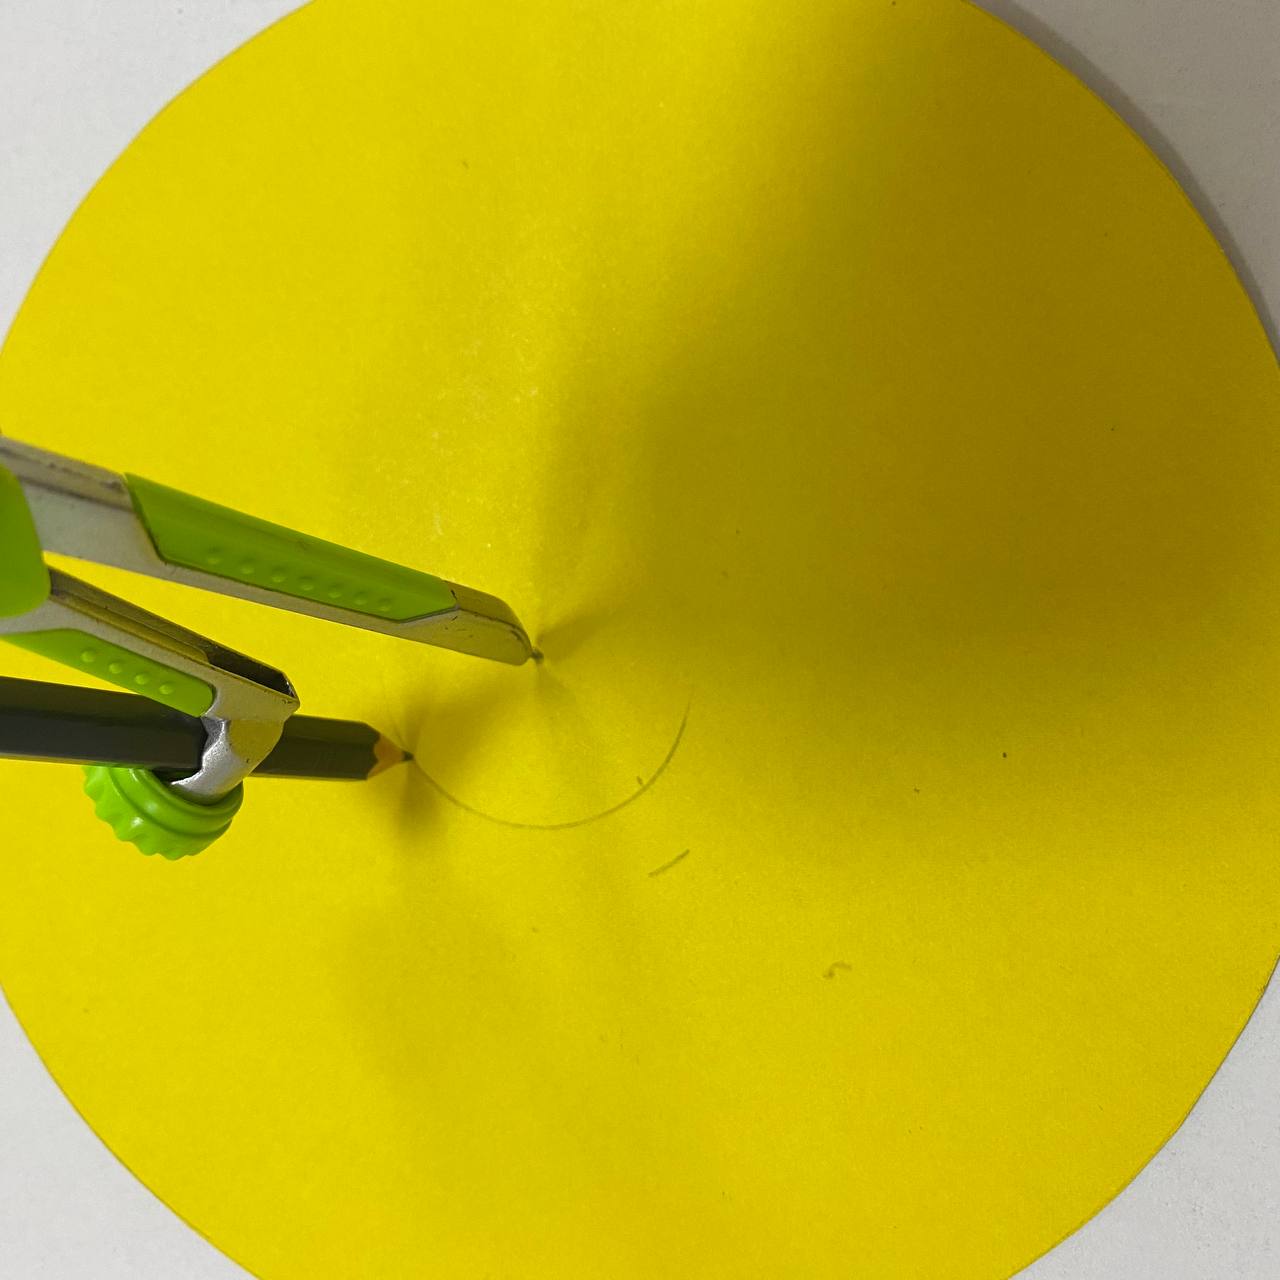
Step 4: You should be able to get it like this
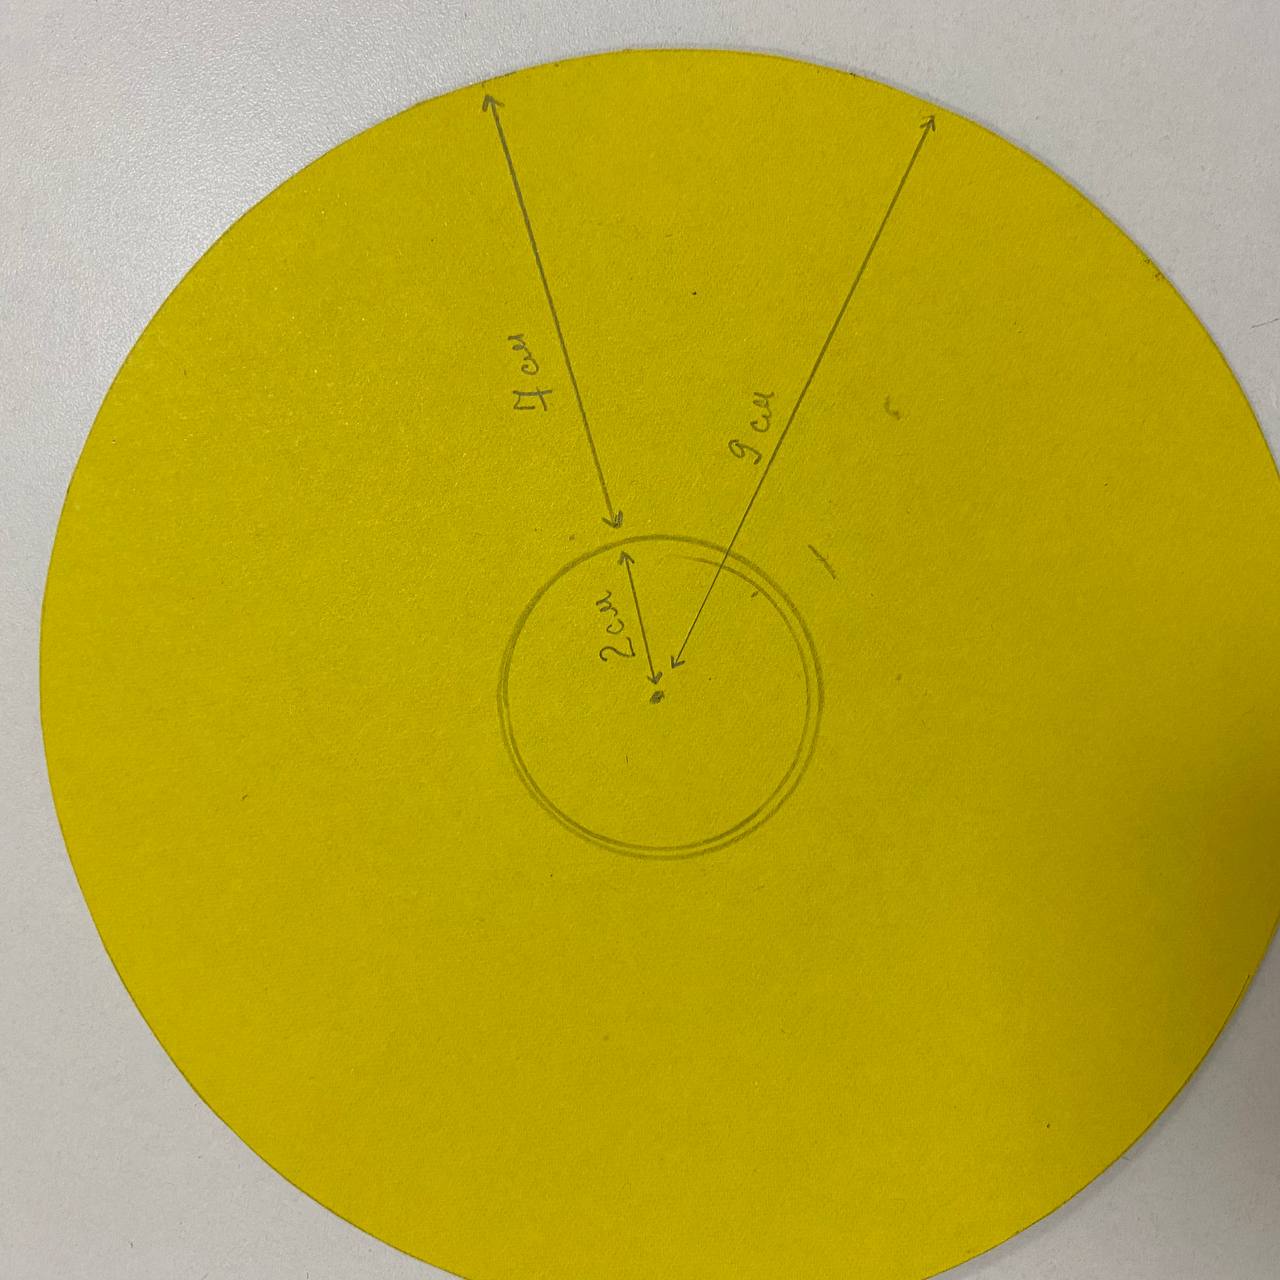
Step 5. Then, using a protractor or ruler, divide the circle into 8 parts.
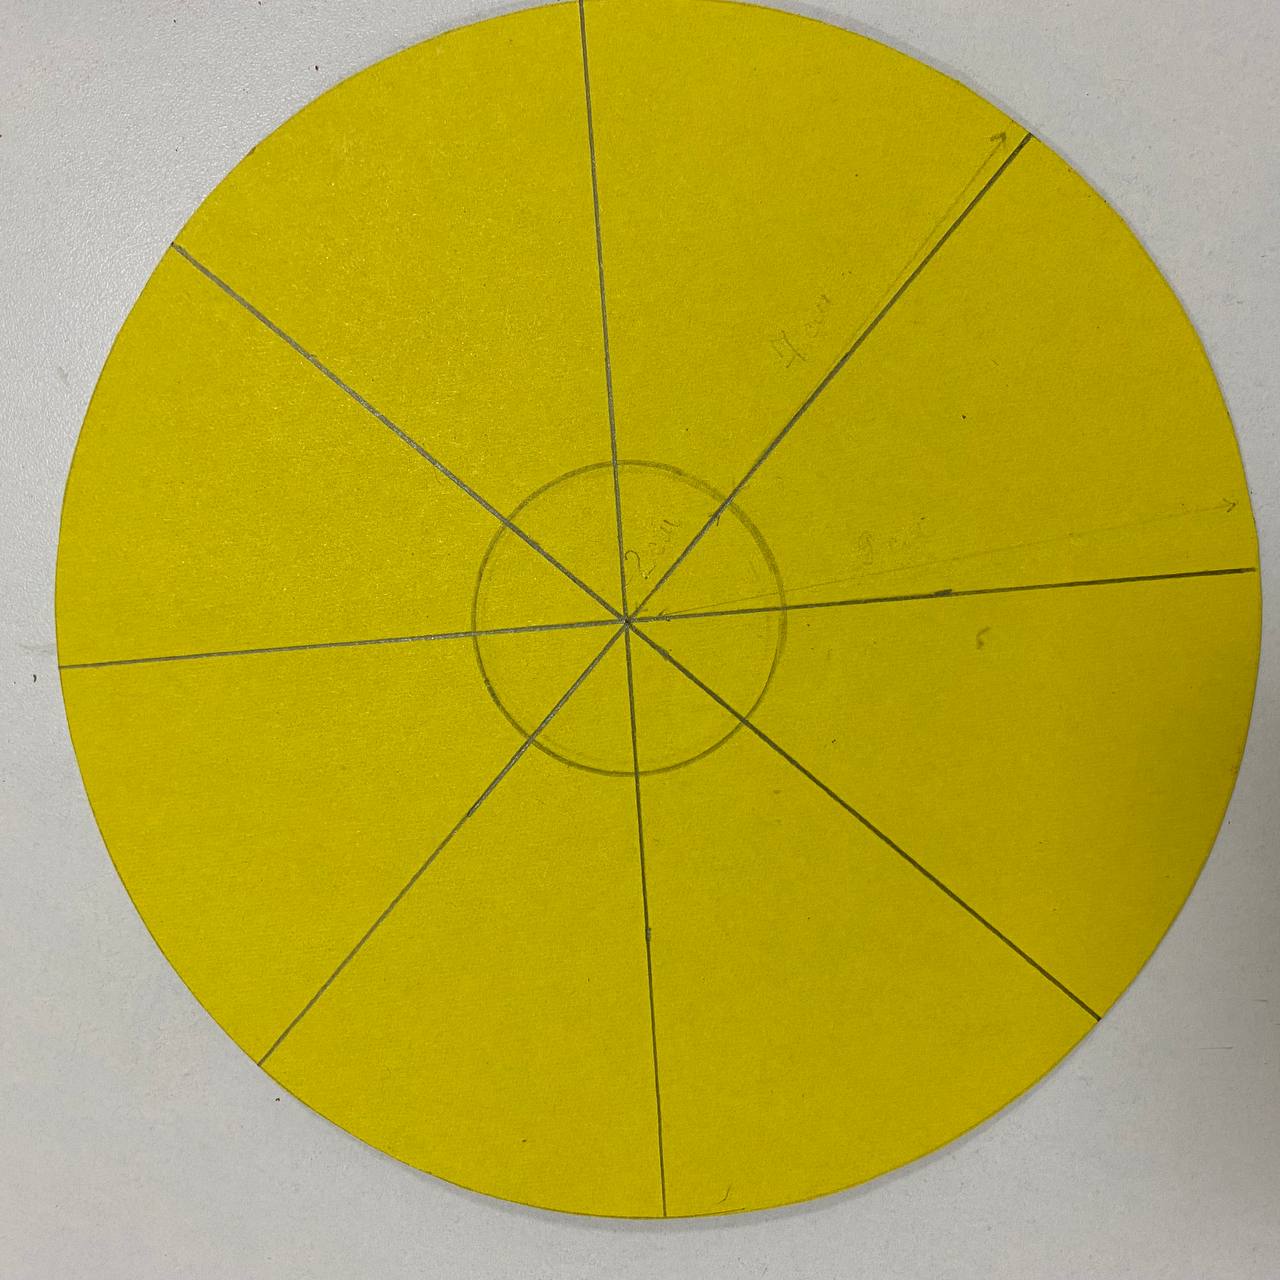
Step 6. Then use scissors to make cuts around the edges, just to the small circle.
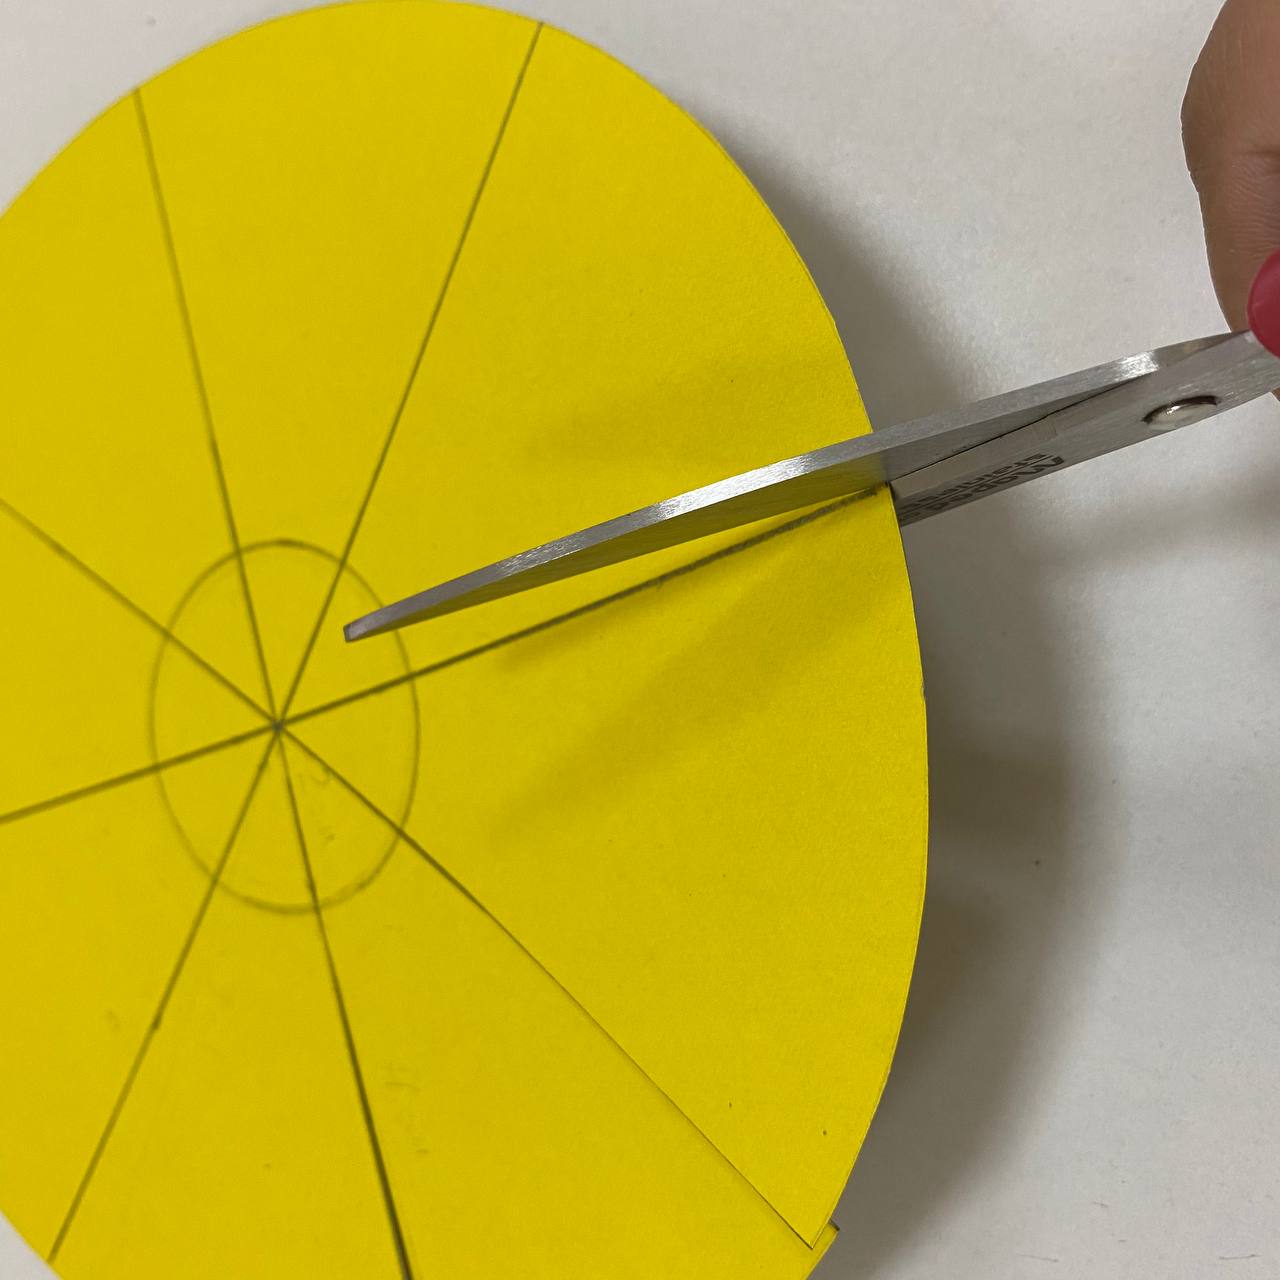
Step 7: DO NOT cut all the way to the centre!
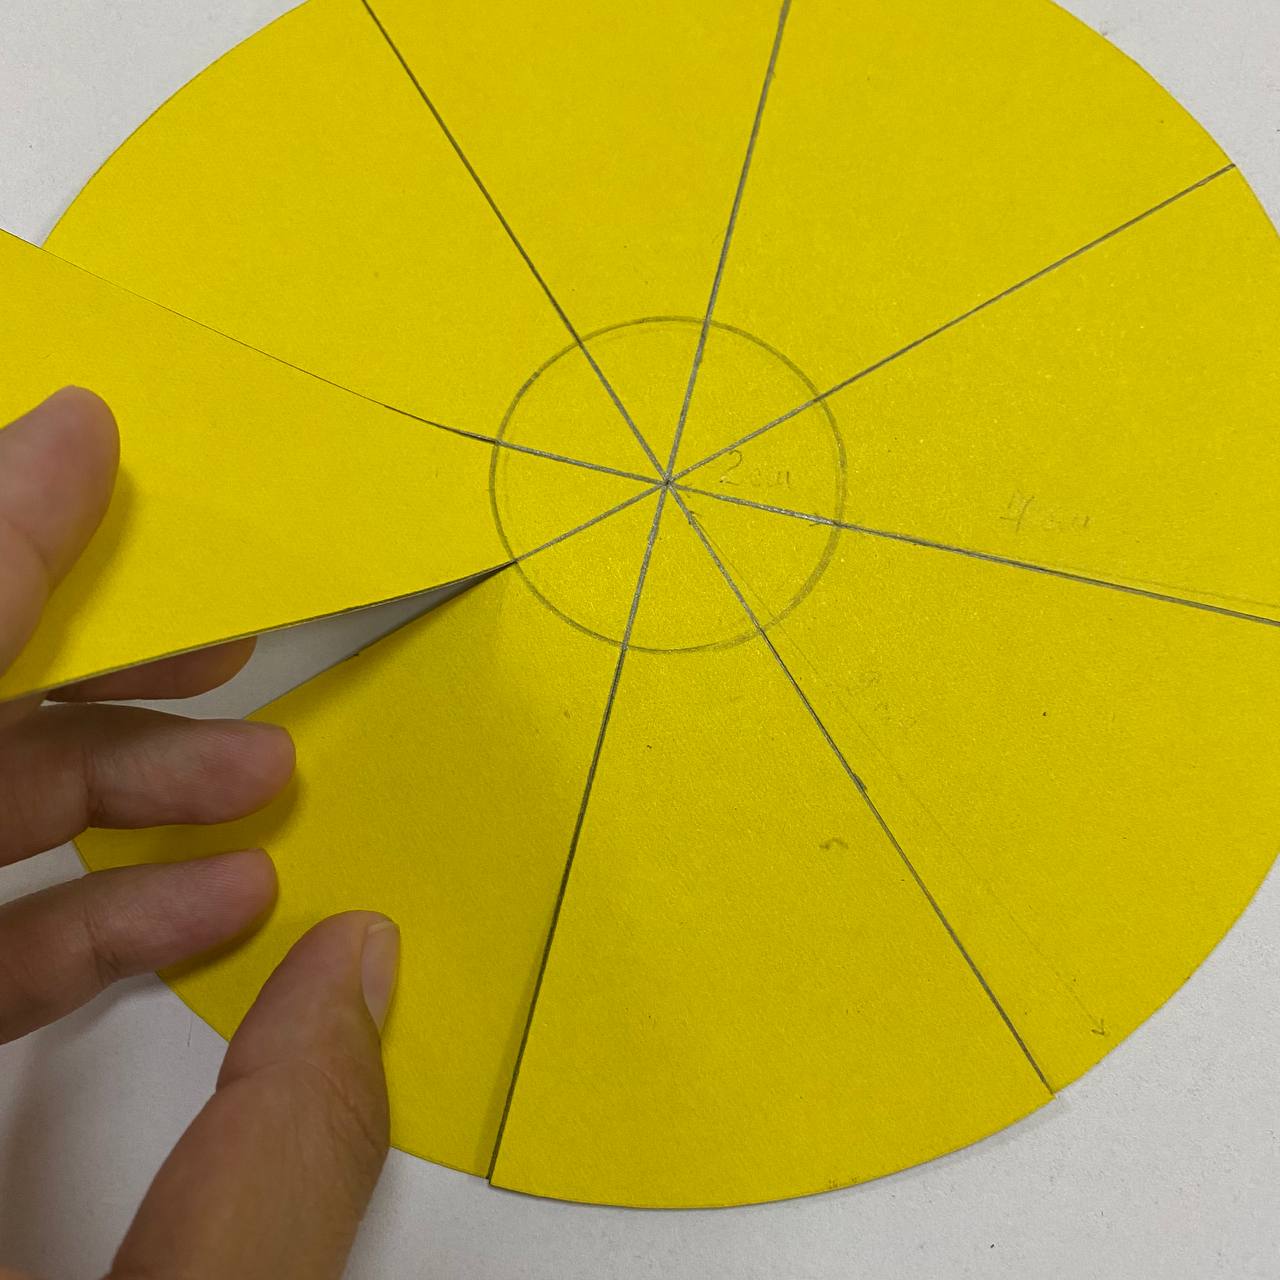
Step 8. Now draw a ruler from the edge of the circle line to the small circle, 8 lines.
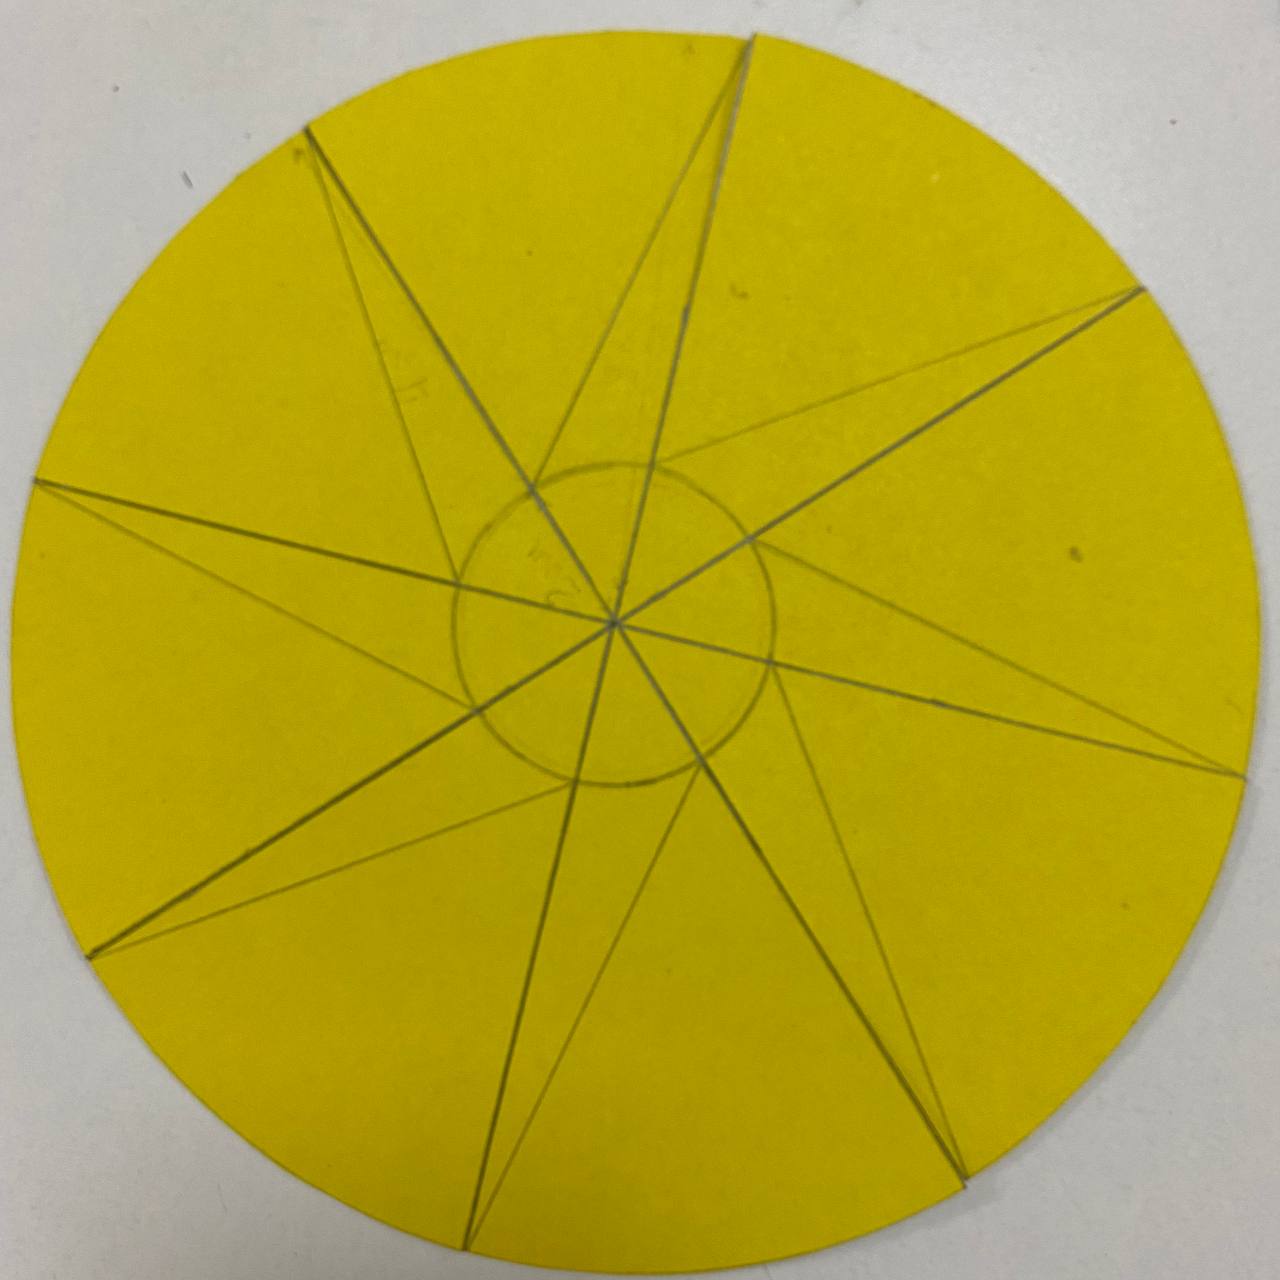
Step 9. Then bend slightly along these lines.
.jpg)
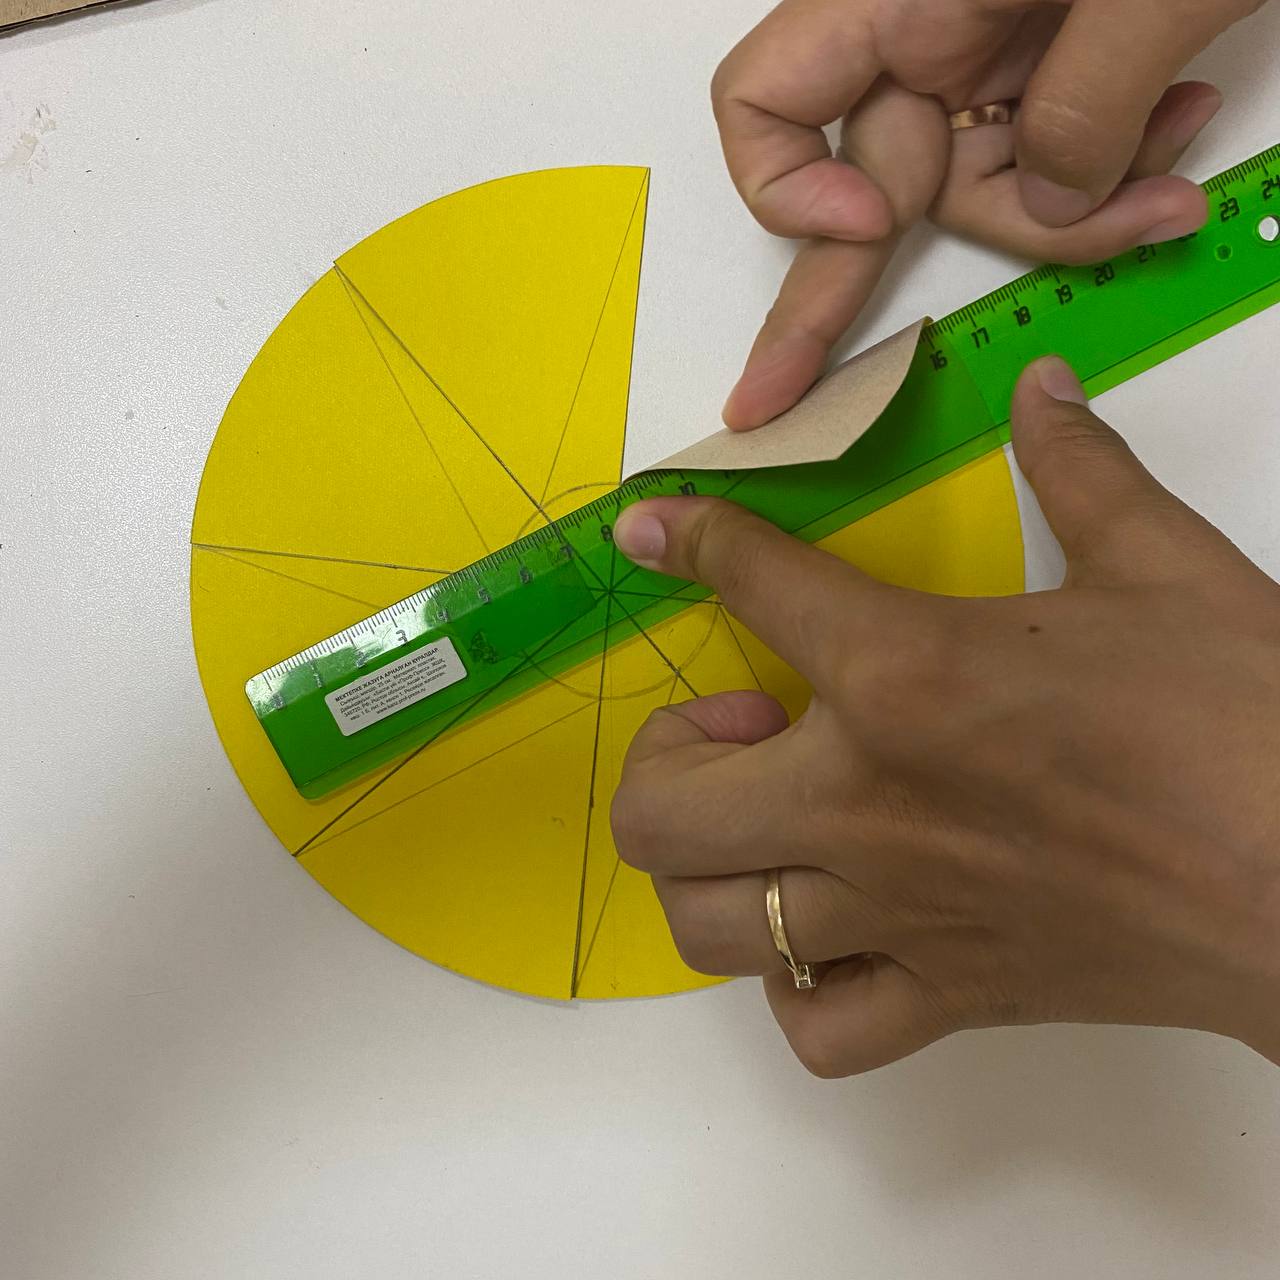
Step 10. It will come out as shown in the illustration.
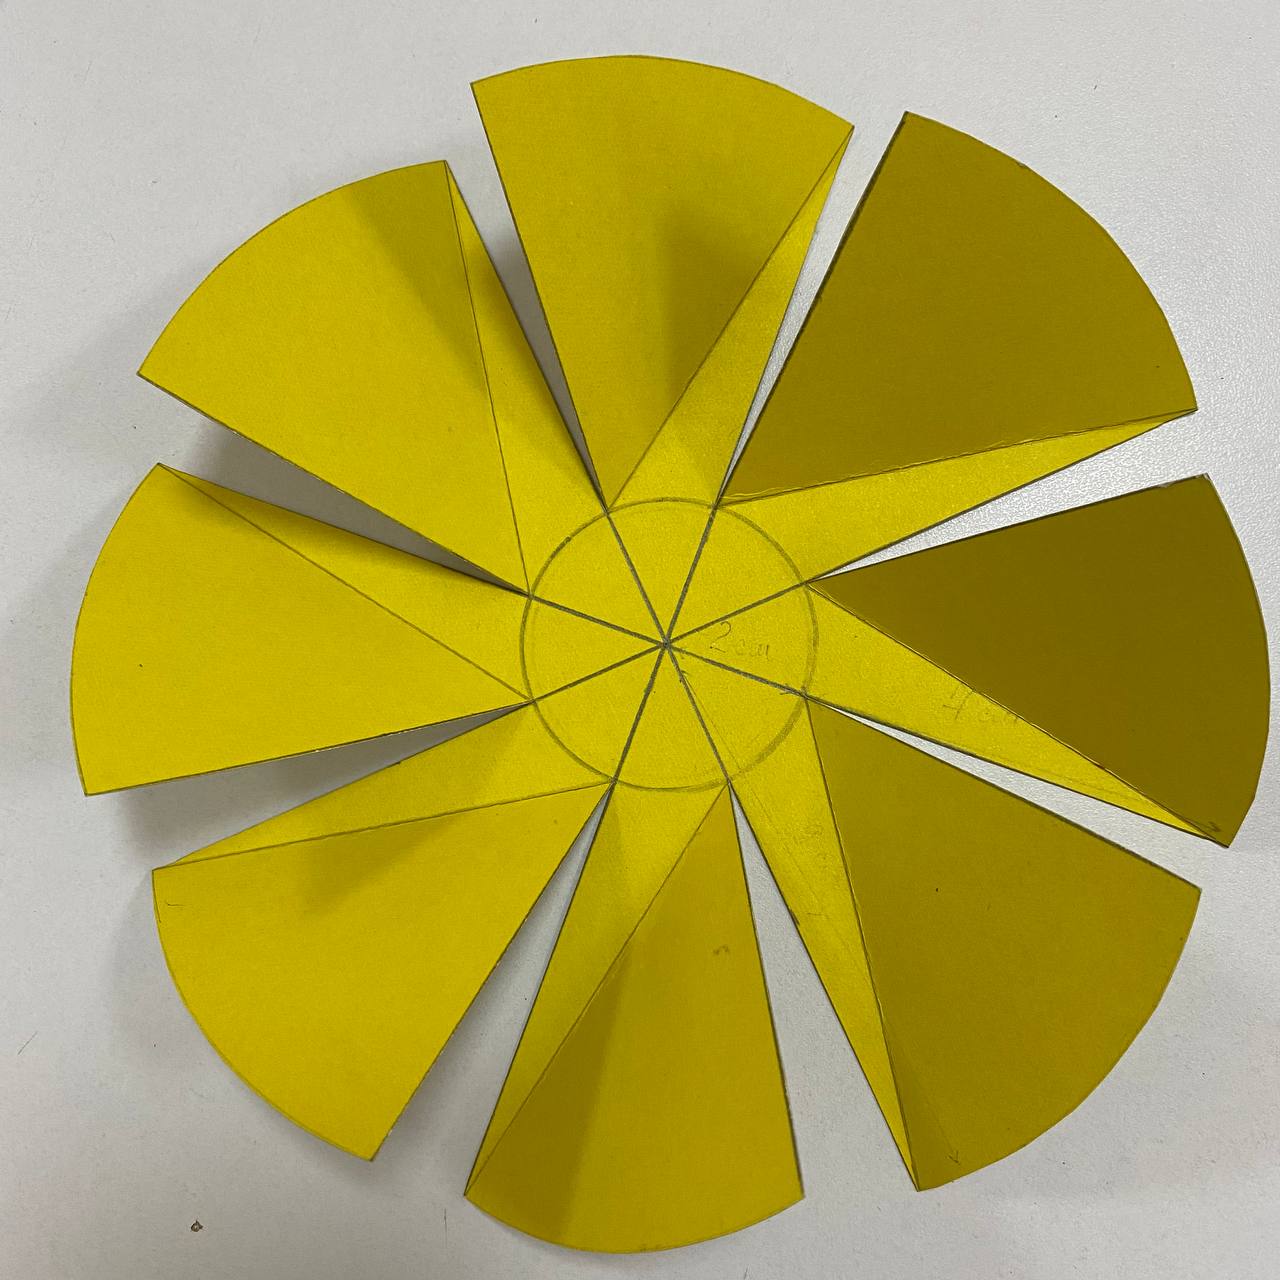
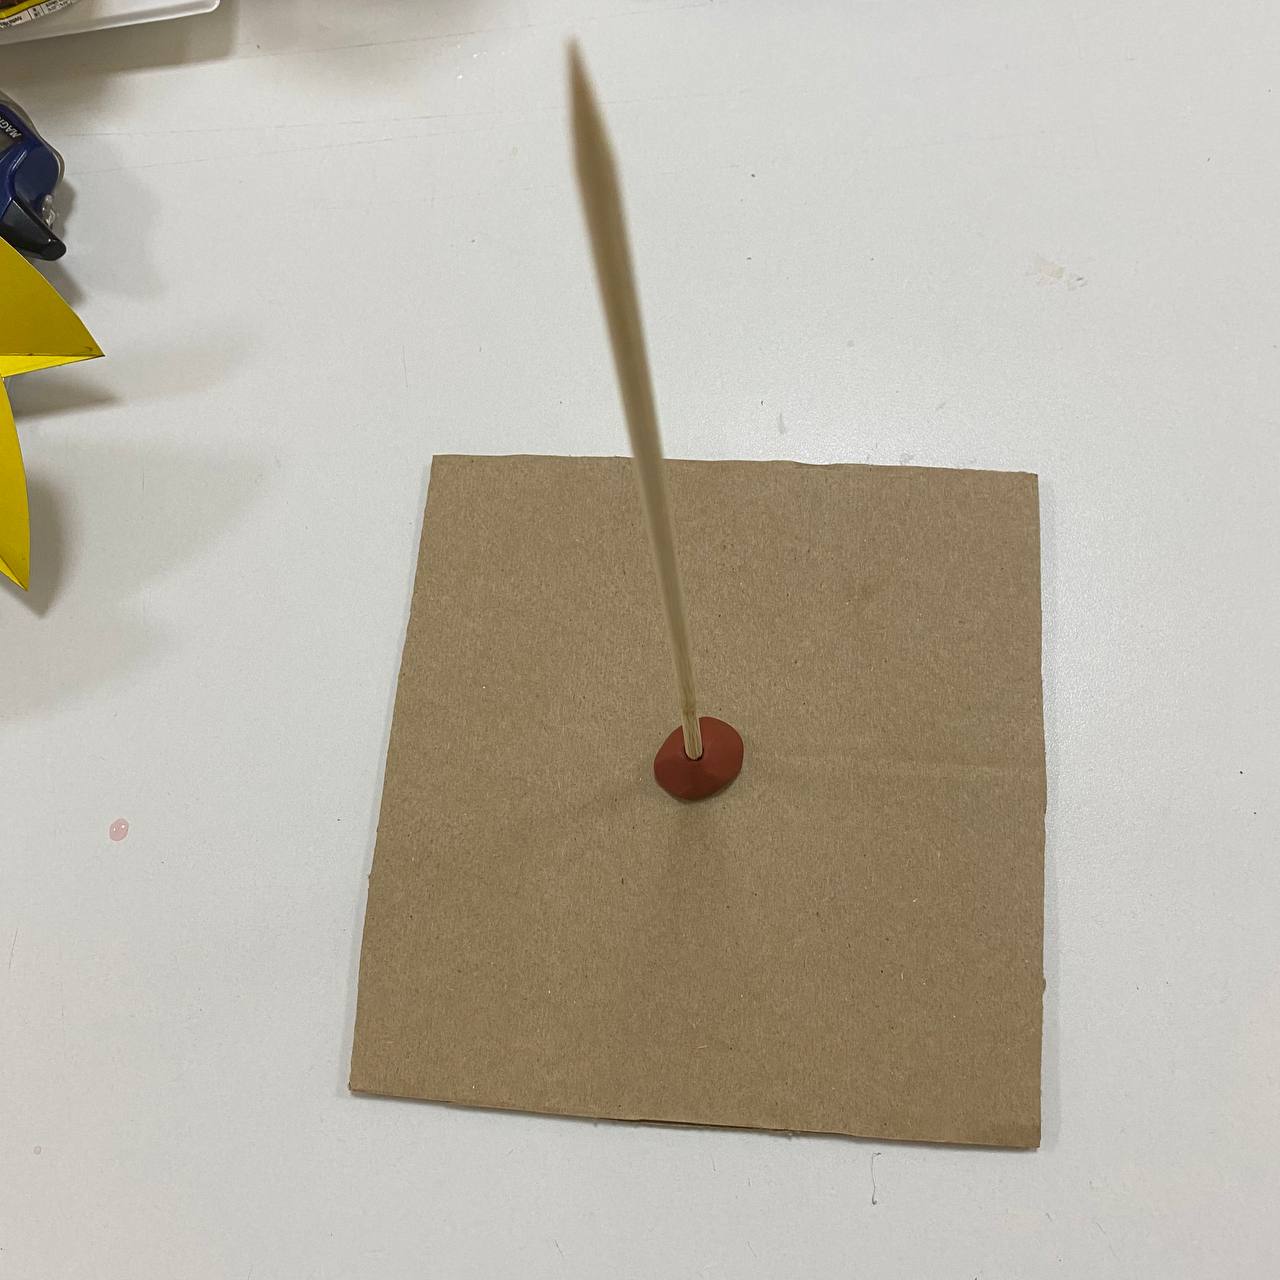
Step 11. Prepare the base for the candle. Prepare a 20*20cm cardboard. A skewer and a piece of plasticine.
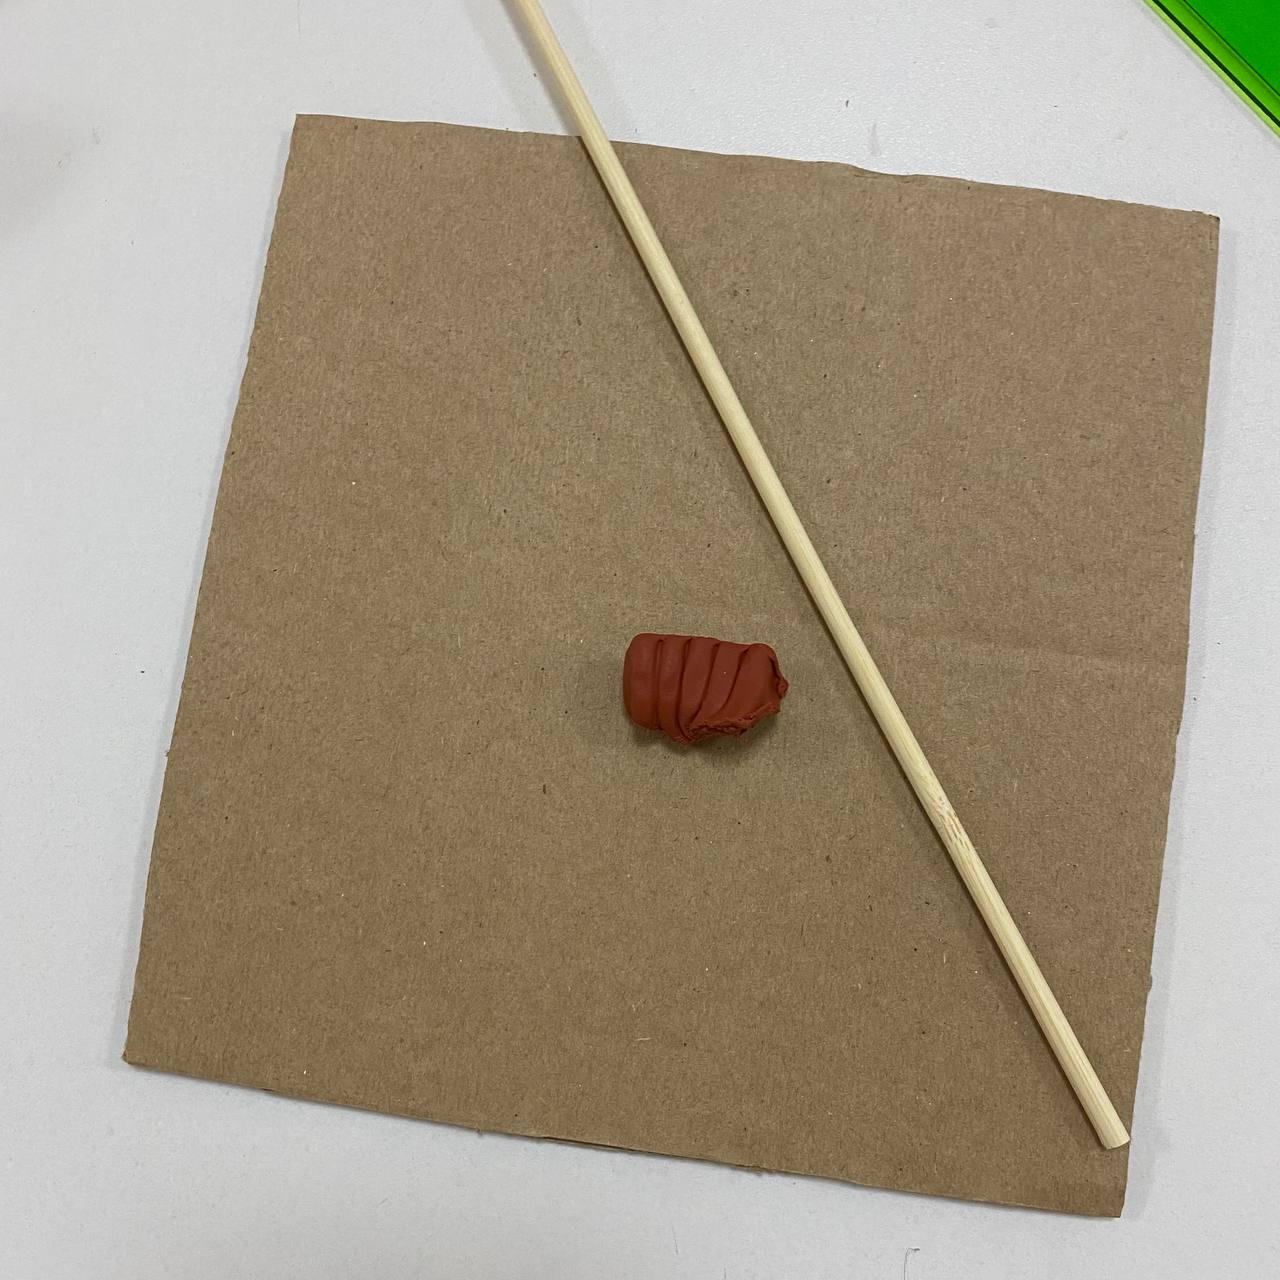
Step 12. Centre the skewer onto the plasticine. Or you can use a thermoclay instead of the plasticine. The main thing is to make sure it stands firmly.
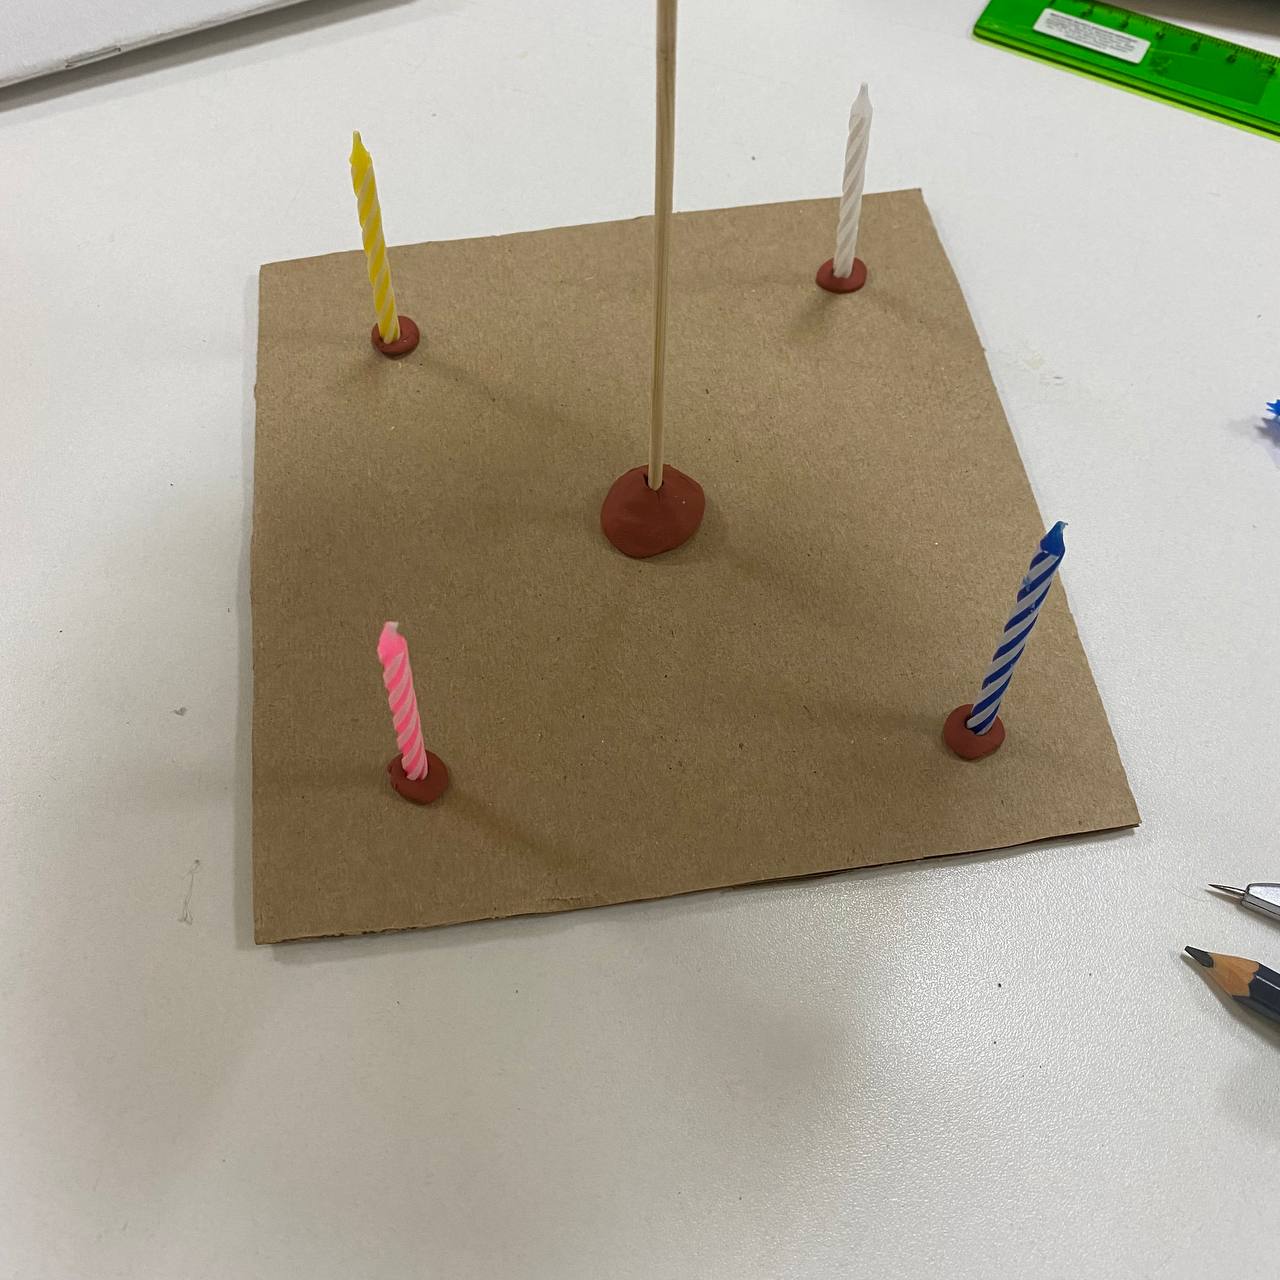
Step 13. Then also place the candles on four sides.
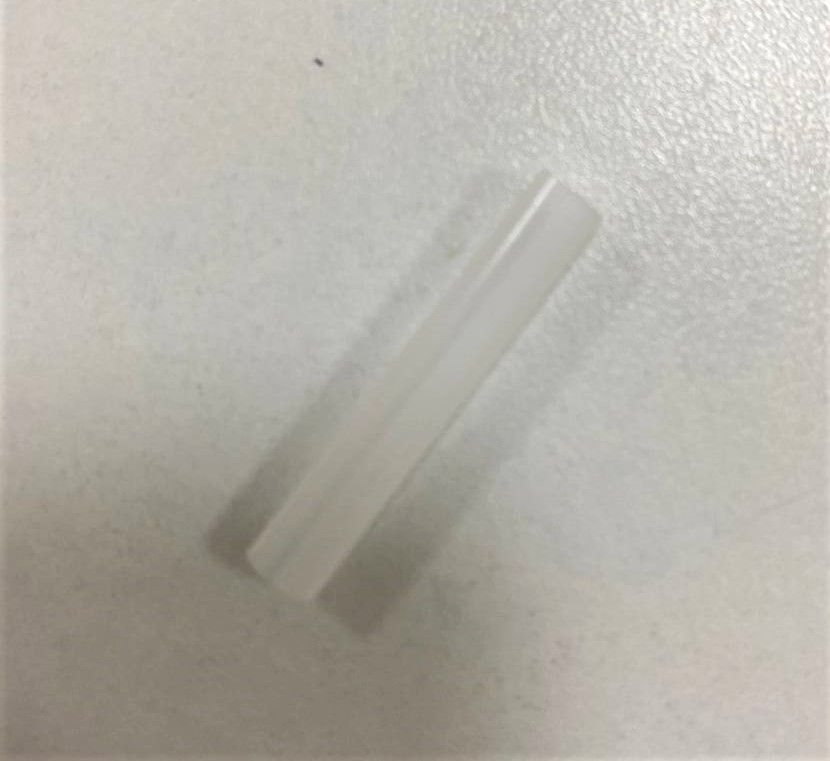
Step 14. Prepare a piece of juice pipe. approx 3-4cm.
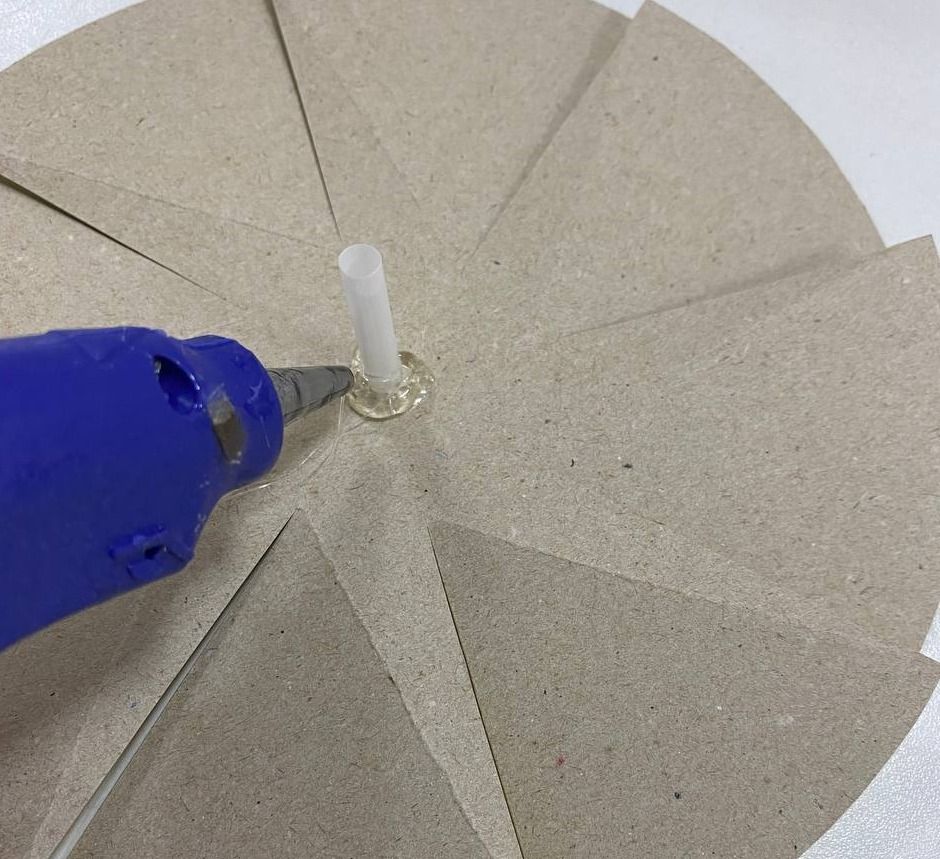
Step 15. Then place this tube in the centre of the carousel paddles, on the reverse side.
Step 16. Then place the tube in the skewer. And light the candles.
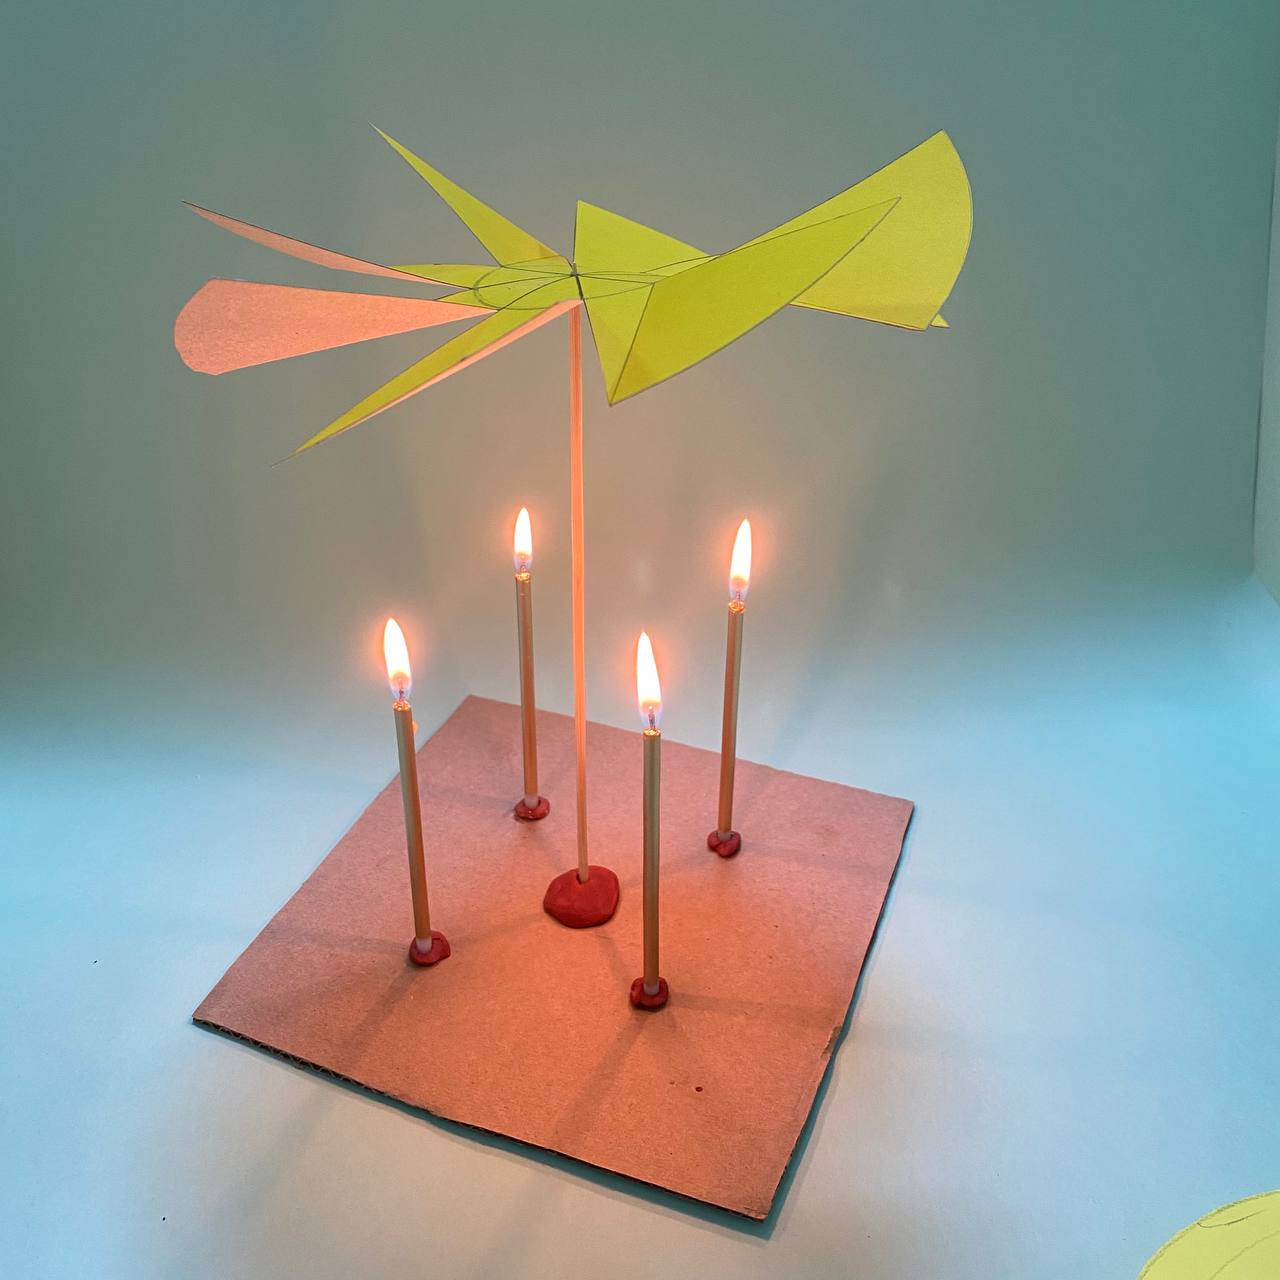
Step 17. What has happened? Is the merry-go-round moving?
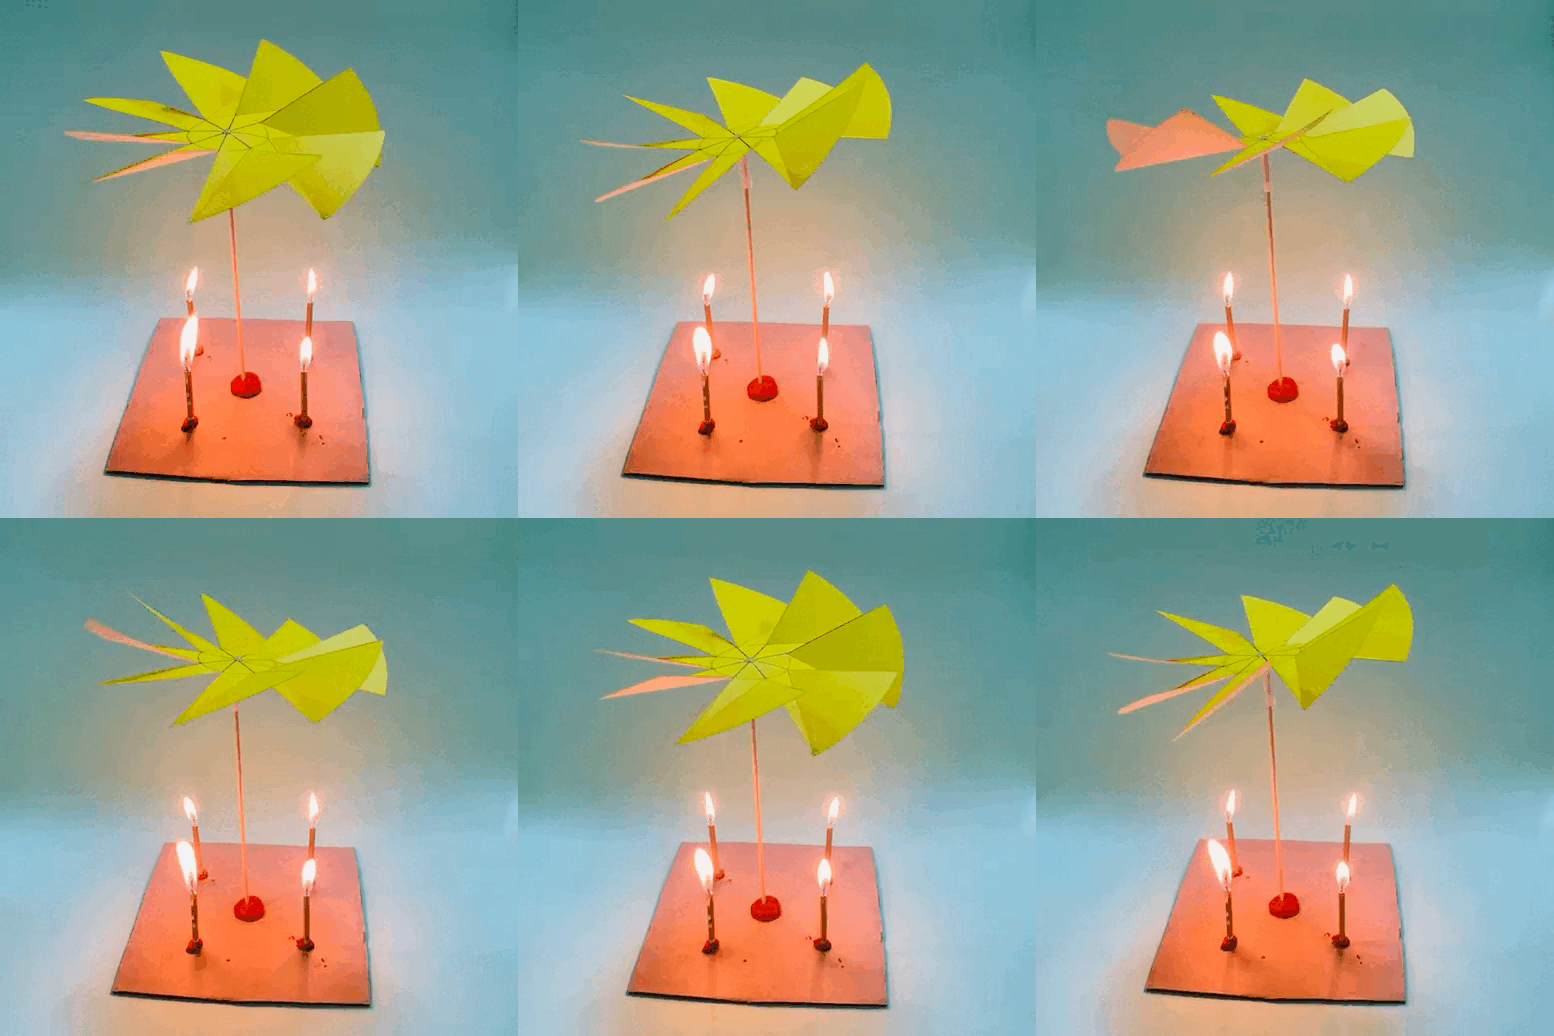
Conclusion
In this project the pupils mastered and investigated the spatial properties and thermal conductivity of air. They made a candle-powered carousel. And defined the principle of this merry-go-round.
On this project, each pupil is awarded a STEAM title, in several categories:
– You have independently investigated the properties of air, Congratulations, you are a young physics researcher!
– You made a candle carousel on your own, Congratulations, you are a real engineer!
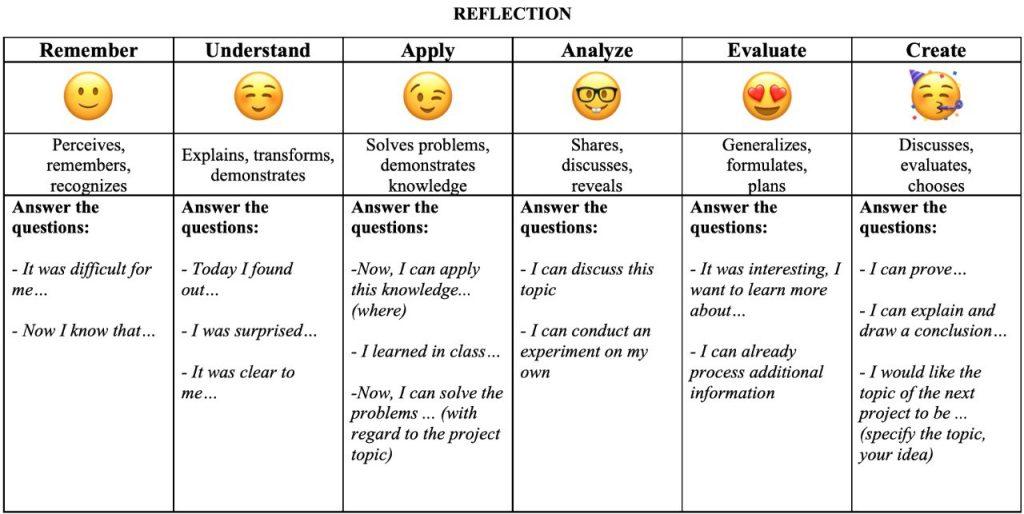
Evaluation