
Lesson

Project Objective:
To follow instructions and determine the starting position, direction, and movement (right, left, forward, full turn, half turn, and quarter turn clockwise and counterclockwise)
Teacher Instructions:
Divide students into groups of 4–5.
Before starting the project, explain the following concepts: right, left, forward, turn, direction, clockwise and counterclockwise.
Conduct a practical exercise at the board or in the classroom: for example, “1 step forward, turn right, 2 steps…”
Provide a brief safety instruction before beginning the practical activities.
At the beginning of the lesson, explain the PBL (Project Based Learning) rubric to the students. 4K Skills (Critical Thinking, Collaboration, Creativity, Presentation).
Theoretical Part
Movement is a part of our everyday life. We go to school, take walks, play – all of this involves movement. It is very important to understand directions of movement. For example:

- Forward – to move ahead
- Turn left or right – to change direction
- Half turn – to turn around and face the opposite direction
- Full turn – to return to the starting position
- Quarter turn – to turn at a right angle (e.g., 90° to the right)
- Clockwise – to rotate to the right
- Counterclockwise – to rotate to the left
These concepts are important not only in movement, but also in math, robotics, sports, and dance.
In this project, students learn directions through hands-on activity – this develops their spatial thinking, motor skills, and ability to follow instructions.
Practical Part
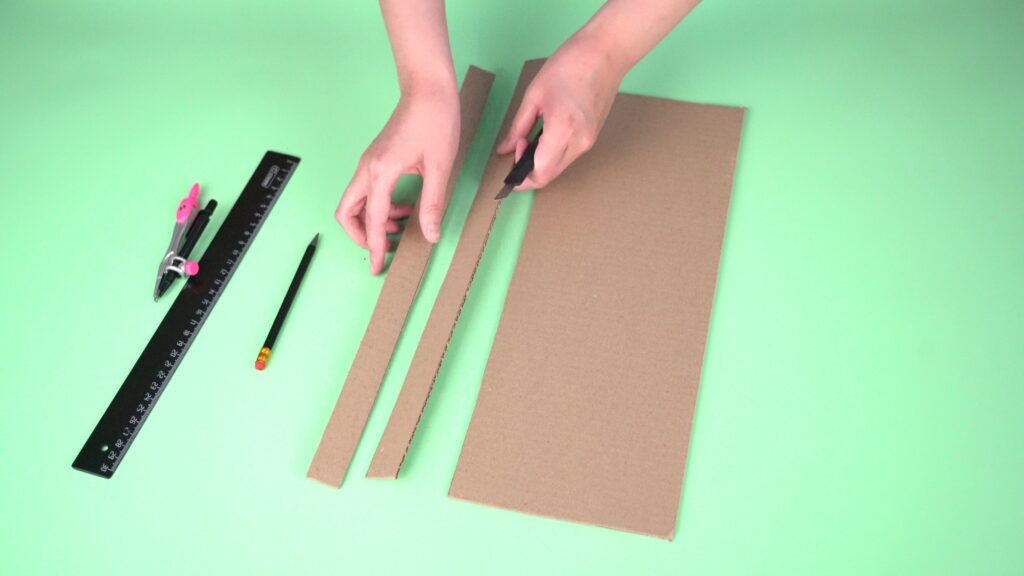
Step 1. Cut two long strips of cardboard, each 2.5 cm wide.
Step 2. Draw a large circle with a radius of 7.5 cm on the cardboard. Inside it, draw a smaller circle with a radius of 4 cm.
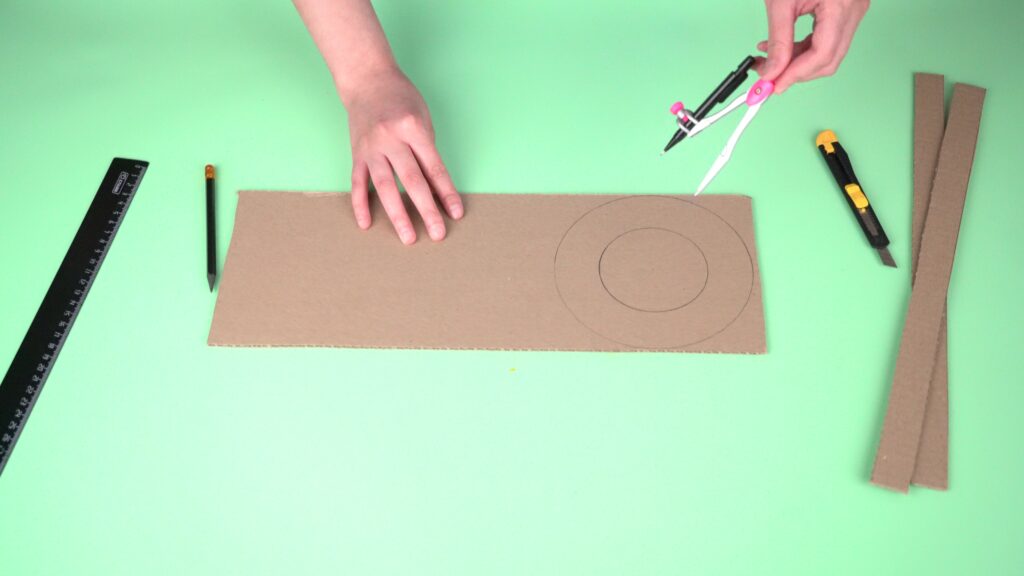
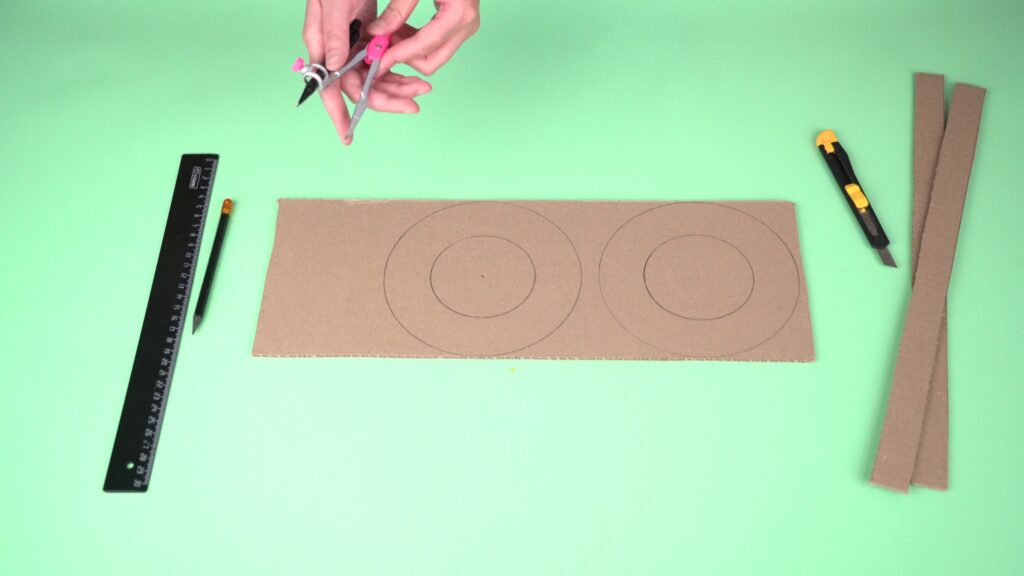
Step 3. Draw a second ring just like the first one.
Step 4. Cut out the outer circles, then carefully cut out the inner ones – you will get circular rings.
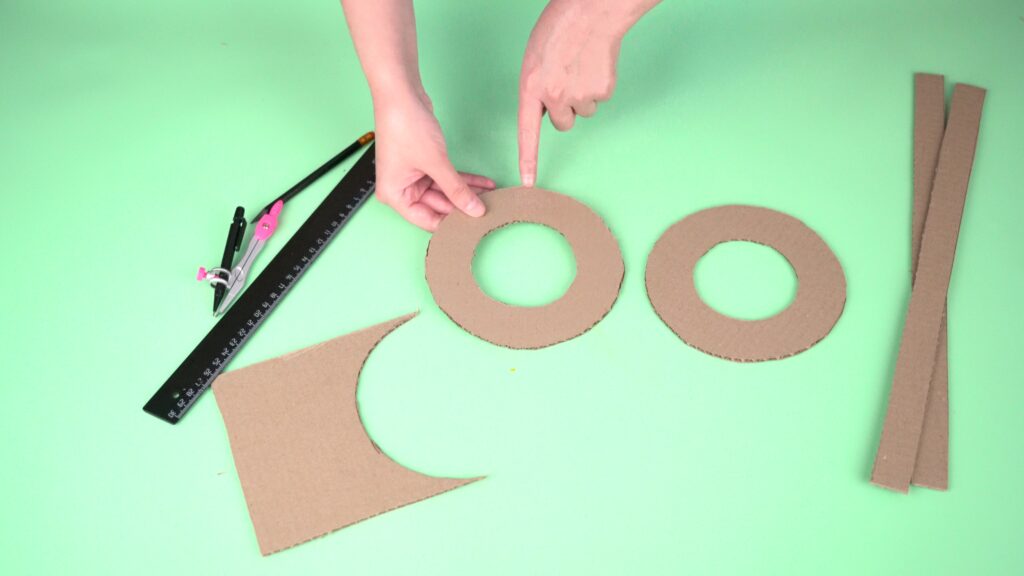
Step 5. Cut both rings in half to get semicircles.
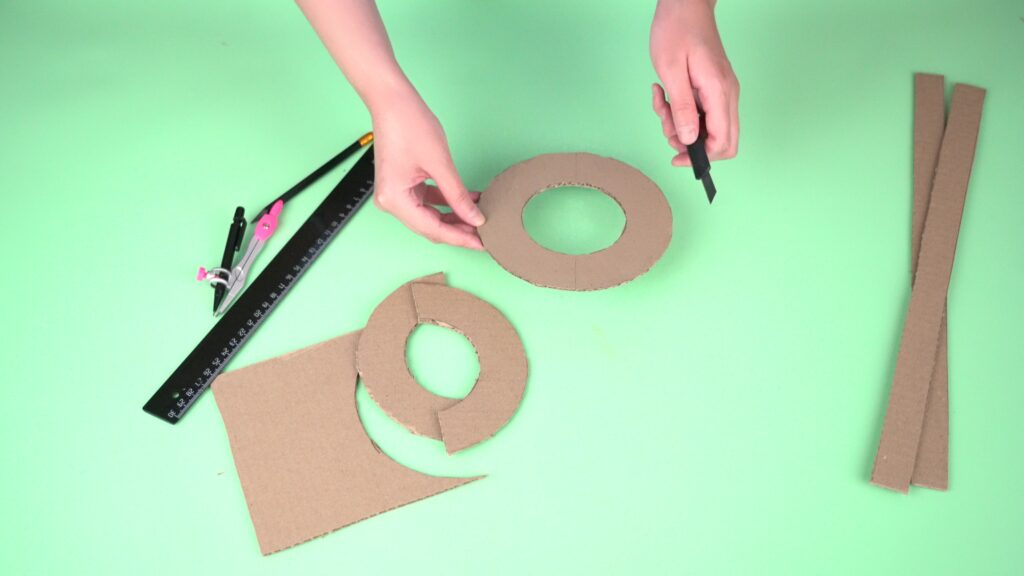
Step 6. Carefully peel off the top layer from one side of one of the long strips.
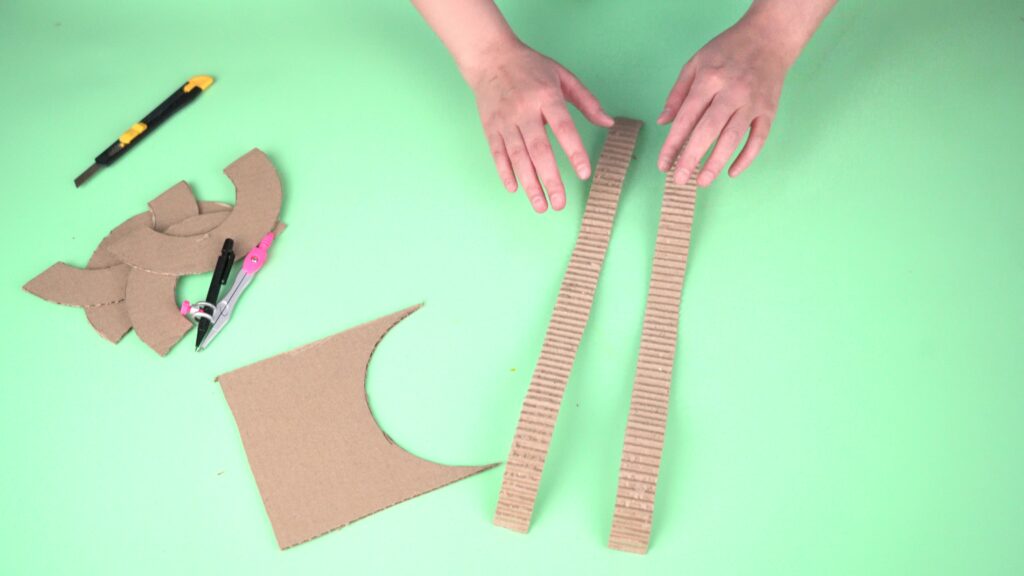
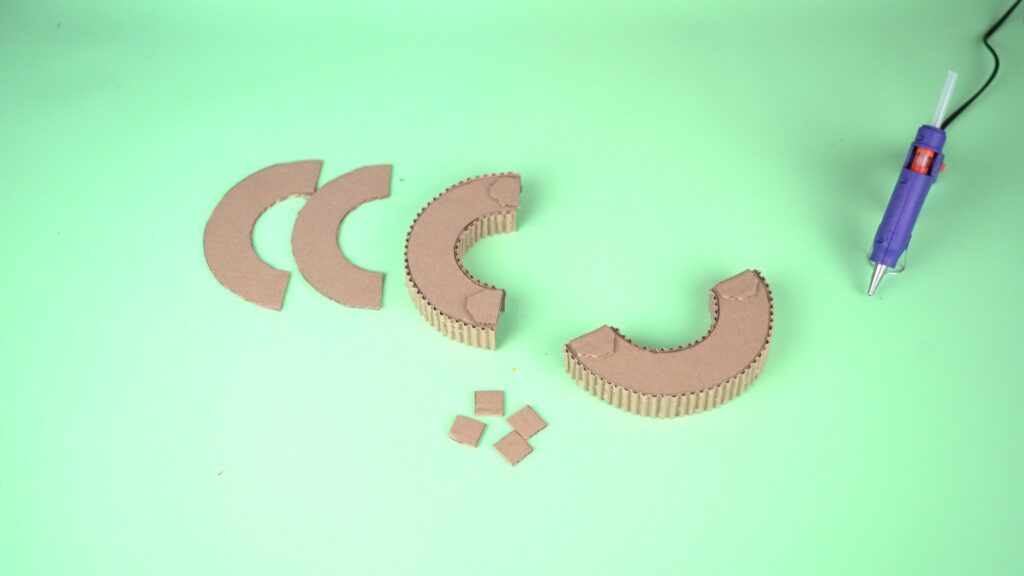
Step 7. Glue this strip along the inner and outer edges of two semicircles. Set the other two semicircles aside for now.
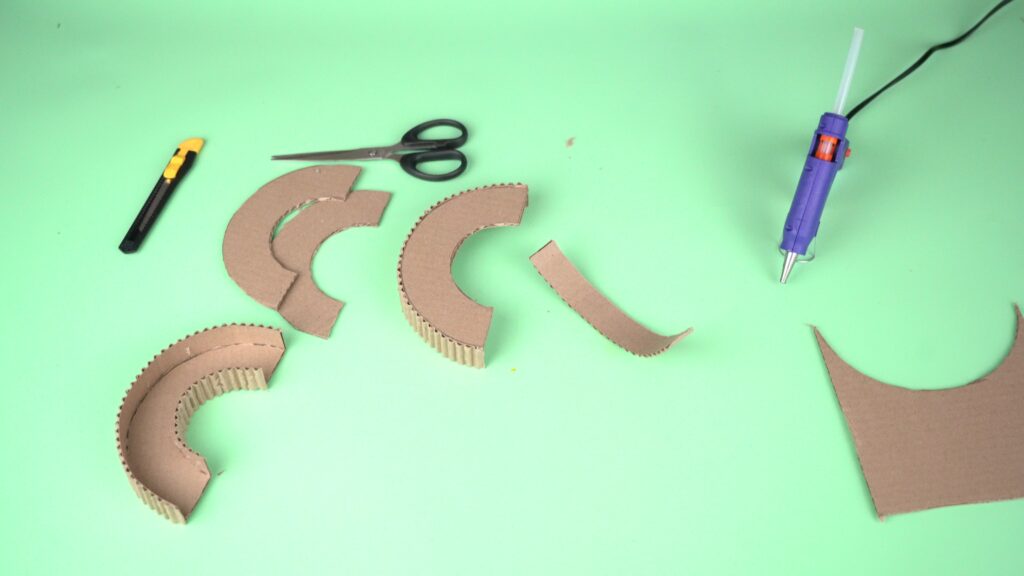
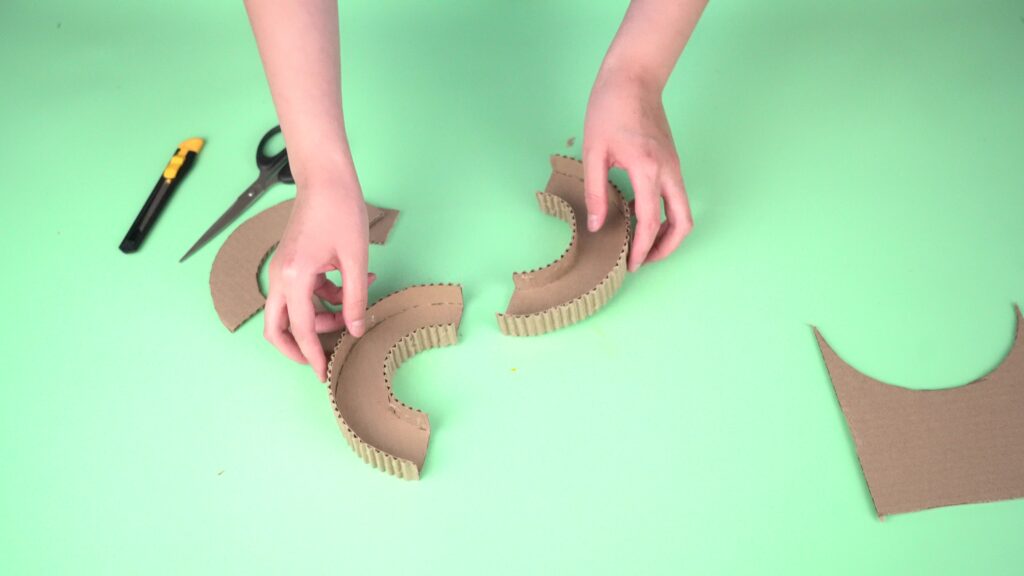
Step 8. Cut four large rectangles (3*2 cm) and four small rectangles (2*2 cm) from the remaining cardboard.
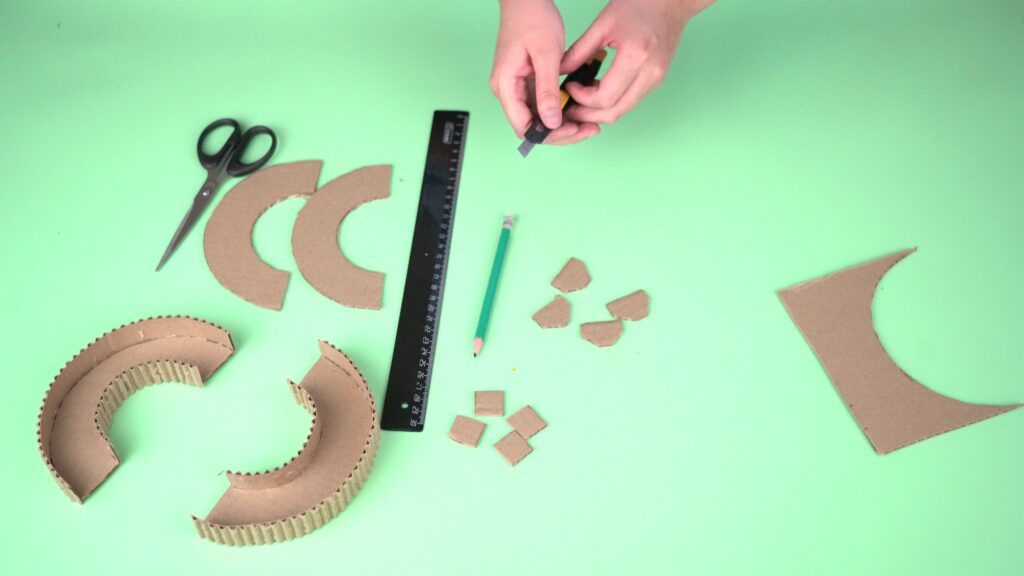
Step 9. Glue the large rectangles to the backs of the semicircles with edges, as shown in the picture.
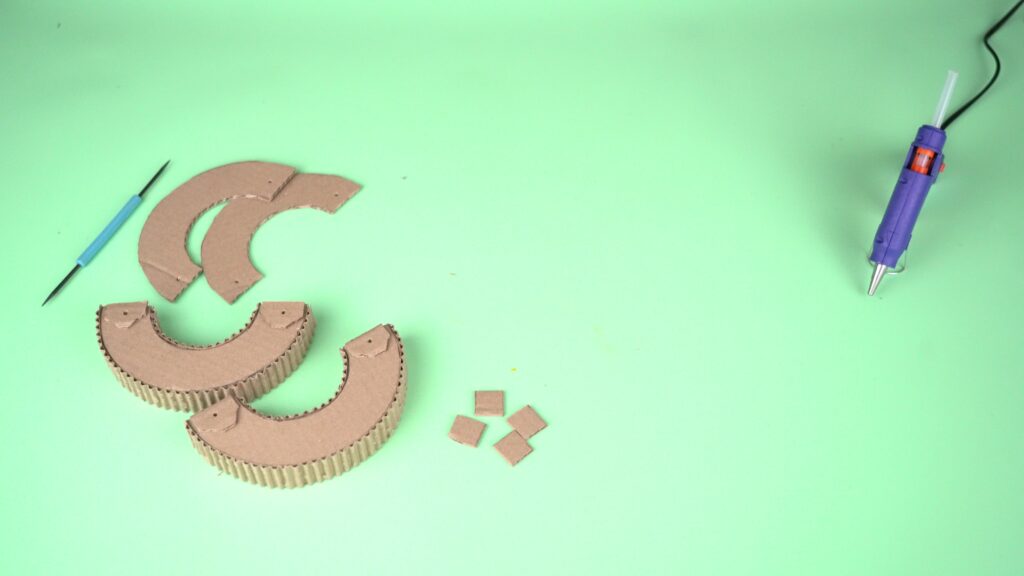
Step 10. Use an awl to poke holes in these pieces and insert a skewer. Do the same with the remaining semicircles.
Step 11. Cut the skewer into 4 small pieces.
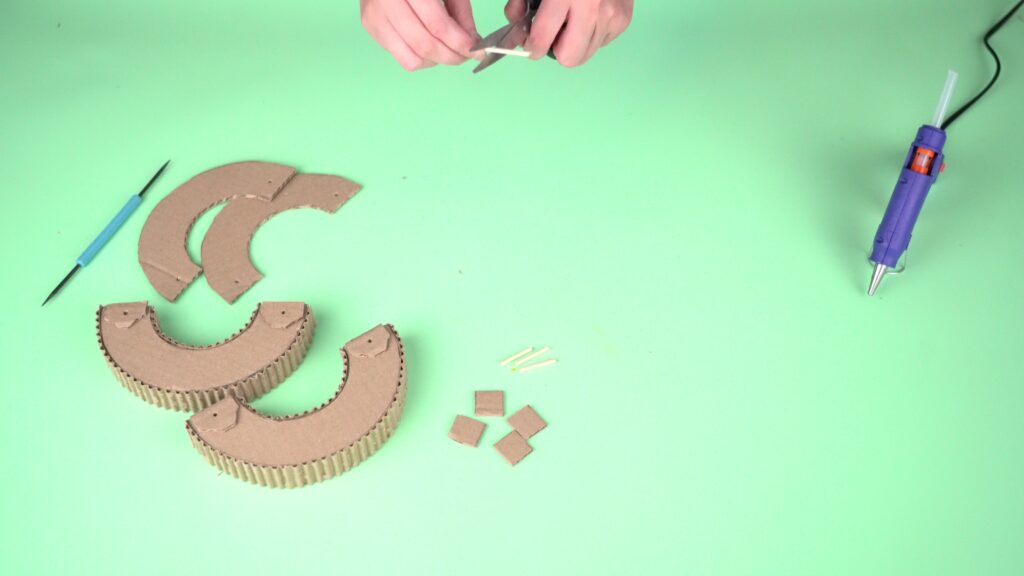
Step 12. Use the skewers to connect all the semicircles and assemble the number 8 shape as shown in the picture.
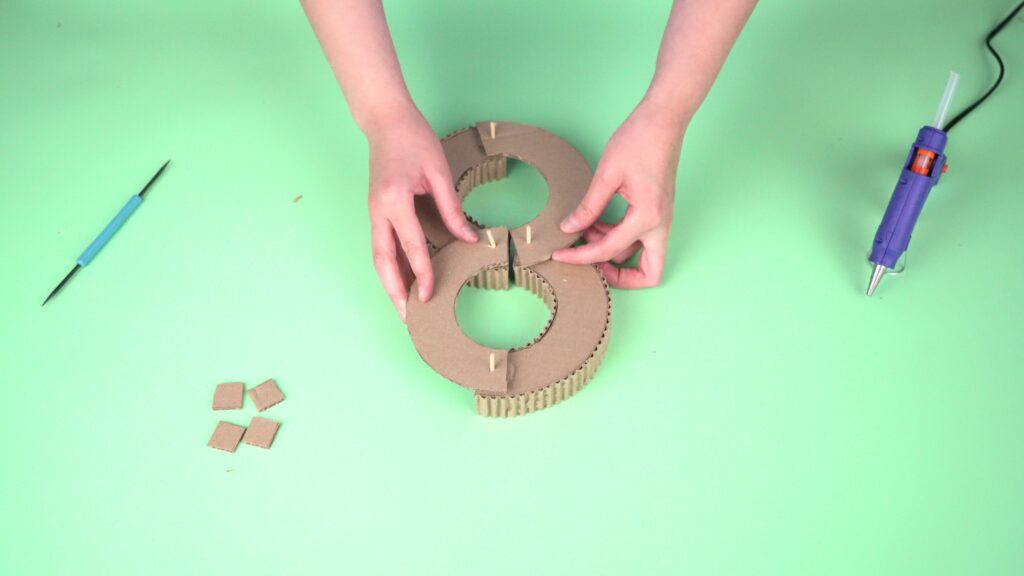
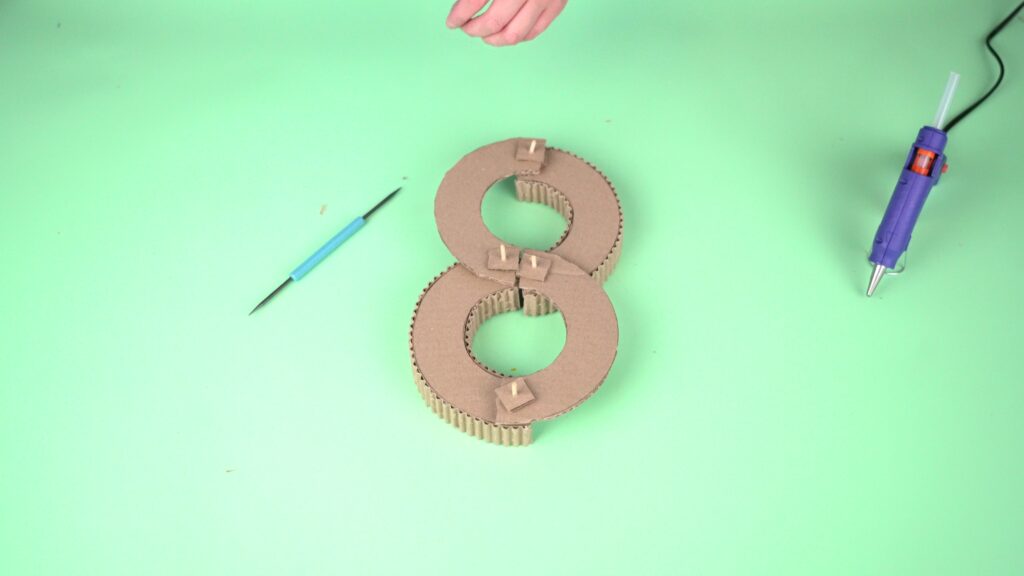
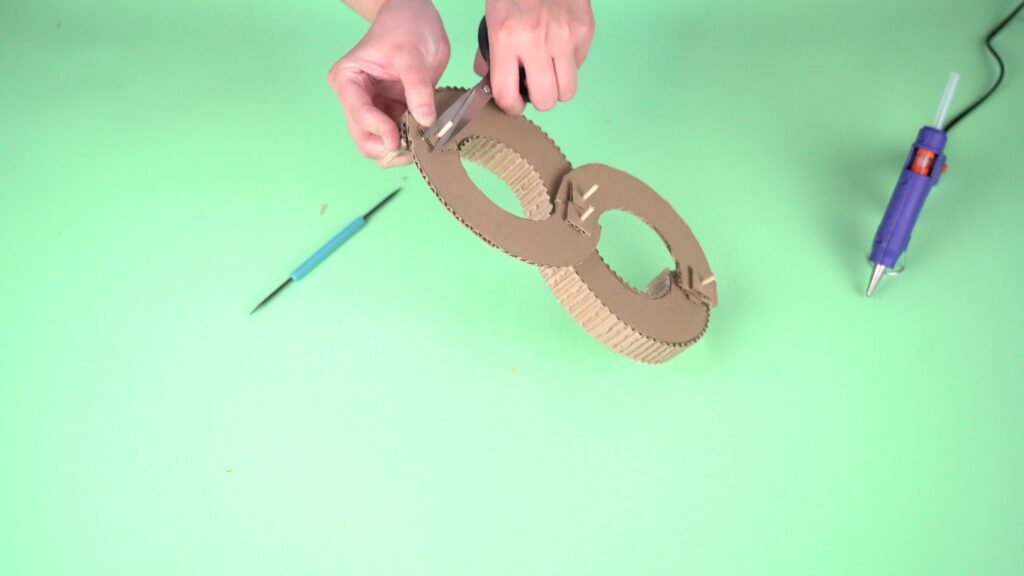
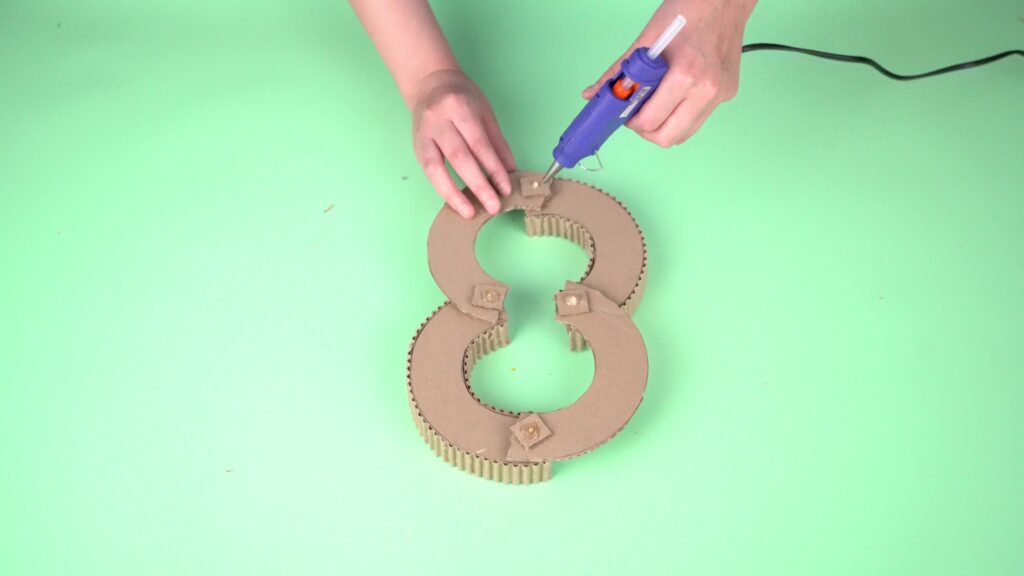
Step 13. Put the small rectangles on both ends of the skewers, cut off the excess, and glue them for strength.
Step 14. Decorate the inner part of the structure using gouache or markers as you wish.
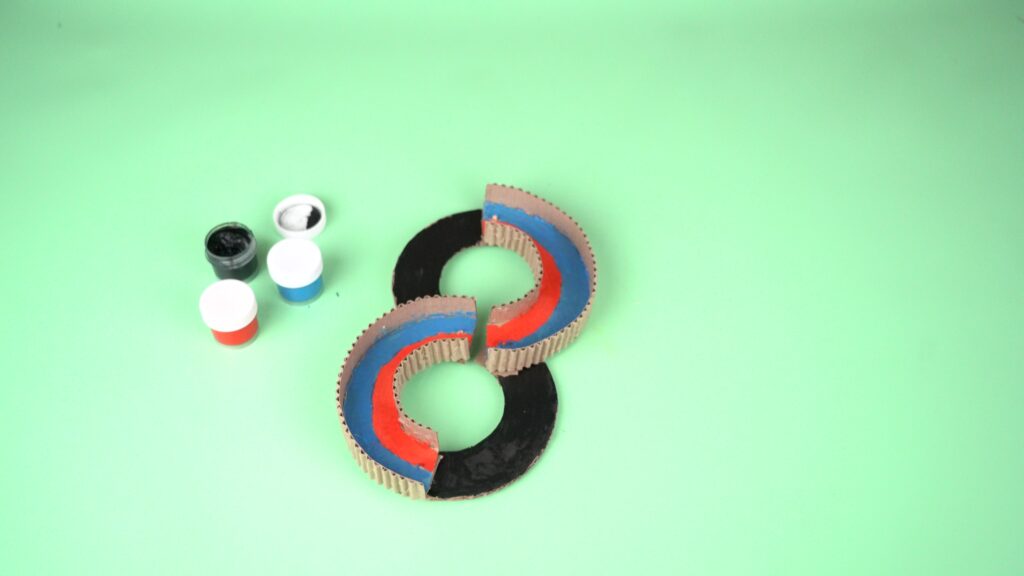
Done!
Place the ping-pong ball in the center and, by tilting the structure, roll the ball along the path of infinity!
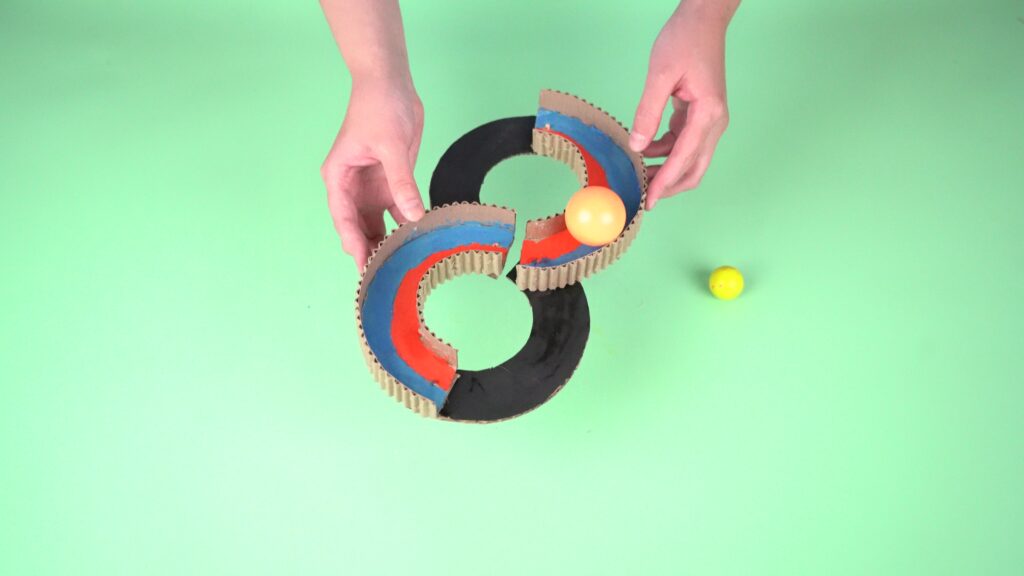
Conclusion
As a result of this project, students improved their spatial orientation skills and gained a practical understanding of working with geometric shapes. By creating the tool with their own hands, they explored the concepts of angles, direction of rotation, and starting point through real action. Additionally, they developed mathematical skills such as drawing geometric figures, assembling parts, and maintaining symmetry.

In this project, each student is assigned a STEAM title in several categories:
– By assembling this model, you have become a true master of science! You have learned how clocks work. This is real scientific thinking!
– Look at this beautiful clock! You have used your design and problem-solving skills to create a working model. Congratulations, you are an expert engineer!