
Lesson

Project Goal:
To read, write, and compare two-digit numbers
Teacher Instructions:
Divide students into groups of 4-5.
Explain the importance of number order and spacing when writing on the ruler.
While doing the balance activity, give tasks like: “What numbers can make the sum of 5 and 7?”, “What numbers are missing in this equality?”
Before starting the practical part, ensure all students are familiar with the materials.
Conduct a short safety briefing on working with hot glue.
At the beginning of the lesson, explain the PBL (Project Based Learning) rubric to the students. 4K Skills (Critical Thinking, Collaboration, Creativity, Presentation).
Theoretical Part
In mathematics, two-digit numbers are numbers between 10 and 99. These numbers consist of tens and ones. For example, in the number 42, there are 4 tens and 2 ones. To read and write two-digit numbers correctly, it’s important to understand the value of the tens and ones.
Reading numbers means saying the numbers correctly.
Writing numbers means representing the spoken or thought number using digits.
Comparing numbers involves identifying which number is greater or smaller. For this, we use symbols: “>” (greater than), “<” (less than), “=” (equal to).
Examples:
36 < 45 because 3 tens are less than 4 tens.
78 > 61 because 7 tens are more than 6 tens.
52 = 52 because both numbers are the same.
To compare numbers and find their sums, the principle of balance (equilibrium) is often used. If the numbers on one side equal the sum of the numbers on the other side, they are balanced. This concept in mathematics is called equality.
Examples:
3 + 5 = 8
2 + 6 = 4 + 4
Practical Part
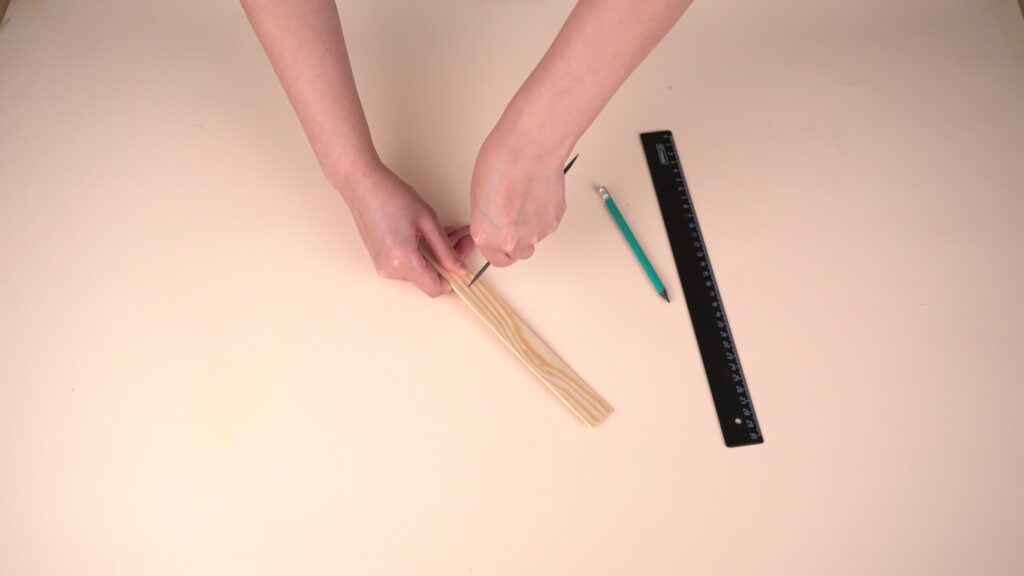
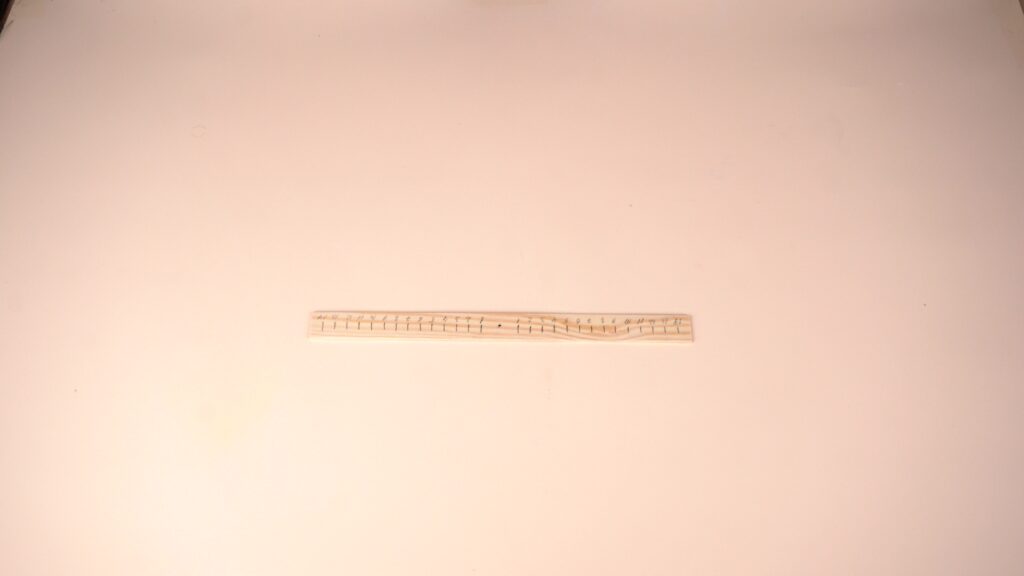
Step 1. Mark the center on the blank side of the ruler (without numbers) and make a hole in the middle.
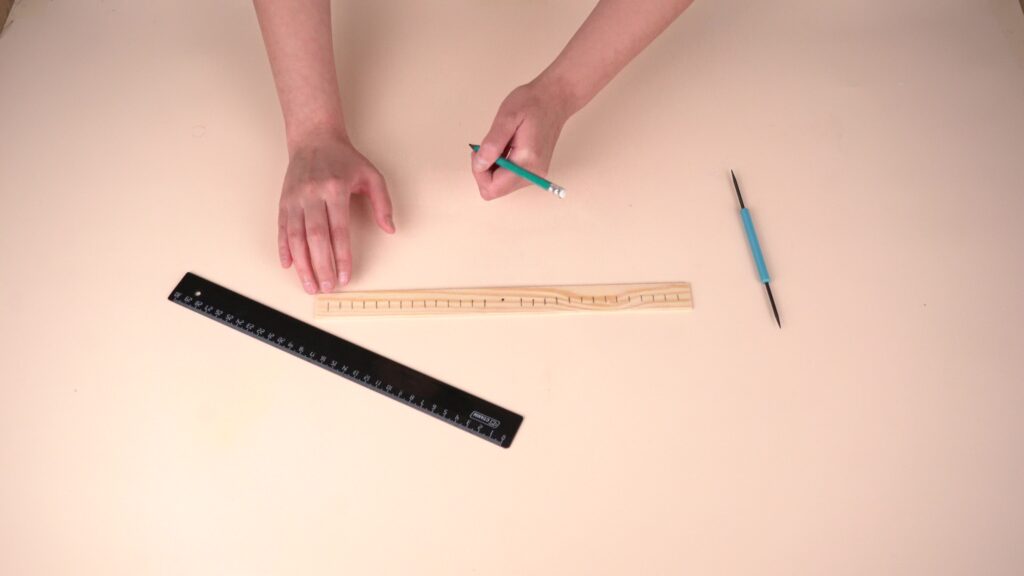
Step 2. From the center, leave 1.5 cm on both sides. Then, mark every 1 cm and write the numbers.
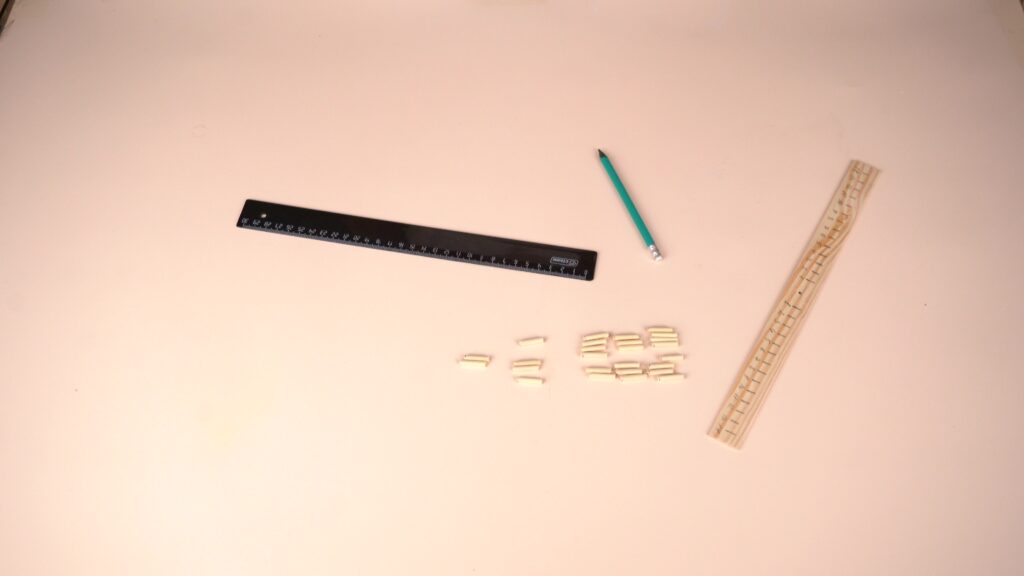
Step 3. Cut the wooden sticks into 28 pieces, each 2 cm long.
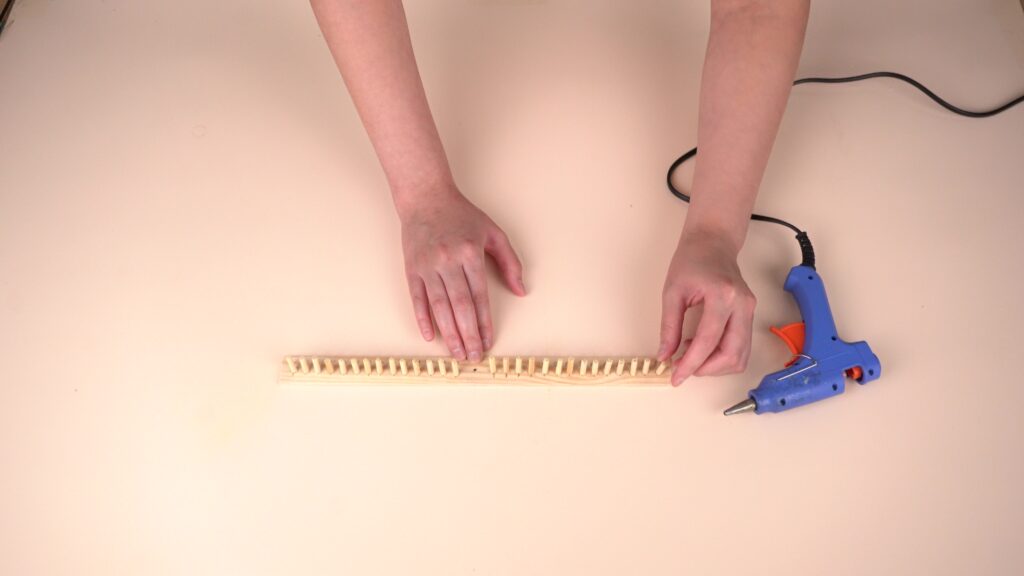
Step 4. Glue the sticks next to the numbers on the ruler.
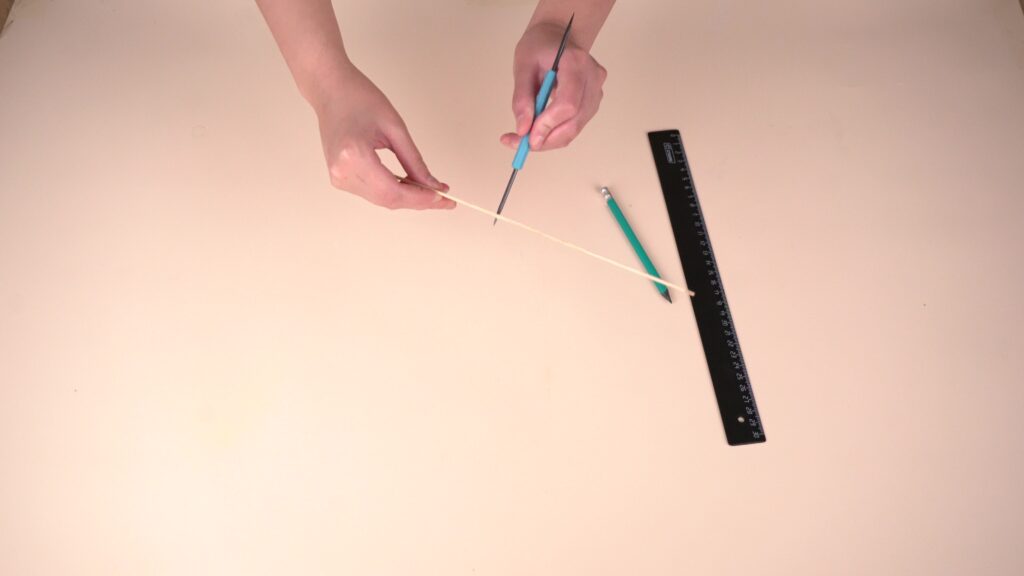
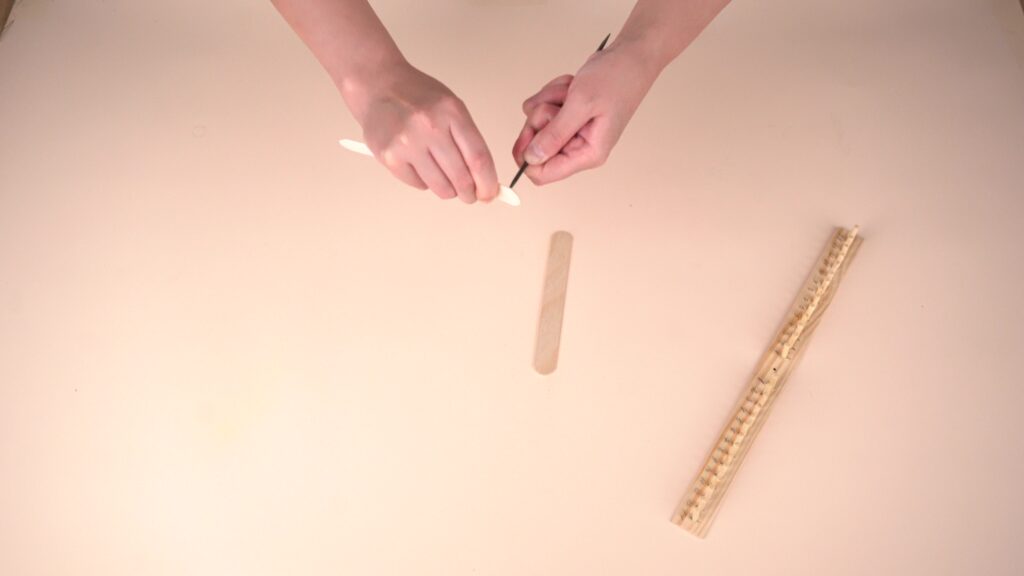
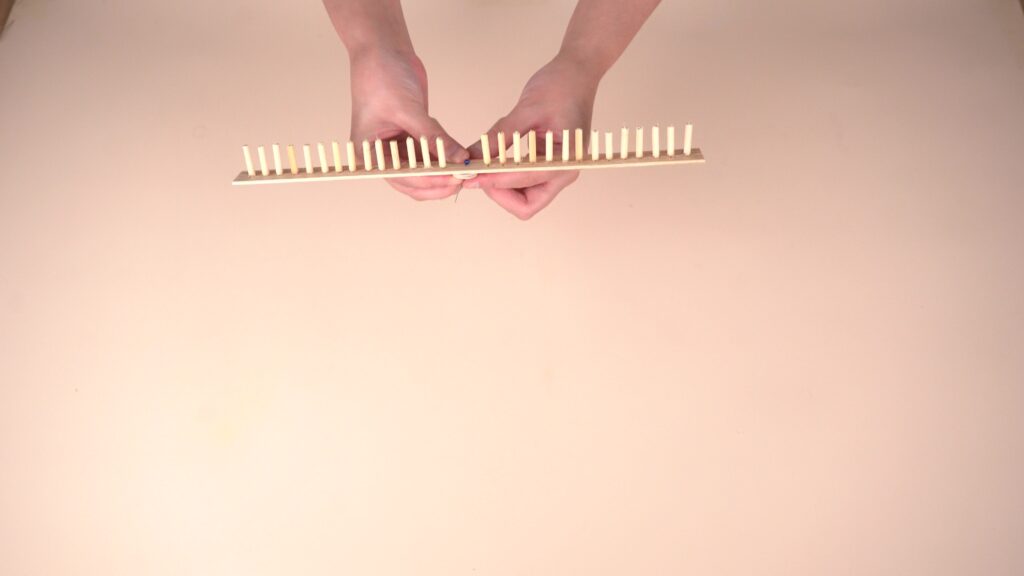
Step 5. Make a hole on one end of each spatula stick using a pin or awl.
Step 6. Connect the spatula sticks and the ruler through the holes using a pin. Secure the back of the pin with hot glue.

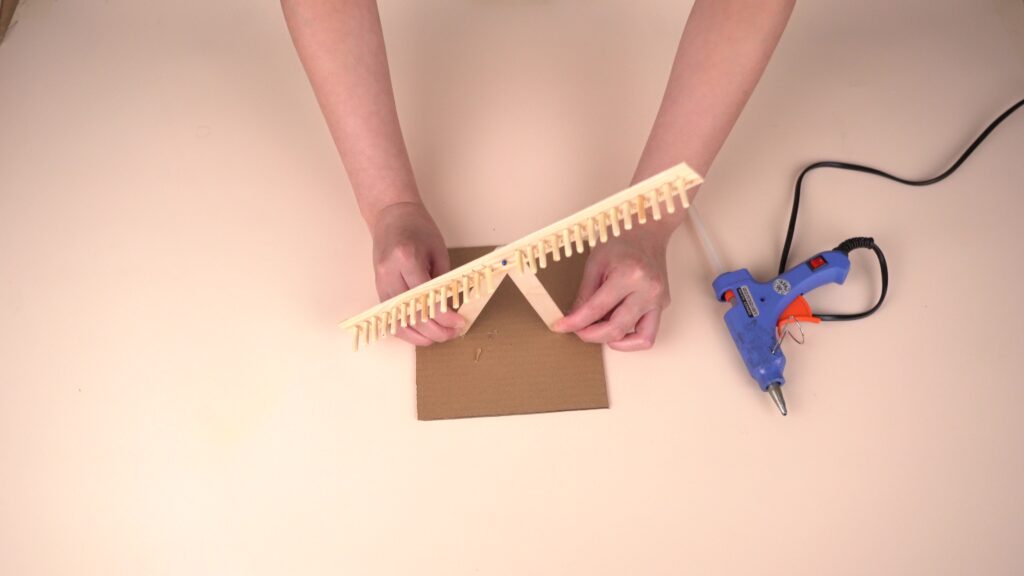
Step 7. Use the spatula sticks as a support for the ruler by gluing them onto cardboard.
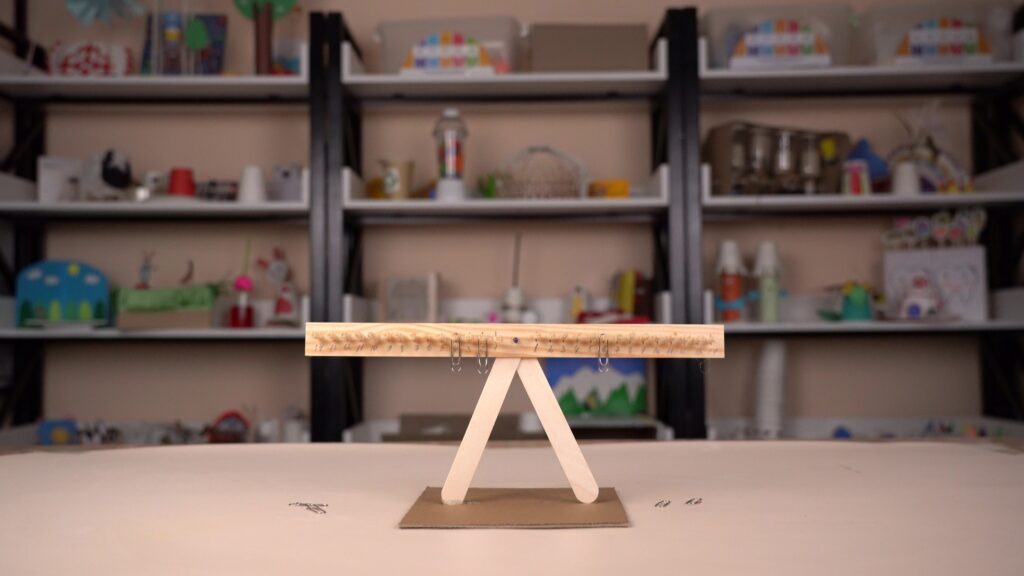
Done!
Now you can attach paper clips to the numbers and create a balance. For example, place clips on numbers 2 and 4 on one side. To balance it, put a clip on 6, or on 1 and 5, or two clips on 3 on the other side.
Try different combinations and math tasks.
Conclusion
Through this project, students learn to read, write, compare, and add two-digit numbers in a visual and engaging way. The balance board helps develop logical thinking, fine motor skills, and interest in mathematics. Additionally, making the tool by hand encourages creativity and hands-on learning.

In this project, each student is assigned a STEAM title in several categories:
– By assembling this model, you have become a true master of science! You have learned how clocks work. This is real scientific thinking!
– Look at this beautiful clock! You have used your design and problem-solving skills to create a working model. Congratulations, you are an expert engineer!