
Lesson

Project Goal:
To explore the electrical conductivity of different materials
Teacher Instructions:
Divide the class into groups of 4–5 students.
Before starting the project, discuss with students: “What is electricity?”, “What conducts electricity and what doesn’t?”
Introduce all the materials before starting the experiment.
After the experiment, students should fill out a table noting which materials made the LED light up.
Ensure proper battery connection and safe handling of wires. Provide a short safety briefing before starting the hands-on activity.
At the beginning of the lesson, explain the PBL (Project Based Learning) rubric to the students. 4K Skills (Critical Thinking, Collaboration, Creativity, Presentation).
Theoretical Part
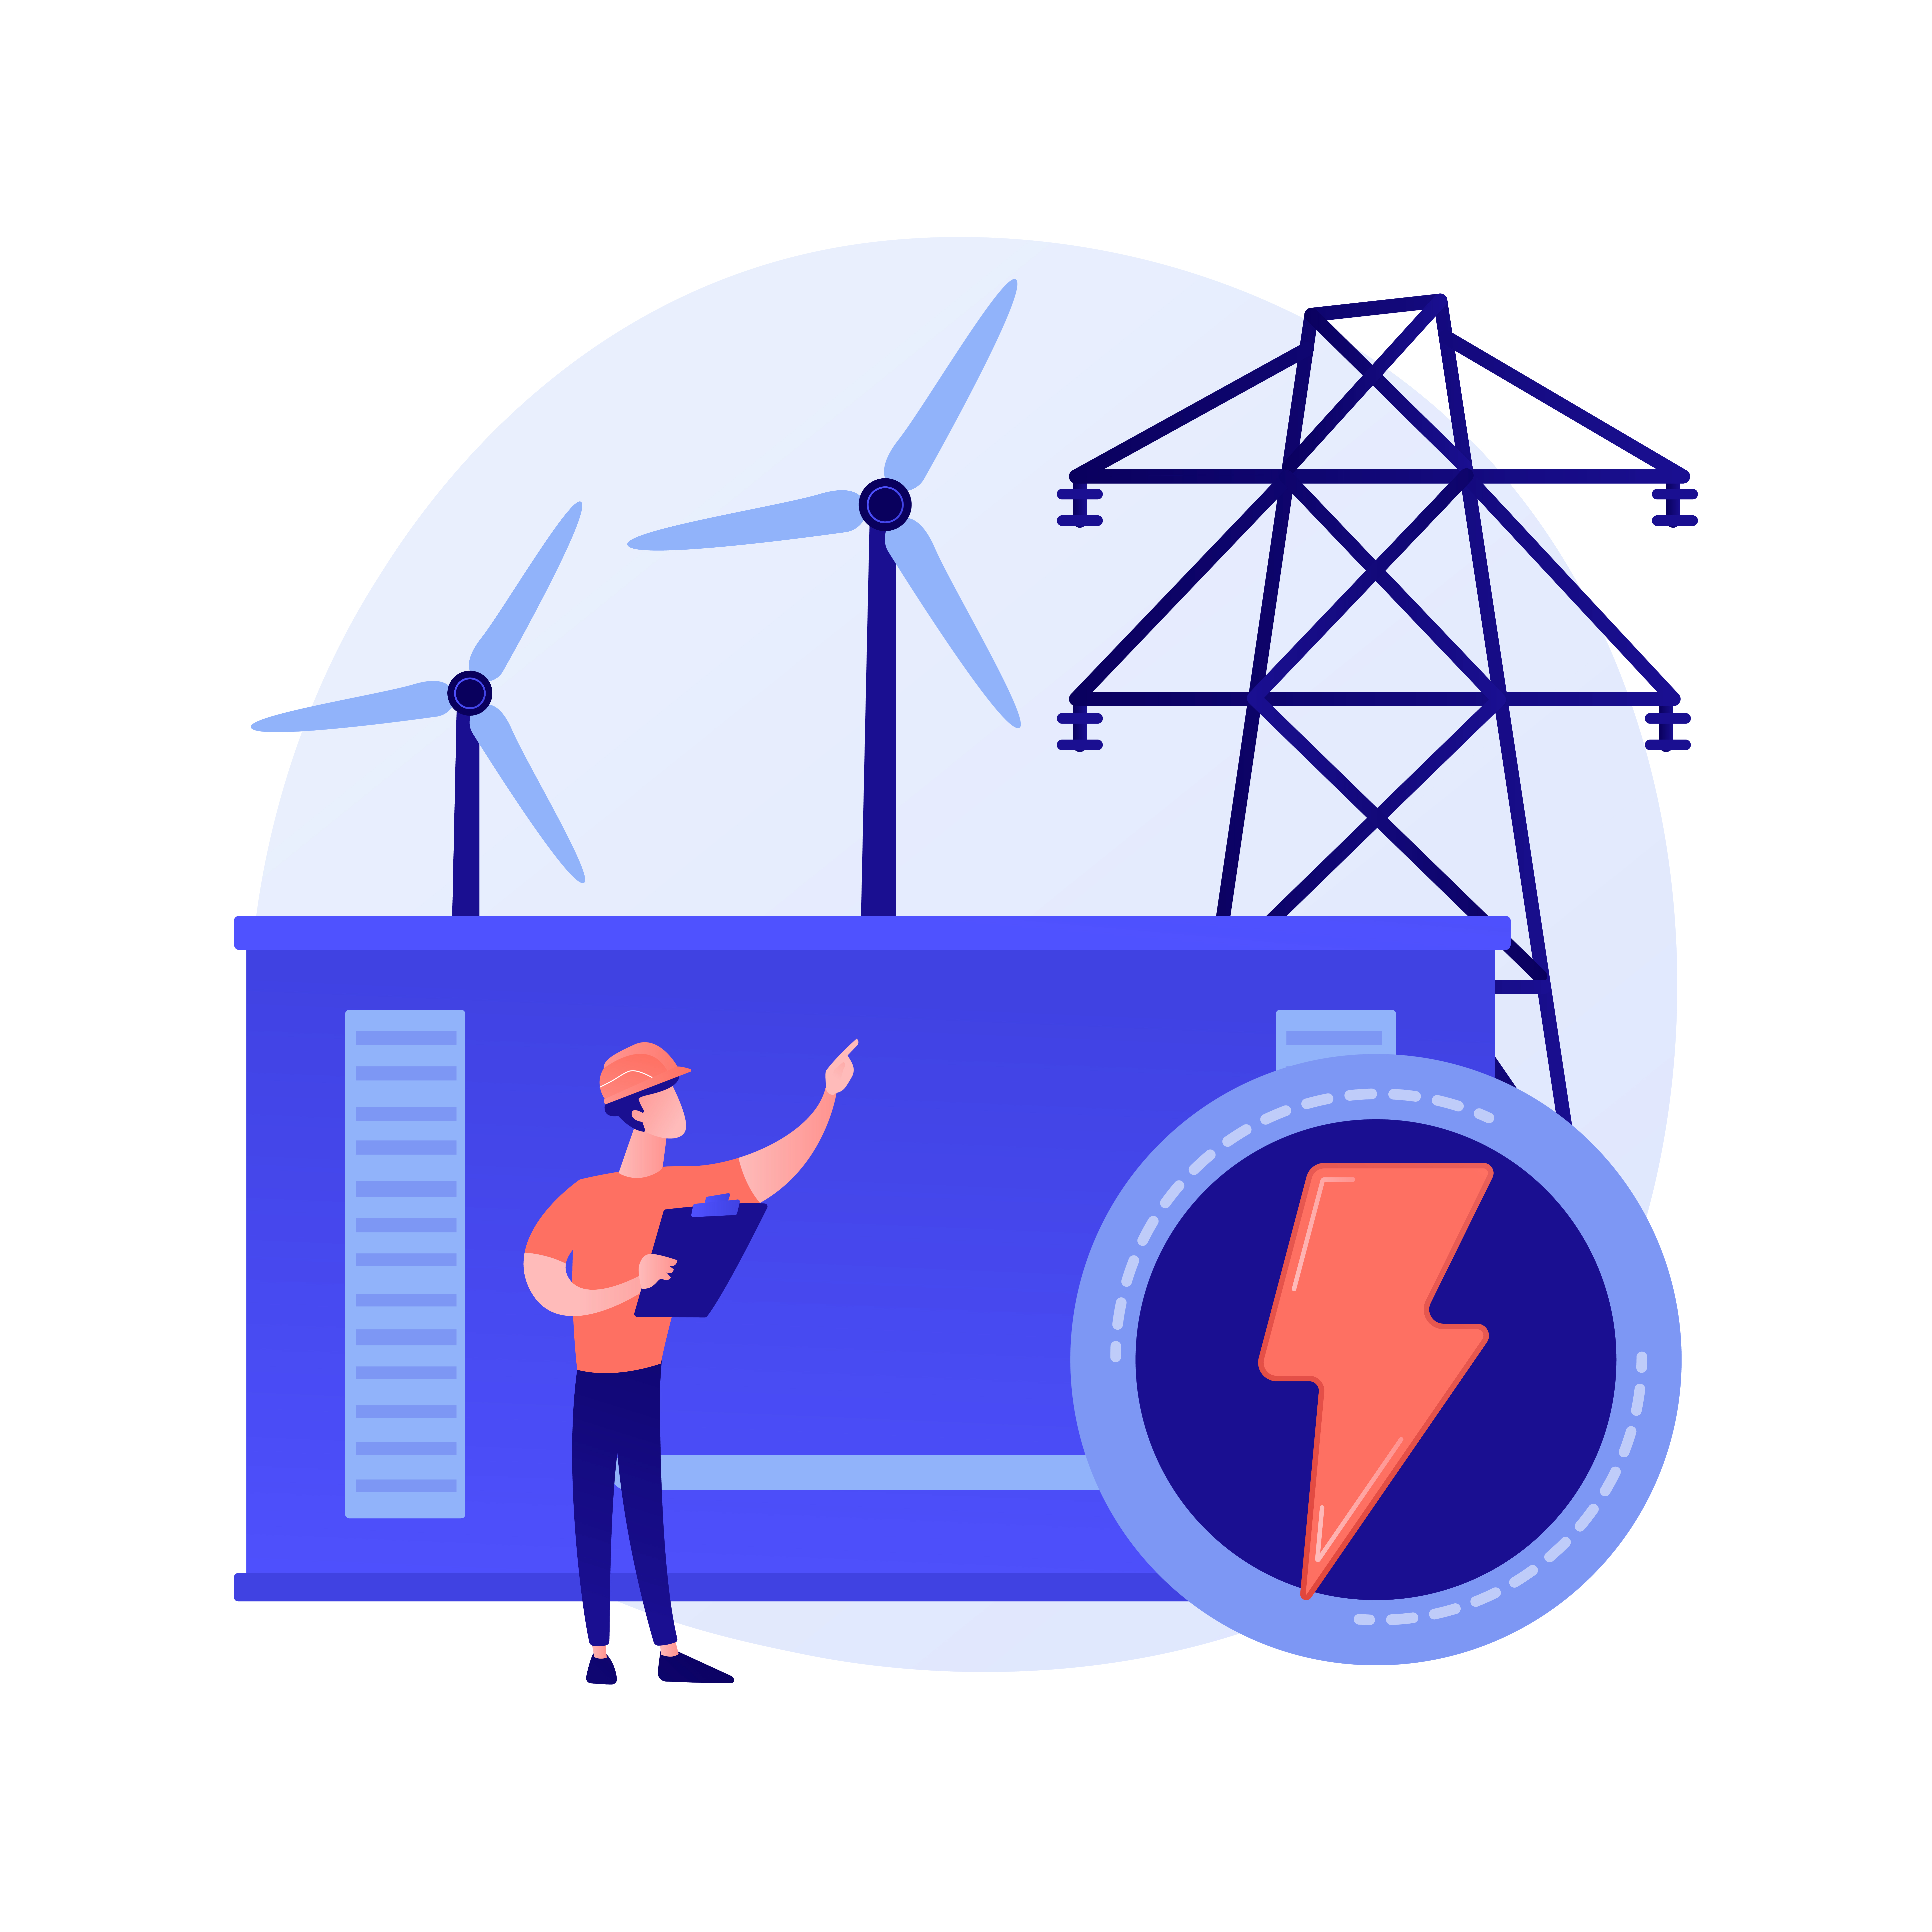
Electricity is energy. It powers lights, TVs, refrigerators, and computers. But electricity cannot move by itself – it needs a special path. This path is called a closed circuit.
Electric current can pass through certain materials, but not all of them. Some materials conduct electricity, others do not.
Электр қуаты заттардың ішінен өтуі мүмкін. Бірақ барлық заттар электрді бірдей өткізбейді. Кейбір заттар өткізеді, ал кейбіреулері өткізбейді.
Conductors are materials that allow electricity to flow. For example, metal objects like nails, paper clips, foil, and coins. Electricity passes easily through them, and the light turns on.
Insulators are materials that do not allow electricity to pass. Examples: wood, plastic, rubber, fabric. They don’t conduct electricity, so the light does not turn on.
We will check this by doing an experiment. If the light turns on – the material conducts electricity. If not – it does not.
Practical Part
Step 1. Insert batteries into the battery holder.
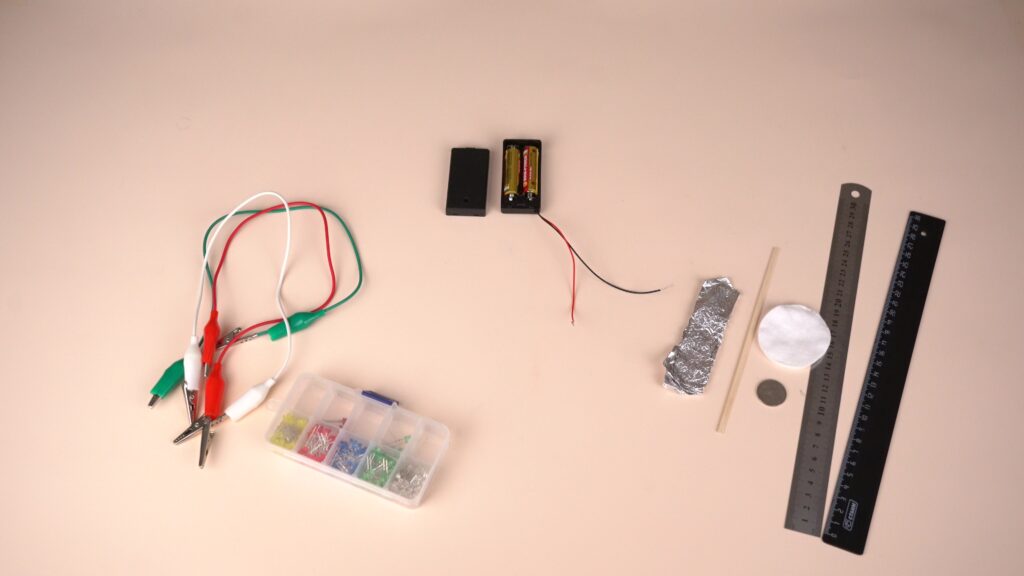
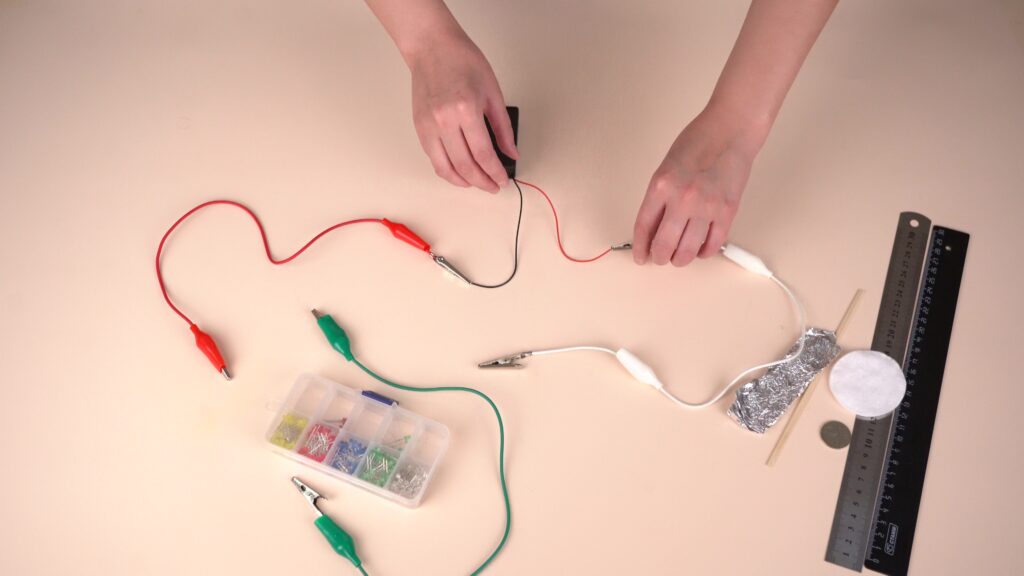
Step 2. Attach alligator clips to both sides of the battery holder: red = positive (+), black = negative (–).
Step 3. Connect the LED: attach the shorter leg (negative) to the black wire from the battery.
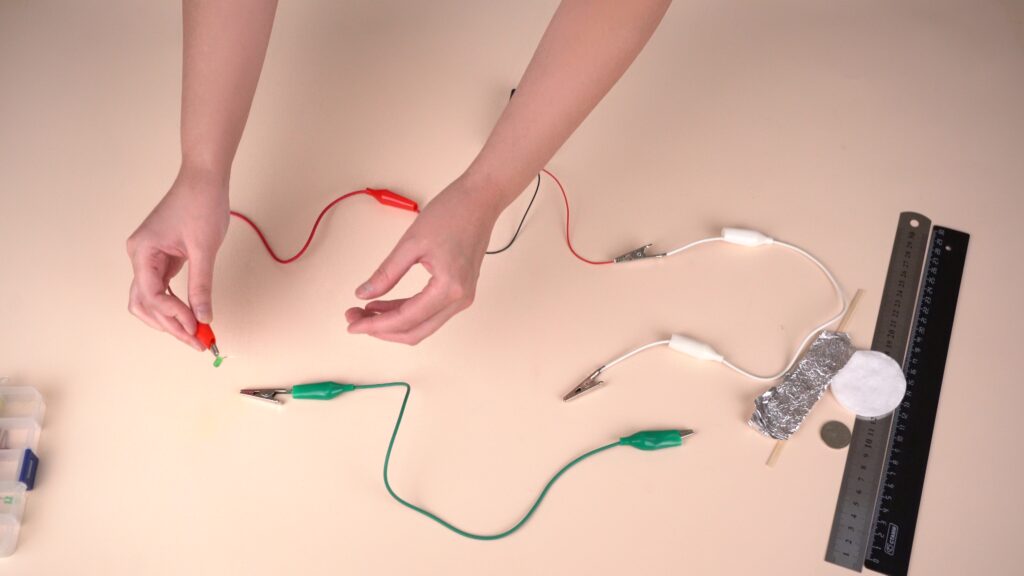
Step 4. Connect the third alligator clip to the other leg of the LED.
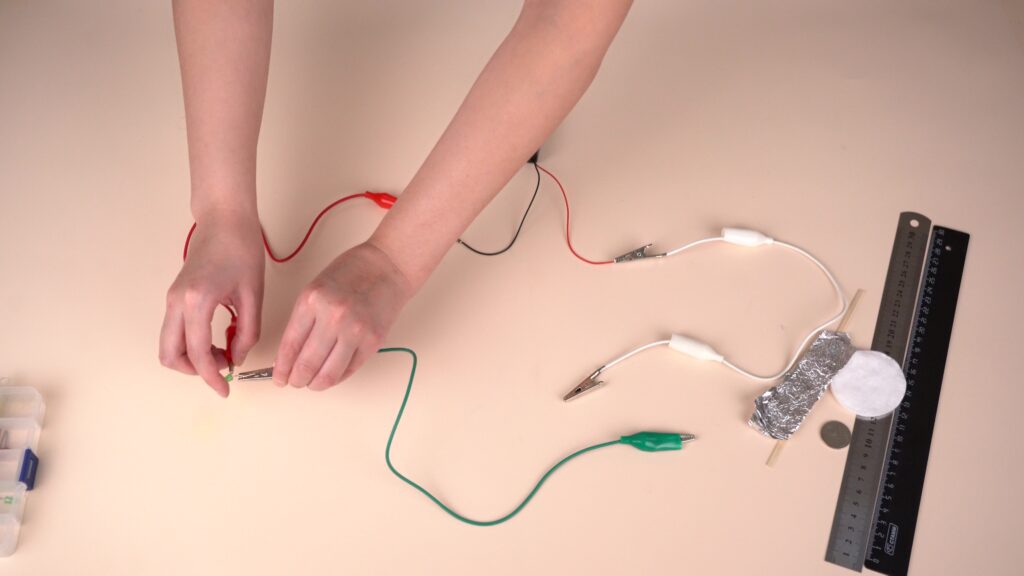
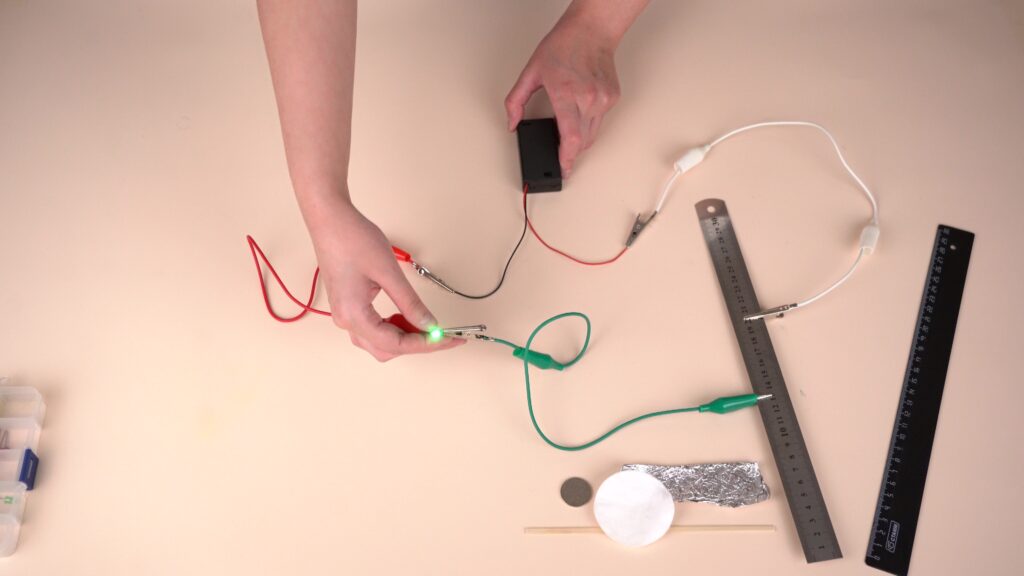
Step 5. Test conductivity: touch the two open clips to a material (e.g., foil). If the LED lights up – the material conducts electricity. If it doesn’t – it doesn’t conduct.
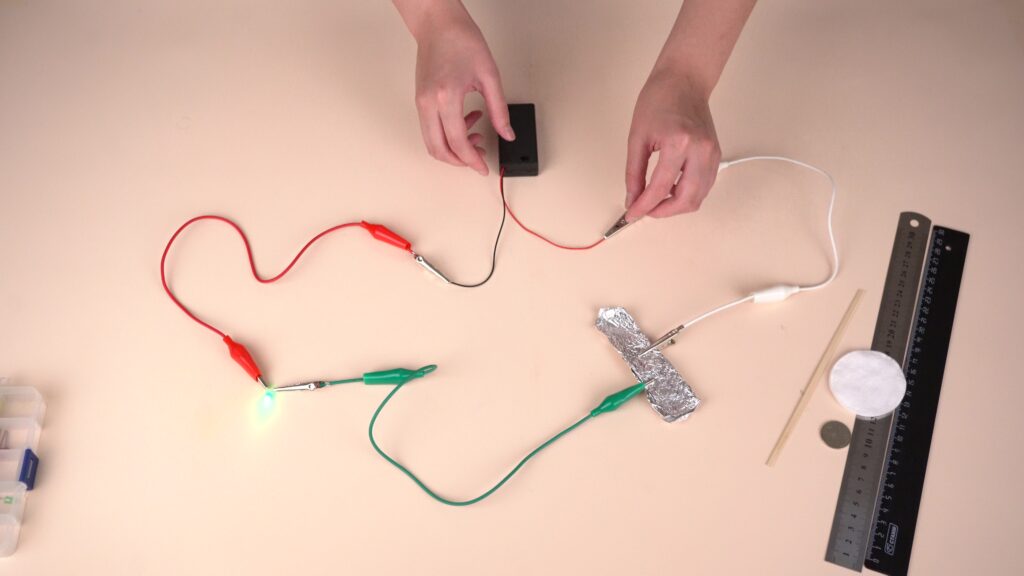
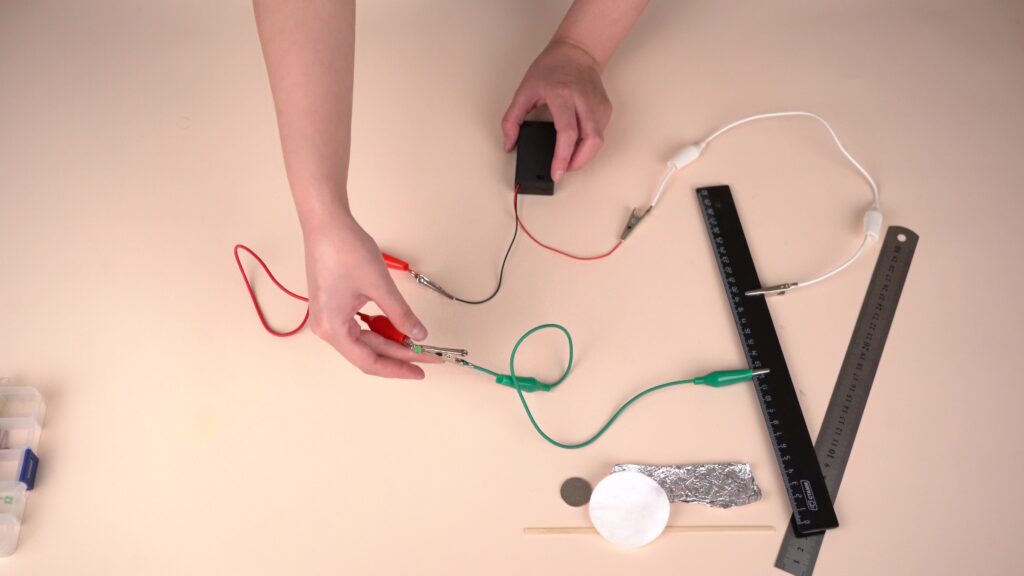
Step 6. Test different materials one by one: coin, paper clip, foil, wood, metal ruler, plastic ruler, cotton, pen, etc. Record your results in the table.
| Observation Table | ||
| Material | Did the LED light up? | Conductive? |
| Foil | ||
| Wood | ||
| Coin | ||
| Cotton | ||
| Metal ruler | ||
| Plastic ruler | ||
| Paper clip | ||
| Pen | ||
Conclusion
This project allows students to investigate, make predictions, and support their findings. They will understand which everyday materials conduct electricity. The project encourages scientific thinking, logic, and hands-on learning.

In this project, each student is assigned a STEAM title in several categories:
– By assembling this model, you have become a true master of science! You have learned how clocks work. This is real scientific thinking!
– Look at this beautiful clock! You have used your design and problem-solving skills to create a working model. Congratulations, you are an expert engineer!