
Lesson

Project Goal:
Constructing a circle and a disk using a radius
Teacher’s Guide:
The project can be carried out in a demonstration format, or you can divide the children into groups and let them do it themselves.
Ask the question: “How can we measure the length of a circle?” and discuss why it cannot be measured with a regular ruler.
Before starting the practical activity, introduce all necessary materials to the students and distribute them.
Briefly explain the safety rules during the activity.
At the beginning of the lesson, explain the PBL (Project Based Learning) rubric to the students. 4K Skills (Critical Thinking, Collaboration, Creativity, Presentation).
Theoretical Part
A circle is a line where all points are at the same distance from a given point (the center). The distance from the center to the circle is called the radius (r). The sum of two radii passing through the center is called the diameter (d), which equals twice the radius:
d = 2r
Scientists observed that the ratio of the circumference to its diameter is always the same number. This number is called π (pi). Its approximate value is:
π ≈ 3.14
Therefore, the circumference is calculated using the formula:
C = π*d or C = 2πr
For example, if the diameter is 8 cm, then the circumference is:
C = π*8 = 3.14*8 = 25.12 cm.
Practical Part
Step 1. Print a circle template (via the provided link) on three different cardboard sheets. Cut them out along the outline.
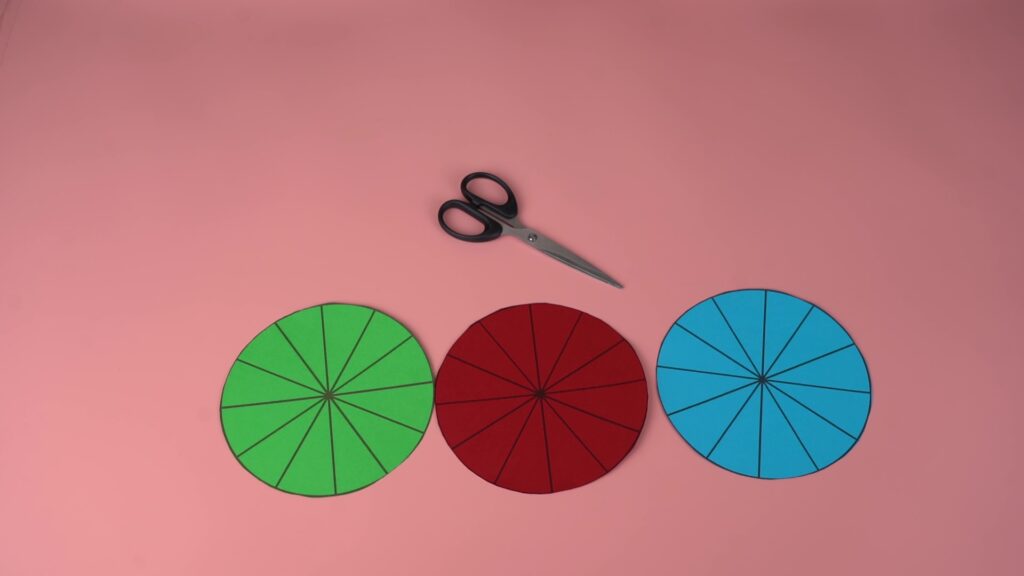
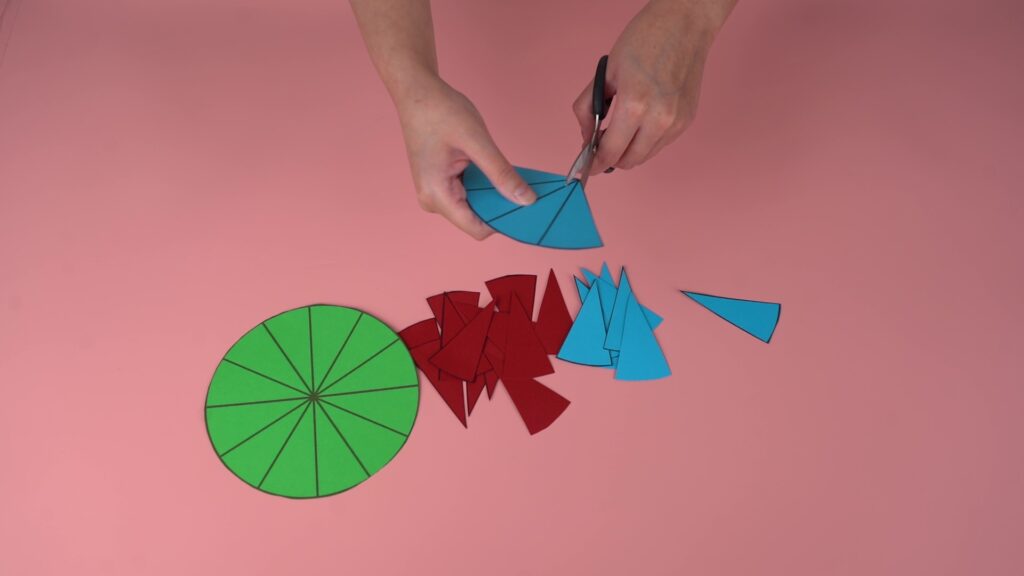
Step 2. Cut two of the circles into 12 equal parts. Explain to children that each part is called a “sector.”
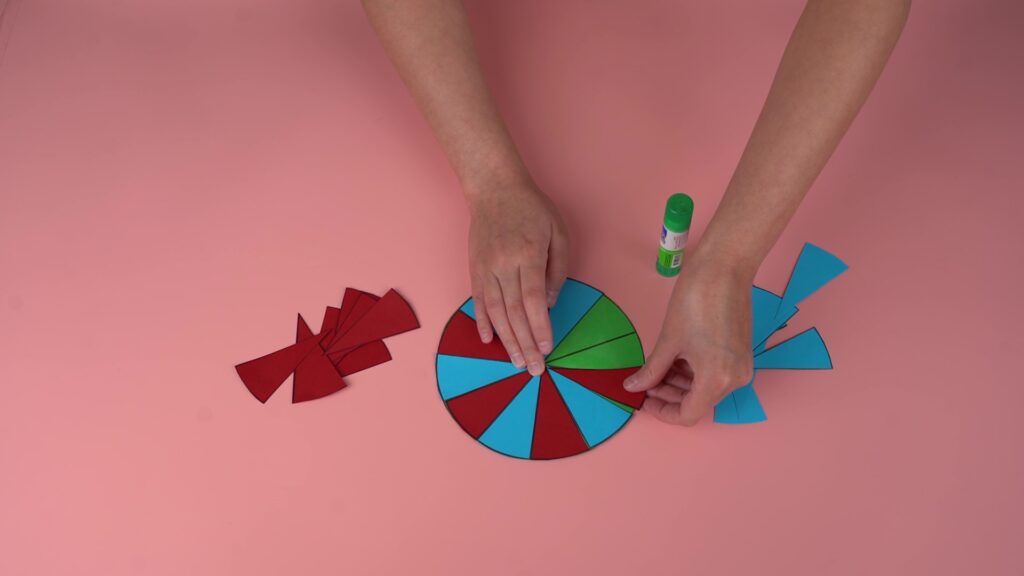
Step 3. Fill the third circle by alternately pasting colored sectors. Ask the children:“How many sectors were needed to cover the whole circle?”
Step 4. Tie a knot at one end of a string and measure half of the circle’s circumference by wrapping it around. Mark the spot with a marker and cut the string with an extra 2-3 cm.
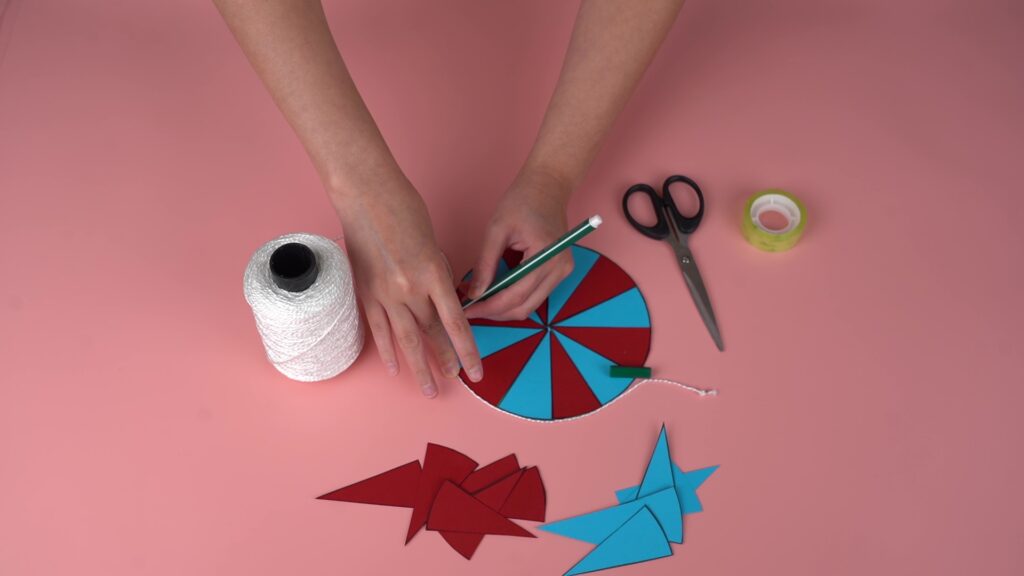
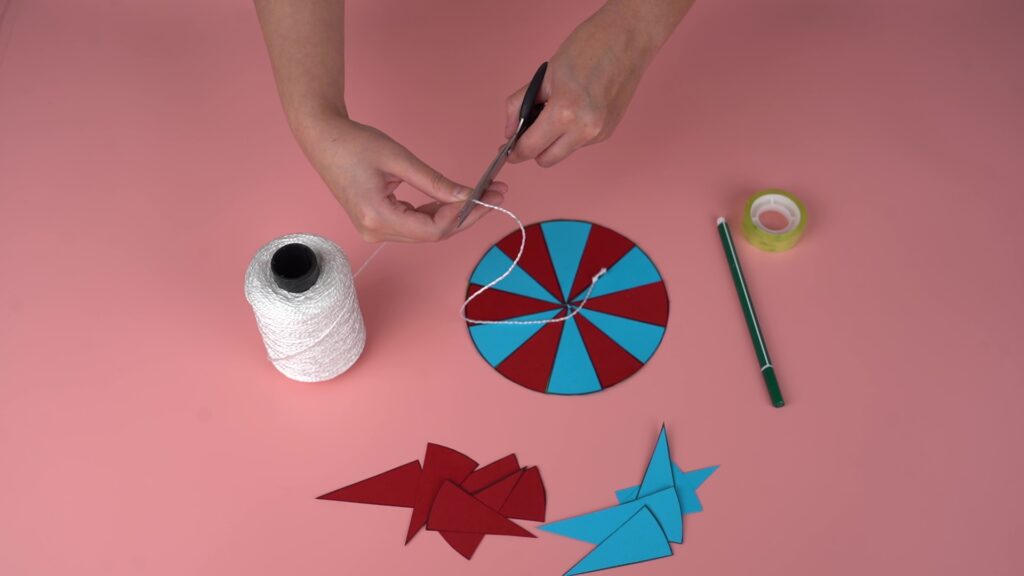
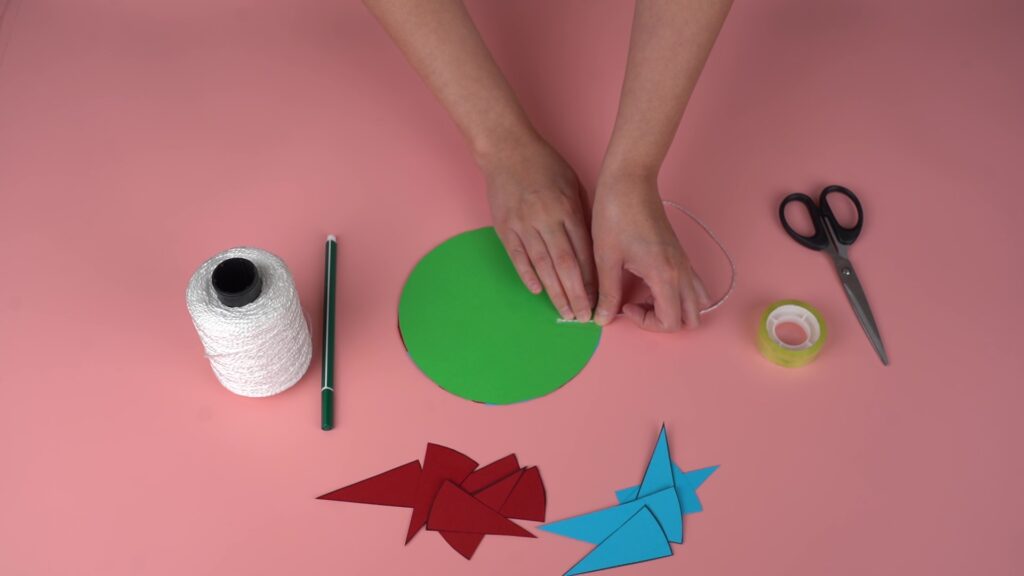
Step 5. On the back of the circle, tape the string where the extra part sticks out.
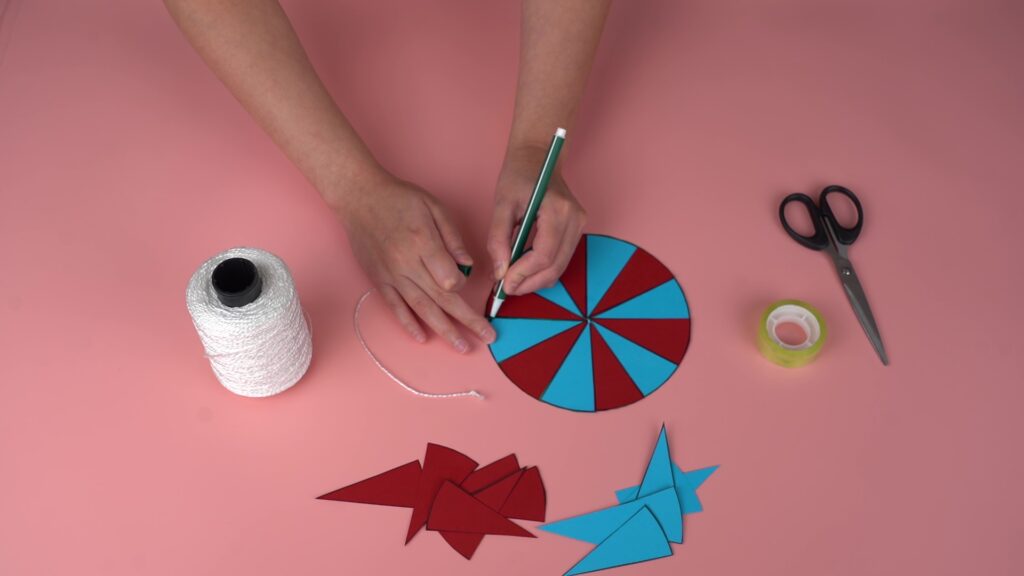
Step 6. On the front side, mark the point where the string is attached. Then fasten it to corrugated cardboard with a pin or brad.
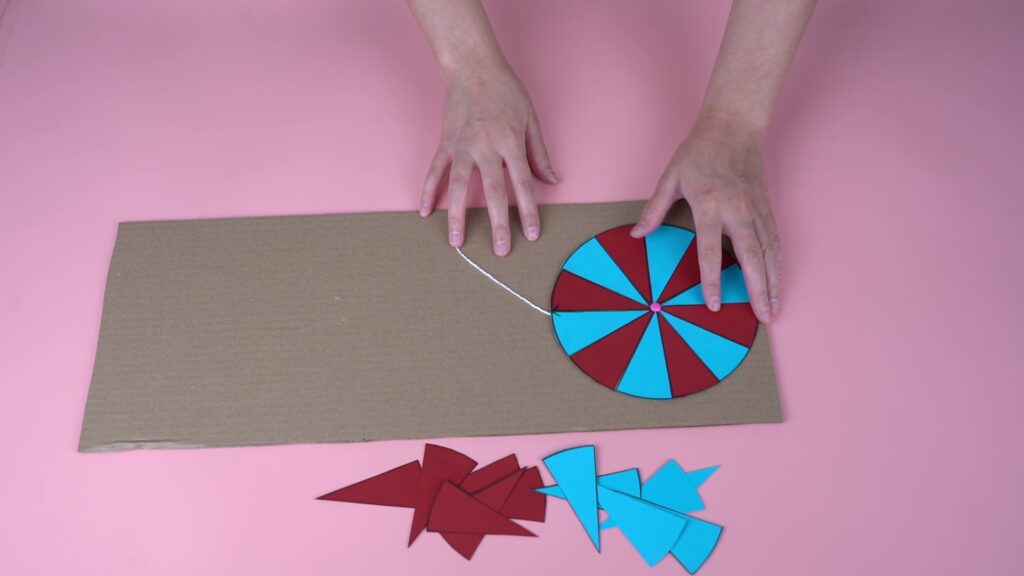
Step 7. Next to the circle, glue the sectors opposite each other. This will form a rectangle: its height is the radius (r), and its length is half of the circumference (πr).
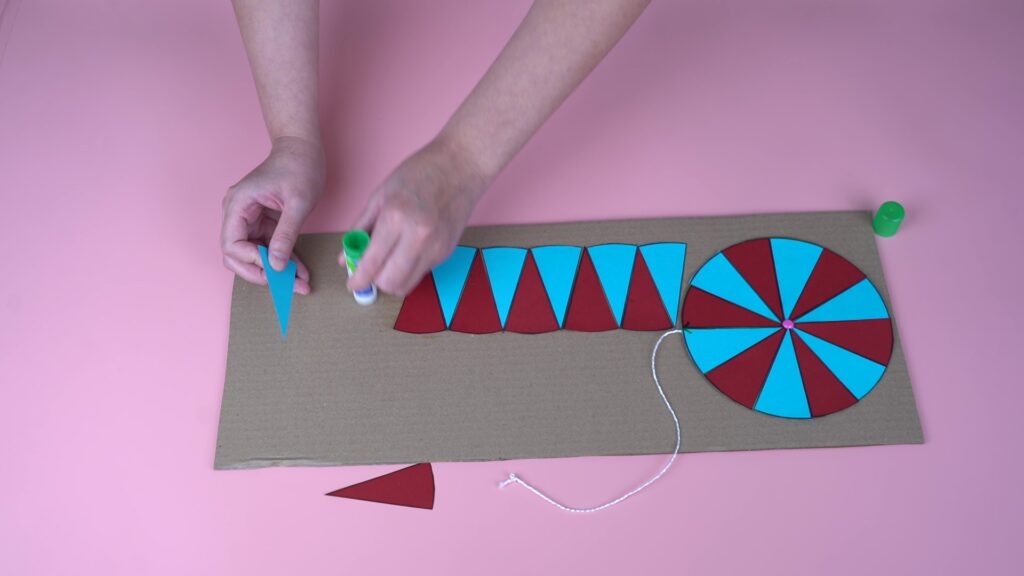
Step 8. Compare the length of the string with the length of the rectangle. Ask the children: “Is the length of the string equal to the length of the rectangle?”
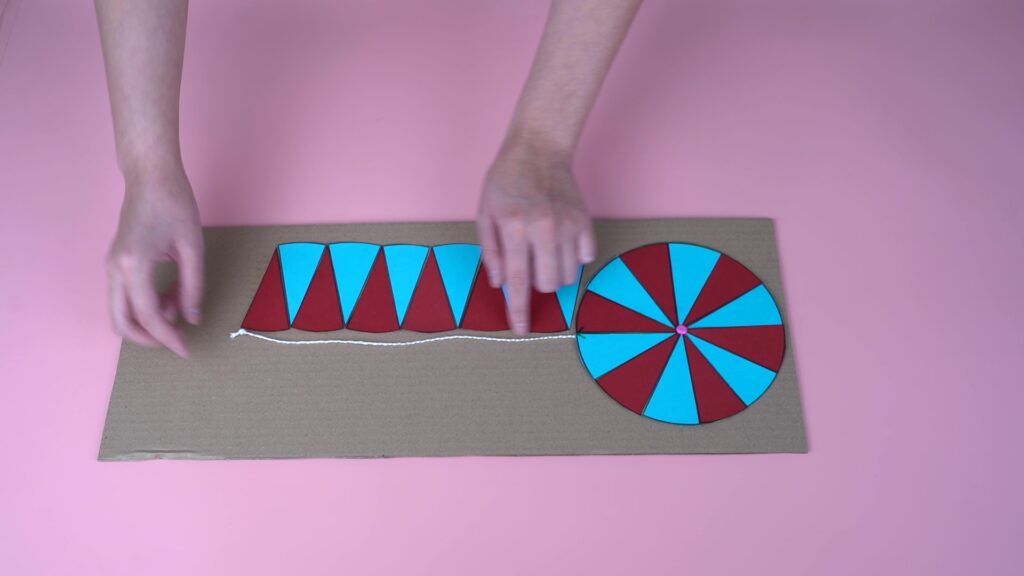
Step 9. Make a conclusion:
- The full circumference (C) = 2*πr.
- The half circumference (string) = πr.
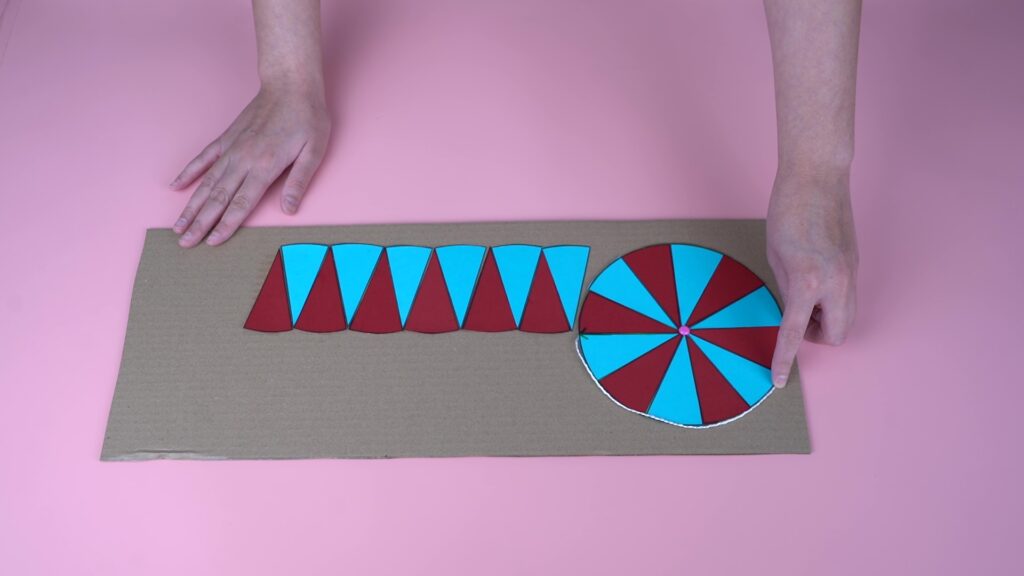
Conclusion
Through this project, students clearly understand the relationship between the circumference and its radius. They learn to determine the circumference using a string and visually confirm the correctness of the formula. Additionally, children get familiar with the concept of a “sector.” The project boosts interest in mathematics and makes learning complex concepts easier through hands-on activity. It also develops research skills, logical thinking, and the ability to analyze their own work.

In this project, each student is assigned a STEAM title in several categories:
– By assembling this model, you have become a true master of science! You have learned how clocks work. This is real scientific thinking!
– Look at this beautiful clock! You have used your design and problem-solving skills to create a working model. Congratulations, you are an expert engineer!