
Lesson

Project Objectives:
- To understand the structure of an escalator and demonstrate its working principle through a model.
- To observe the conversion of mechanical motion (from rotational to linear) in practice.
Interdisciplinary Connections:
- Physics: mechanical motion, force, torque, friction.
- Technology: working with cardboard, assembling, crafting.
- Engineering: understanding mechanism logic, modeling.
- Mathematics: calculating dimensions, maintaining proportions.
Teacher’s Guide:
Divide students into groups of 4-5.
At the beginning of the lesson, ask guiding questions:
- How do engineers design machines that safely transport people between floors?
- How can we use simple physical laws (force, motion, energy transfer) to build an escalator model?
- How might escalators be made more eco-friendly, efficient, and safe in the future?
Explain the main parts of the escalator and safety rules (steps, handrail, chain, motor) using illustrations.
Provide a short safety briefing before starting the practical work.
Theoretical Part
Every day, thousands of people in shopping malls move between floors using escalators. But what would happen if an escalator suddenly stopped working? How do engineers design such devices to be safe and efficient? Today, you will take on the role of an engineer and build a working escalator model.
An escalator is a moving staircase system designed to transport people up and down. It consists of steps, a chain mechanism, a motor, a handrail, and a protective frame.
How an escalator works:
Steps:
- Each step is connected into an endless chain.
- As the steps move, the upper part forms a flat staircase, while the lower part is hidden inside the mechanism.
Chain system:
- Moves the steps in a continuous loop.
- Similar to a bicycle chain, but more complex.
Motor:
- The main source of power.
- Converts electrical energy into mechanical energy, driving the entire system.
Gearbox:
Adjusts the motor’s rotation speed into suitable motion for the steps.
Handrail:
- Moves at the same speed as the steps.
- Helps passengers maintain balance.
Practical Part
The operation of an escalator is based on converting rotational motion into linear motion. Newton’s second law, friction, torque, and energy conversion (electrical → mechanical) are applied.
In real escalators, a dual chain system is used: one drives the steps, the other moves the handrail.
Step 1. Cut two cardboard tubes, each 6 cm long.
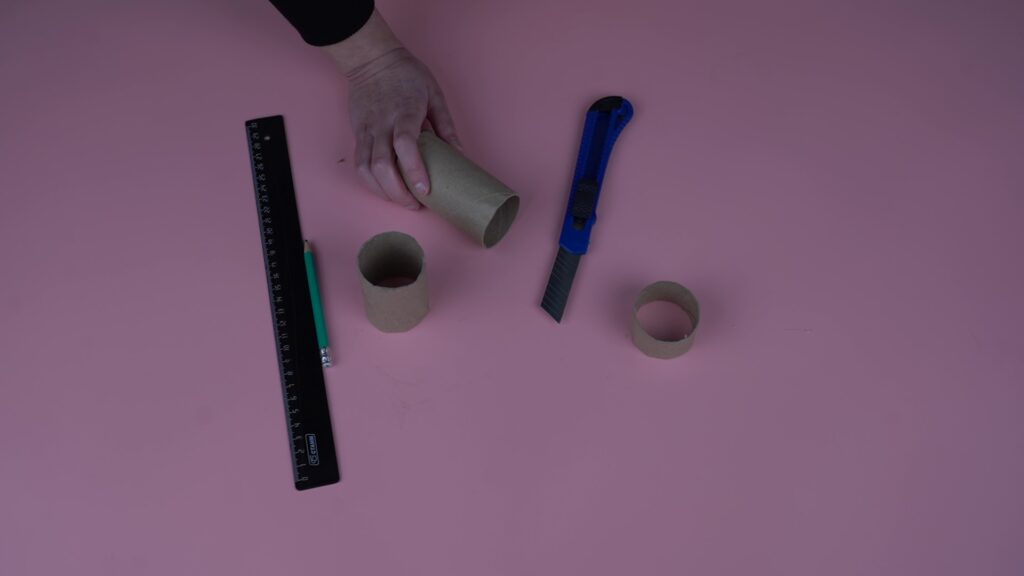
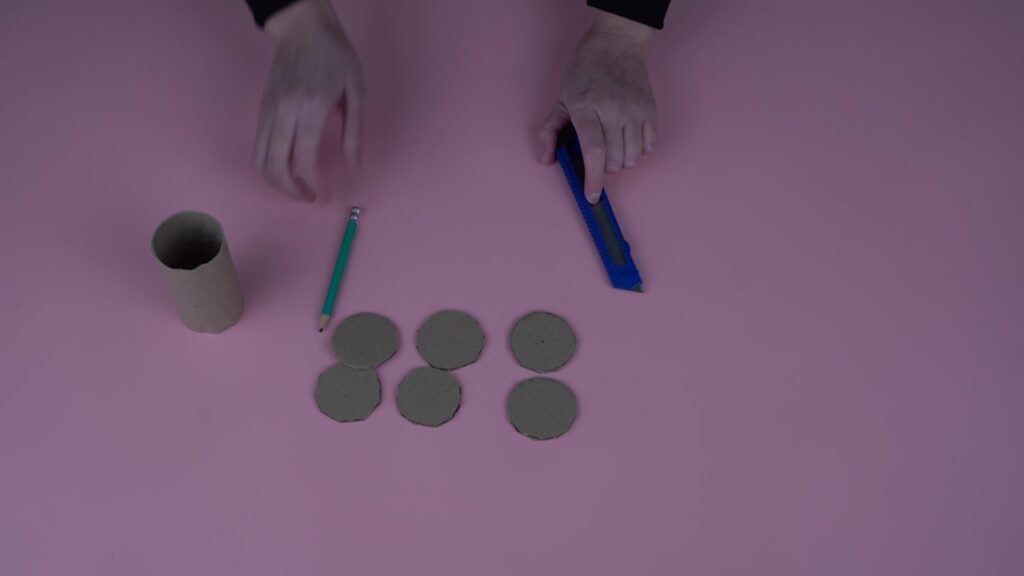
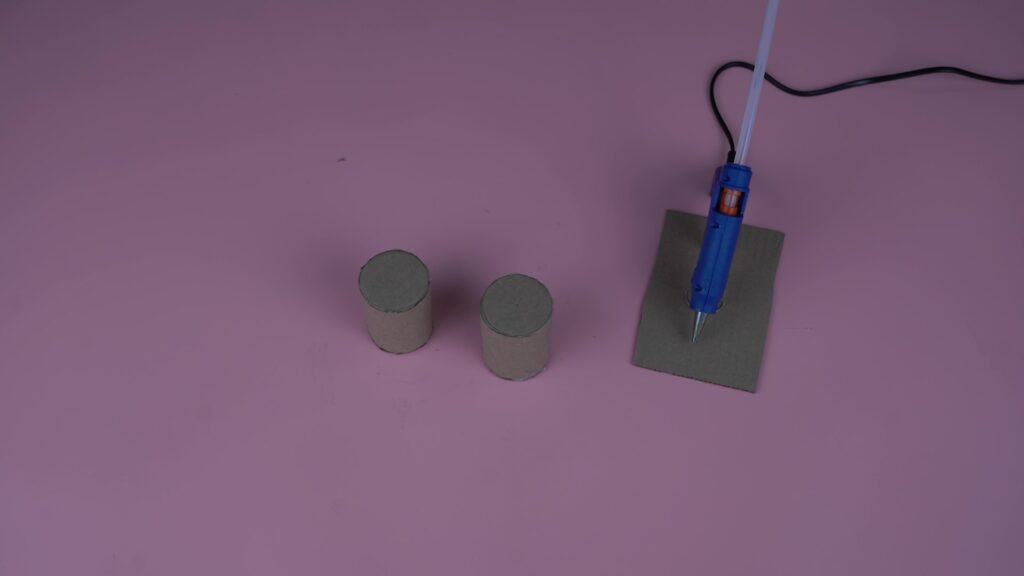
Step 2. Trace their circles on corrugated cardboard and cut out 6 discs. Seal both ends of the tubes with 4 discs and glue.

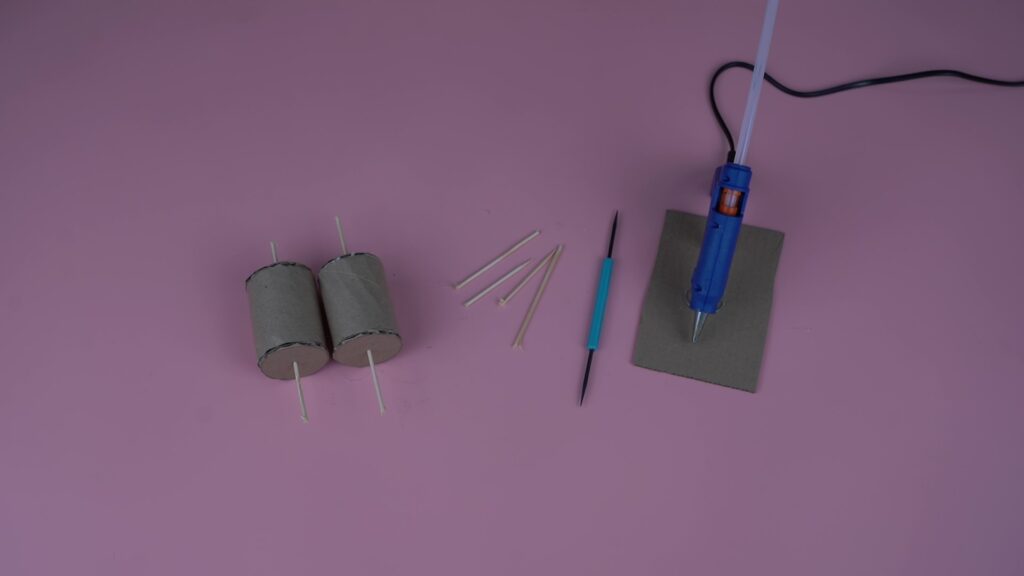
Step 3. Insert a skewer into the center, leaving a short section outside. Trim the excess.
Step 4. Cut cardboard rectangles: 15*3 cm (6 pcs.) and 6*3 cm (6 pcs.). Glue them in groups of 3 to get 2 thickened 15*3 cm and 2 thickened 6*3 cm pieces.
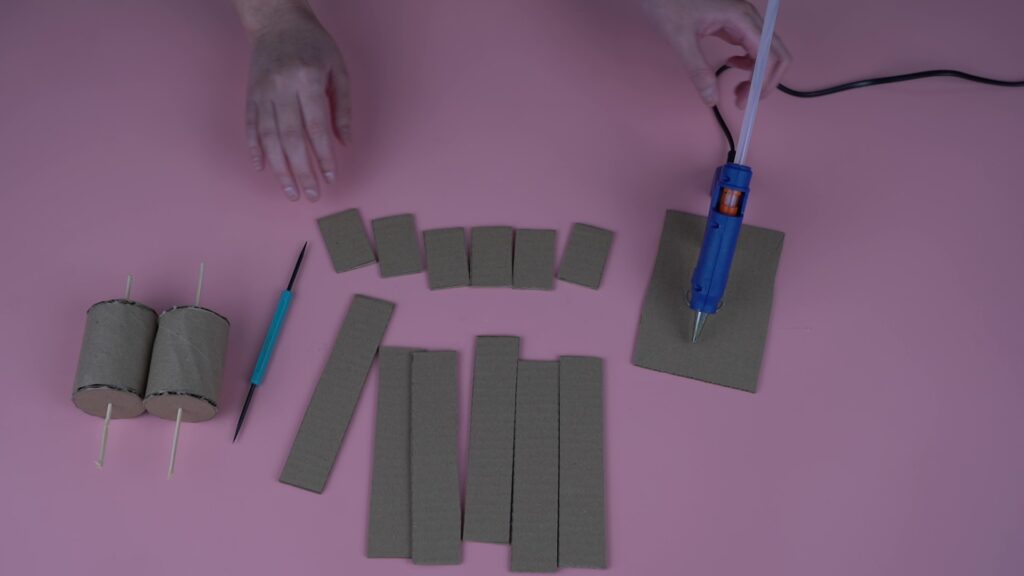
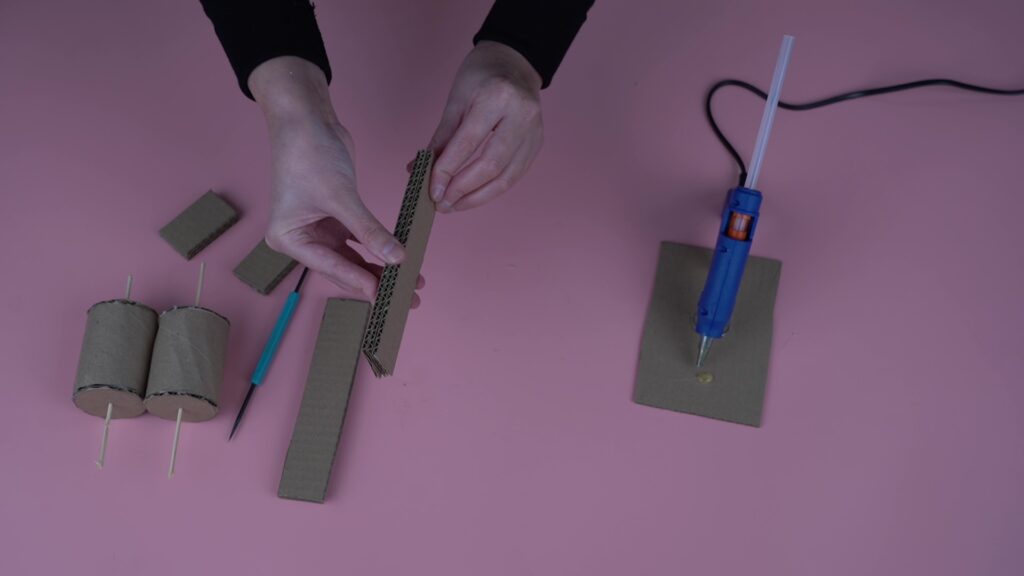
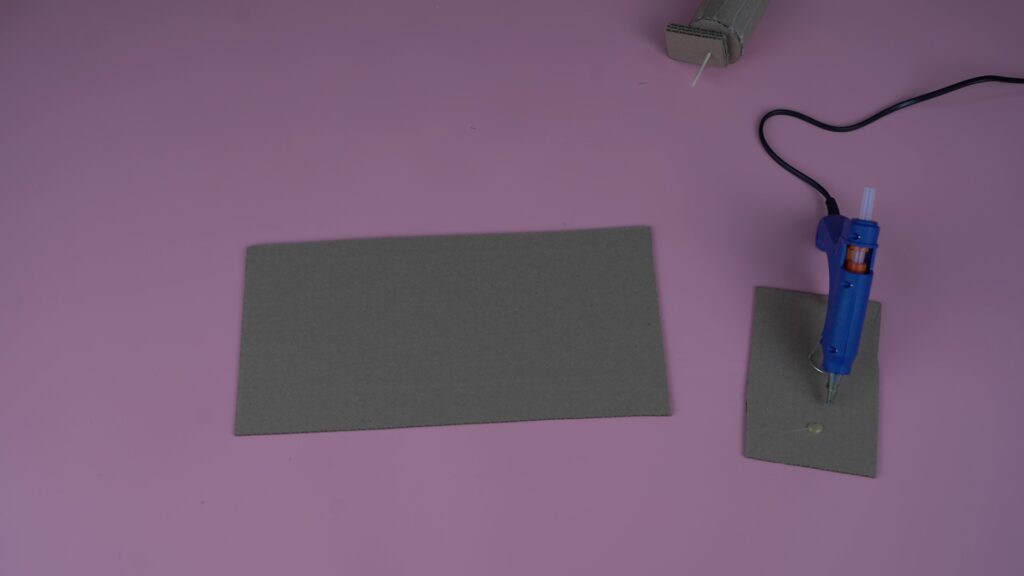
Step 5. Apply hot glue lines along the tube surface to prevent the belt from slipping.
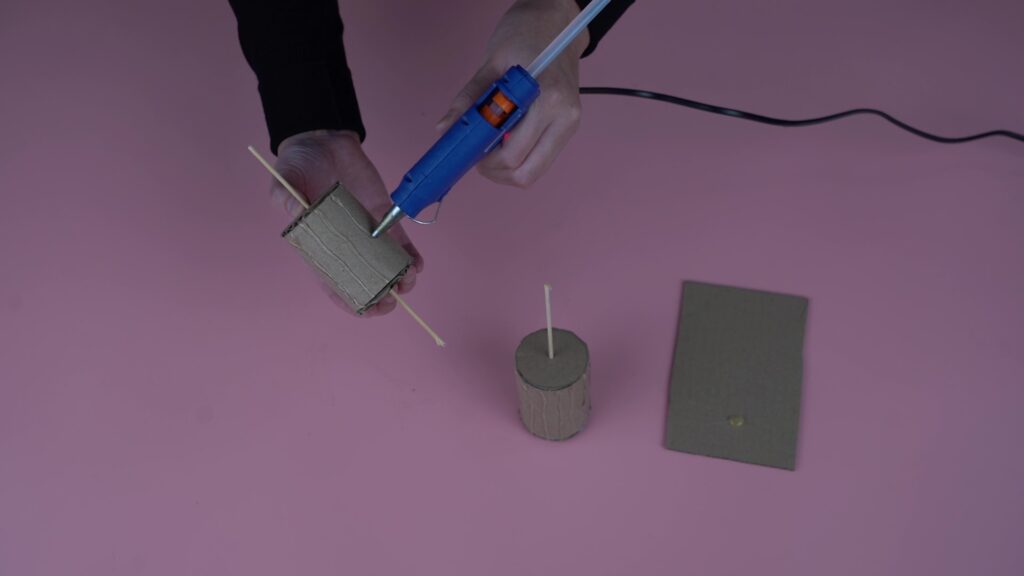
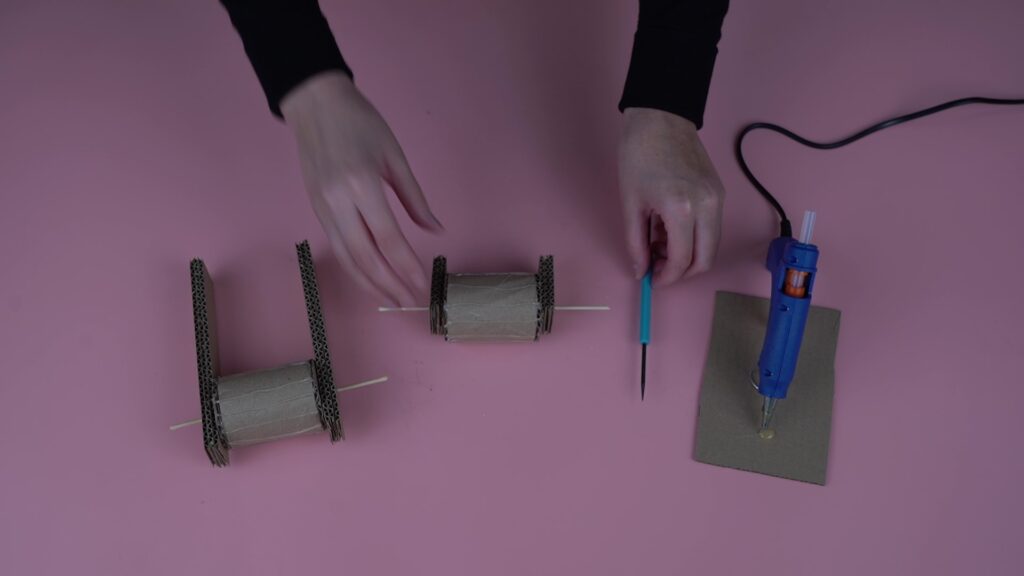
Step 6. Attach the 15*3 cm supports one tube and the 6×3 cm supports the other. These will be the stands.
Step 7. Cut 3 rectangles 15*30 cm from cardboard.
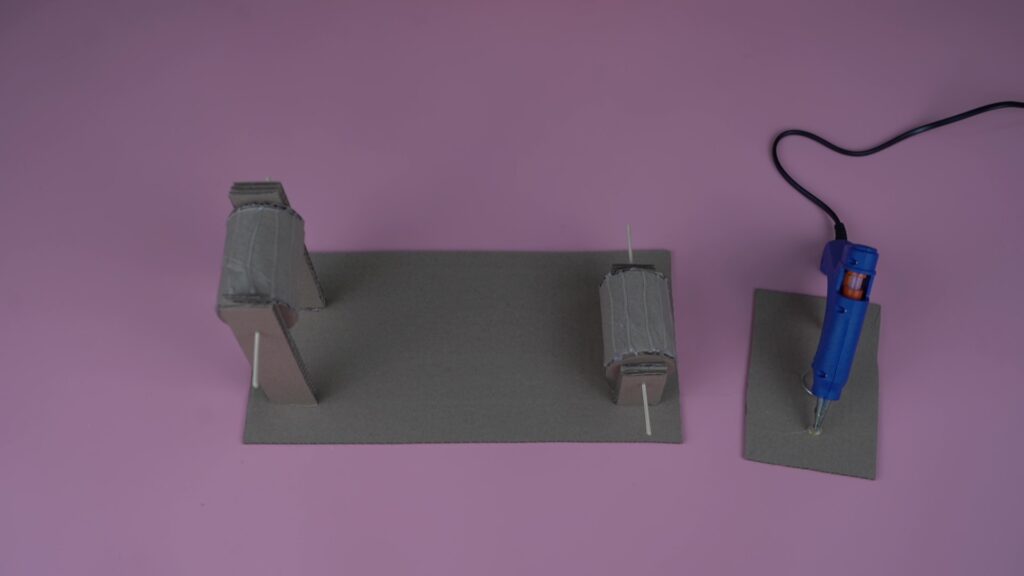
Step 8. Mount the tubes with supports on the base, leaving room for the belt.
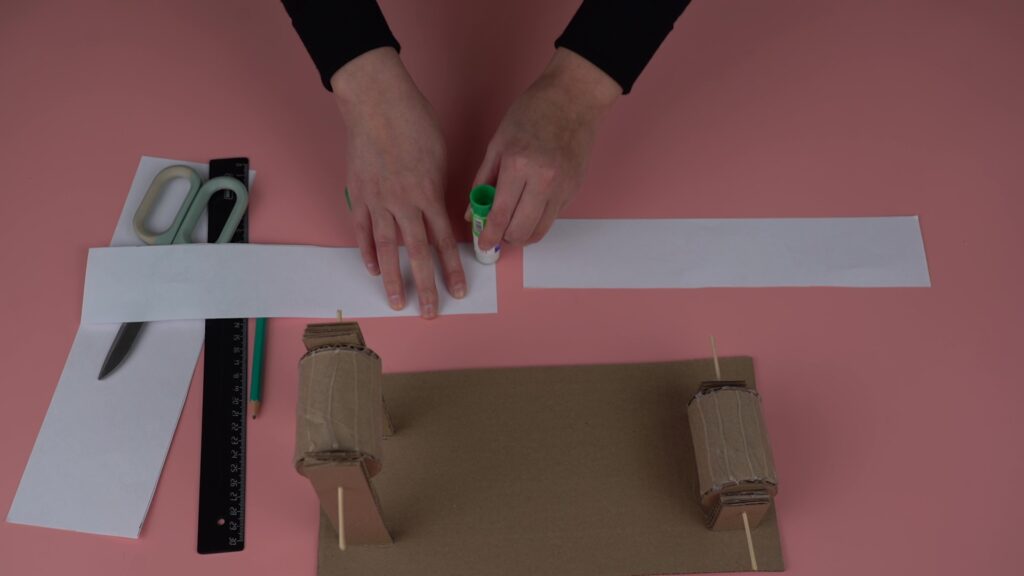
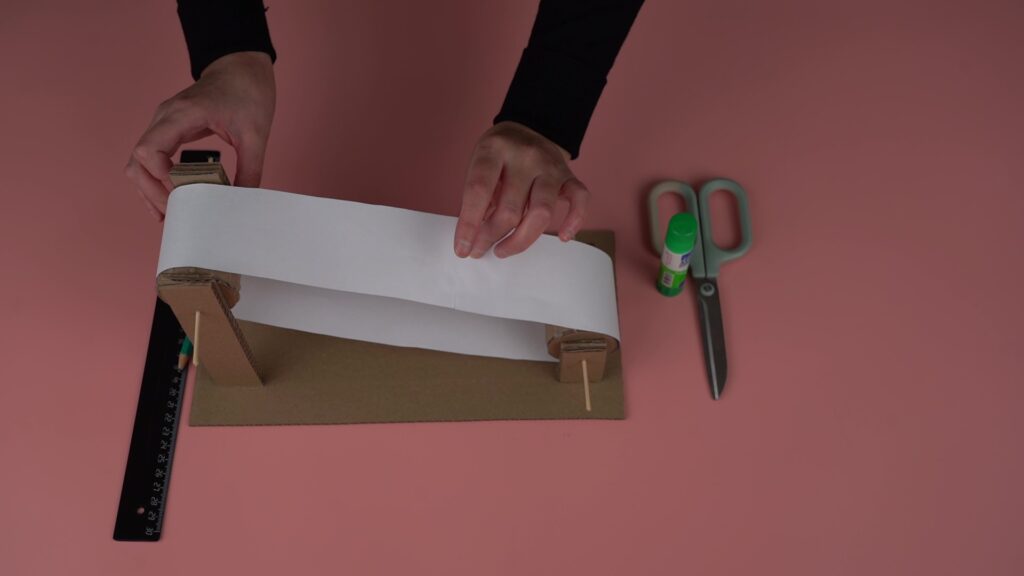
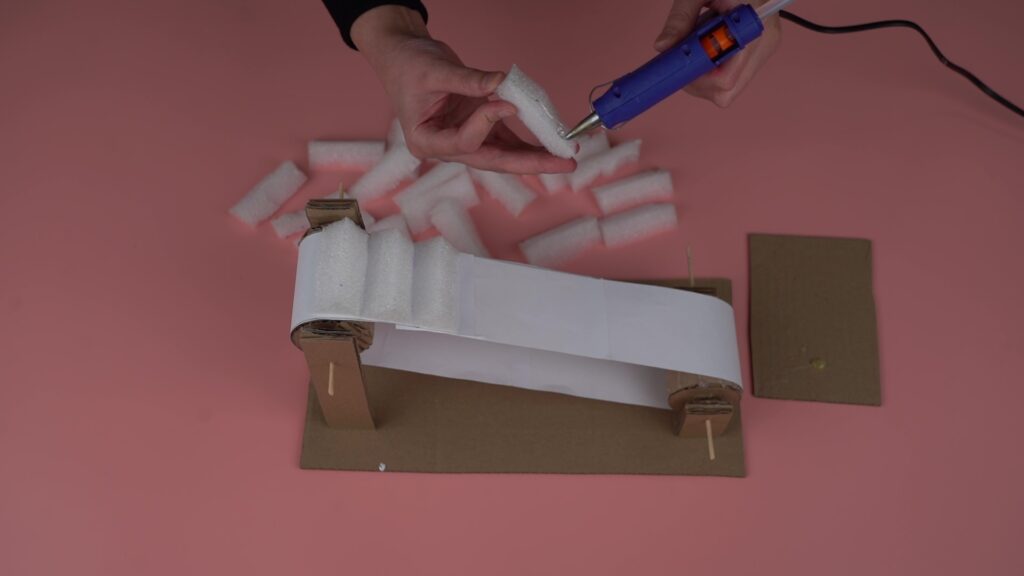
Step 9. From A4 paper, cut strips 6 cm wide, glue them together into one long belt, wrap around both tubes, glue the ends, and trim excess.
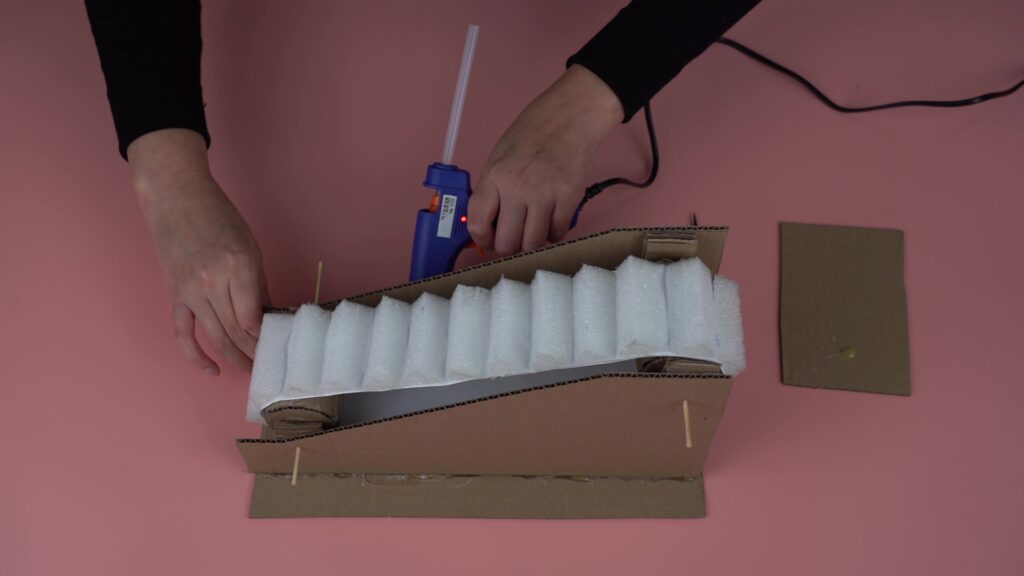
Step 10. Cut foam blocks 6*2 cm, split diagonally into triangles.
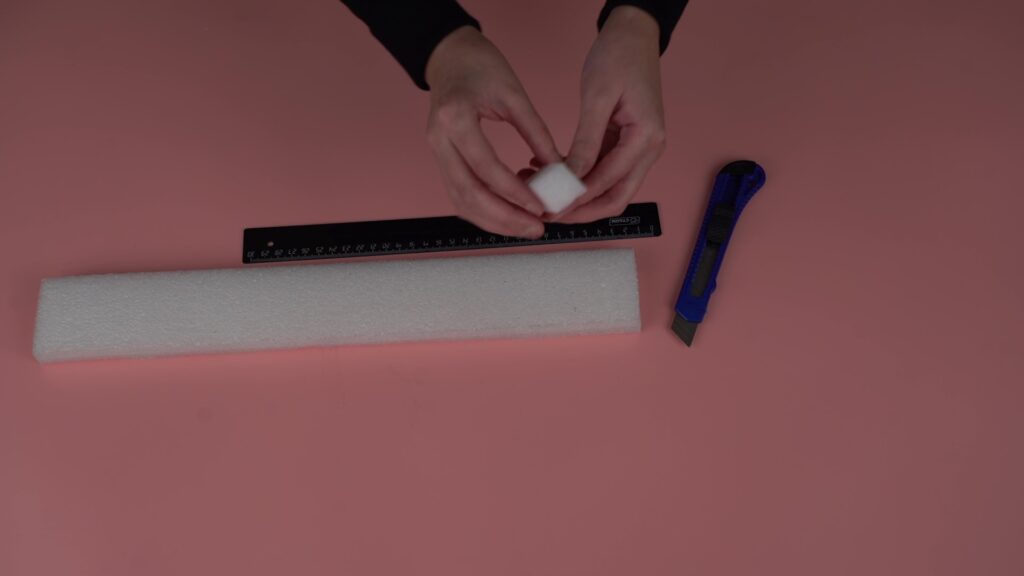
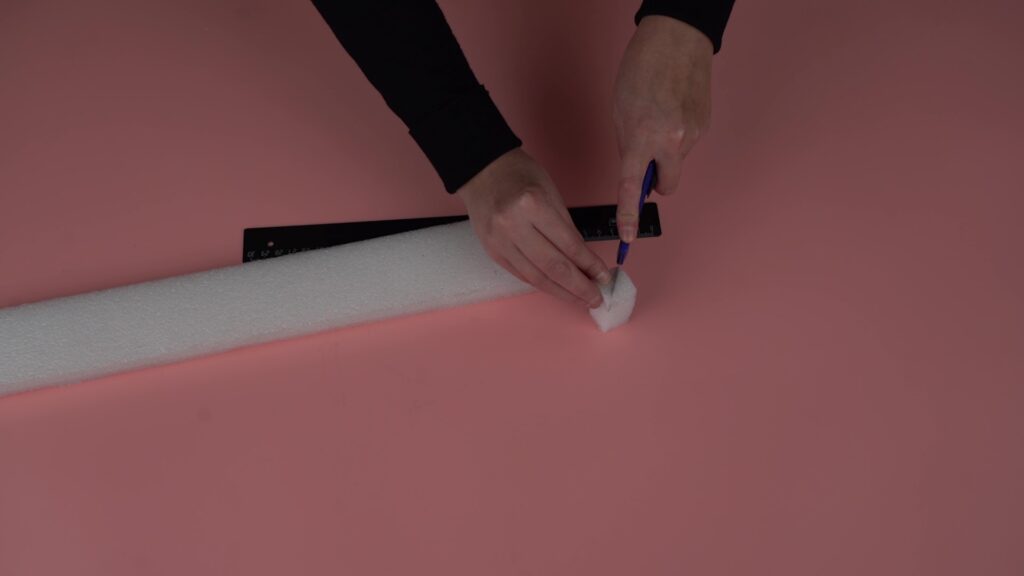
Step 11. Attach the triangles to the paper belt to form the steps.
Step 12. Build side frames from cardboard and attach to the escalator.
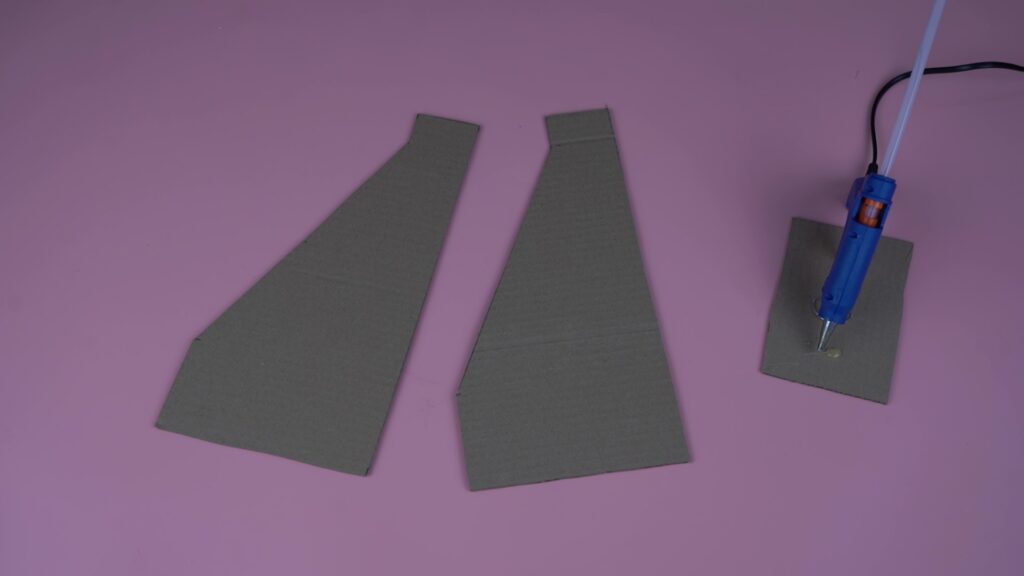
Step 13. Cover the gaps with extra cardboard.
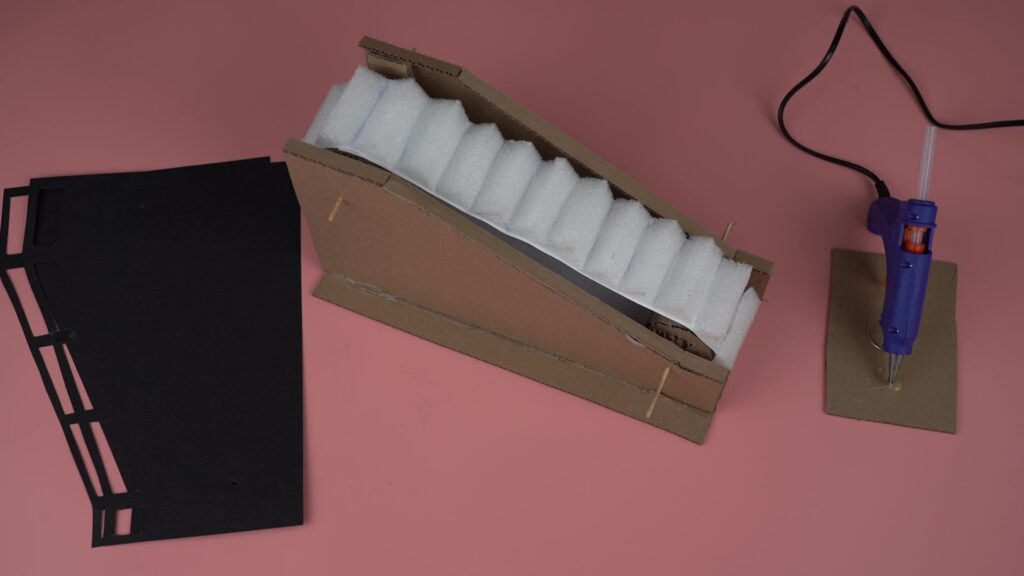
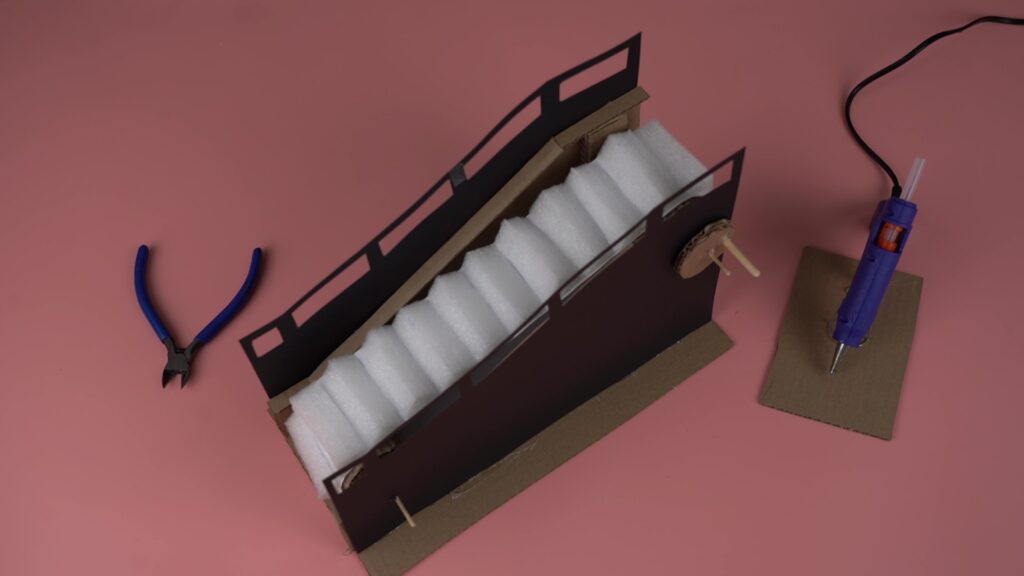
Step 14. On black cardstock, draw and cut decorative panels and handrails.
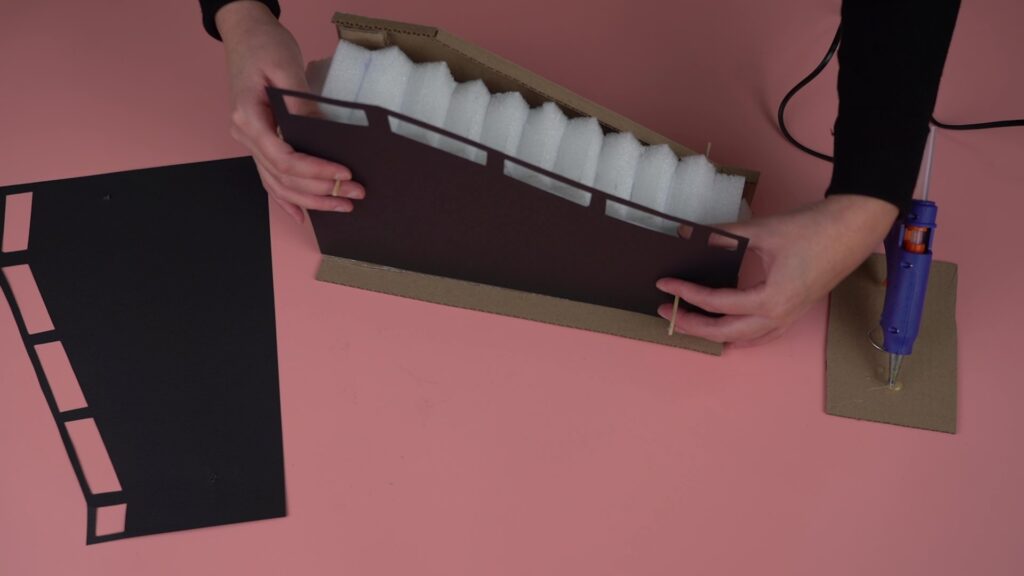
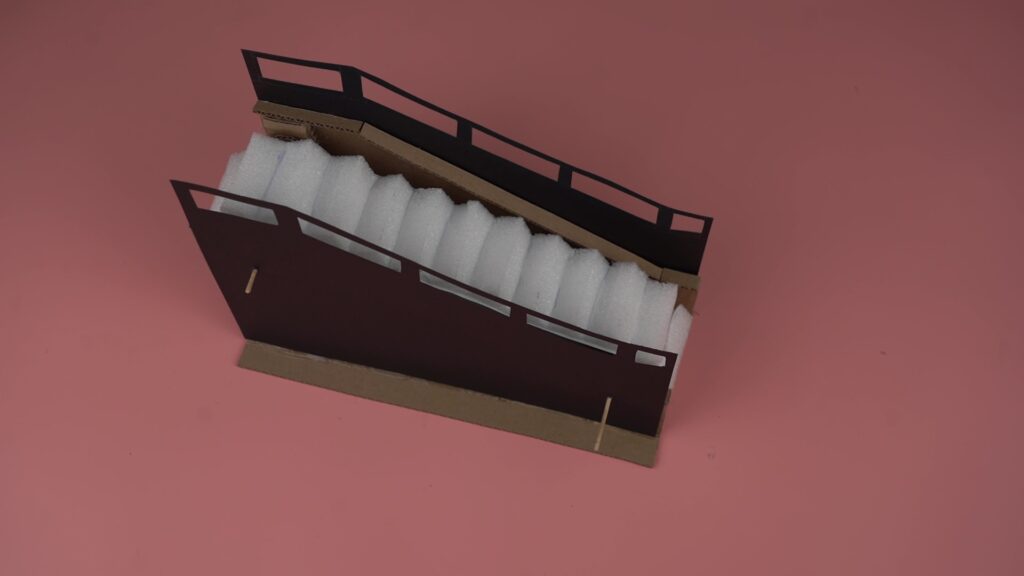
Step 15. Glue them to the sides of the structure.
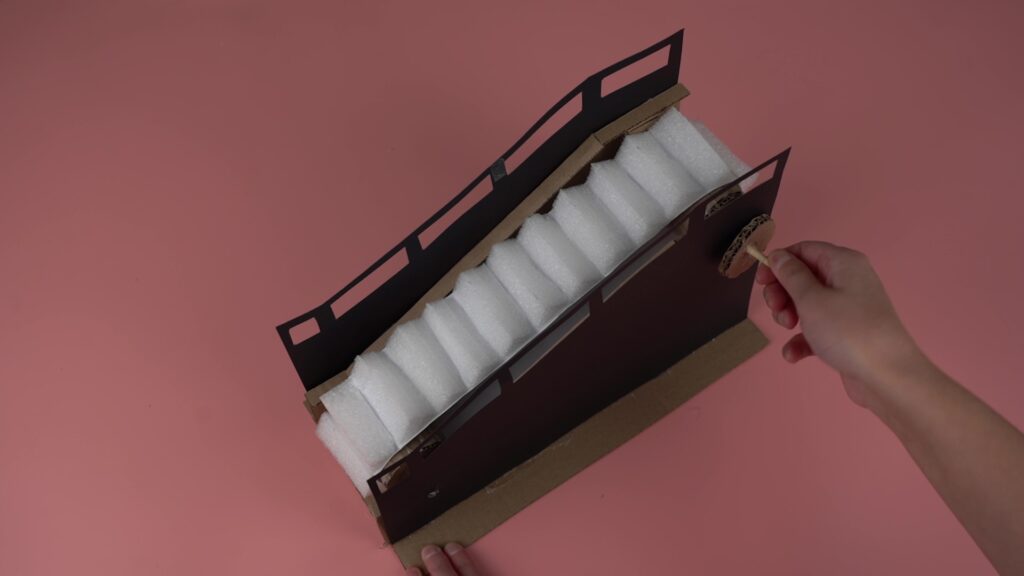
Step 16. Glue 2 cardboard discs together, make holes in the center and near the edge. Insert a 2-3 cm wooden stick into the side hole – this will be the handle.
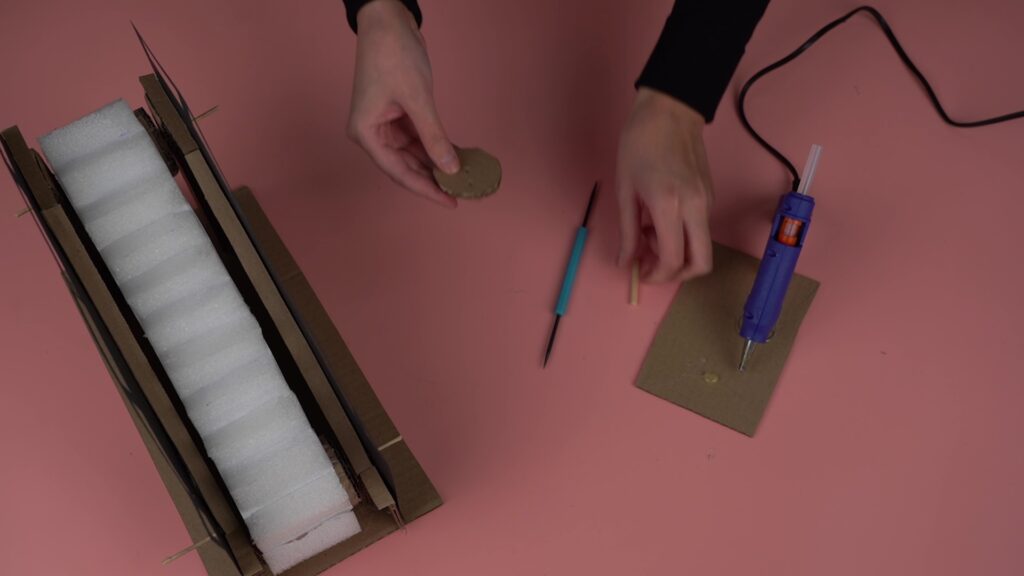
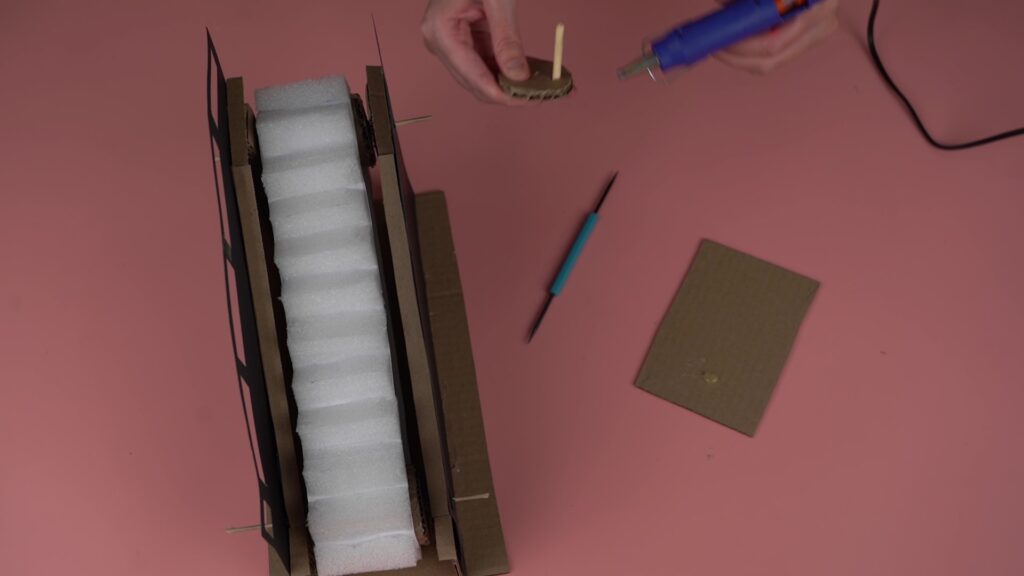
Step 17. Mount the handle onto the protruding skewer at the top of the escalator. Secure with glue. Turning the handle will move the belt and the steps up and down.
Project Presentation
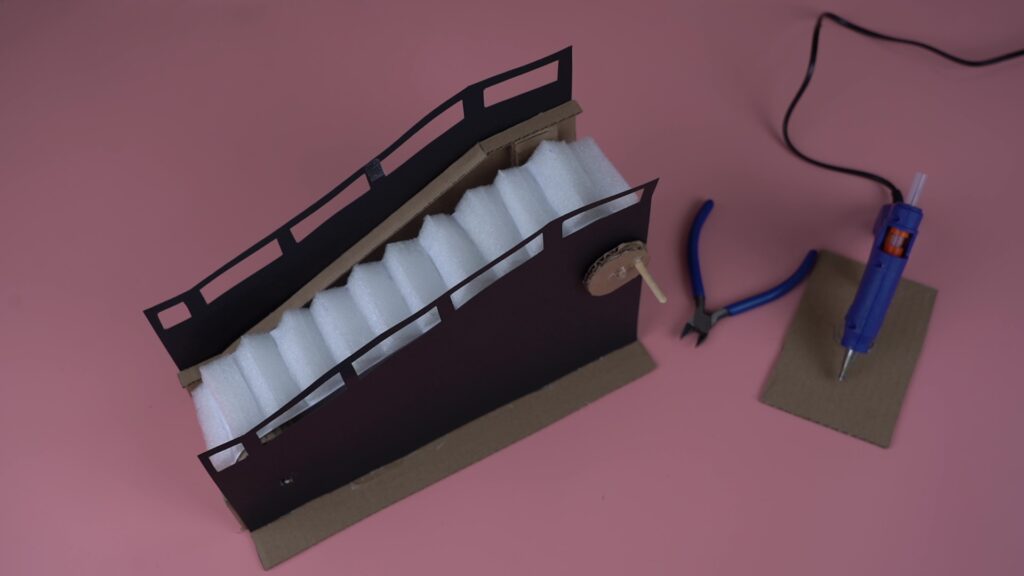
Students present their completed models. By turning the handle attached to the external wheel, the belt moves, and the steps travel up and down, simulating a real escalator.
Conclusion
Through this project, students:
- Understand the structure and working principle of an escalator.
- Discover how complex mechanisms can be built from simple materials.
- Develop engineering thinking, teamwork, and creativity.
- Experience the connection between theory and practice by seeing how physical laws apply in real life.
The finished cardboard escalator model is not just a craft, but also a simple example of mechanics and engineering.
Assessment
PBL Assessment Criteria:
Problem-Based Learning is an instructional method where students acquire knowledge and skills by working on a project and addressing real, engaging, and complex questions or challenges.
To assess the project, provide students with this resource (PBL rubrics – link):
- students can fairly assess the work of their peers.
- students understand the evaluation criteria in advance.