
Lesson 2
Practical part
In the second week you will decorate your piggy bank.
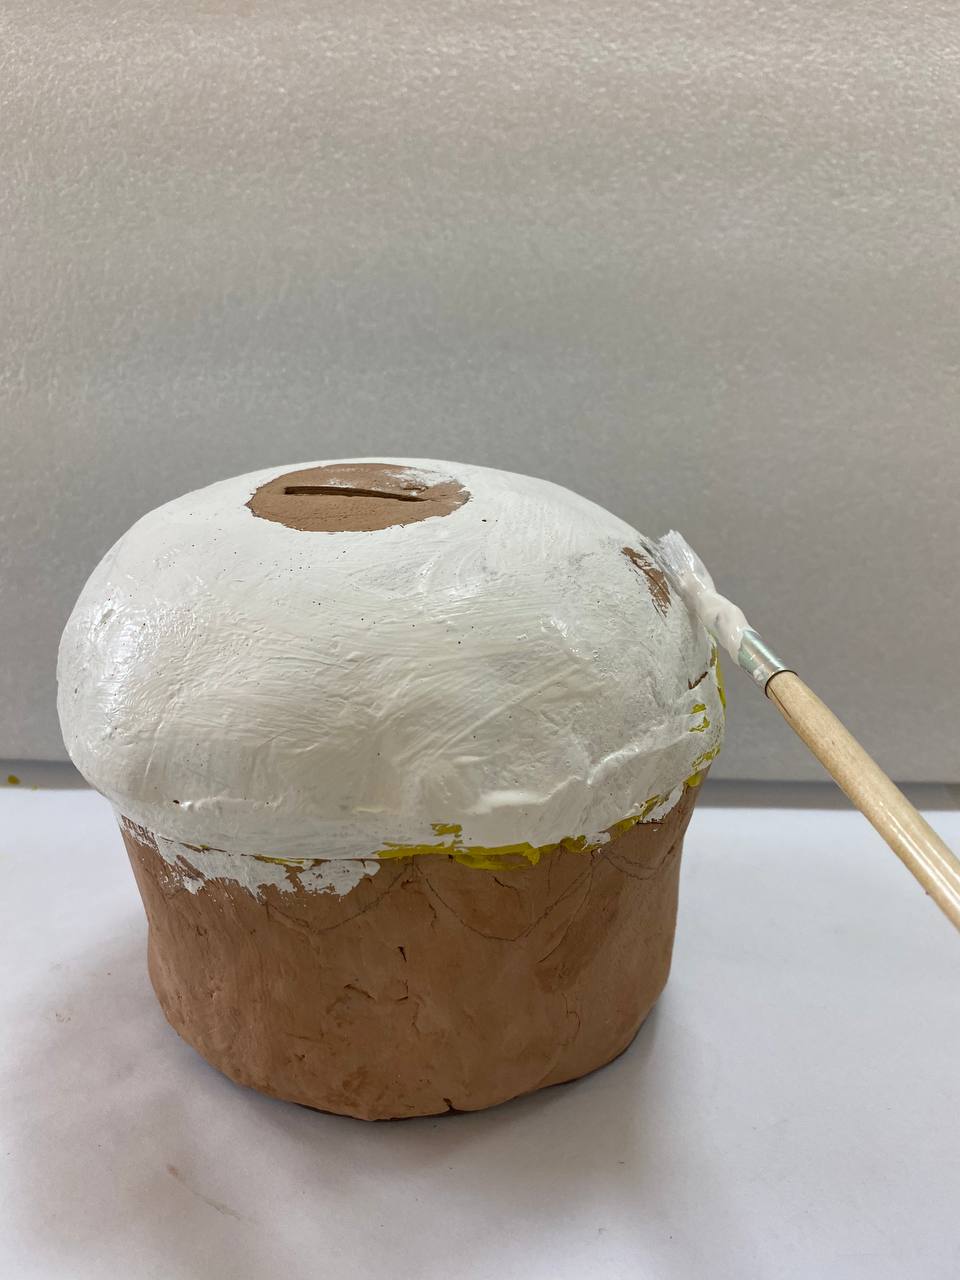
Step 1: Make sure that your piece is completely dry and without cracks. If there is any damage, you can use warm water and clay to repair the chips and damage (not necessarily). But after that, the product must be completely dry.

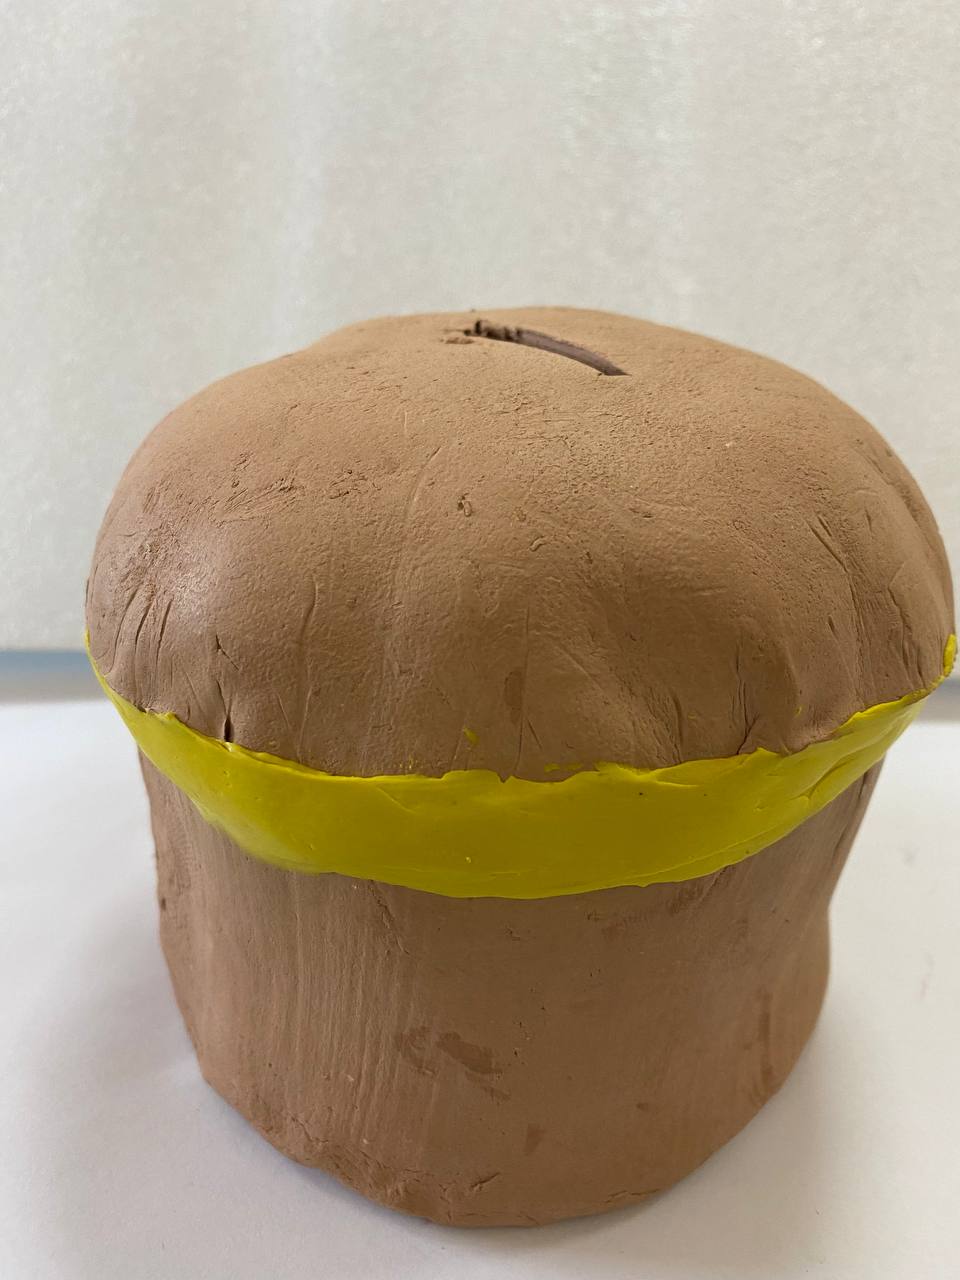
Step 2. Join the roof (shanyrak) to the body (kereg) using plasticine, straightening and smoothing out the surface. Make sure there is no hole left in the connecting pieces.
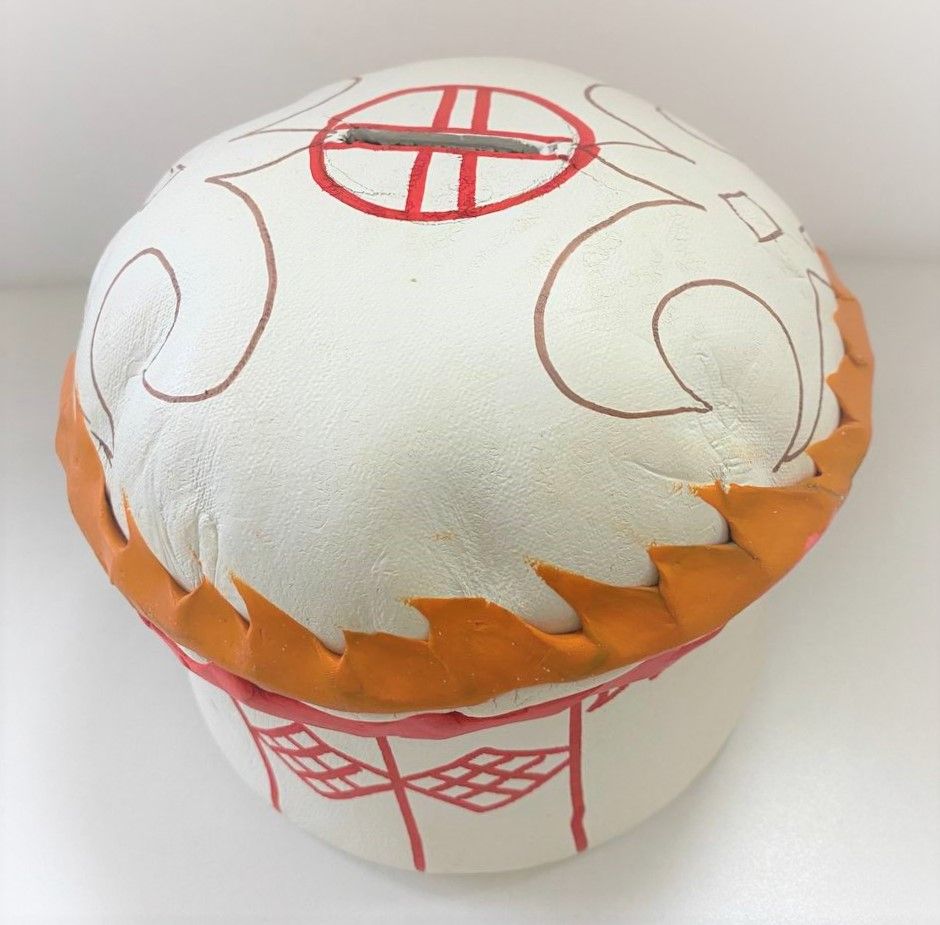
Step 3: Next, use felt-tip pen, gouache and paintbrush to decorate your piggy bank. Design in the national style (coat of arms, flag, ornament, etc.)
Step 4: Presentation of the project.
– Each student presents their product.
– Describes it, naming the applications.
– Shows the design and what is shown.
Conclusion
So, on this project the pupils learnt about minerals and investigated their properties. Using clay, they made a product and presented it in front of the class.
On this project, each pupil is awarded a STEAM title, in three categories:
– You have independently, investigated mineral samples! Congratulations, you are a true scientist!
– You independently, produced a product out of clay. This in turn is a technological process. Congratulations, you are a young engineering technologist!
– You independently, came up with the design, showed creativity and that’s cool! Congratulations, you are now an illustrator!
Evaluation

