
Lesson 3
Case for sensors
In order to make a case for a SMART weather station, you can choose one of the following methods:
1. With 3D printer
– An instruction is given on creating a 3d-model of the hull – 3d-modeling-instruction
– Video instructions (link to YouTube channel Steam.kz)

2. With wood-maker – a machine for working with wood
(before starting work, explain to the students the basic safety rules for working with the machine)
To manufacture the housing on the machine , you need:
– check the machine for serviceability
– calculate the dimensions of the display and each sensor separately
– cut individual parts on the machine (6 pcs)
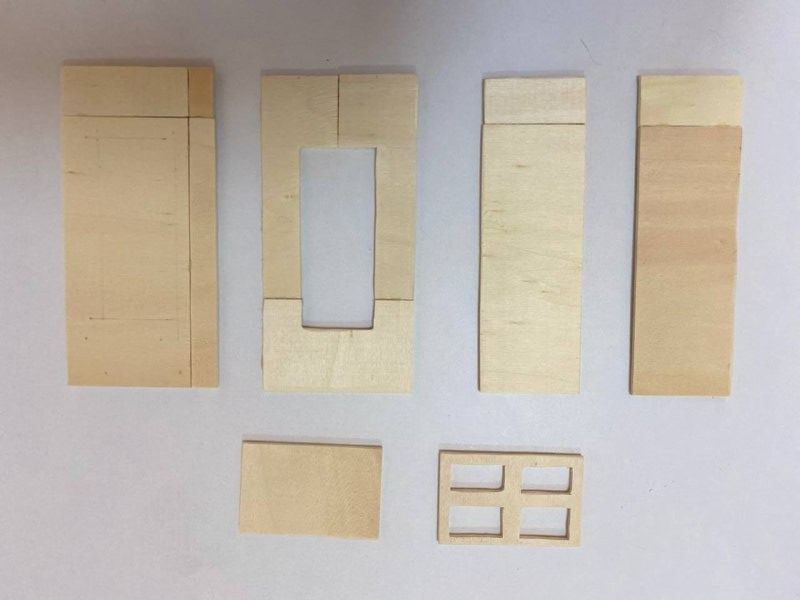
– next, you need to connect the cut-out parts with PVA glue for wood (except for the lid and the side with holes)
– after that, we install the display, sensors and Arduino board
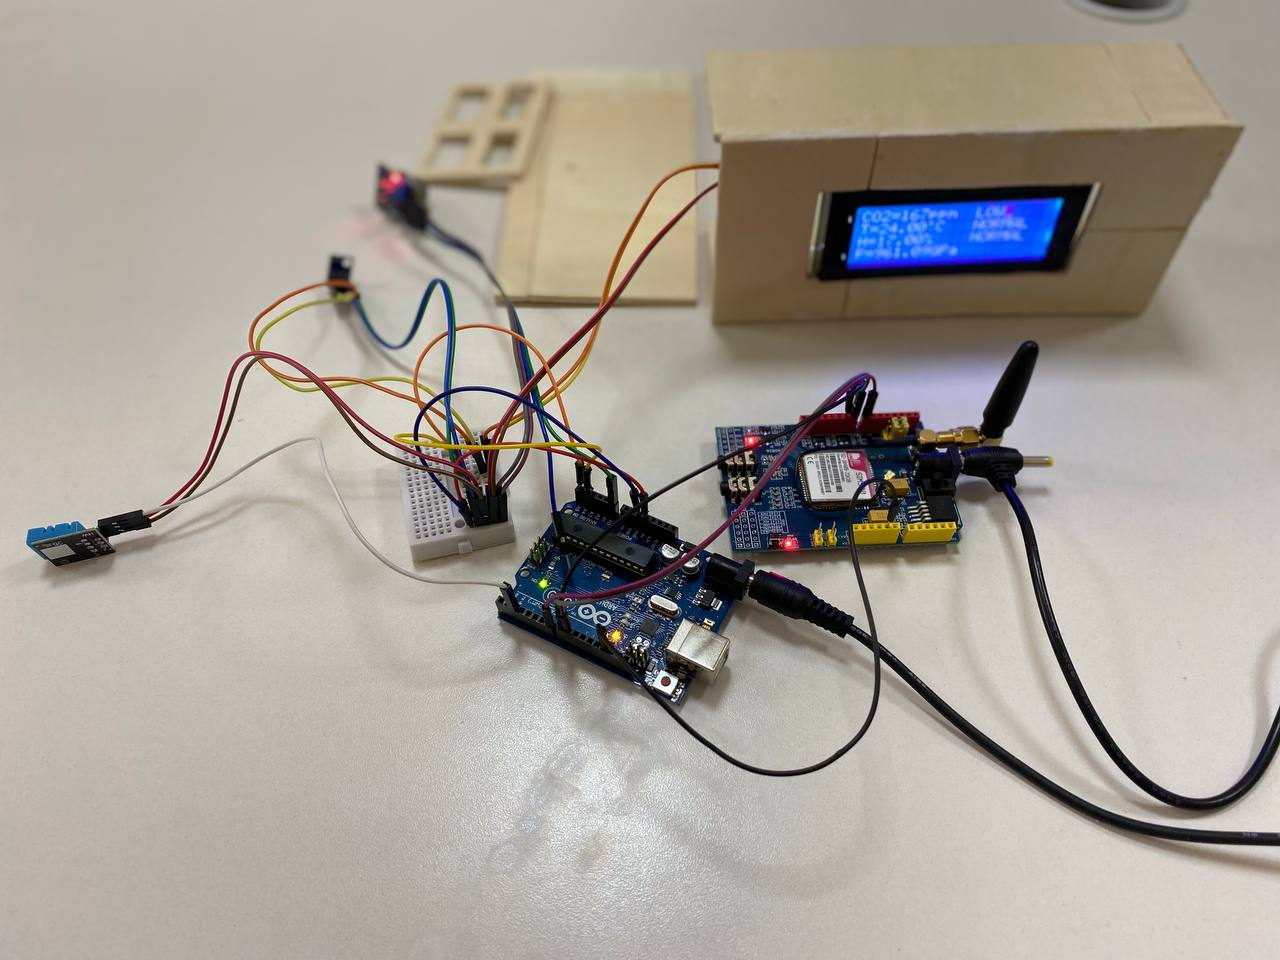
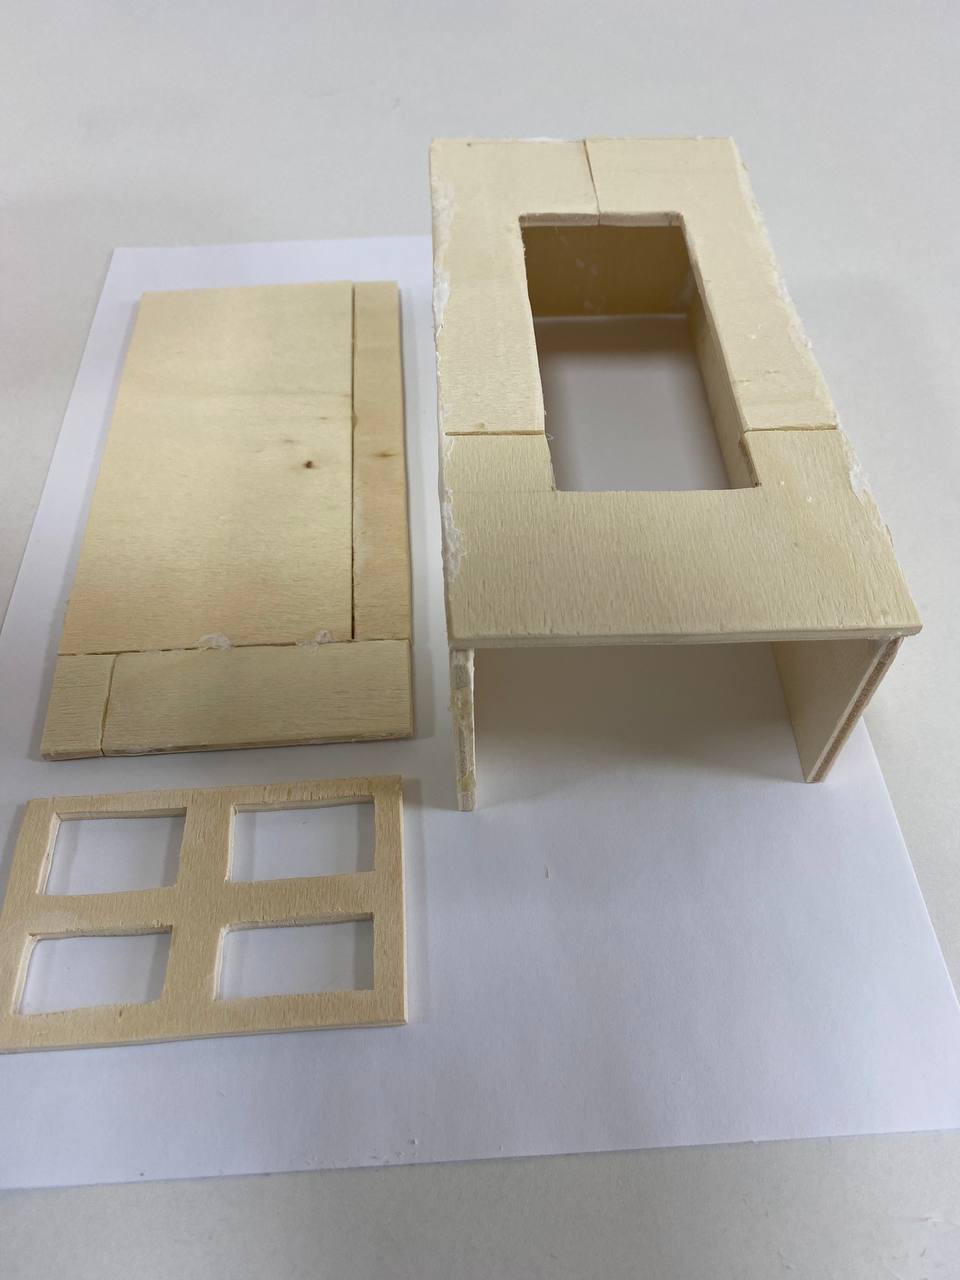
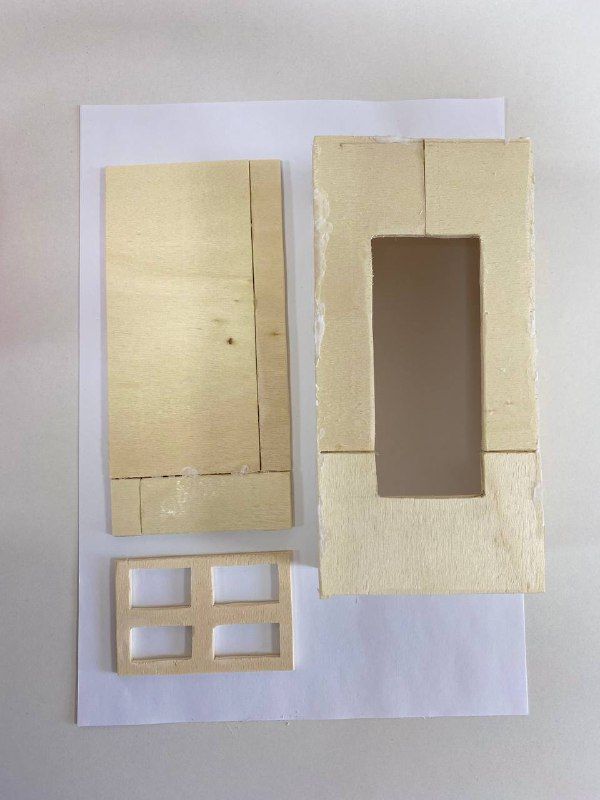
The contents of the weather station and the plywood case
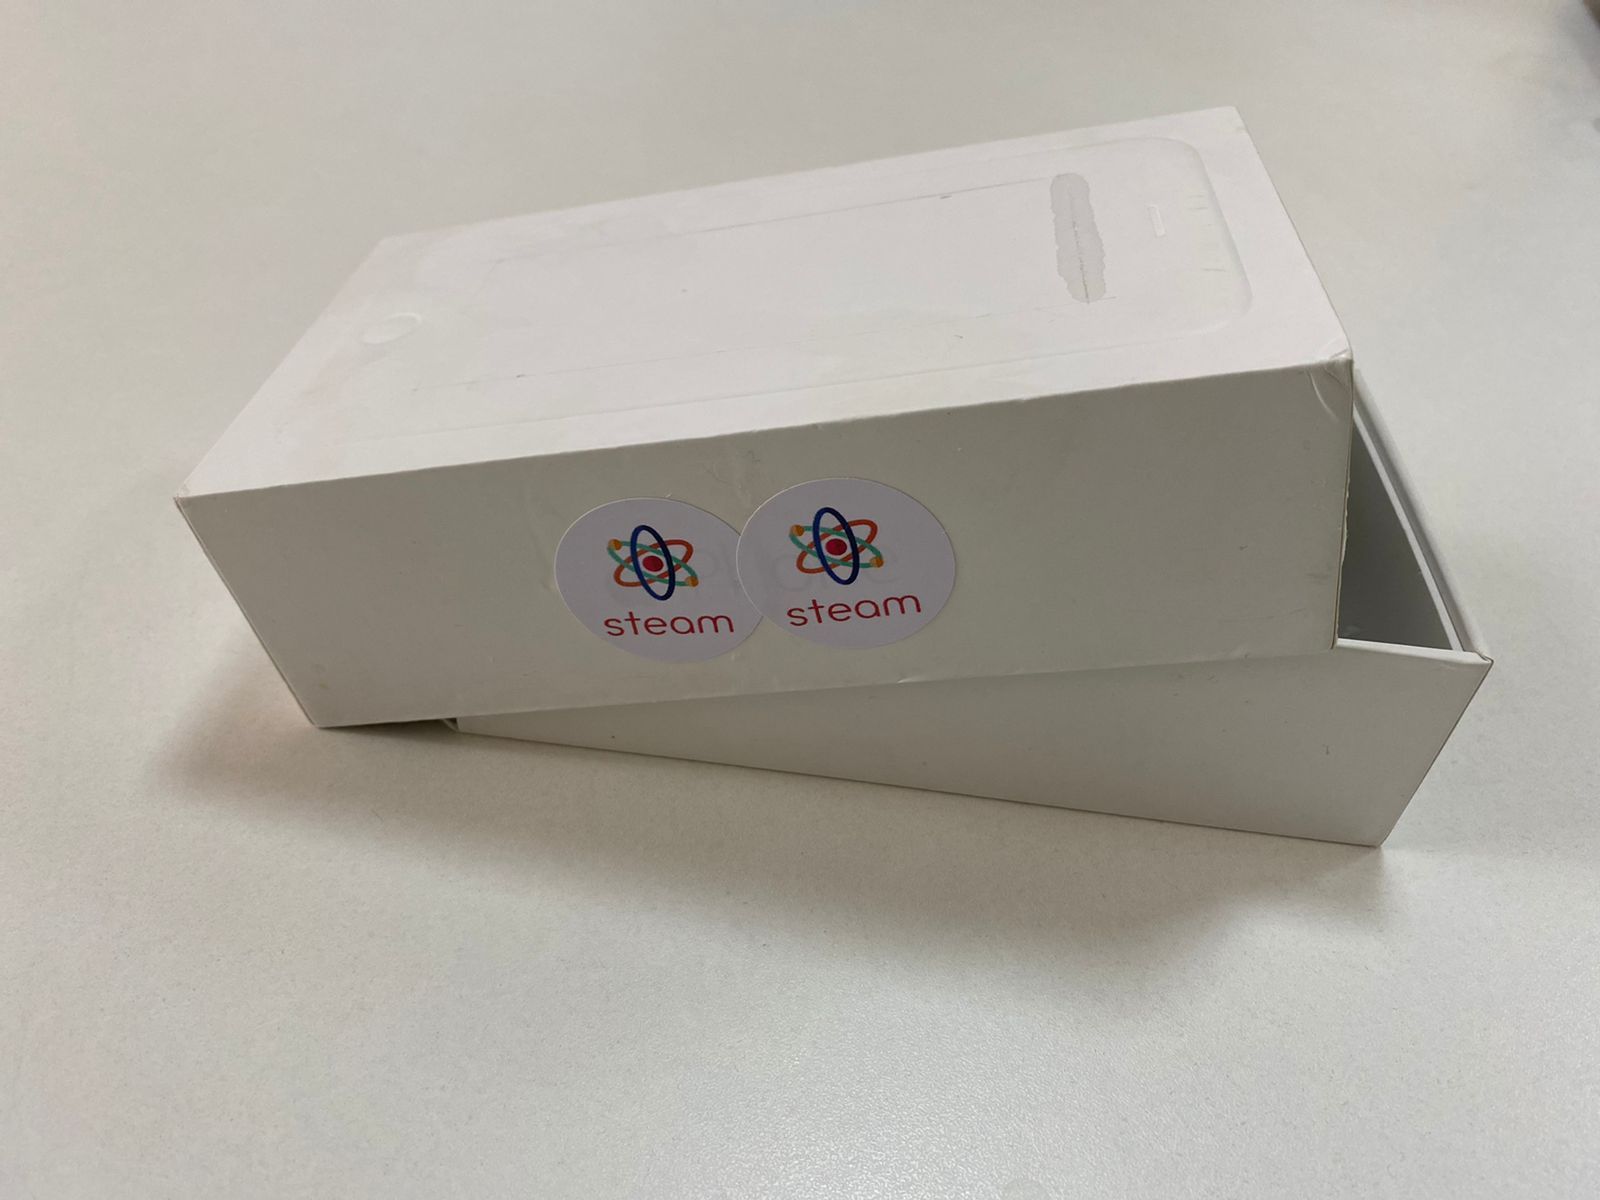
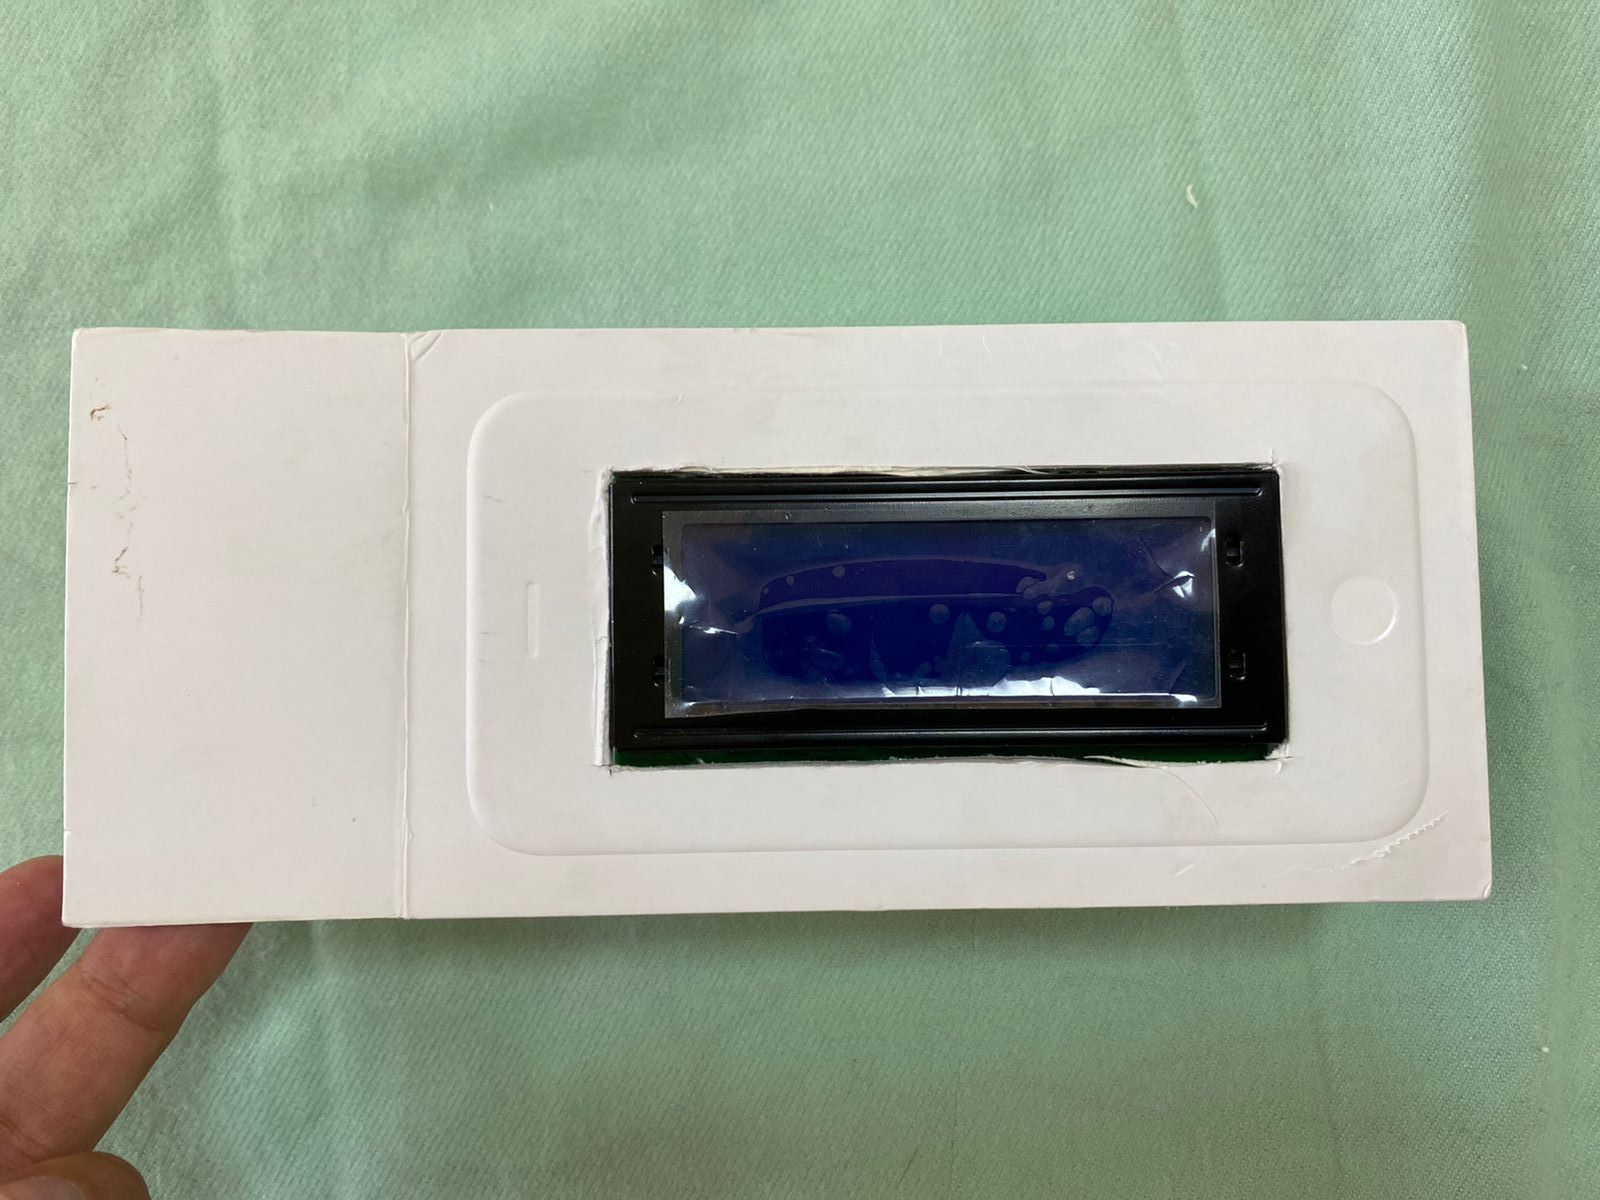
3. With any cardboard or plastic box (recommended)
On this project, the case was made of plastic material:
– we calculate the size of the display and each sensor separately
– we plan an approximate drawing on paper
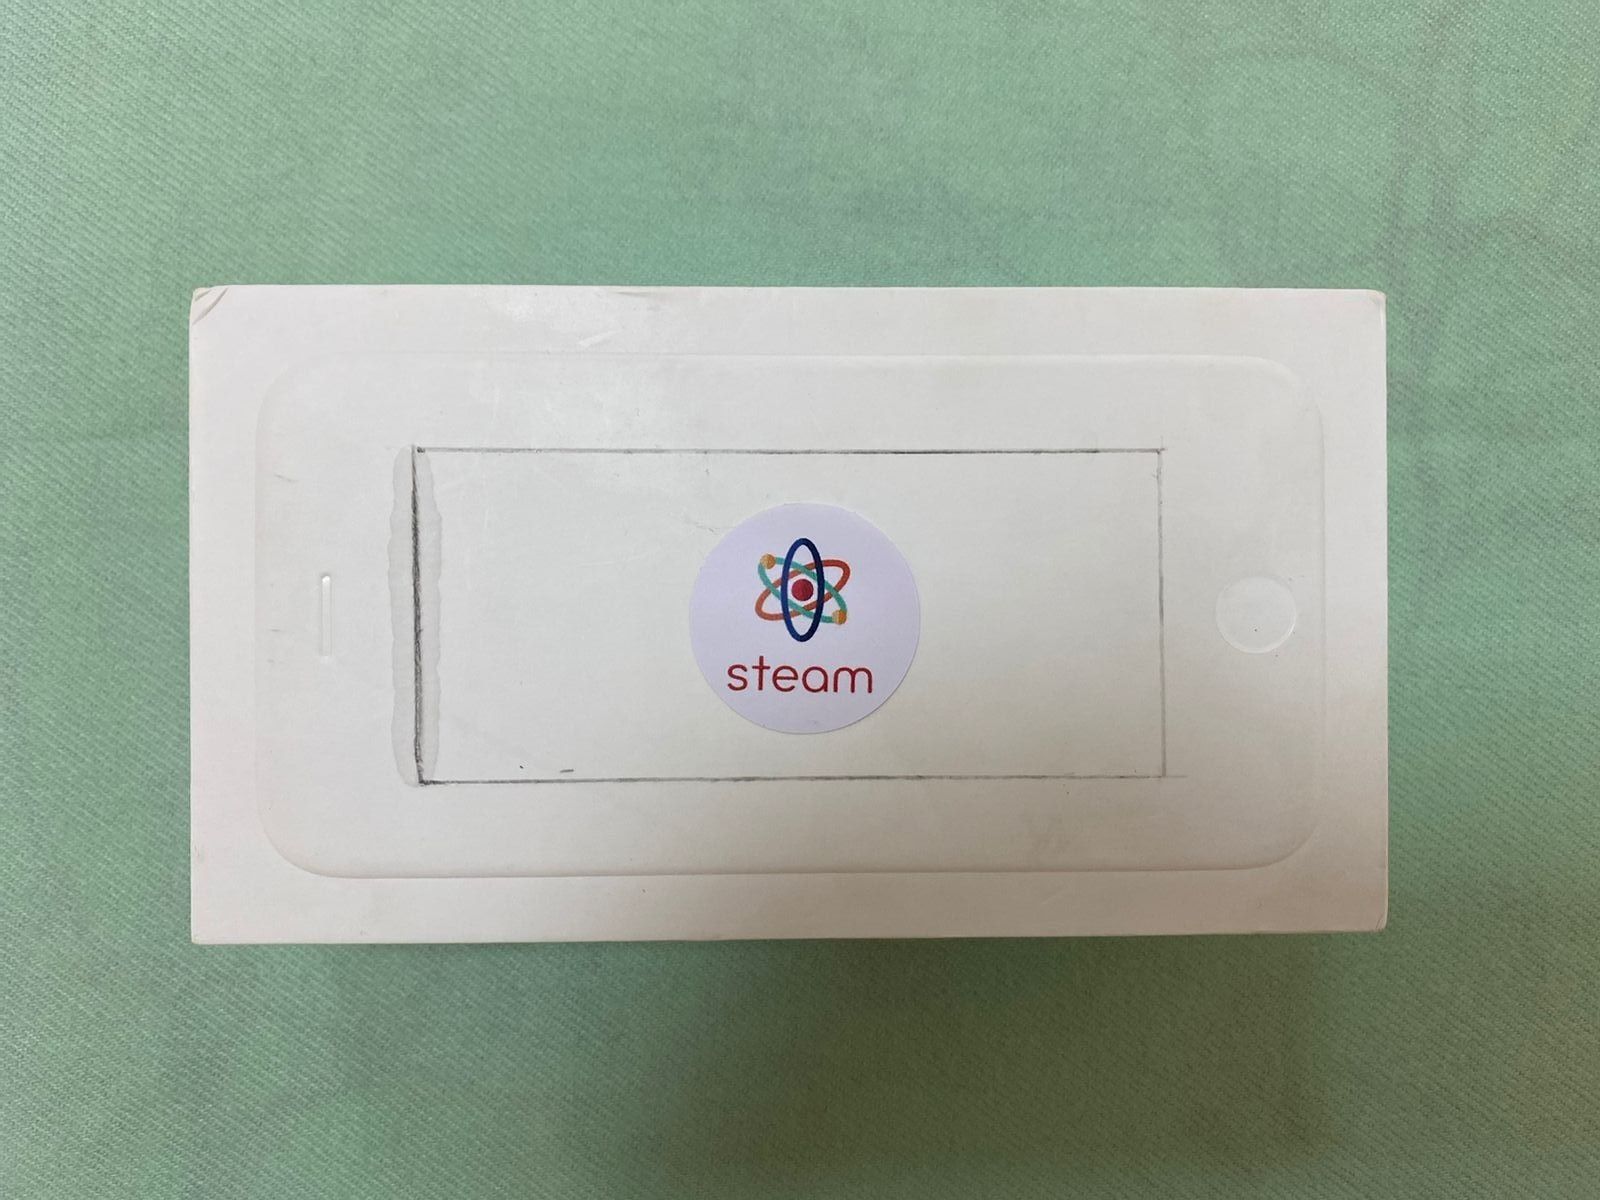
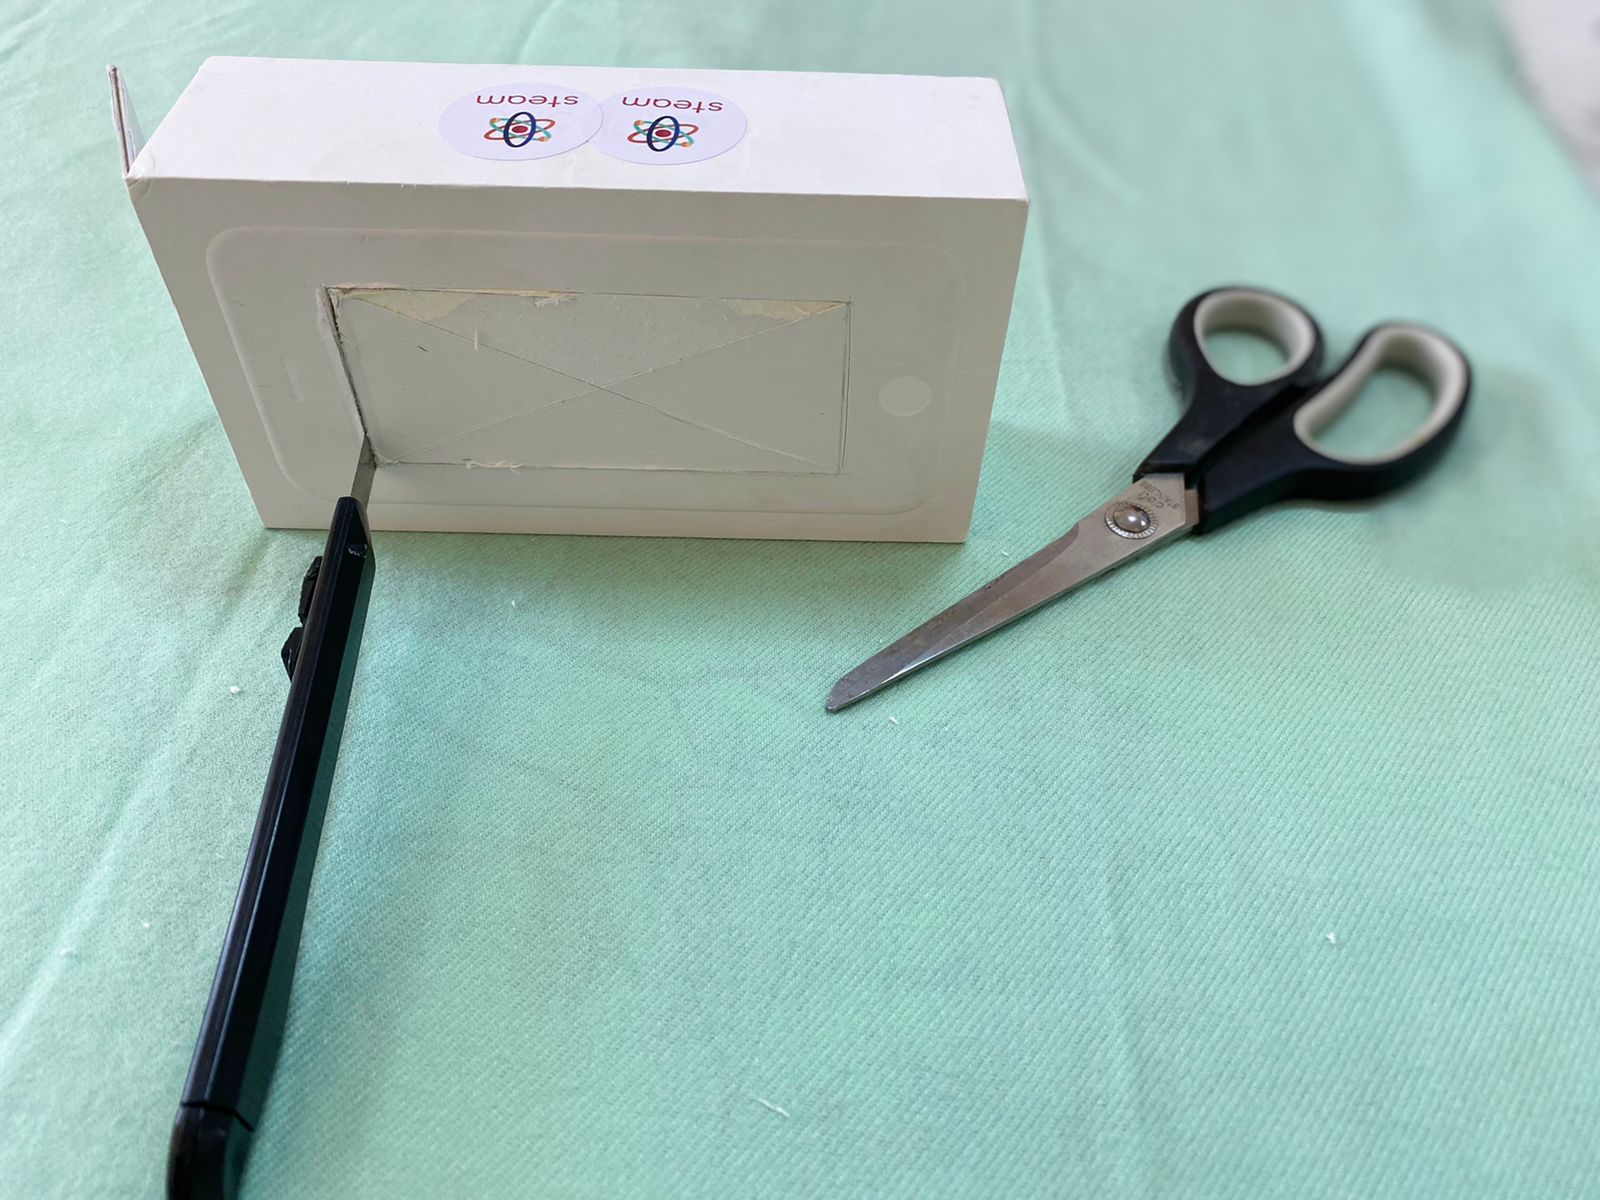
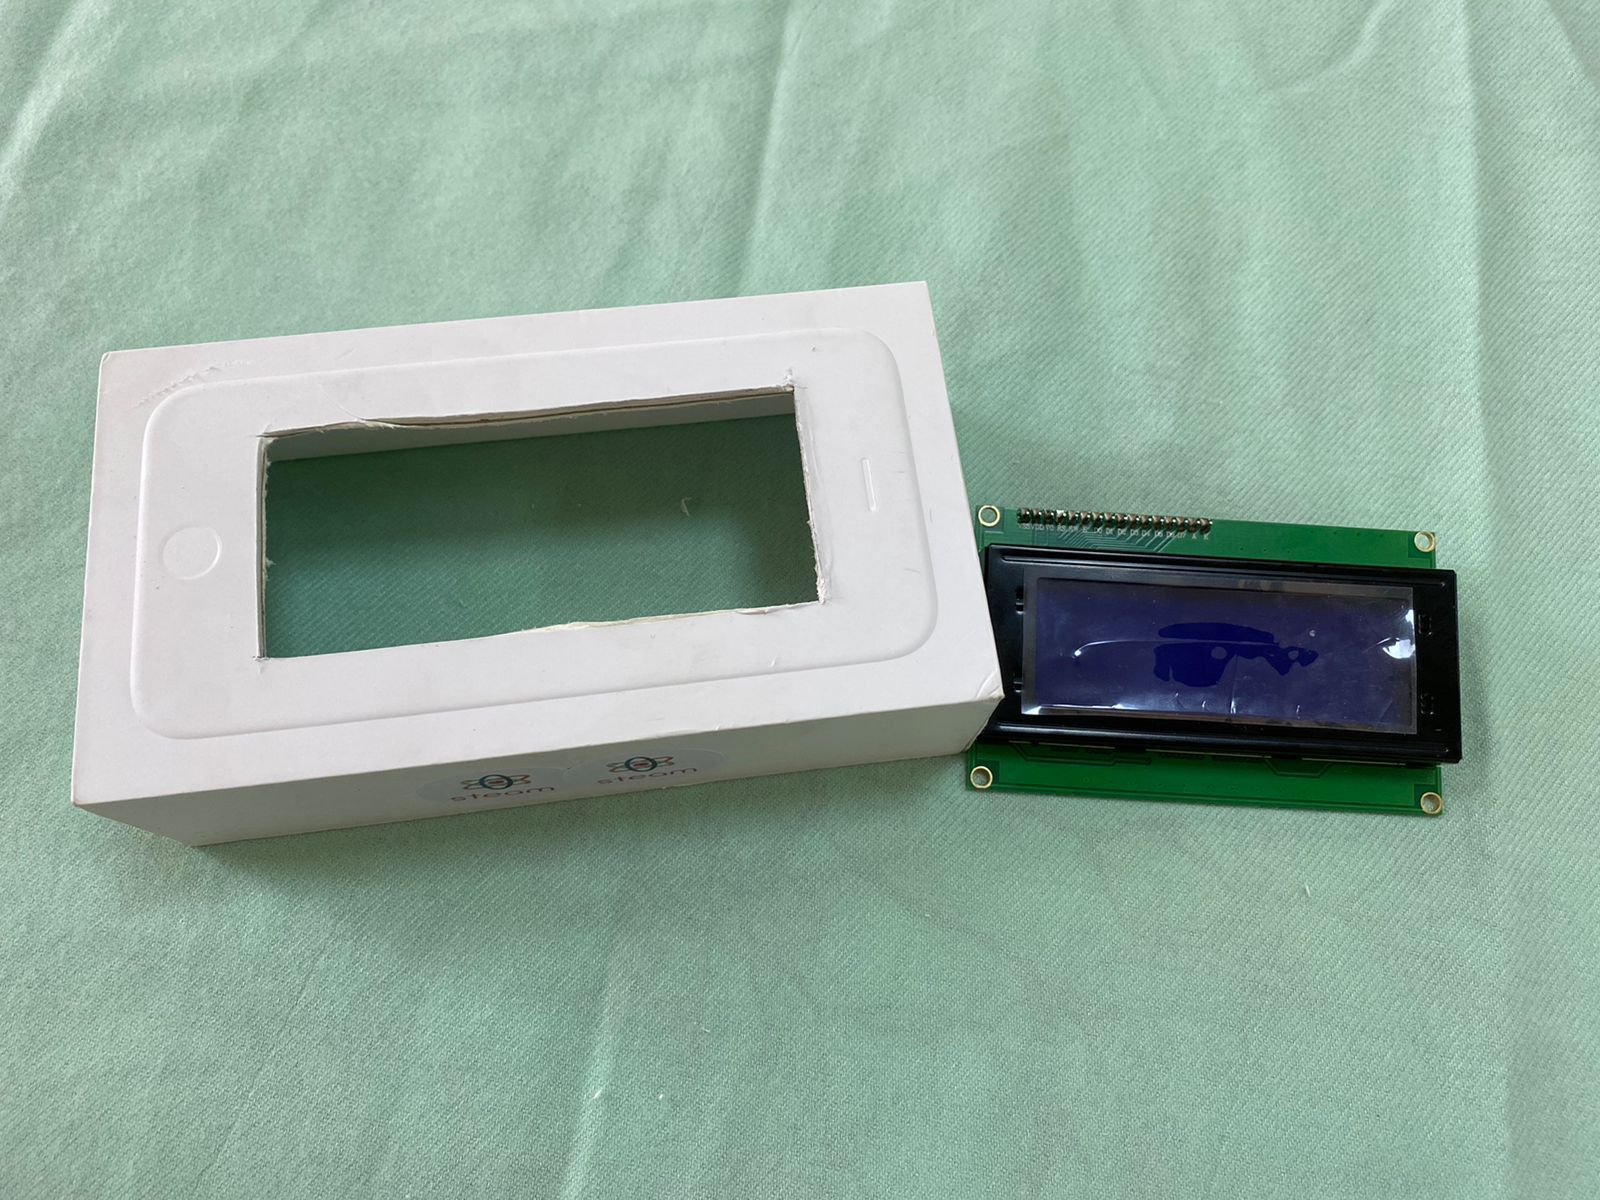
– cut out a place for the display on the plastic material
– install sensors inside the case
– it is necessary to take into account that the sensors get hot, and for ventilation and air circulation it is necessary to cut several small holes on the back of the case.
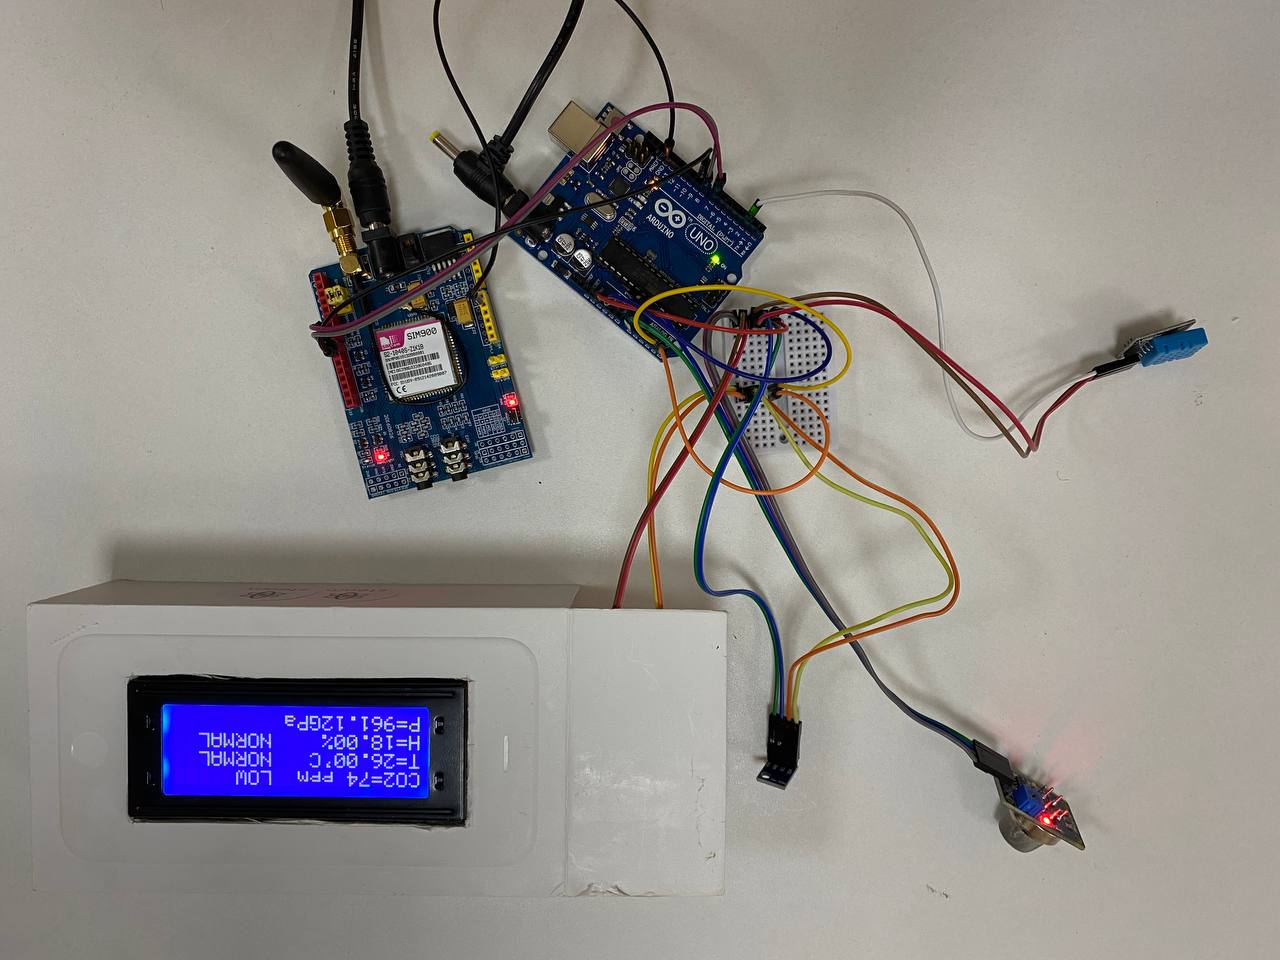
The contents of the weather station and the cardboard case
Conclusion
In week 3, each group, by choice, made a housing for a weather station and installed all the parts in the housing.