
Lesson
Objective:
- To learn to identify the components of an ecosystem;
- classify ecosystems;
- create a terrarium.
Expected Outcomes:
After studying the project, students will have:
- bridging the gap between theoretical knowledge and its application in the real world
- form teamwork skills
- analyze and summarize the information obtained
- independently draw logical conclusions and draw inferences
Teacher’s guide:
- Divide students into groups.
- Before beginning practical work, familiarize yourself with the safety rules by following this link:
- Download the worksheet.
Theoretical part
An ecosystem is classified as a natural and artificial ecosystem depending on its origin. Natural ecosystems include structures in which the cycle of substances occurs without human intervention. Artificial (anthropogenic) ecosystem arose as a result of human activity and is further realized through human activity. Artificial ecosystems are produced in the form of nutritious food, fresh air, and other products necessary for survival, for the benefit of mankind.
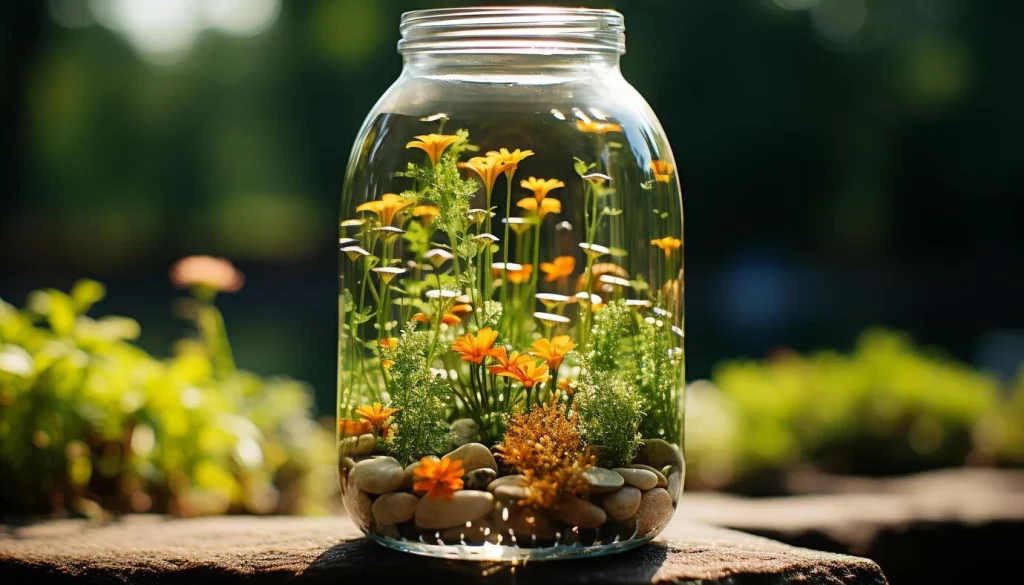
One great way to create a corner of nature is to create a small garden in a glass jar. A terrarium is a miniature garden placed in a glass or plastic container. You can make a terrarium out of any plant, but it is important to choose plants that require the same amount of water and light and do not grow too large.
Practical part
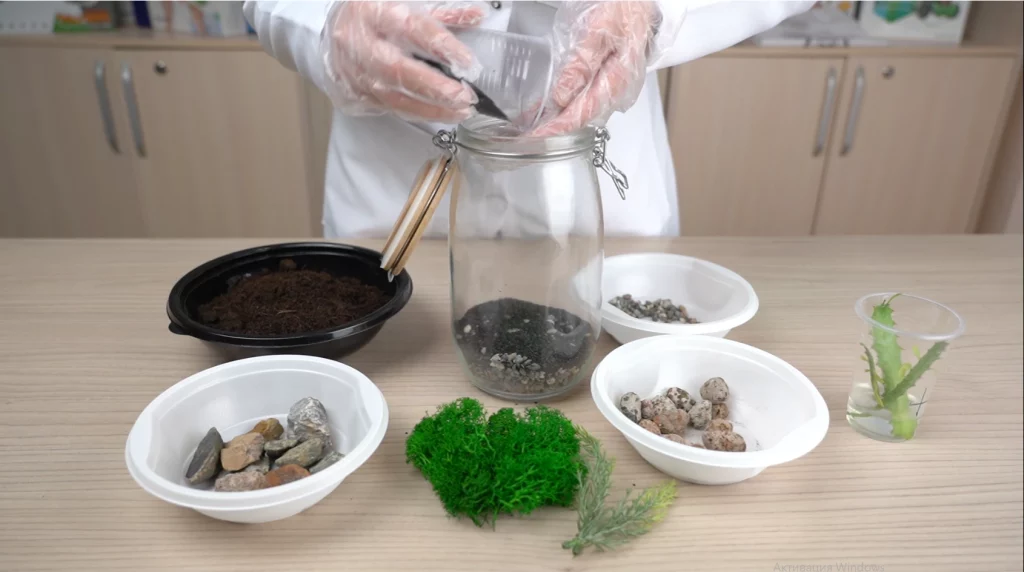
Step 1. Choose the right container for your terrarium. It is best if it is made of glass and has a lid to retain moisture. If the container is dirty, it needs to be cleaned and prepared.
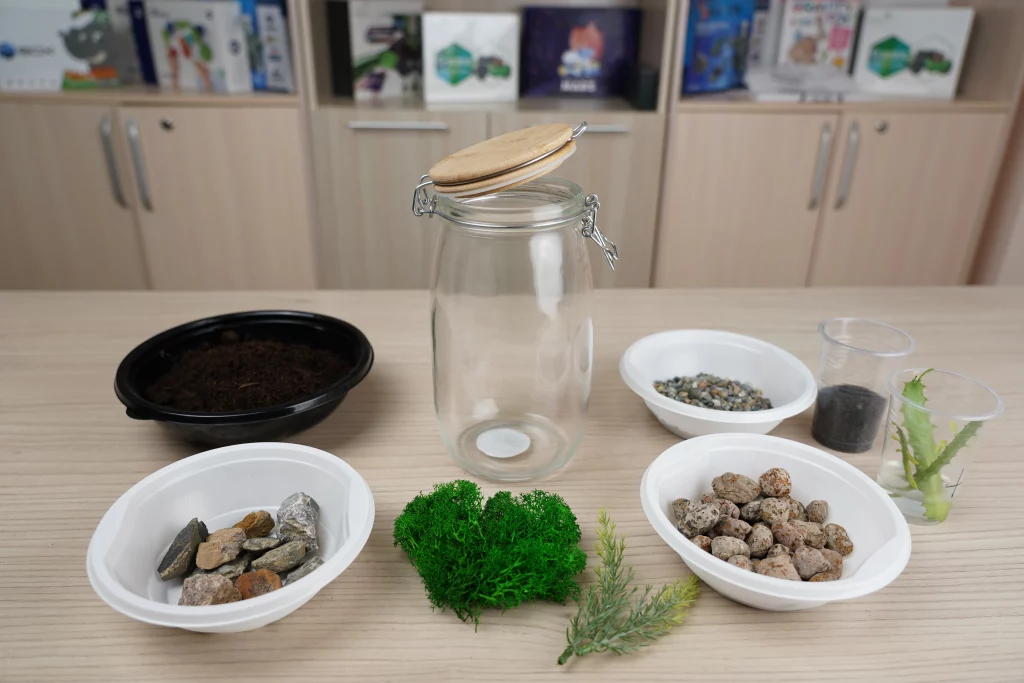
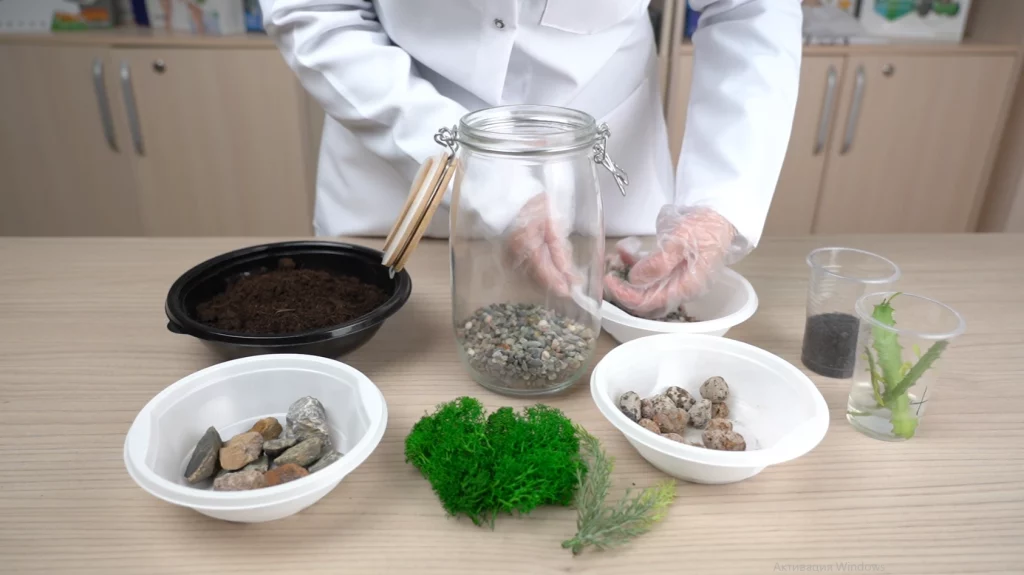
Step 2. Place the drainage in the container. Let its size be proportional to the size of the pot and the type of plant.
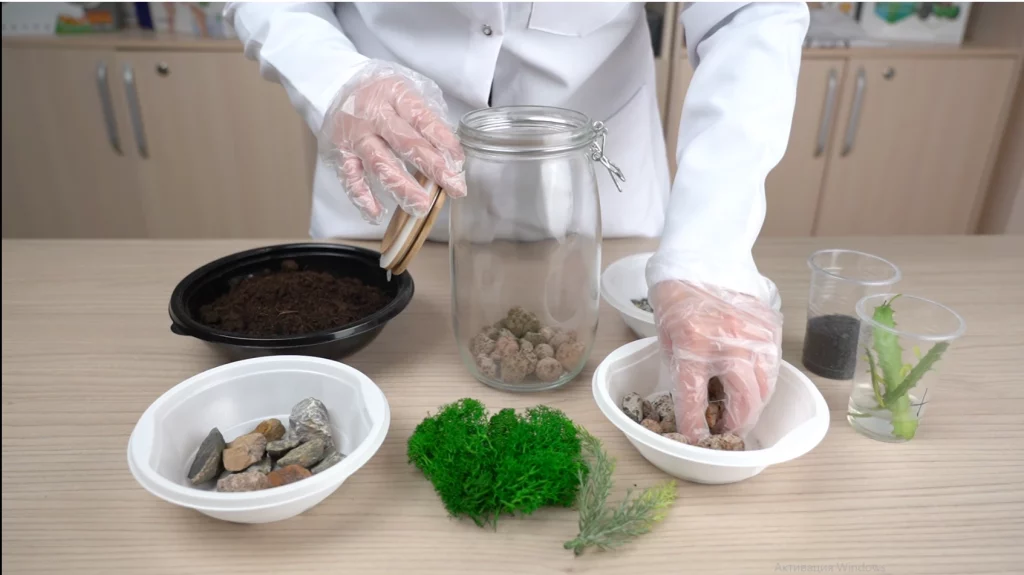
Step 3. Place a thin layer of gravel over the drainage in the container. When placed in the bowl, gently place the materials, being careful not to break the glassware.
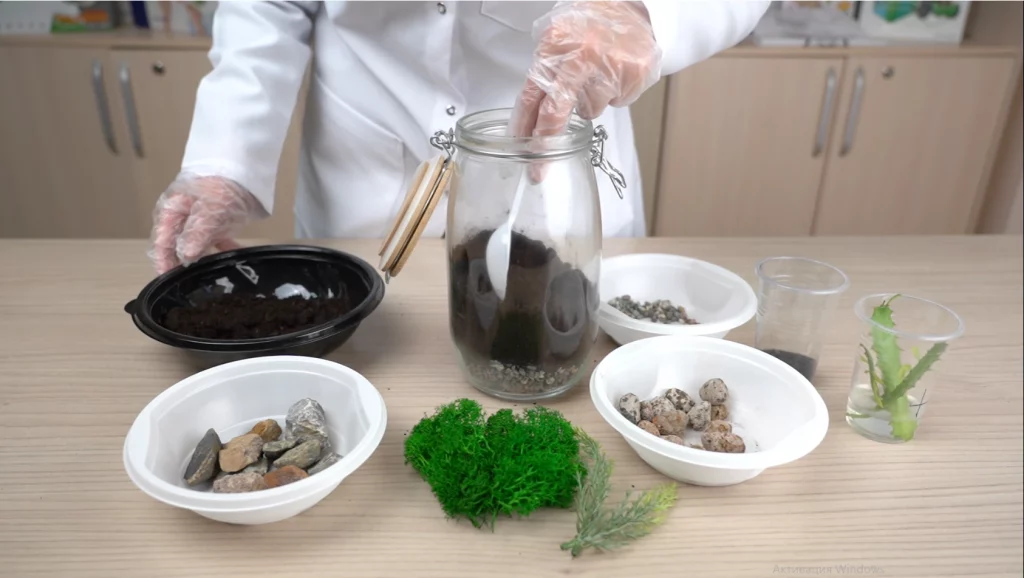
Step 4. Add activated charcoal. This will help keep the terrarium healthy and rid it of bacteria.
Step 5. Fill the container about halfway with soil. Make sure the soil fits snugly so there is no space between it and the walls of the container. Moisten the soil with an atomizer.
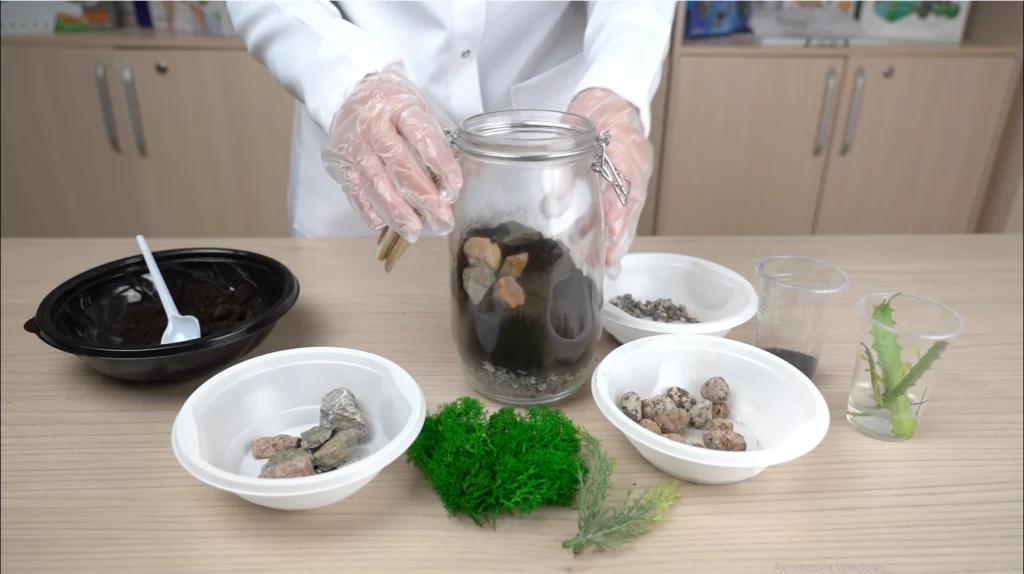
Step 6. You can let your imagination run wild and place a few pieces of rocks in a beauty bowl.
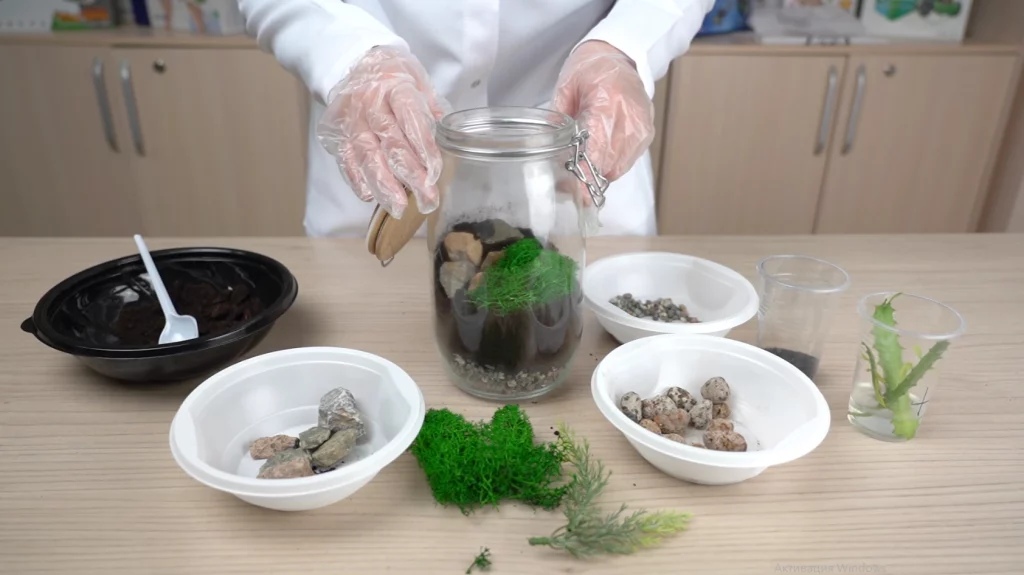
Step 7. Place the moss in the bowl. Do not cover the entire surface of the soil with moss, leave room for planting plants. Stabilized moss was used in this work.
Step 8. Plant the plants or flowers in the terrarium. Be sure to water and root them well before placing them in the terrarium!
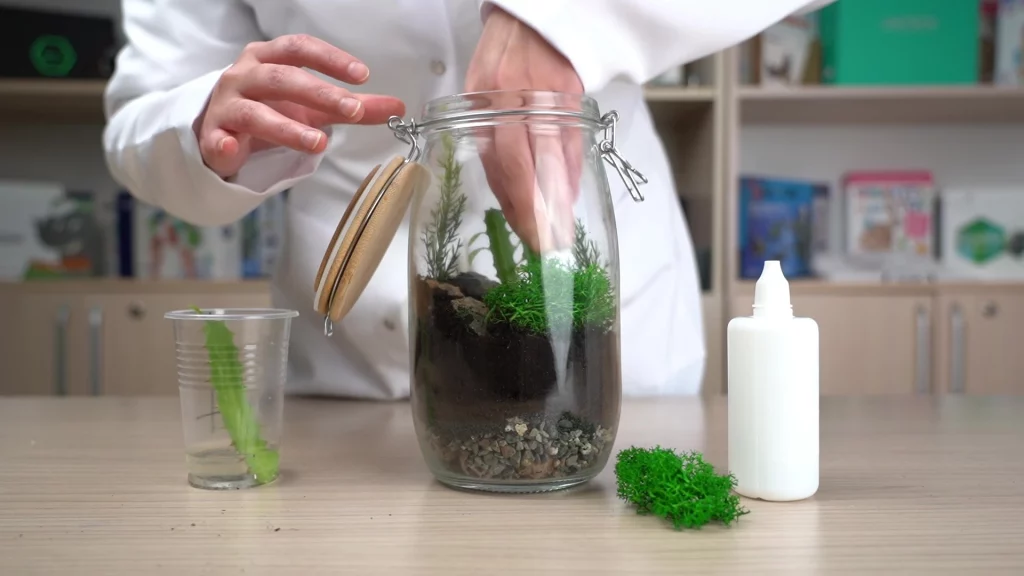
Step 9. You can again decorate the terrarium with rocks, plants, whatever you want. Fill the terrarium with water from a sprayer.
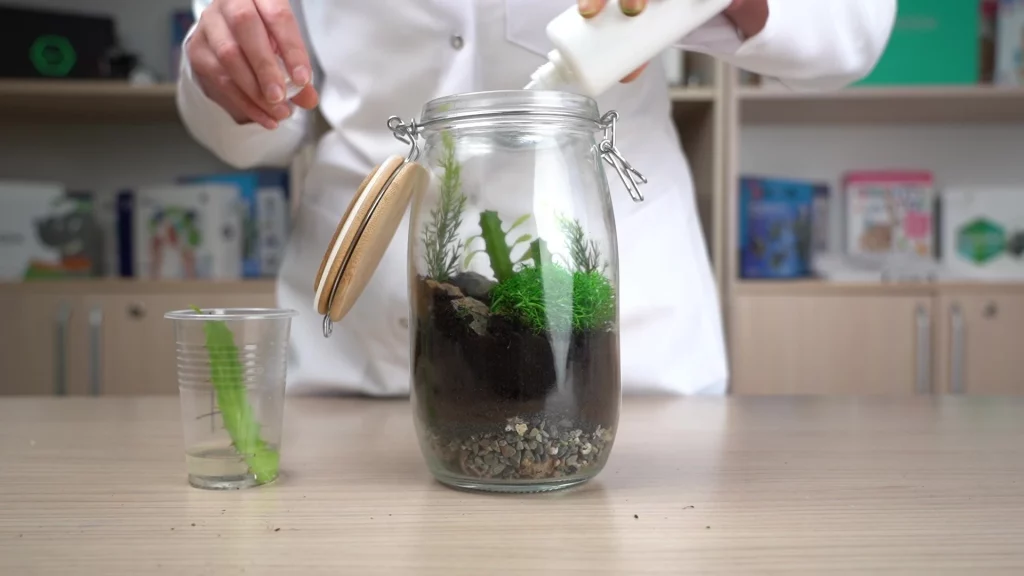
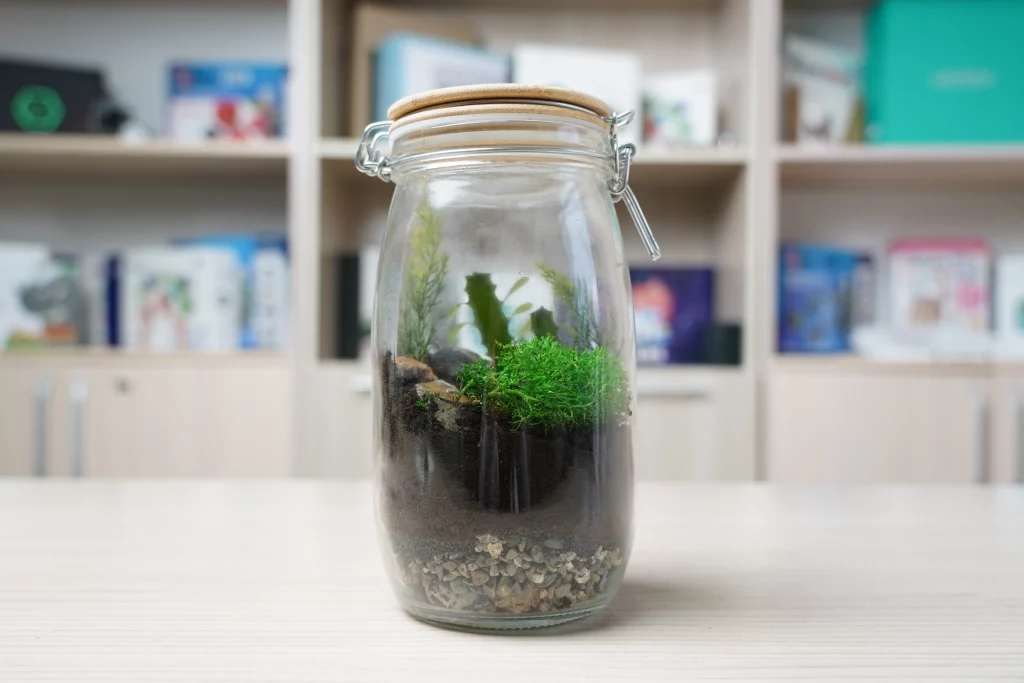
Step 10. With that, the terrarium is ready. An enclosed terrarium cannot be watered too often, watering 1-2 times a month is enough. In addition, the terrarium does not require direct sunlight.
Step 11. Draw conclusions by answering the following questions.
- What plants can be used in the terrarium and how to choose them correctly?
- What is the proper way to care for plants in a terrarium?
- How can ventilation be provided inside a terrarium?
- What uses can terrariums have besides being used as decorative elements?
Conclusion
While completing the hands-on activity of creating a terrarium with your own hands, you gained valuable experience in ecology, biology, and design. This project not only gave you the opportunity to express your creativity, but also enriched your knowledge of how to create and maintain miniature ecosystems inside glass containers.
Thus, creating a terrarium with your own hands was a fun and educational project that allowed you to immerse yourself in the world of nature and ecosystems, and we hope that this work will be an inspiration for further research and ecological studies.