
Lesson
Project Goal
- Create a simple device for generating heat using available materials and introduce students to the basics of energy transformation.
Teacher’s Guide
- The project can be done individually or in pairs.
- Before starting, familiarize students with the materials and explain how to use matches and candles safely. Emphasize the importance of caution when working with an open flame.
- At the beginning of the lesson, explain the PBL (project based learning) categories to your students. 4K skills (critical thinking, collaboration, creativity, presentation)
Theory
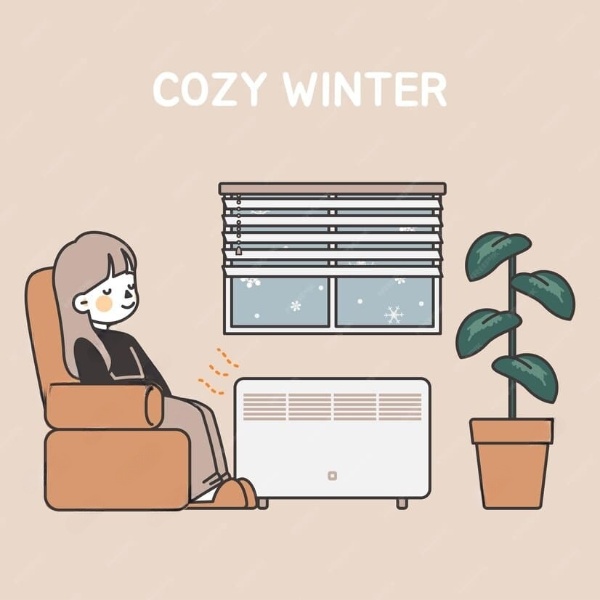
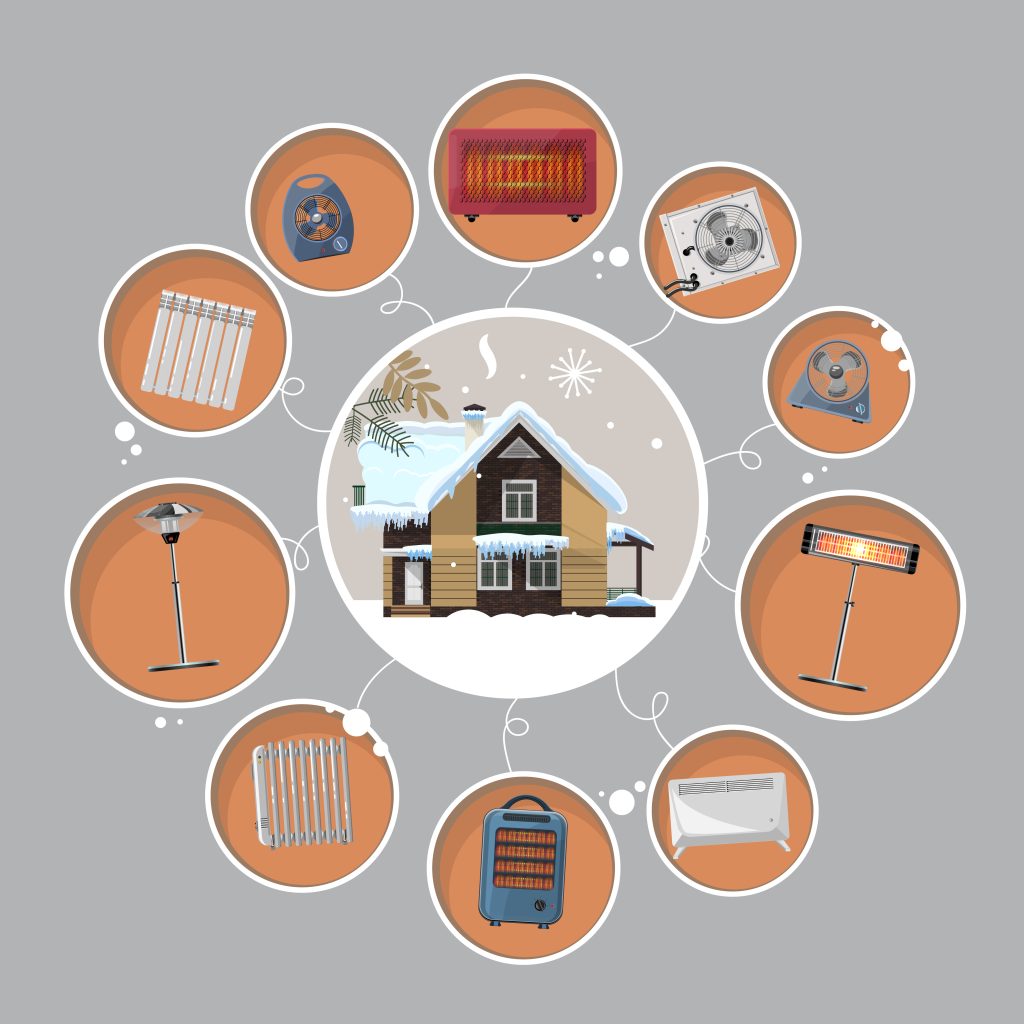
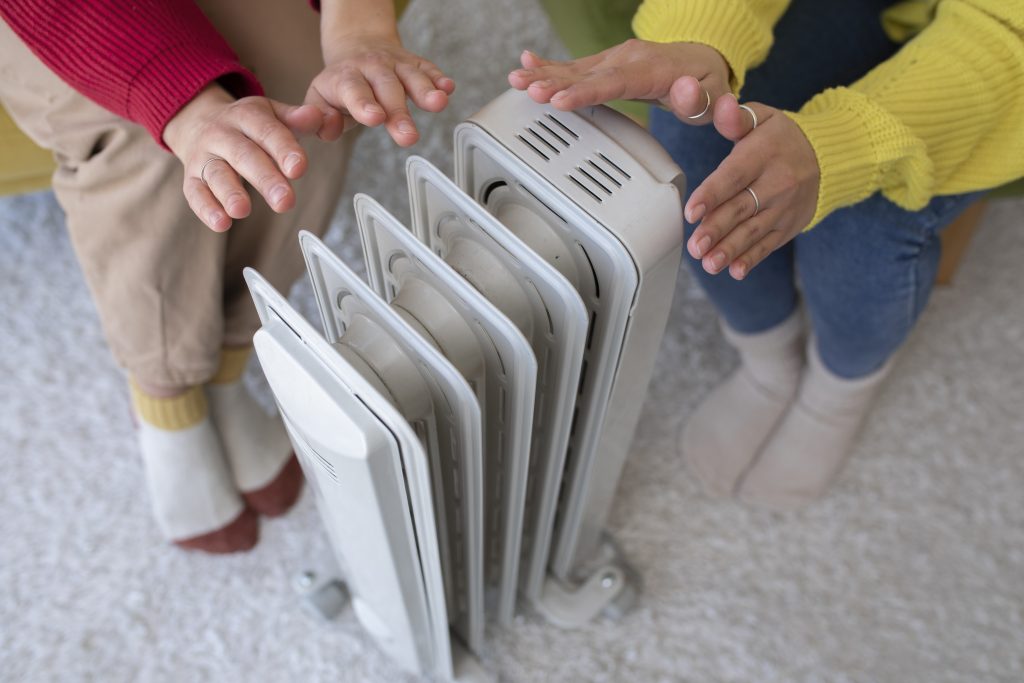
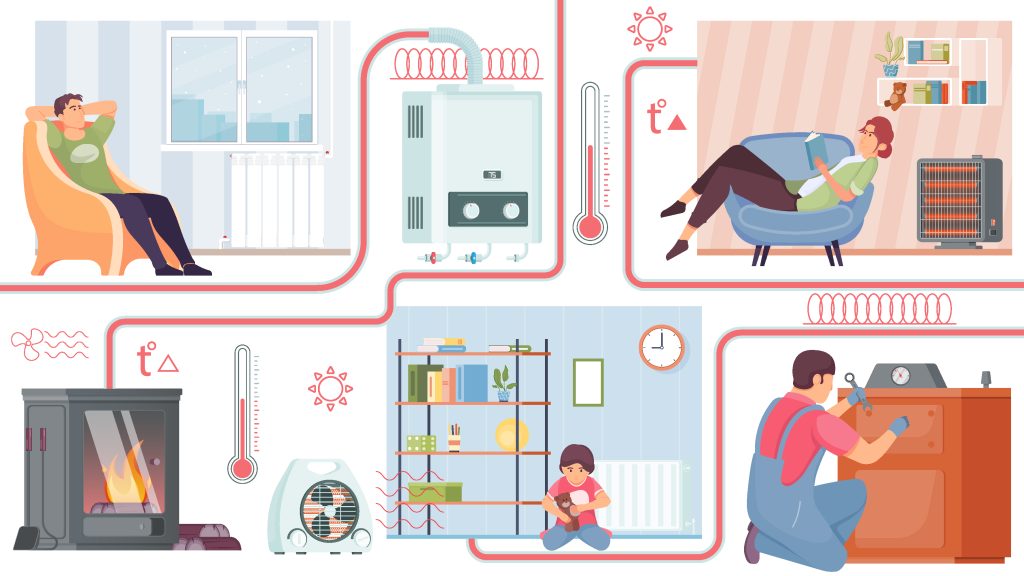
When it’s cold outside, we all want to be warm and cozy! There are many ways to stay warm, like using heaters. Some heaters use electricity, some use gas, and sometimes even candles can make a space feel warm and nice.
How Did People Stay Warm Long Ago?
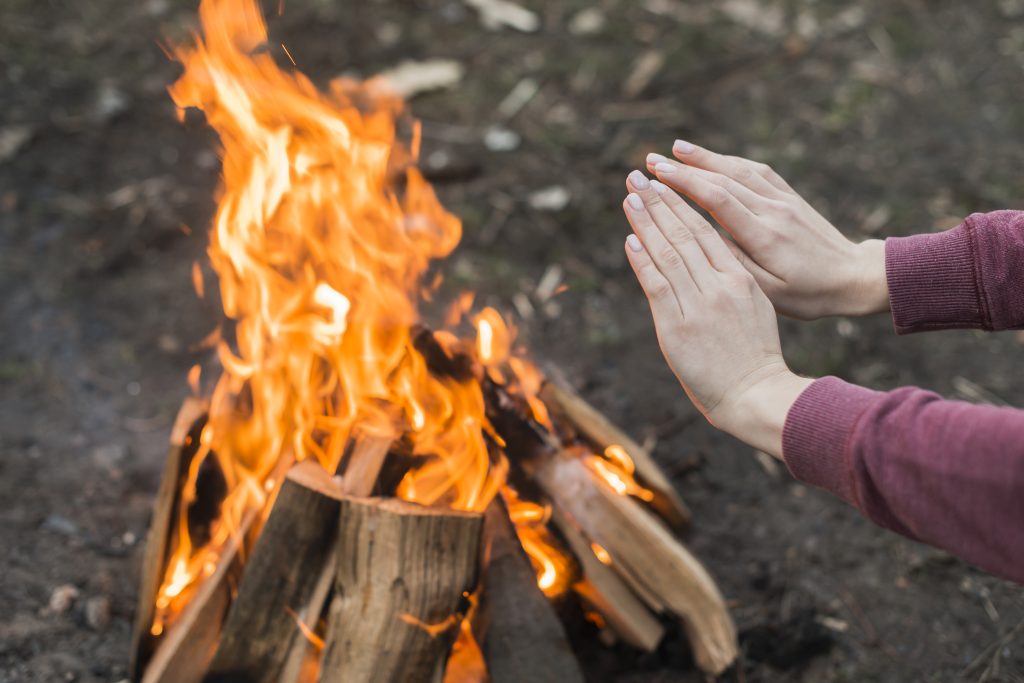
A long time ago, before we had electric heaters, people would make fires or light candles to keep warm. Fire gives off heat, which spreads around and keeps people cozy.
How Do We Keep Heat Inside?
In the winter, we close windows and doors tightly, and sometimes put thick curtains up to keep the cold out. This helps keep the warmth inside our home so we stay warm.
How Will Our Heater Work?
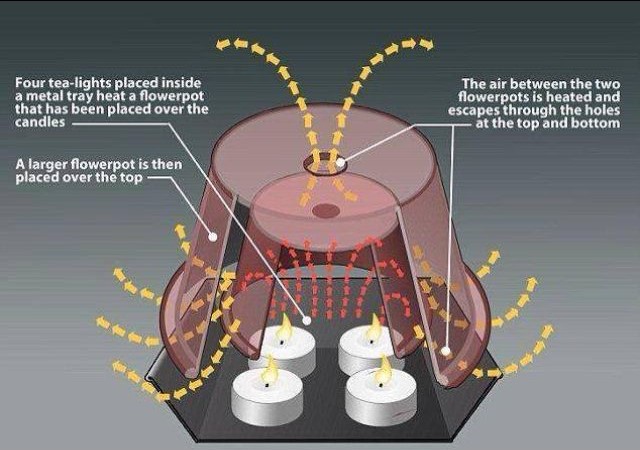
Today, we’re going to make a little heater using a candle! We’ll use some special materials that help our heater work well.
- Shiny Foil Tray: Foil is shiny and reflects heat. When the candle is burning, the foil helps keep the heat going in the right direction instead of letting it spread out too much.
- Metal Knitting Needles: We’ll use metal needles to hold up the flowerpot over the candle. The metal is strong and can handle the heat without getting too hot itself.
- Clay Flower Pot: Clay is great for keeping heat. When the candle warms the flowerpot, it slowly gets warm and then spreads that warmth into the air around it. This helps our heater keep working for a long time!
Let’s Make Our Own Heater!
Now that we know how heaters work, let’s make one ourselves! We’ll use a candle, some metal needles, and a flowerpot to make a heater that can warm up a room. This project is not only useful, but also really fun! We’ll see how heat spreads and how we can use simple things to make something cool.
As we work on this project, you’ll learn how to be safe around fire and see why each material we use is important for making the heater. You’ll watch as the candle warms the flowerpot and feel the air around it getting warmer.
Are you ready to try it out? Let’s make our heater and see how warmth really works!
Practical Part

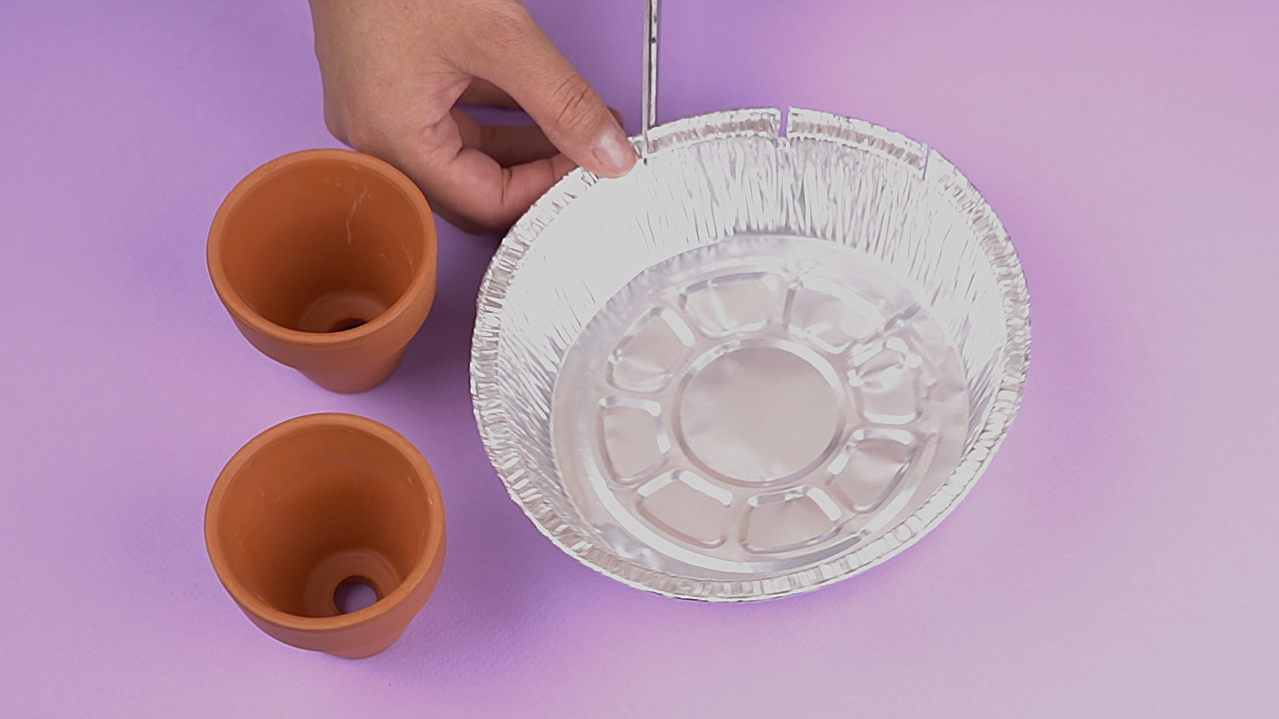
Step 1: Cut 10 small indentations along the edges of the foil tray to insert the needles. Place the indentations like this: two on each side and three on the other two sides. This will help secure the needles in place.
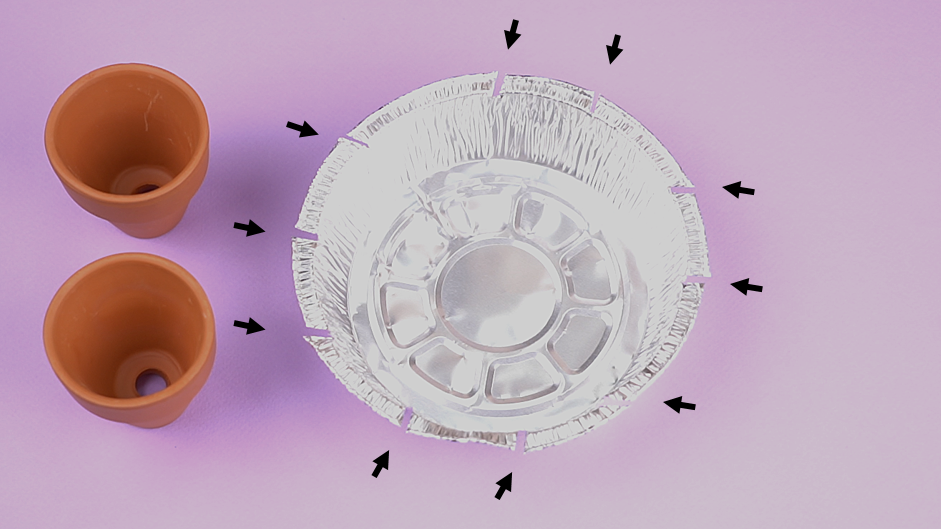
Step 2: Place the candle inside the tray — this will be the base of your heater.
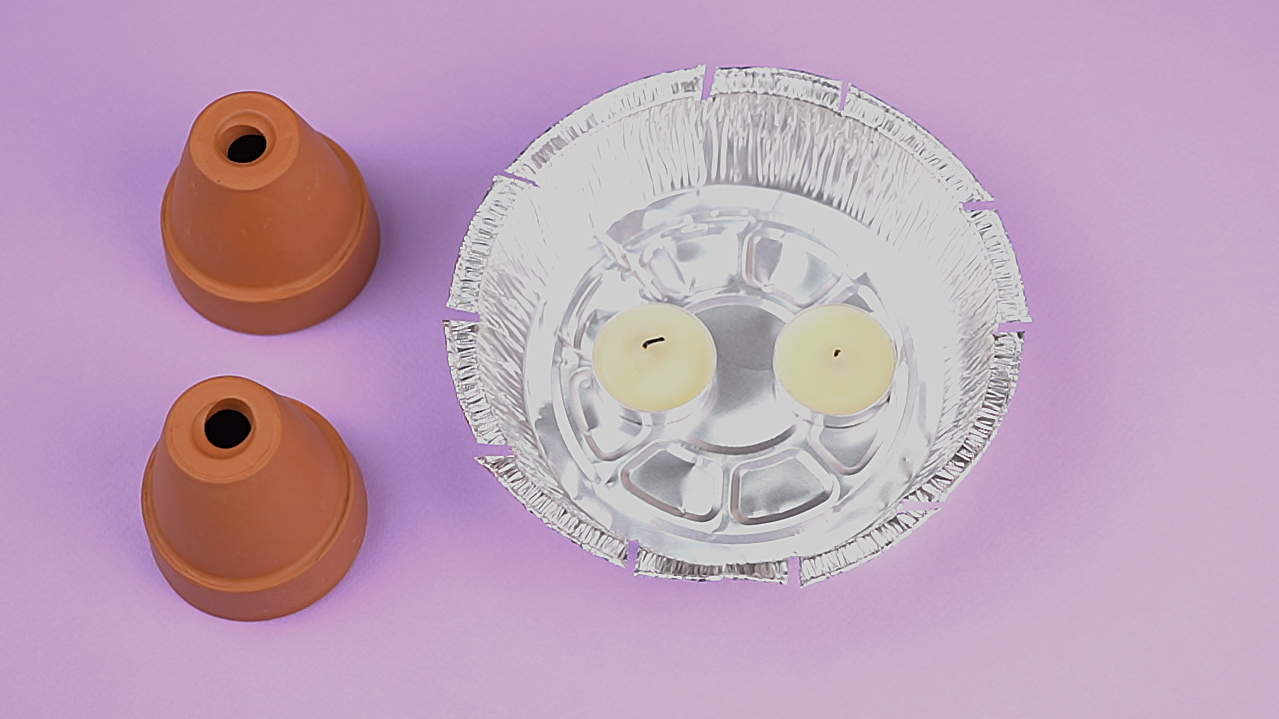
Step 3: Arrange the needles around the candle to create a frame that will hold the pot. Make sure the needles are high enough so there’s space for air between the candle and the pot.
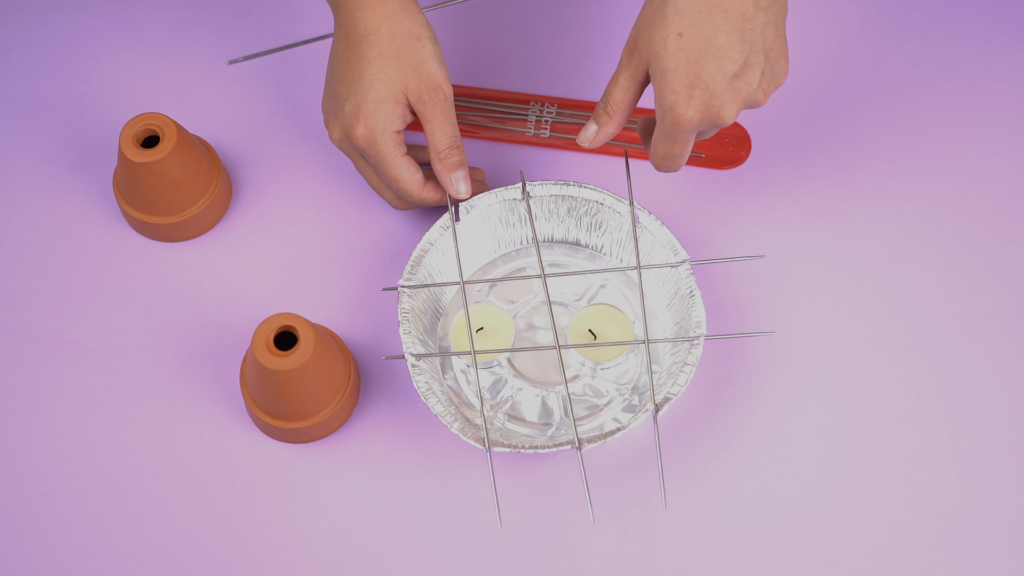
Step 4: Place the clay pot on top so that it rests on the needles and sits above the candle.
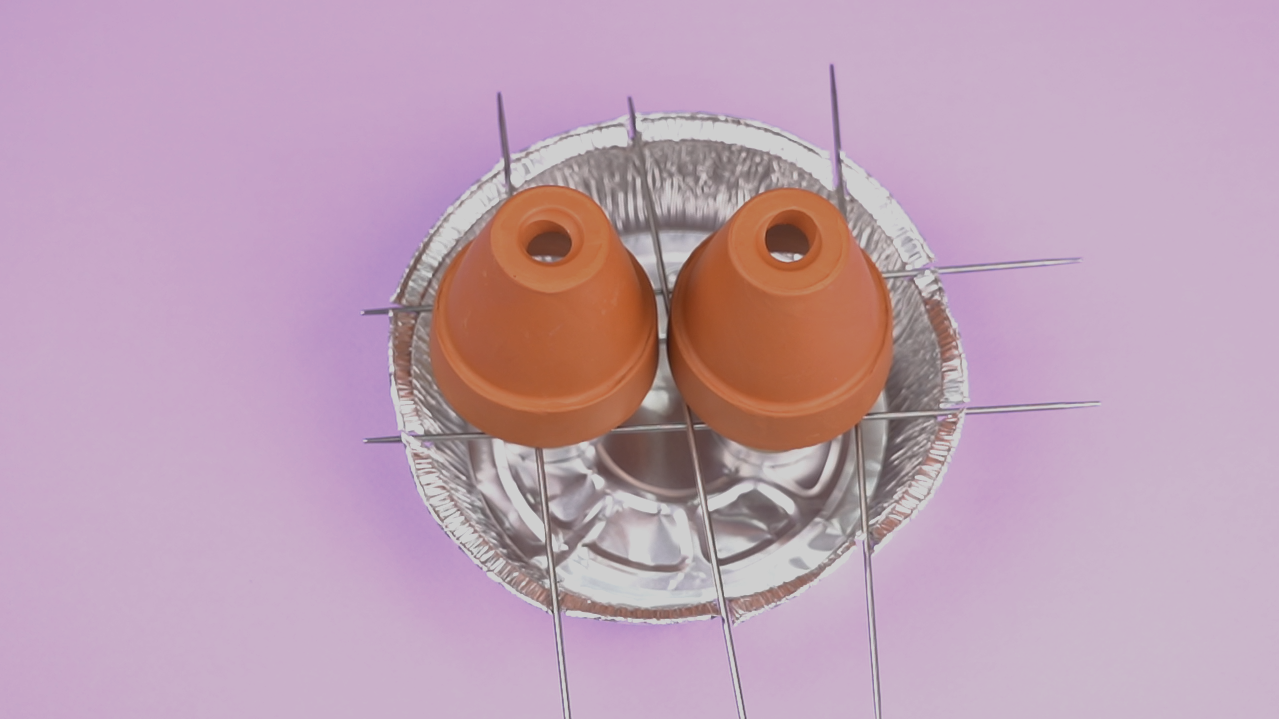
Step 5: Carefully light the candle using matches.
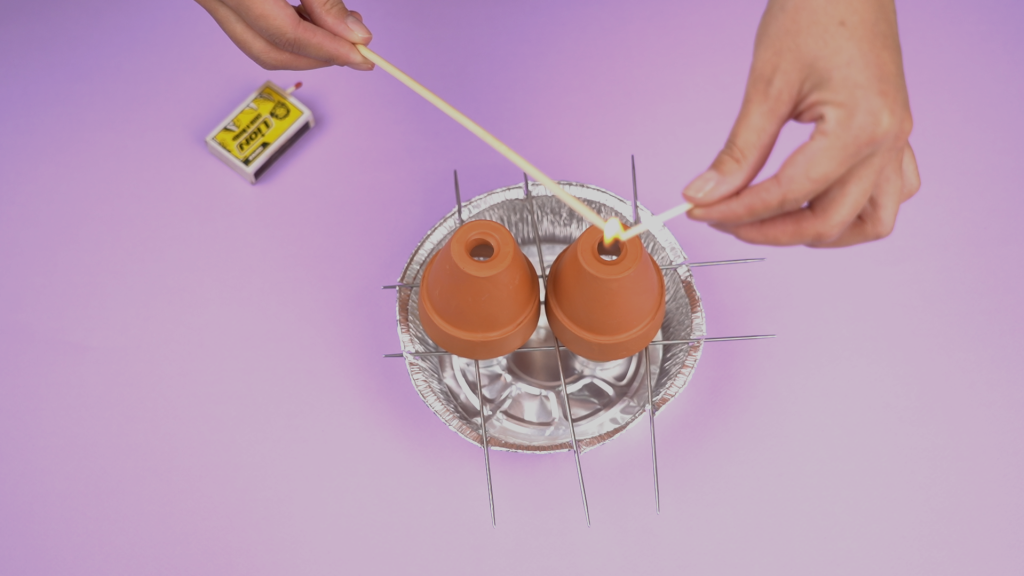
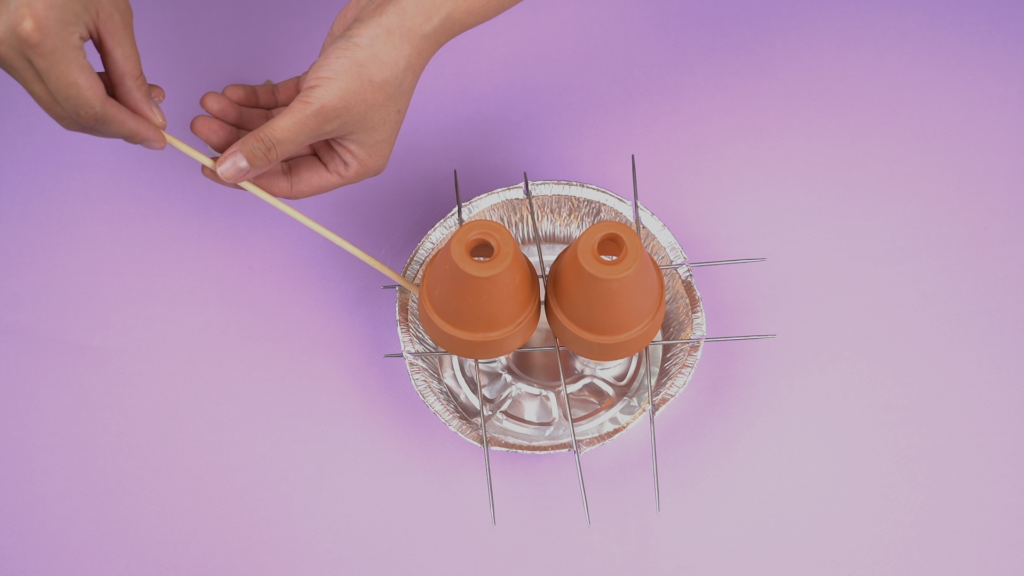
Done! Your heater is now ready. Enjoy the warmth as the candle heats the clay pot and see how the warmth spreads around the room!

Conclusion
This project demonstrates how you can create a simple heater using basic materials. Students will be able to observe how heat travels from the candle to the clay pot, and how the heat is then radiated into the air around them.

In this project, each student is awarded a STEAM title in several categories:
- By using engineering skills and creativity, you have created your very own heater! You are a true Inventor!
- You have learned how heat is transferred in practice! Now, You are a Scientist-Physicist!