
Lesson
Project Objective:
- To distinguish between quantities: length/mass/volume/time, to choose measures and tools to measure them, to take measurements.
Teacher’s guide
- Divide the students into groups of 4-5 for the project.
- Make sure that the students are familiar with clocks before beginning the experiments.
- Introduce the students to the project and provide them with all the necessary materials before starting the practical part.
- Give a brief instruction on the safety rules for working with scissors, hot glue, etc.
- At the beginning of the lesson, explain the PBL (Project Based Learning) rubric to the students. 4K Skills (Critical Thinking, Collaboration, Creativity, Presentation).
Theoretical part
A clock is a device that helps us to know what time it is. They show whether it is day or night, morning, afternoon, or evening.
Parts of a clock
- Dial: A round or square plate on which the numbers 1 to 12 are drawn.
- Hands: Long and short hands that move around the face.
- Numbers: From 1 to 12 that indicate the hours.
- Dashes: The little lines between the numbers that show the minutes.
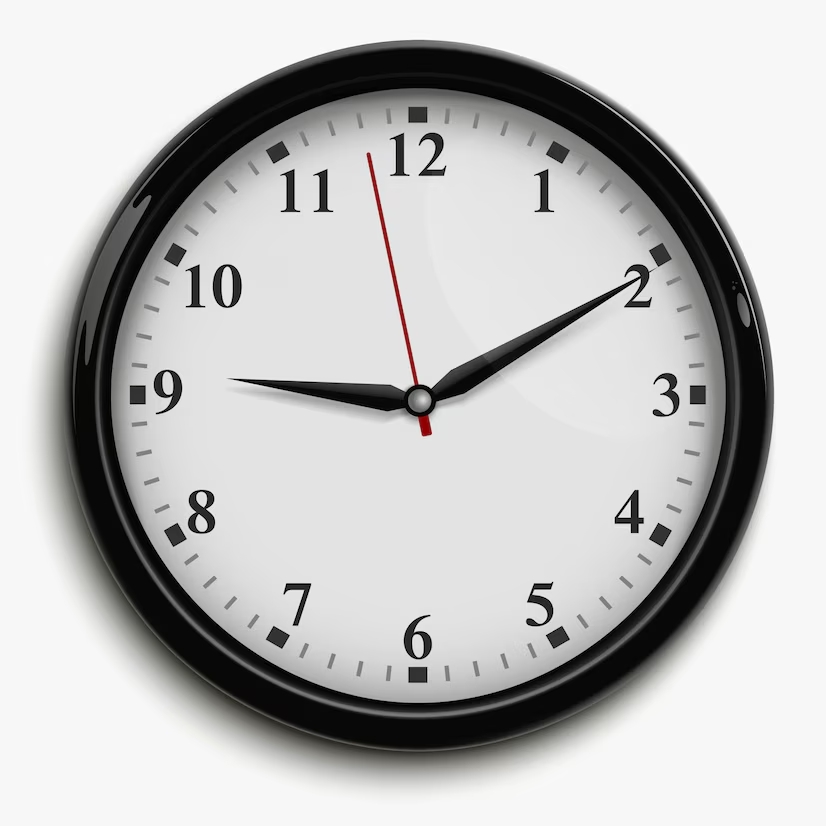
How does the watch work?
- Shorthand: Shows the hours. It moves through one division in an hour.
- Long hand: Indicates the minutes. It makes a full circle around the dial in one hour.
- Tick-tock: This is the sound a clock makes when the hands move.
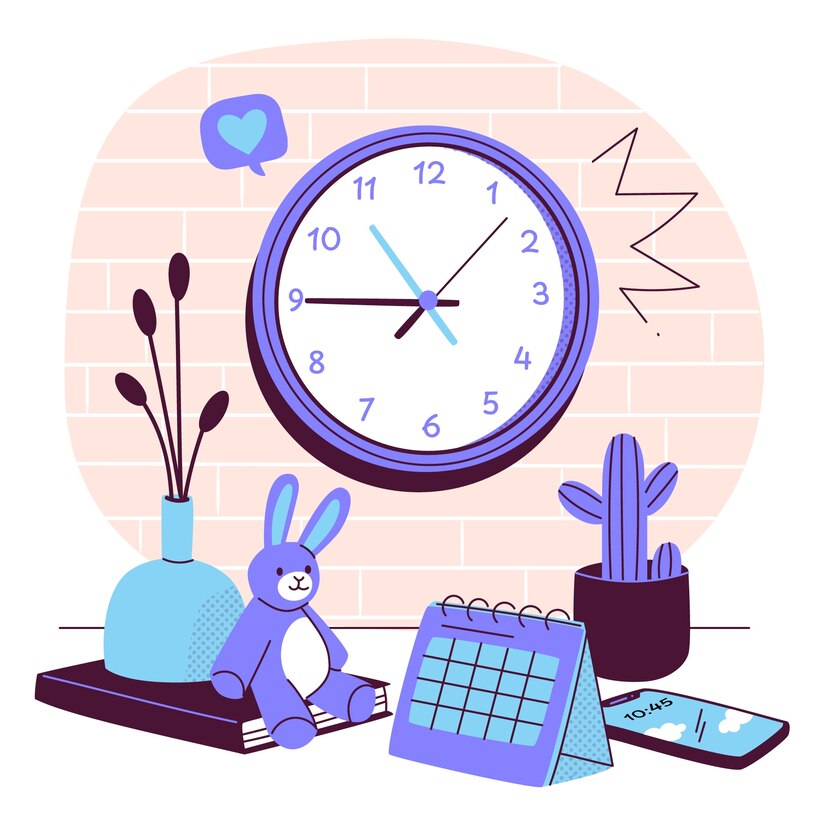
Why do we need a watch?
- To be on time: Clocks help us get to school and class on time.
- To plan the day: They tell us when it is time to eat breakfast, lunch, go for a walk, or go to bed.
- To meet friends: Clocks help us agree on a time to meet.
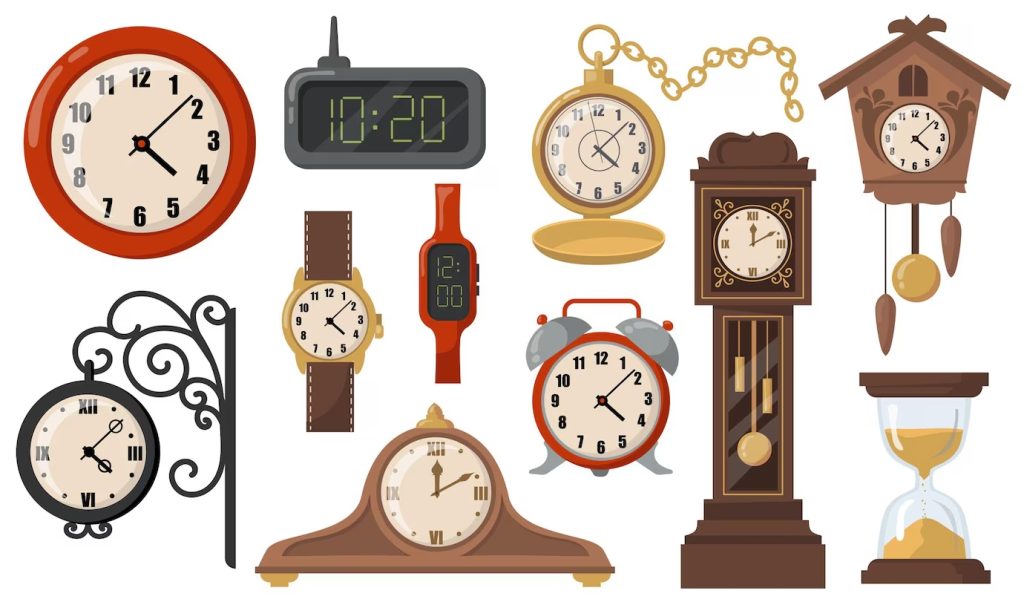
Different types of clocks
- Wall clocks: For hanging on the wall.
- Wrist watches: Worn on the arm.
- Alarm Clock: Rings at a set time.
- Electronic: Displays the time on a screen.
Practical part

1. Take a piece of A3 felt. On it, draw a circle with a diameter of 29-29.5 cm. Cut out the circle with a pair of scissors.
2. Print out the clock shape and the minute paper on A4 sized paper. Download from the link: hours and minutes
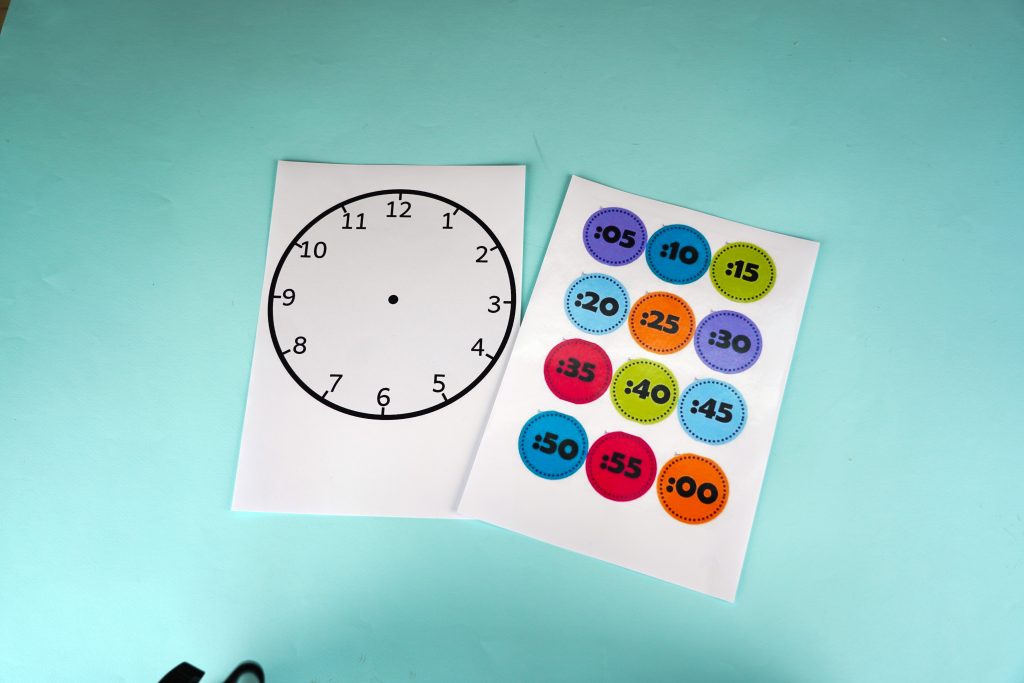
3. Cut out the clock shape and the circles with the minutes.
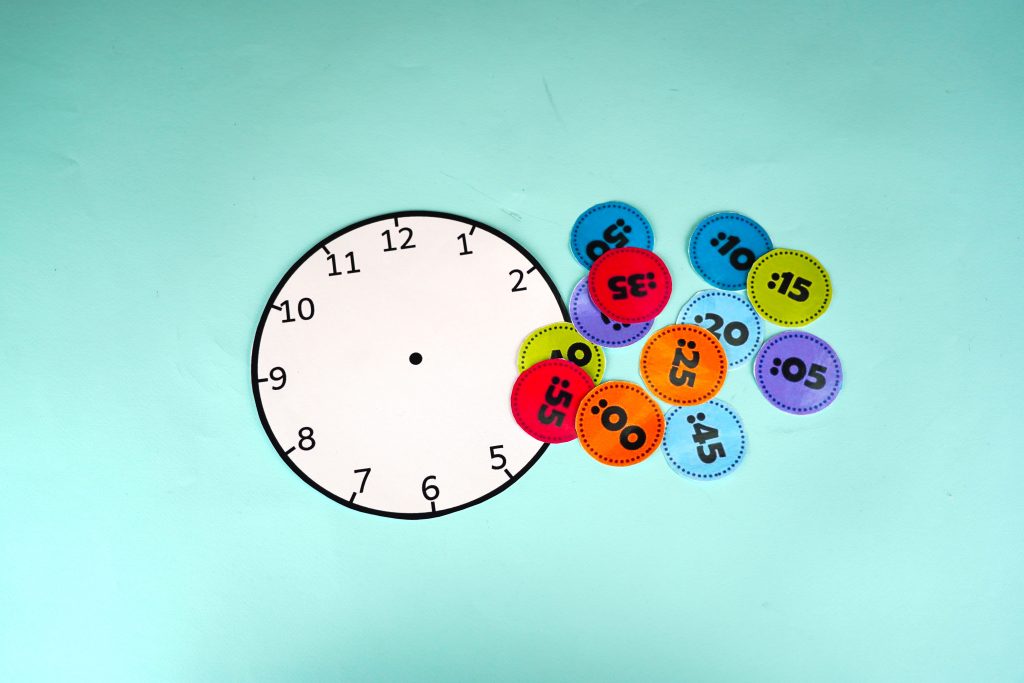
4. Place the clock in the center of the felt circle.
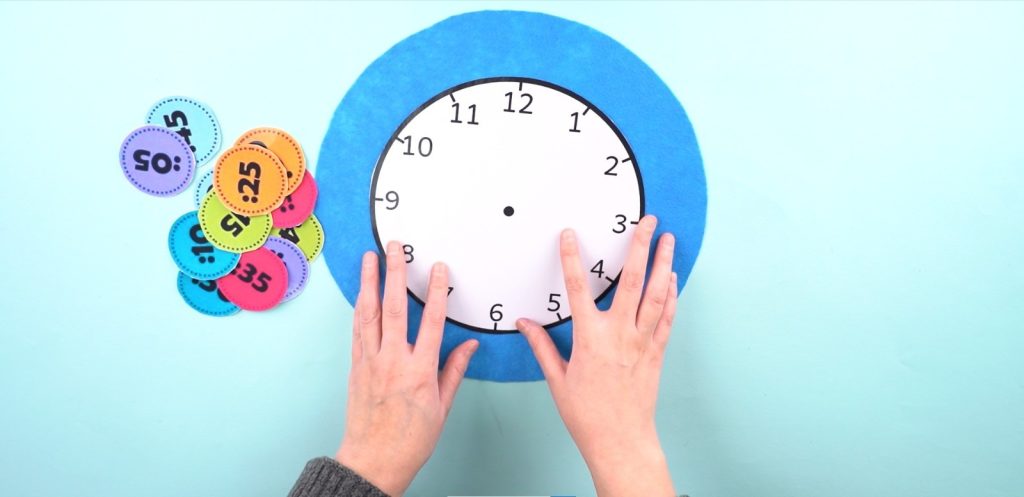
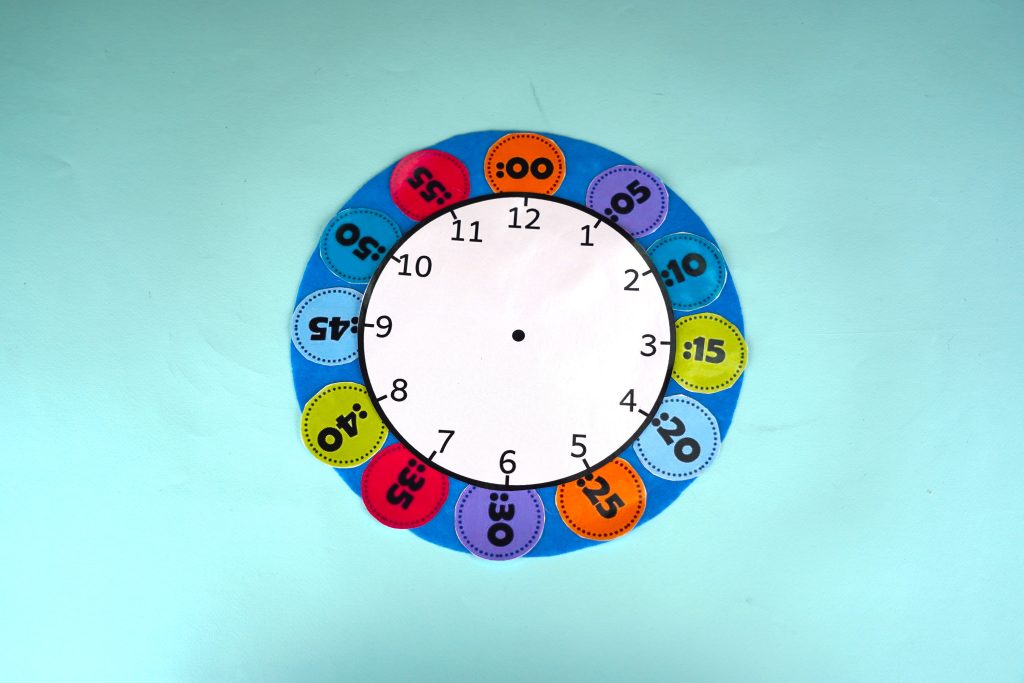
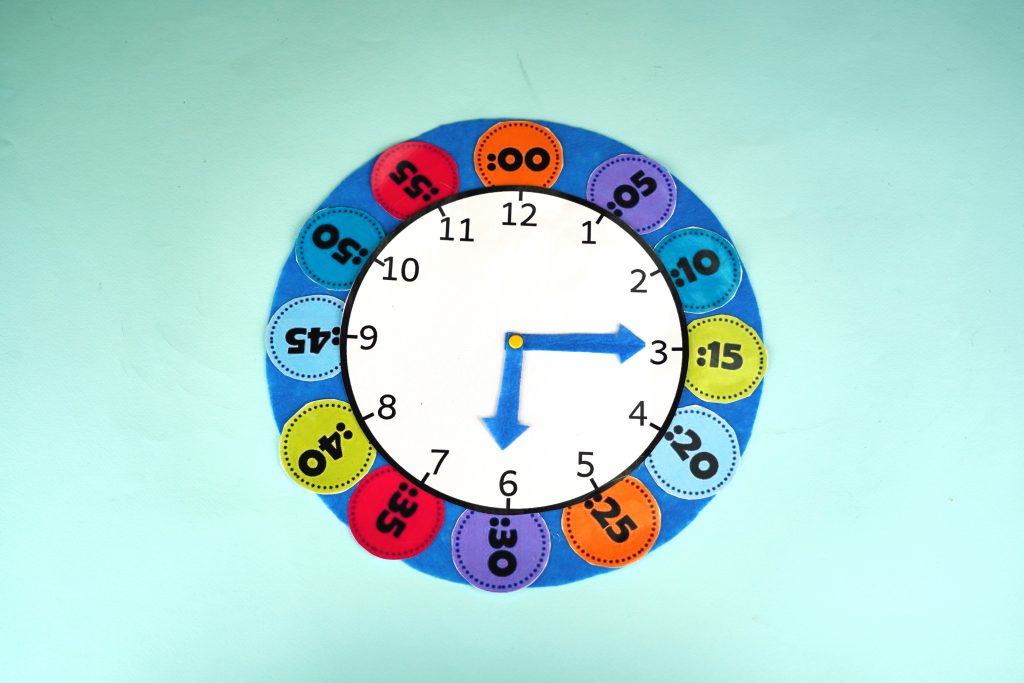
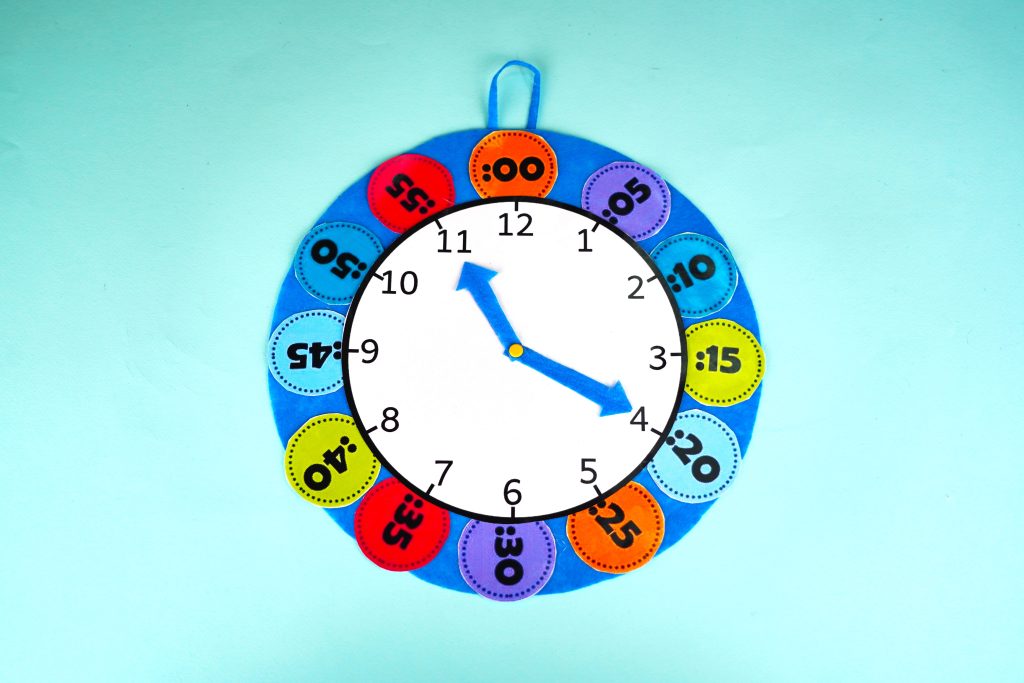
5. Place the minutes around the clock. At 1 hour 05 minutes, at 2 hours 10 minutes, at 3 hours 15 minutes. After gluing the minutes, glue the clock in the center.
6. Cut two rectangles 83 and 73 cm long from the folded part of the felt. Use these to make the clock hands. Pierce the stem of the clock hands with a sharp object.
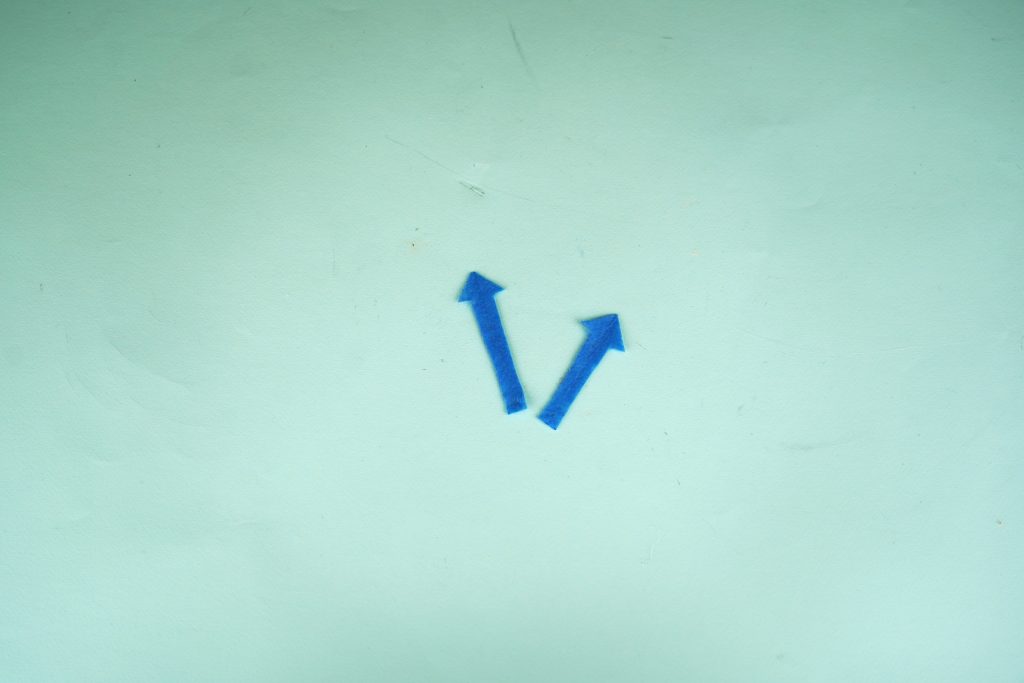
7. Place the clock hands in the center of the clock using a brad.
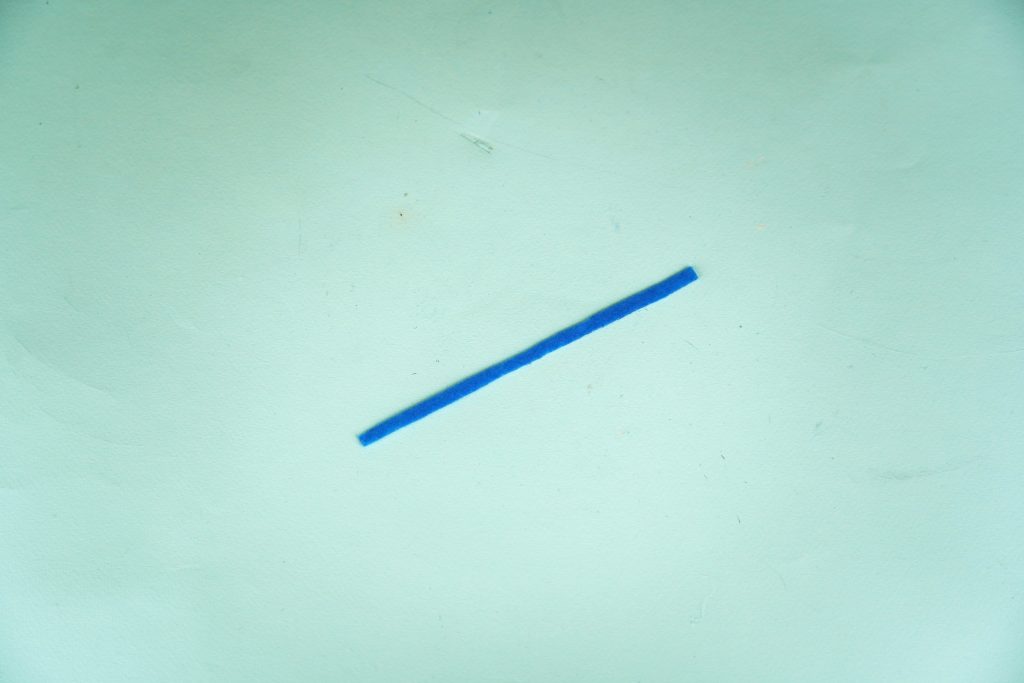
8. Cut out a long rectangle of felt 15*0.5 cm.
9. Glue the long rectangle to the top of the clock. It serves as a hanger for you, you can hang the clock on the wall using the hanger.
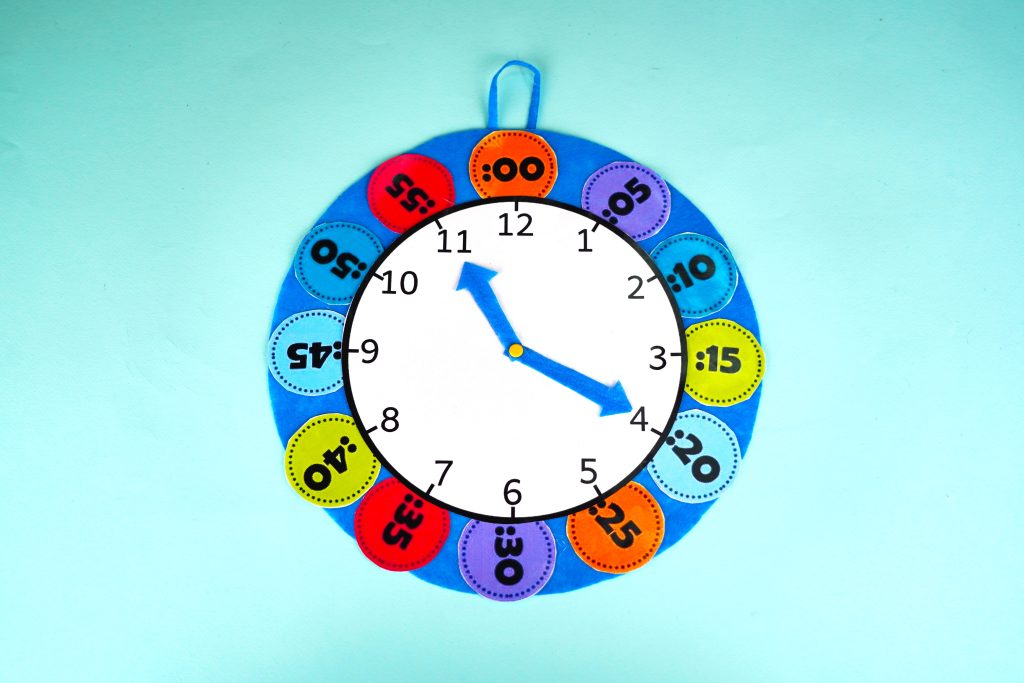
10. Glue the places where the brats and the hanger are on the back of the clock and cover them with felt.
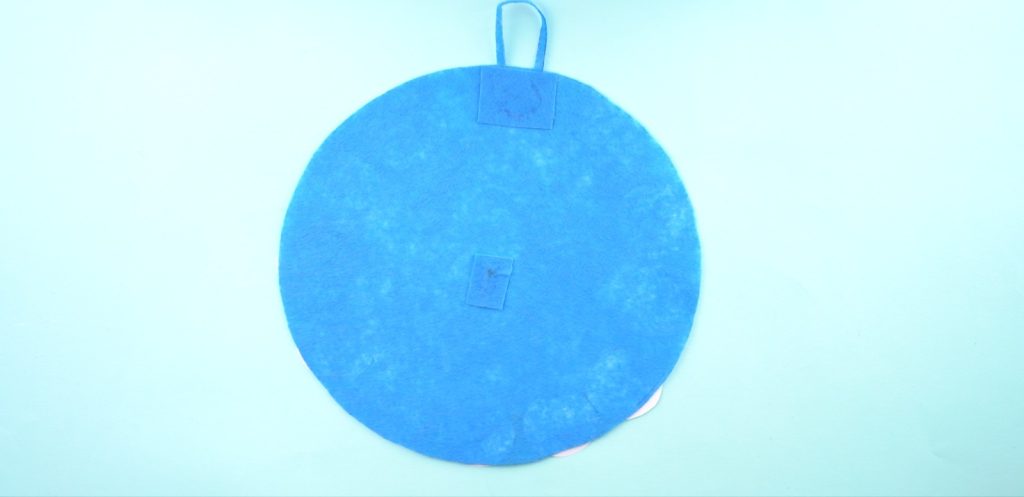
Done!
Now you can use the clock. The short hand of the clock shows the hours, and the long hand shows the minutes. There are 24 hours in a day and 60 minutes in an hour. Use the hands of the clock to show what time it is.

Conclusion
This project not only taught students how to make a craft, but also helped them learn about time! Students now know how clocks work, how the hands move, and how to tell time. The project helped to develop fine motor skills, learn how to work with different materials, and understand how clocks work.

In this project, each student is assigned a STEAM title in several categories:
– By assembling this model, you have become a true master of science! You have learned how clocks work. This is real scientific thinking!
– Look at this beautiful clock! You have used your design and problem-solving skills to create a working model. Congratulations, you are an expert engineer!