
Lesson

Project Goal:
- To study the force of friction and provide examples of its manifestations.
- To identify the direction of an applied force.
Teacher’s guide
Divide the students into groups of 4-5 for the project.
At the beginning of the lesson, discuss with students the concepts of “force,” “direction,” and “motion.”
Introduce the students to the project and provide them with all the necessary materials before starting the practical part.
Give a brief instruction on the safety rules for working with scissors, hot glue, etc.
At the beginning of the lesson, explain the PBL (Project Based Learning) rubric to the students. 4K Skills (Critical Thinking, Collaboration, Creativity, Presentation).
Theoretical part
In everyday life, we push, pull, or lift various objects. In doing so, we apply force.
Force is an action that helps move, stop, or change the direction of an object. For example, to move a chair, we push it – that means we apply force. Without force, objects do not move on their own.

Motion is the change in the position of an object. When we kick a ball, it flies forward – that means it moves. If we do not apply force to the ball, it will remain in place. Thus, for movement to begin, force is absolutely necessary. Only through the action of force can objects move, spin, or bounce.

Force has not only magnitude but also direction. If force is applied in a certain direction, the object will move in that direction. For example, if we push a cart forward, it moves forward. If we pull it backward, it moves backward. This shows how the direction of force affects motion.
If we apply force in different directions, the direction of motion also changes. That’s why it is important to understand the direction of force – it is the foundation of how various mechanisms and devices work. In this project, students will clearly see the relationship between the direction of force and motion by creating a simple device with their own hands.
Practical Part
Step 1. Glue one end of the popsicle sticks into a triangle shape with hot glue, as shown in the illustration.
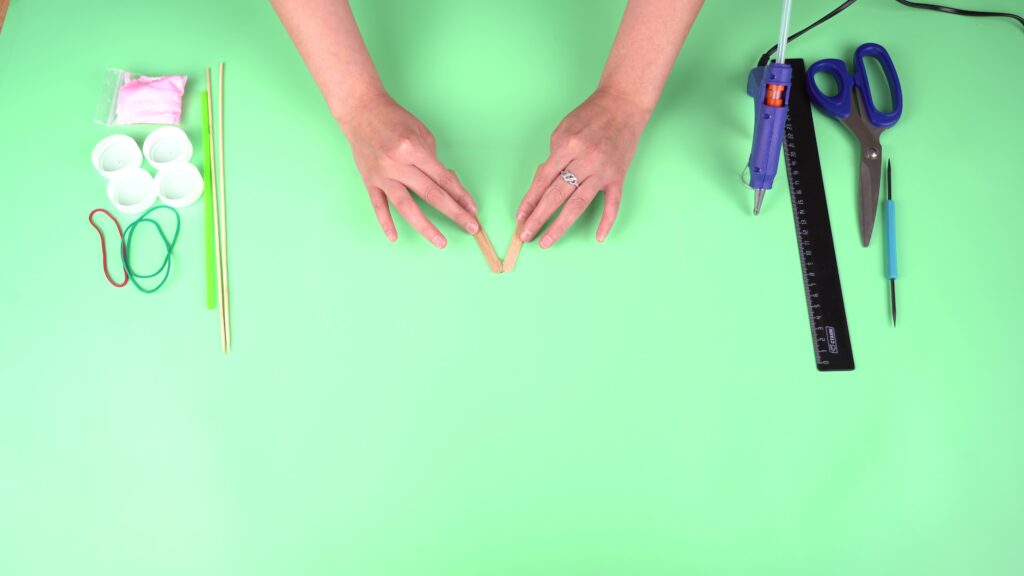
Step 2. Cut a 2–3 cm piece of skewer. Attach it to the tip of the triangle.
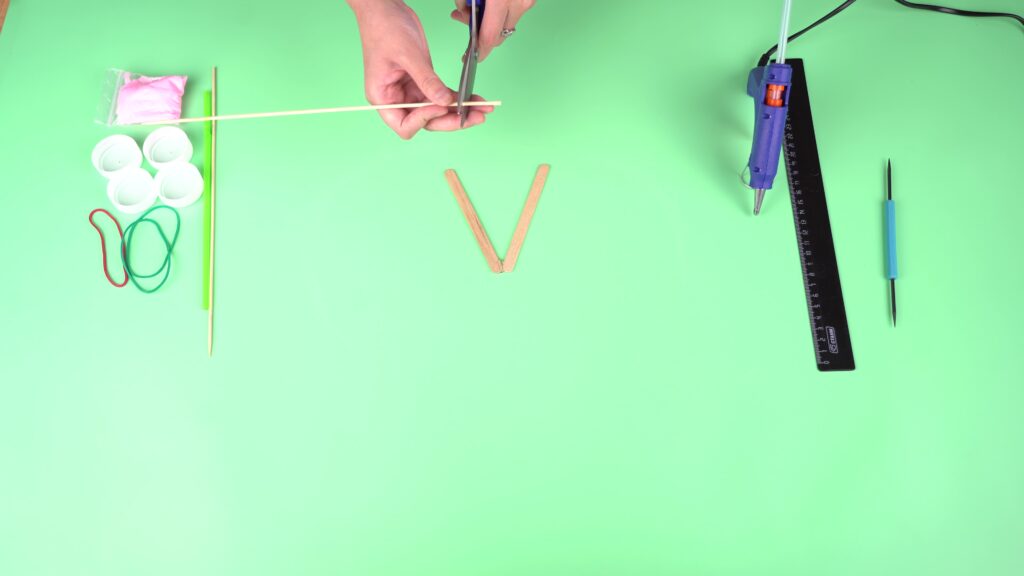
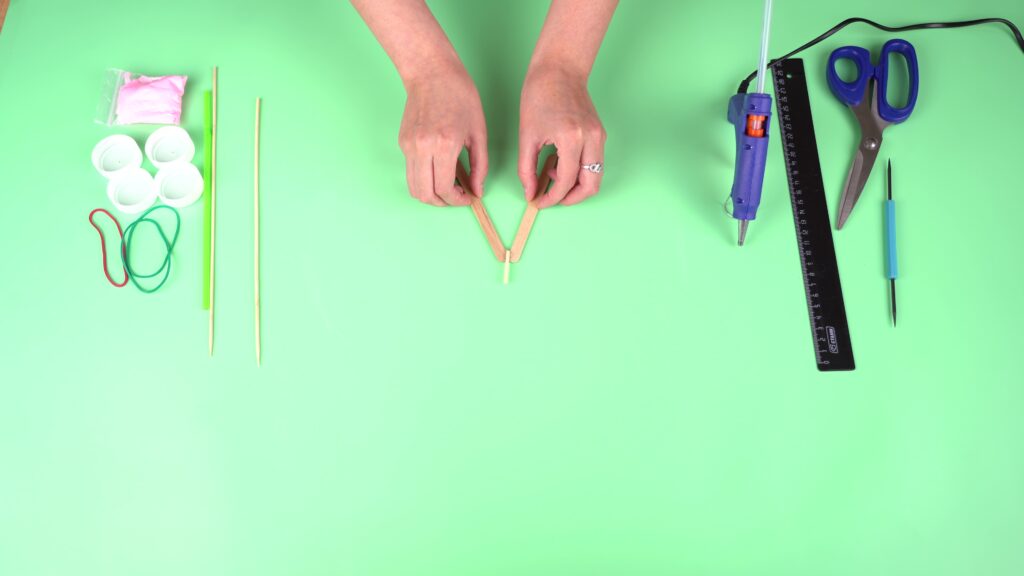
Step 3. Cut the straw into one piece of 9 cm and three pieces of 2 cm.
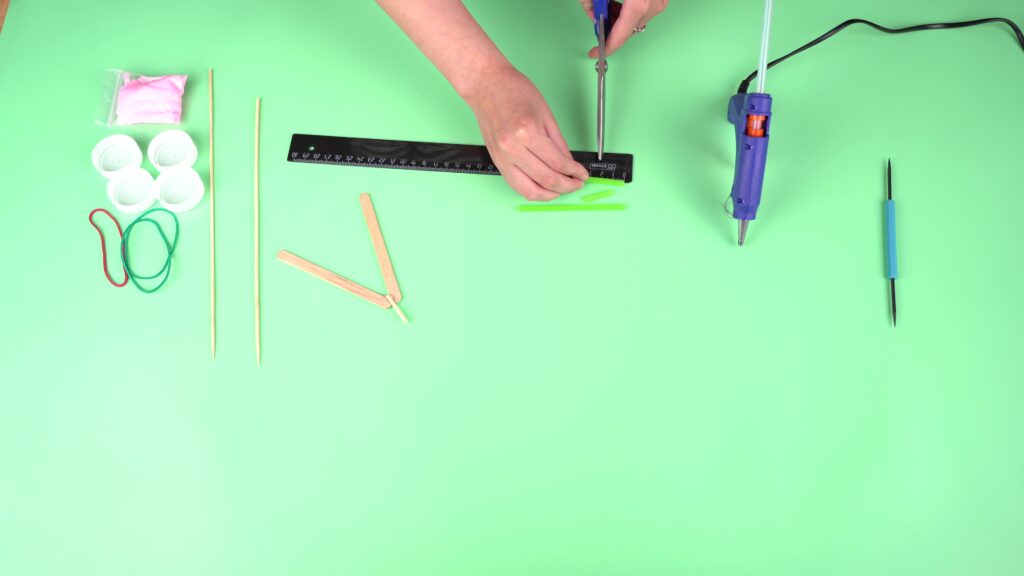
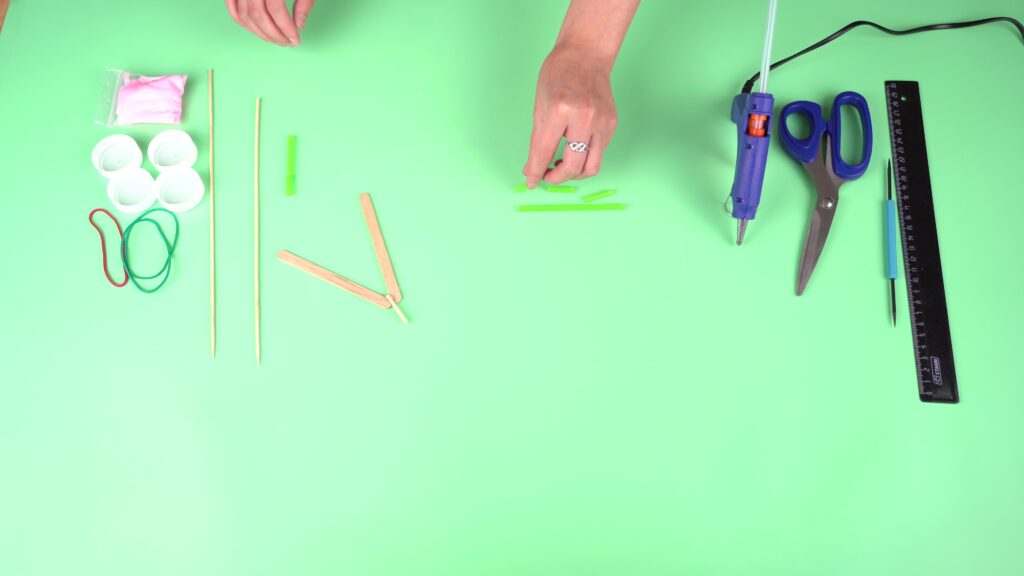
Step 4. Glue the 9 cm straw piece to the front of the triangle. Glue two 2 cm straw pieces to the rear corners.
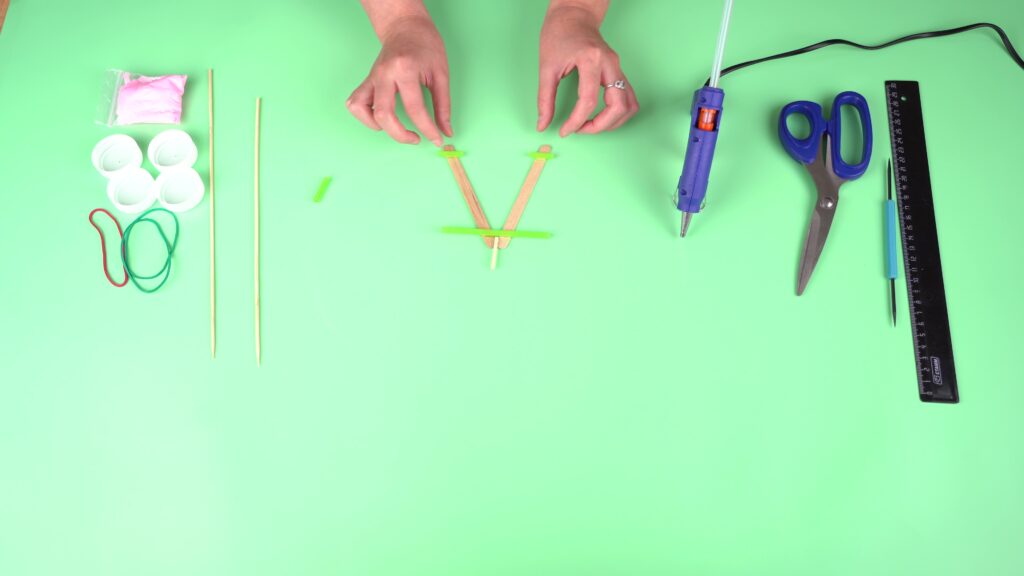
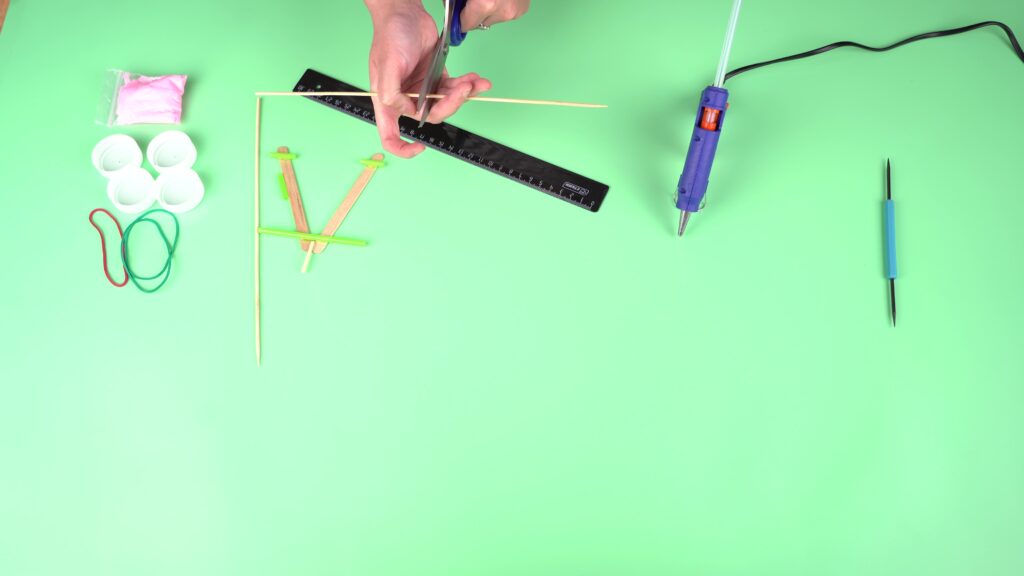
Step 5. Cut the skewer into two pieces, each 15 cm long.
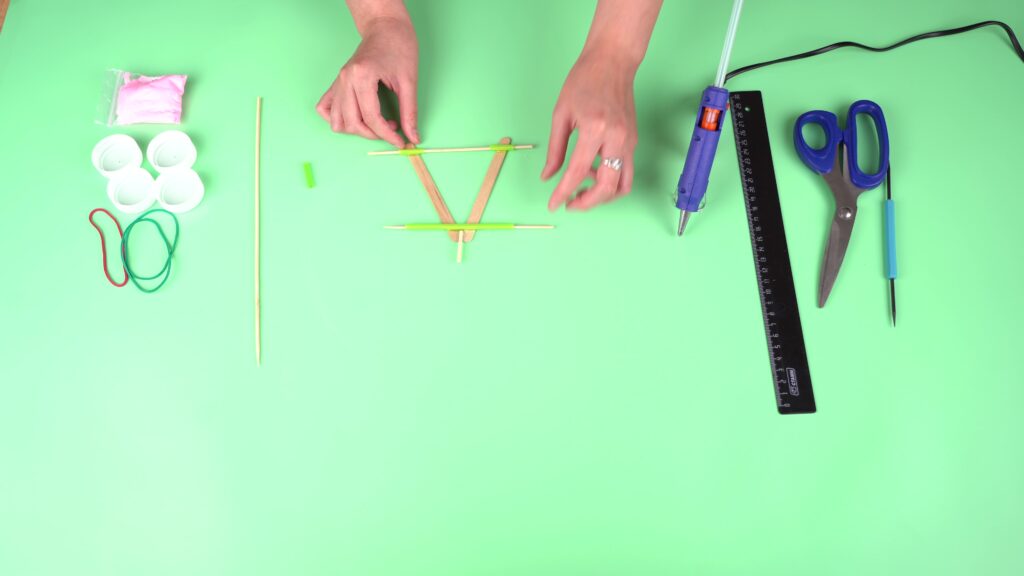
Step 6. Insert the skewers through the front and rear straw pieces.
Step 7. Poke holes in the center of the bottle caps using an awl.
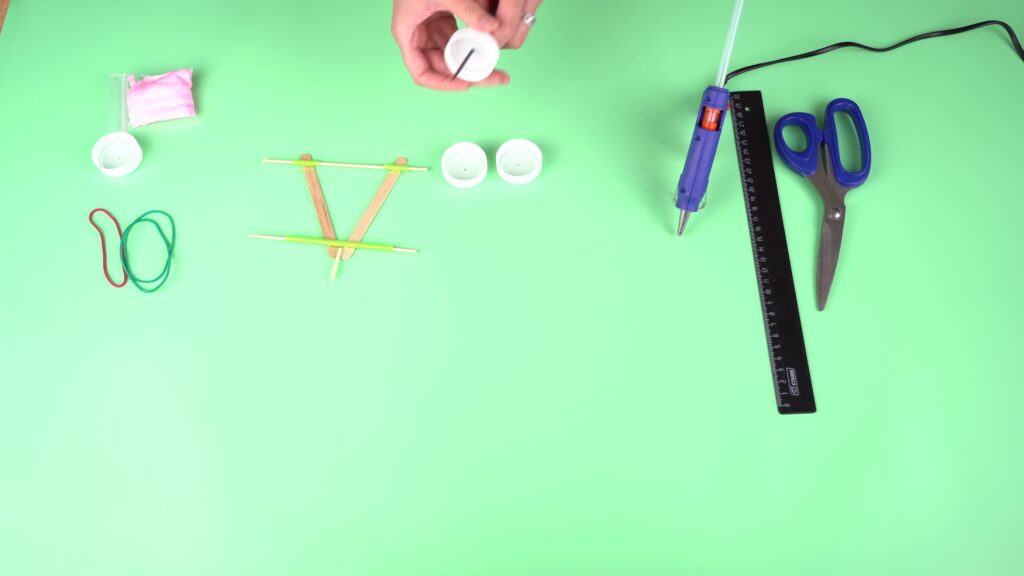
Step 8. Attach two bottle caps to the ends of the front skewer as wheels and secure them with soft modeling clay.
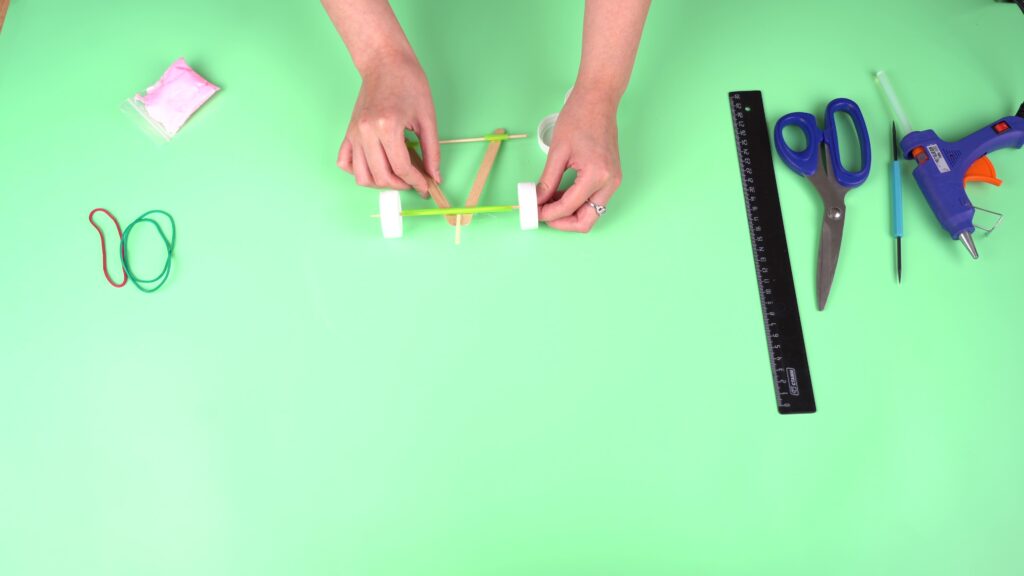
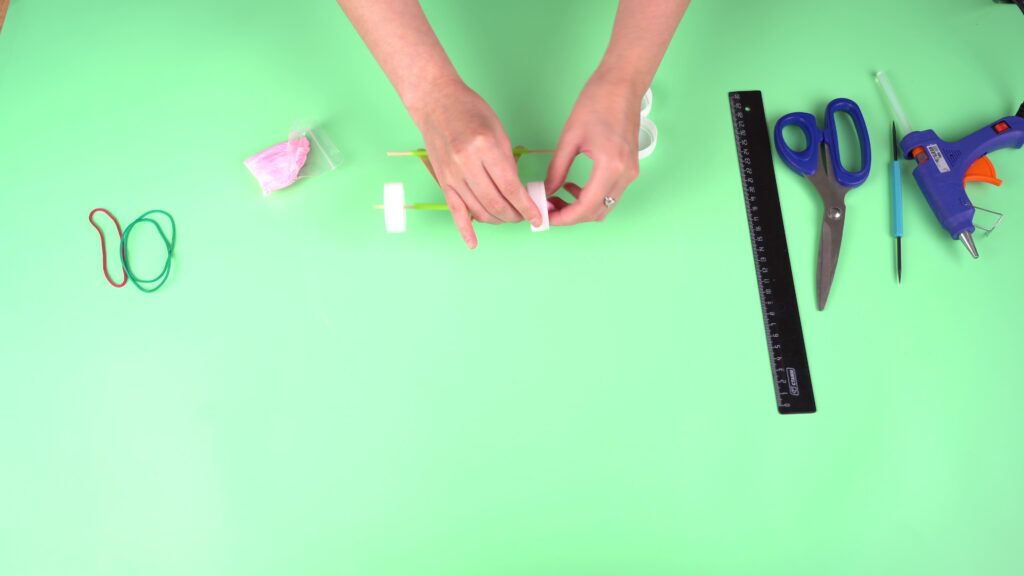
Step 9. Wrap the remaining two caps with a rubber band around them twice.
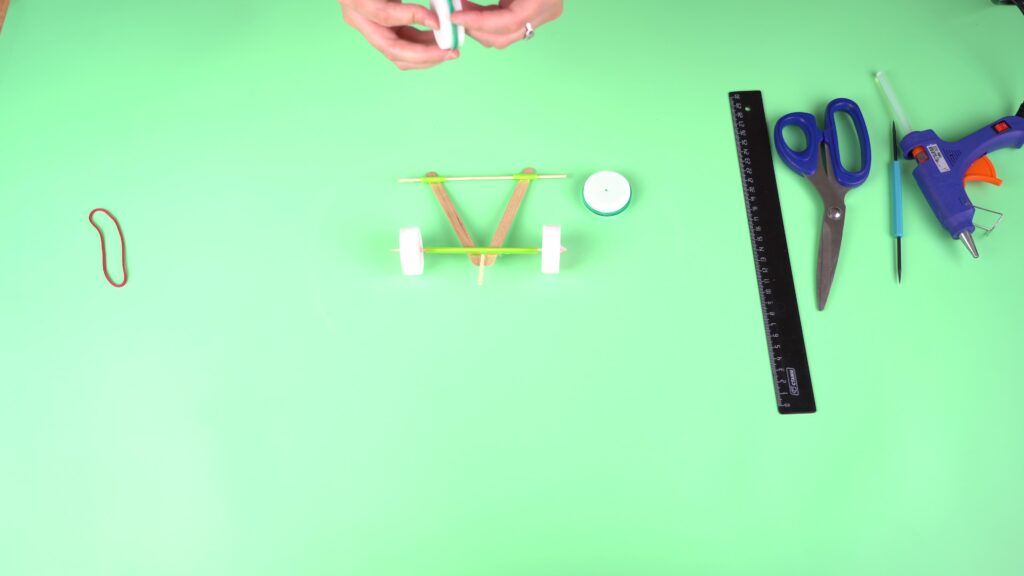
Step 10. Attach these caps to the rear skewer as wheels.
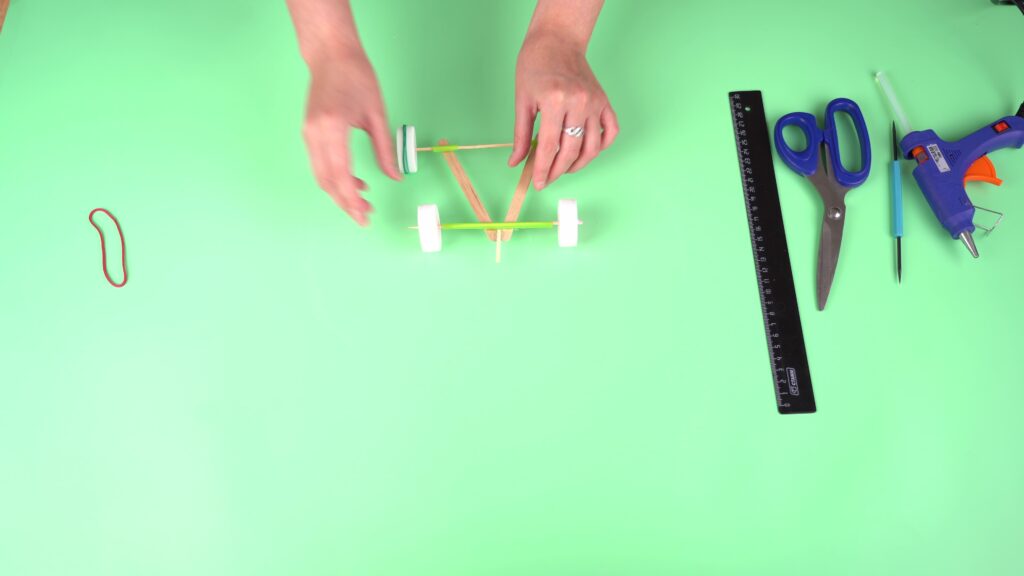
Step 11. Glue the remaining 2 cm straw piece onto the rear skewer as shown in the picture.
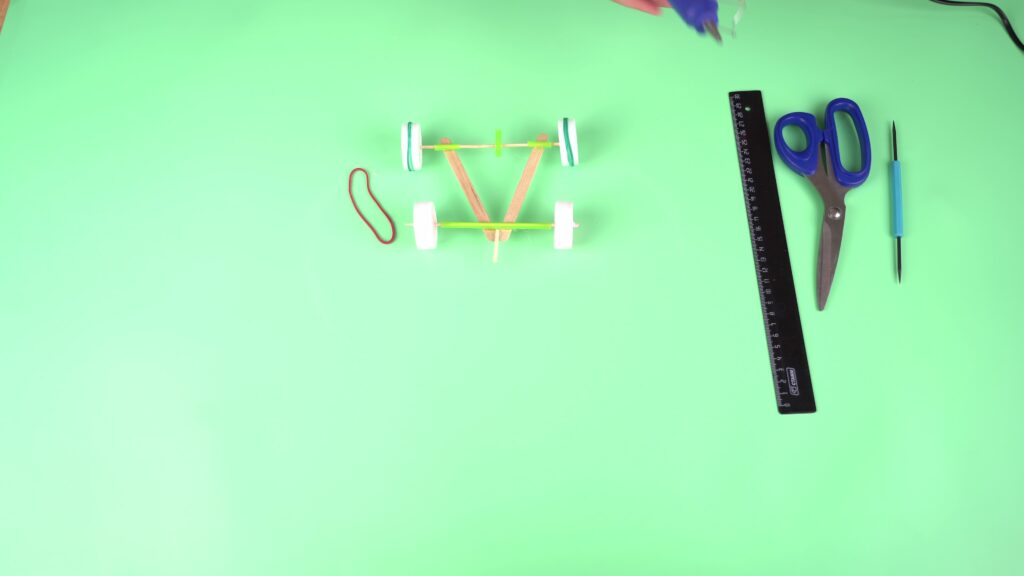
Step 12. Hook a rubber band from the skewer at the tip of the triangle to the straw on the rear skewer.
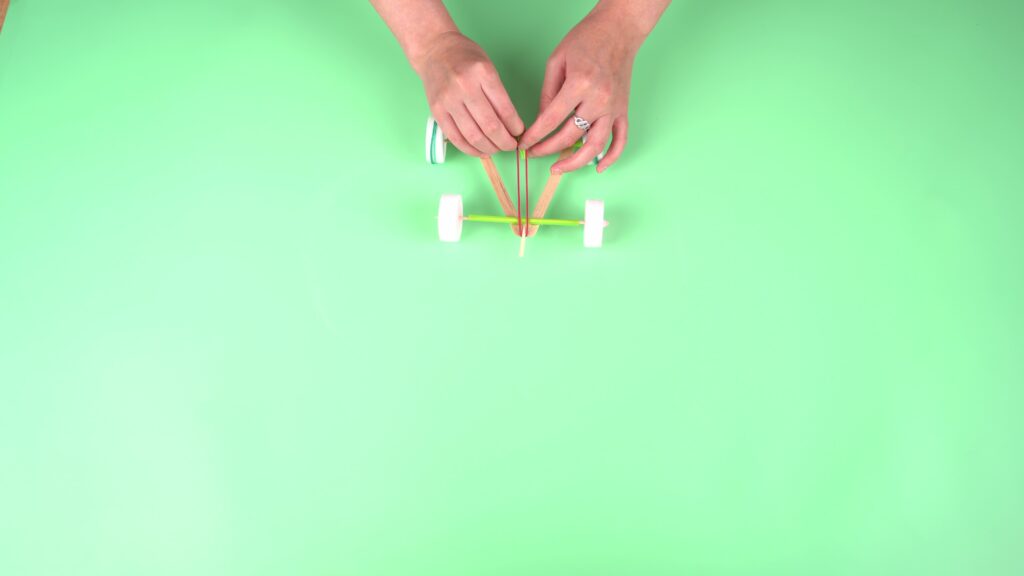
Done!
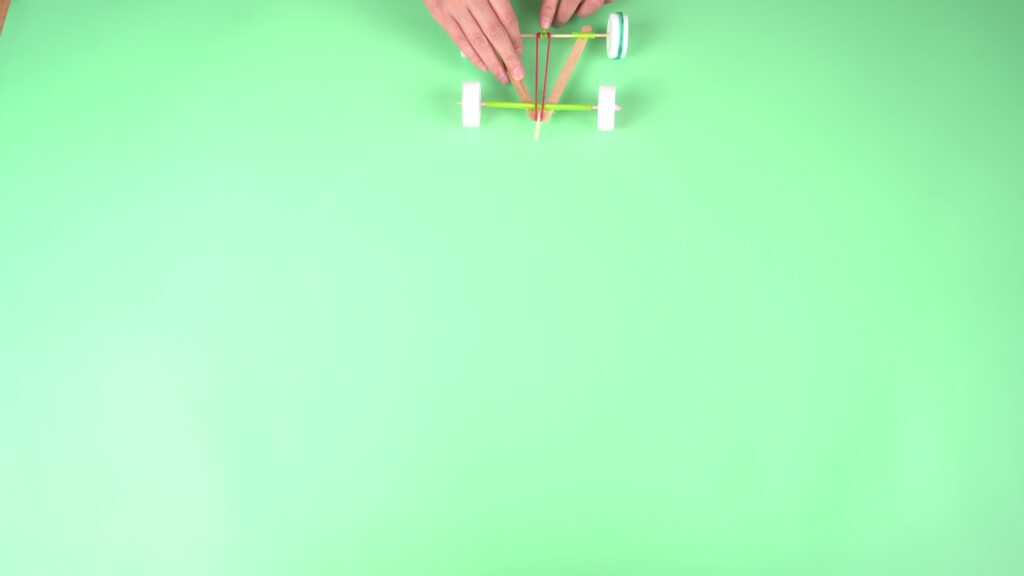
Twist the rubber band around the straw 1-2 times and let go. Your car will gain speed and move forward!
You can organize races in teams with your cars.
Conclusion
In this project, students visually observed how force and its direction affect motion. The wheels began to spin in the direction the rubber band was wound, and the car moved. By using simple materials, children were able to understand important physics concepts through hands-on experience.

In this project, each student is assigned a STEAM title in several categories:
– By assembling this model, you have become a true master of science! You have learned how clocks work. This is real scientific thinking!
– Look at this beautiful clock! You have used your design and problem-solving skills to create a working model. Congratulations, you are an expert engineer!