
Lesson

Project Goal:
Compose the sequence of tens up to 100, identify patterns within 100 using images, shapes, symbols, and number sequences.
Teacher Instructions:
Divide students into groups of 4-5.
Before starting the project, explain the number line and the concepts of tens and units.
Ensure that students are familiar with and have access to all the necessary materials before the practical part begins. Conduct a short safety briefing on using scissors and adhesive tape.
At the beginning of the lesson, explain the PBL (Project Based Learning) rubric to the students. 4K Skills (Critical Thinking, Collaboration, Creativity, Presentation).
Theoretical Part
Numbers are our best friends!
They help us count things, arrange them in order, and keep everything neat. For example, if you have 5 pencils – thanks to numbers, we know exactly how many there are.
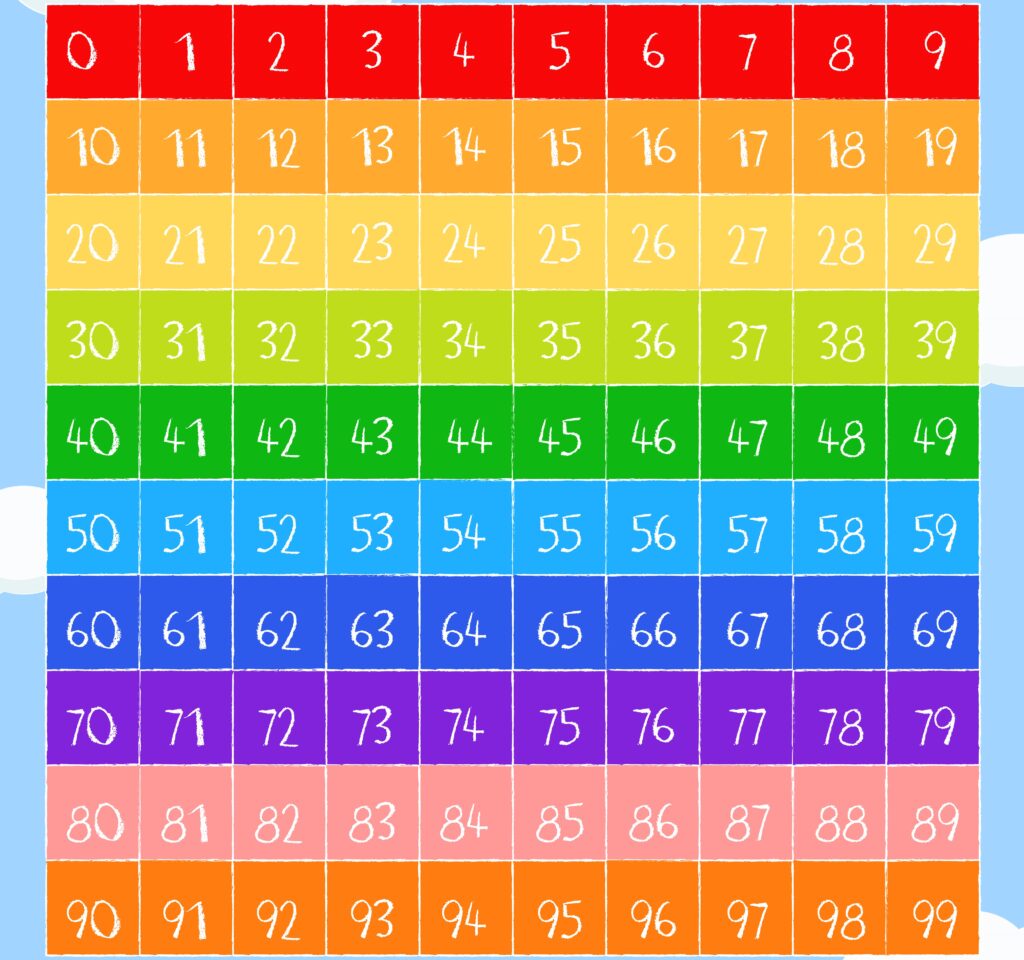
Numbers always go one after another. If we start at 0, the next number is 1, then 2… and so on up to 100. This is called increasing in order.
Numbers are divided into two groups:
- Tens – big numbers: 10, 20, 30…
- Units – small numbers: 1, 2, 3…
For example, the number 24 has two parts:
- 20 is the ten,
- 4 is the unit.
If we understand this, we can easily read and add numbers!
Numbers follow a pattern: each group of tens has 10 numbers. For example, after 30 comes 31, 32, 33… 39, 40. See? They always go in a specific order. This is the rule of numbers!
When we understand the order of numbers, it helps us in everyday life: finding a page number, telling time on a clock, or counting money at the store. That’s why numbers are a part of our daily life!
Practical Part
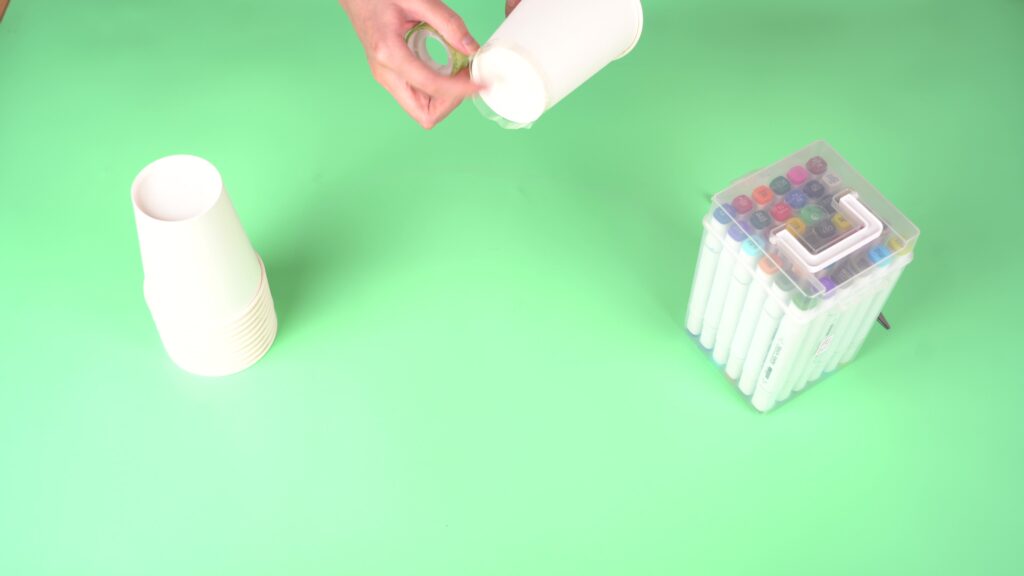
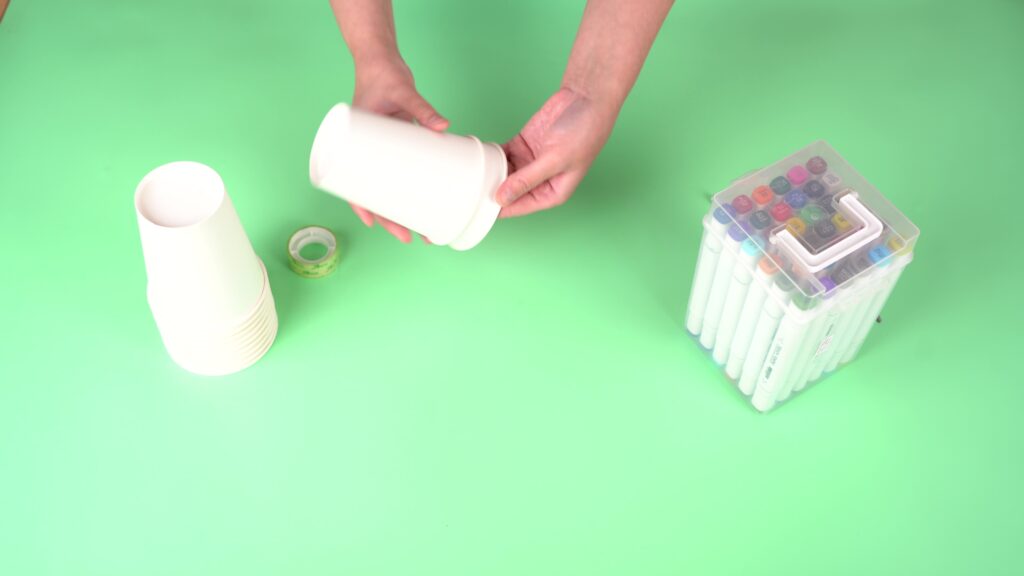
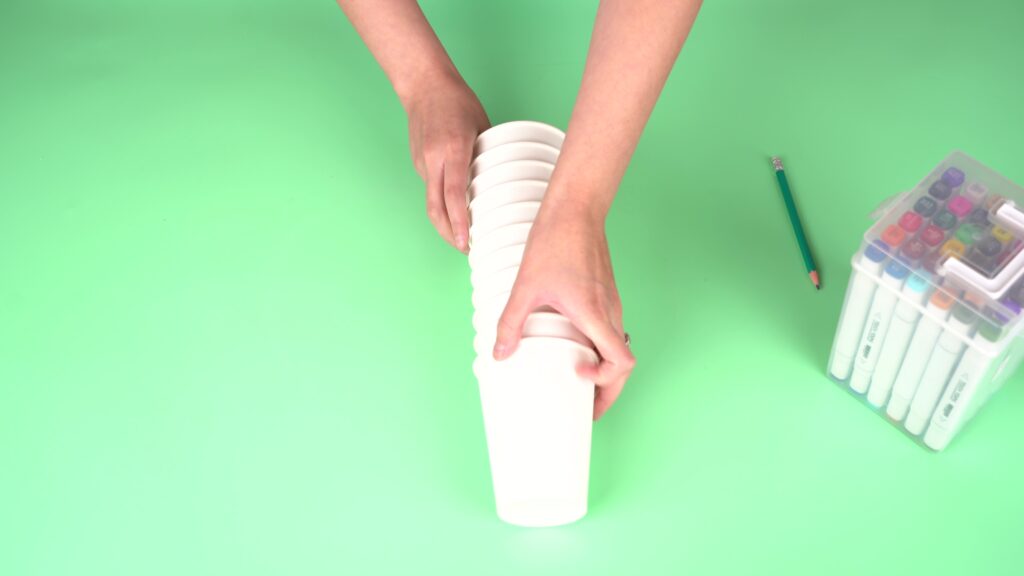
Step 1. Wrap the bottom of a cup with adhesive tape 3–4 times. This is needed so that when another cup is placed on top, it sits slightly higher.
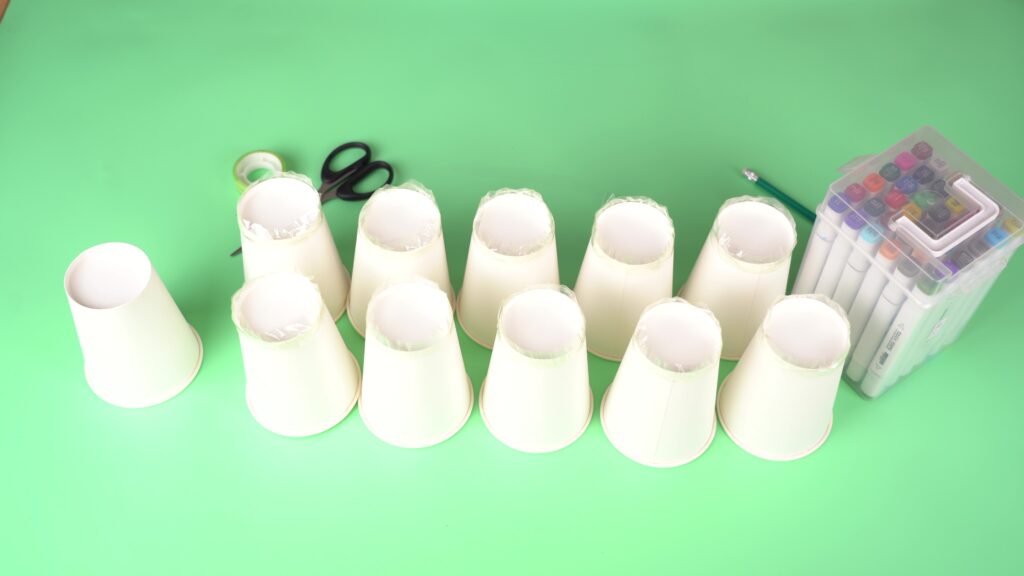
Step 2. Do the same for 9 more cups. Leave one cup without tape — it will be placed on top.
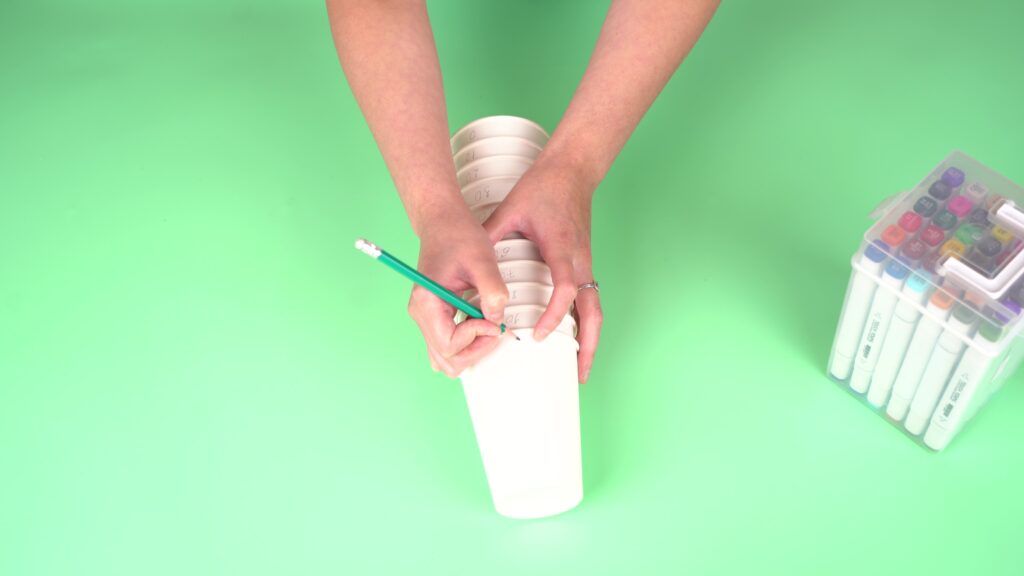
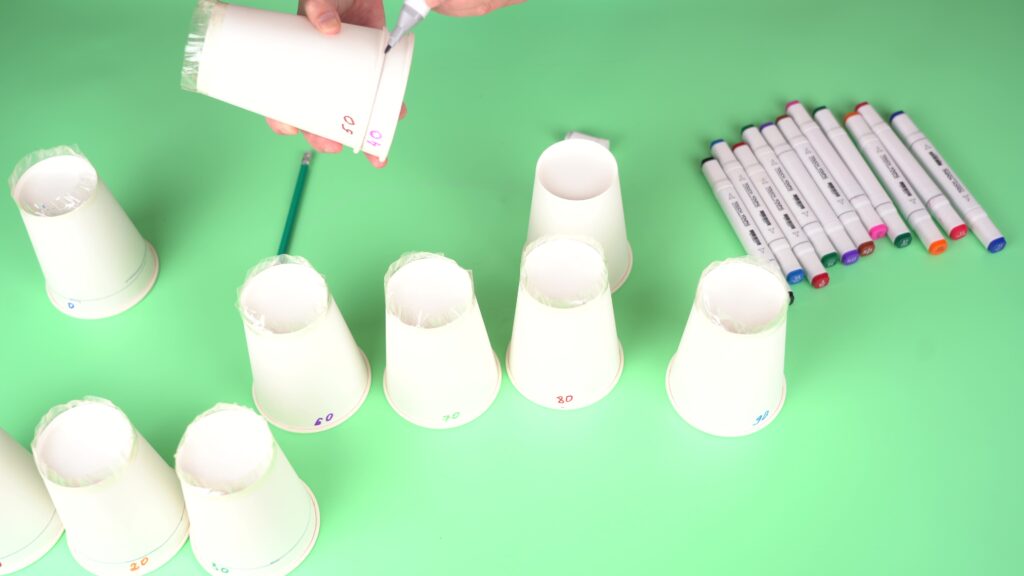
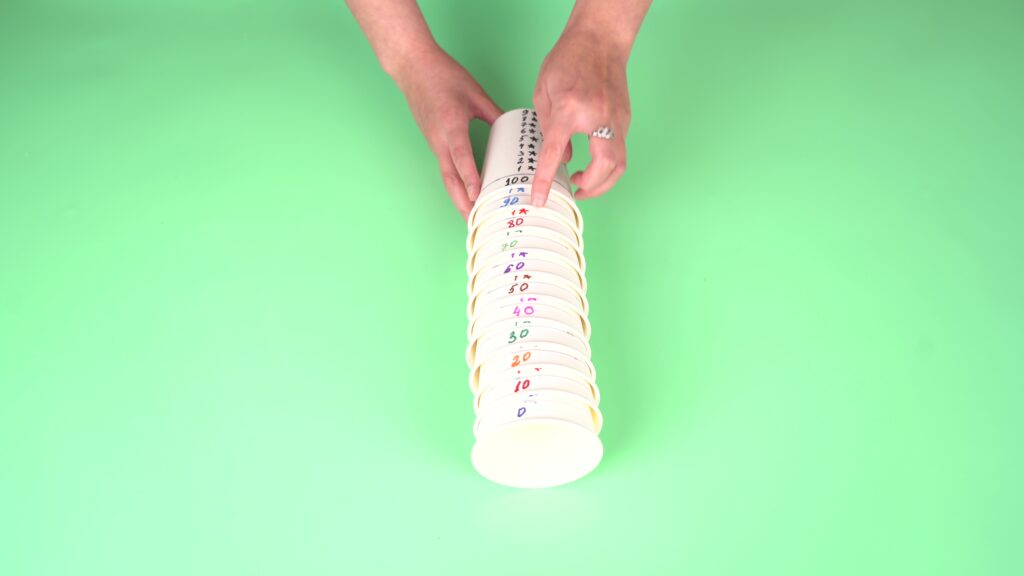
Step 3. Stack the cups on top of each other. The topmost cup should be the one without tape. In the visible spaces between the cups, write the numbers from 0 to 100 in increments of 10: 0, 10, 20, 30 … 100.
Step 4. Take the tower apart. Trace over the written numbers with a marker to make them more visible.
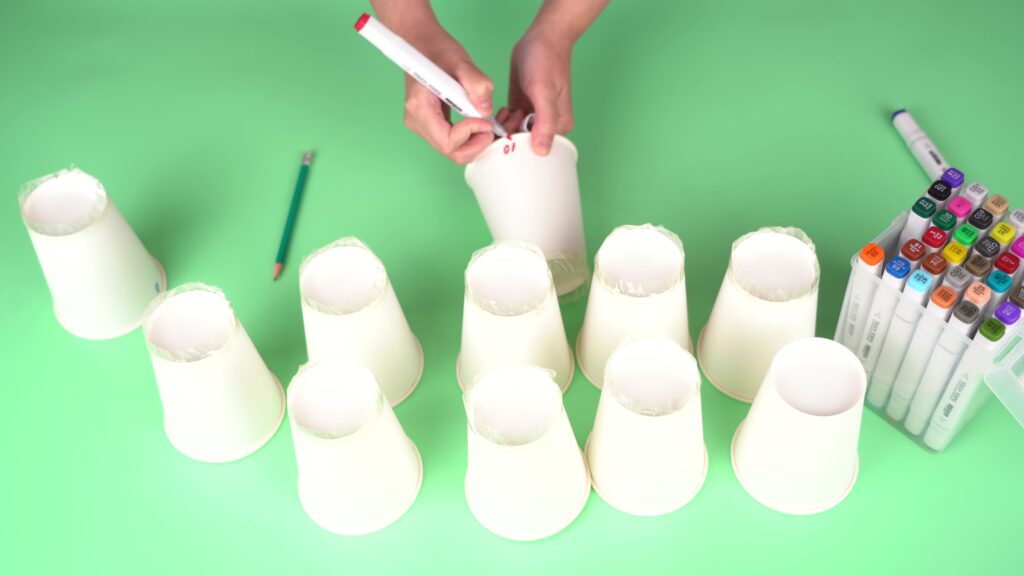
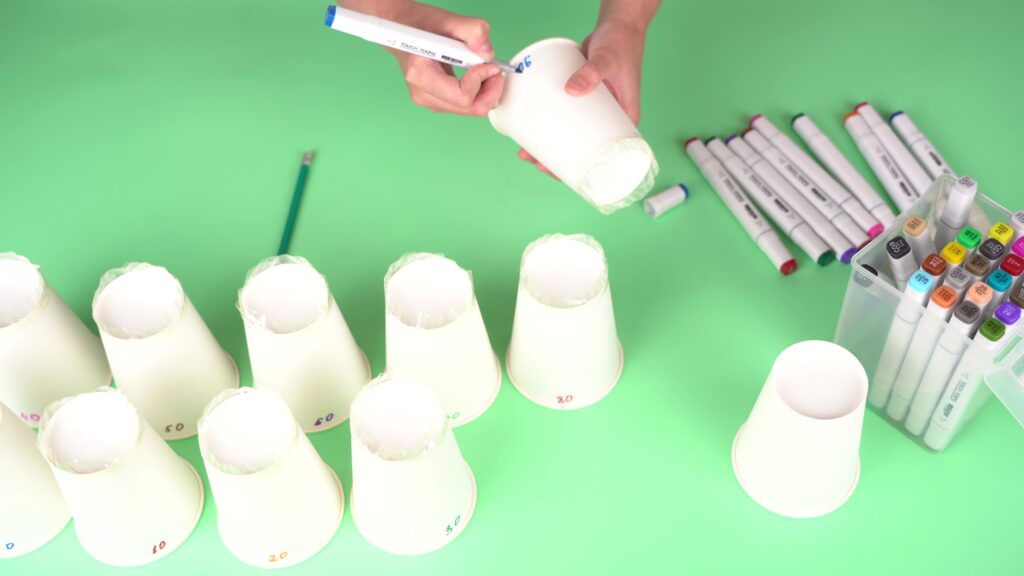
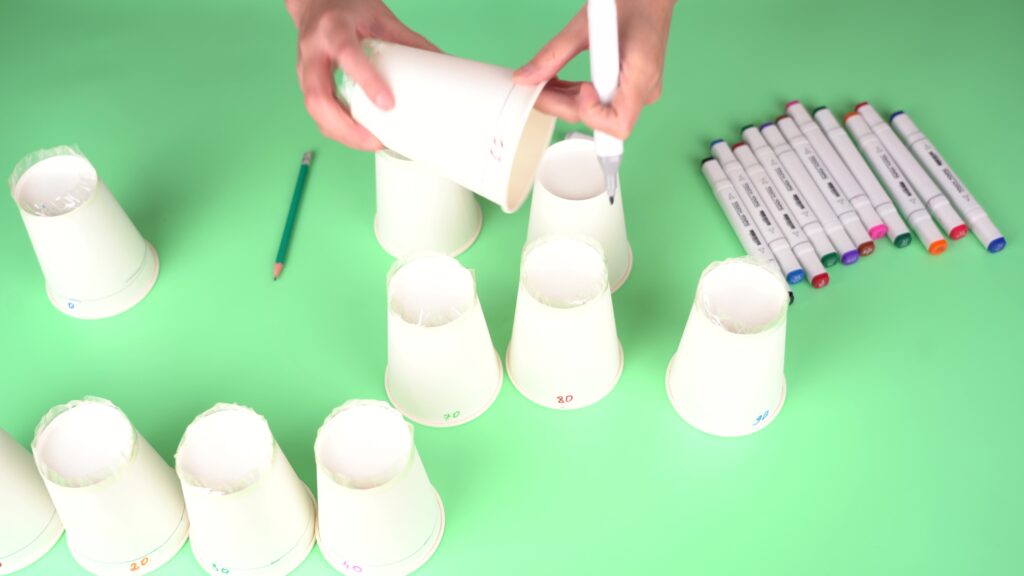
Step 5. Above the numbers, draw a straight line around each cup as shown in the illustration. It’s easier to draw when one cup is nested inside another.
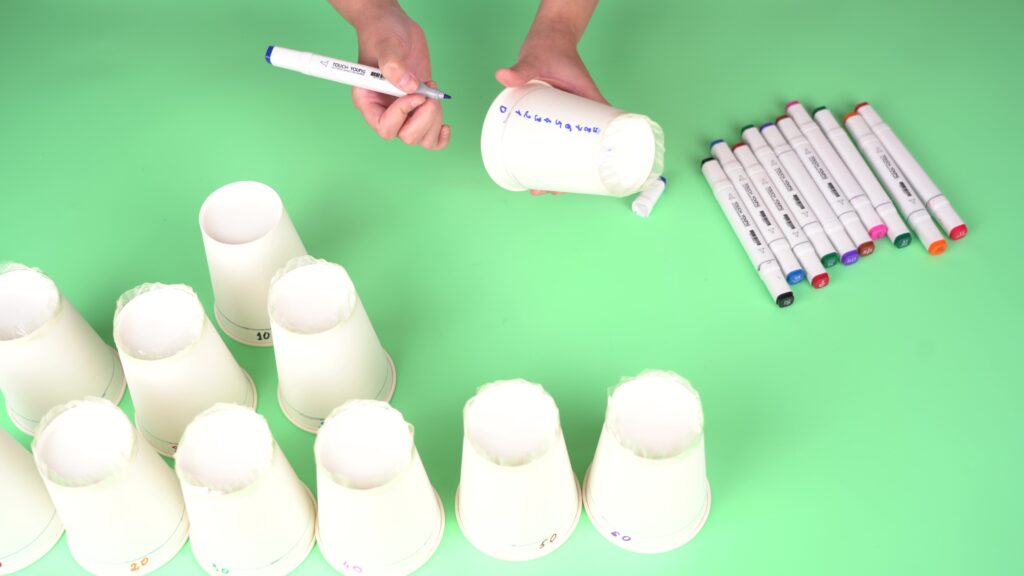
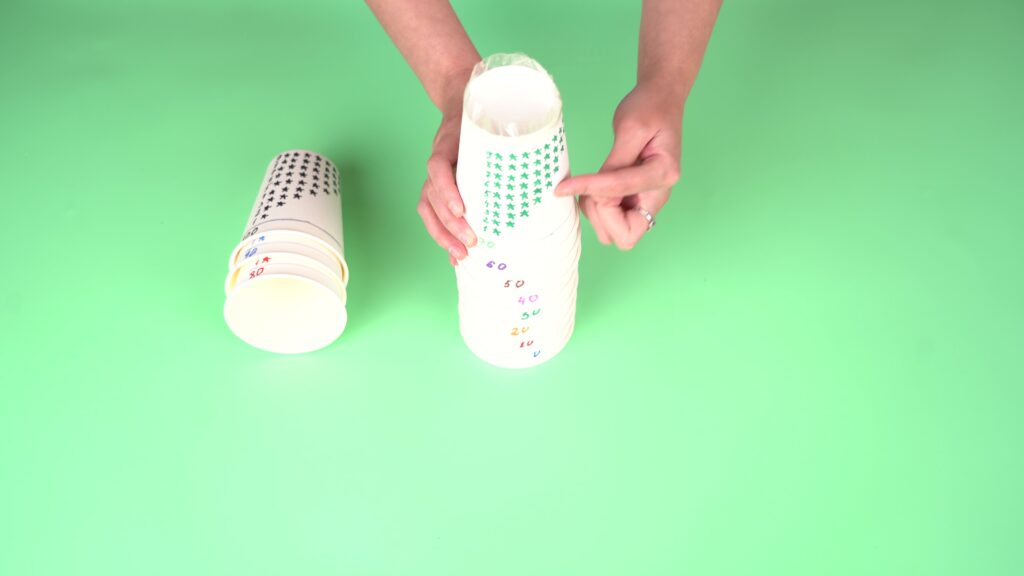
Step 6. On the cup labeled with 0, write the numbers from 1 to 9 in a vertical column in the open area, as shown in the picture.
Step 7. Next to each digit, draw the matching number of stars. For example, next to the number 1 – draw 1 star, next to 2 – draw 2 stars, and so on. (You may also use other shapes like circles, squares, etc.)
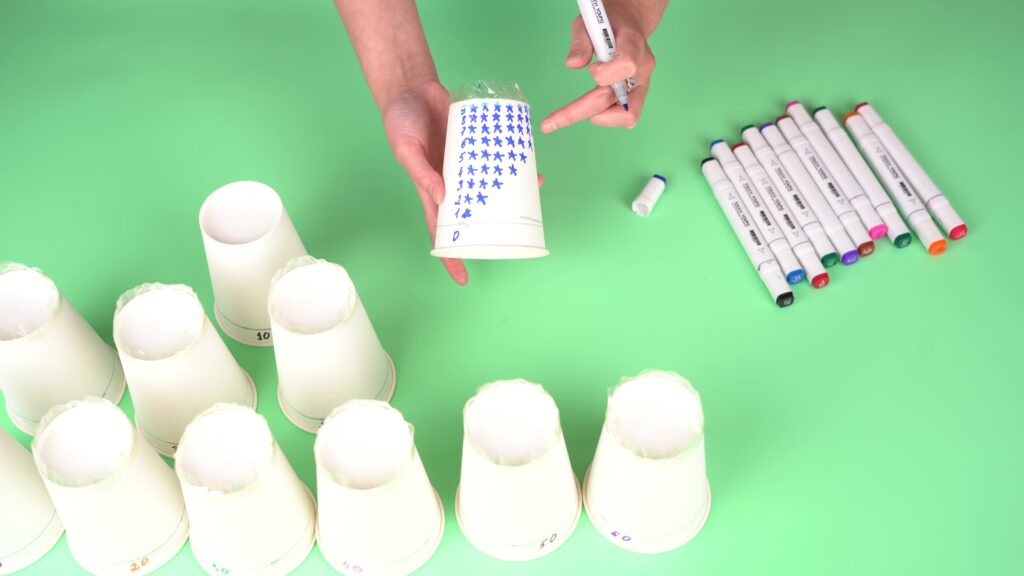
Step 8. Repeat this process for the remaining cups.

Done!
Stack the cups together in order. Now you have a number sequence from 0 to 100. When stacked, you can see the tens. By lifting the cups, you will reveal the hidden units inside.
Conclusion
This project helped first-grade students understand how numbers from 0 to 100 are arranged by tens. Using the cups, children organized the numbers and observed patterns in the number sequence. As a result, they gained a better understanding of the relationship between tens and units. This hands-on activity develops number grouping skills, pattern recognition, and logical thinking.

In this project, each student is assigned a STEAM title in several categories:
– By assembling this model, you have become a true master of science! You have learned how clocks work. This is real scientific thinking!
– Look at this beautiful clock! You have used your design and problem-solving skills to create a working model. Congratulations, you are an expert engineer!