Lesson
Project objective
– To identify the physical properties of water;
– To develop pupils’ 4K skills ;
– To investigate the fluidity and properties of water.
Teacher’s guide
– In the practical part of the project pupils work in pairs.
– Pupils should be introduced to topics like water/water properties.
– Before starting the experimental part, familiarise and provide the pupils with all the necessary materials.
– During the practical work, the pupils should keep their work area tidy.
– Explain the PBL (project based learning) rubric to the students at the beginning of the lesson. Skills 4K (critical thinking, collaboration, creativity, presentation)
Safety in Steam lessons
Before we begin the lesson, teachers are advised to familiarise themselves with the safety procedures. If necessary (if using items specified in the PPE), brief the students. Go to Safety in Steam lessons
Theoretical part
Water is the most widespread substance on Earth, the basis of life, an obligatory component in the structure of living organisms and has a variety of properties. Physical: colourless, odourless, shrinks when heated, expands when frozen, high heat capacity, boiling point 100 degrees, high viscosity and surface tension, has three aggregate states. Chemical: High polarity, universal solvent, high activity in chemical reactions.
Let’s start by naming the properties of water, and then discuss each of them in more detail. So, the properties of water:
- Transparent;
- odorless;
- no colour – colourless;
- tasteless;
- water is a good solvent;
- It has no shape – flowing.
Water is clear
What does it mean? If you and I put a pebble, for example, into a glass of water, it will be visible. If we put, for example, any other object into a glass of water, it will also be visible. This only means that the water itself is transparent.
Odourless
If you are asked what does water smell like? None of you will be able to answer as it is odourless. The only way it will smell is if you add a substance that has an odour to the water. Then, the water will smell like that substance.
It is colourless – colourless
What colour is the water? The answer to this question may not be clear, because the colour of the water depends on where it is poured. The water itself is colorless. If it seems to you that the sea is blue, blue or greenish, pour some water from it. You will see that it is not.

Tasteless
What does water taste like? When we cook food, we add salt or sugar to the water, thereby adding flavour to the water. Try adding a lump of sugar to the water. How will the water taste? It will taste sweet because sugar is sweet. The water itself does not taste sweet.
Water is a good solvent
If we add salt and sugar to water and stir it, they will dissolve in the water. This means that water is a solvent. And what happens if we add chalk to water? Chalk will also dissolve in water but not completely. A cloudy sediment will appear at the bottom of the glass.
It is not shaped – it is fluid.
Water in its liquid state has no shape. You can’t make a shape out of it. Try pouring water on a table. What do you get? The water will not take any shape, it will just flow around the table the way it wants to. If you pour the same amount of water on the table a second time, it is not certain that you will get the same puddle shape. This only tells us that water is fluid.
Practical part
Step 1. Take a 0.5 litre bottle and make a hole
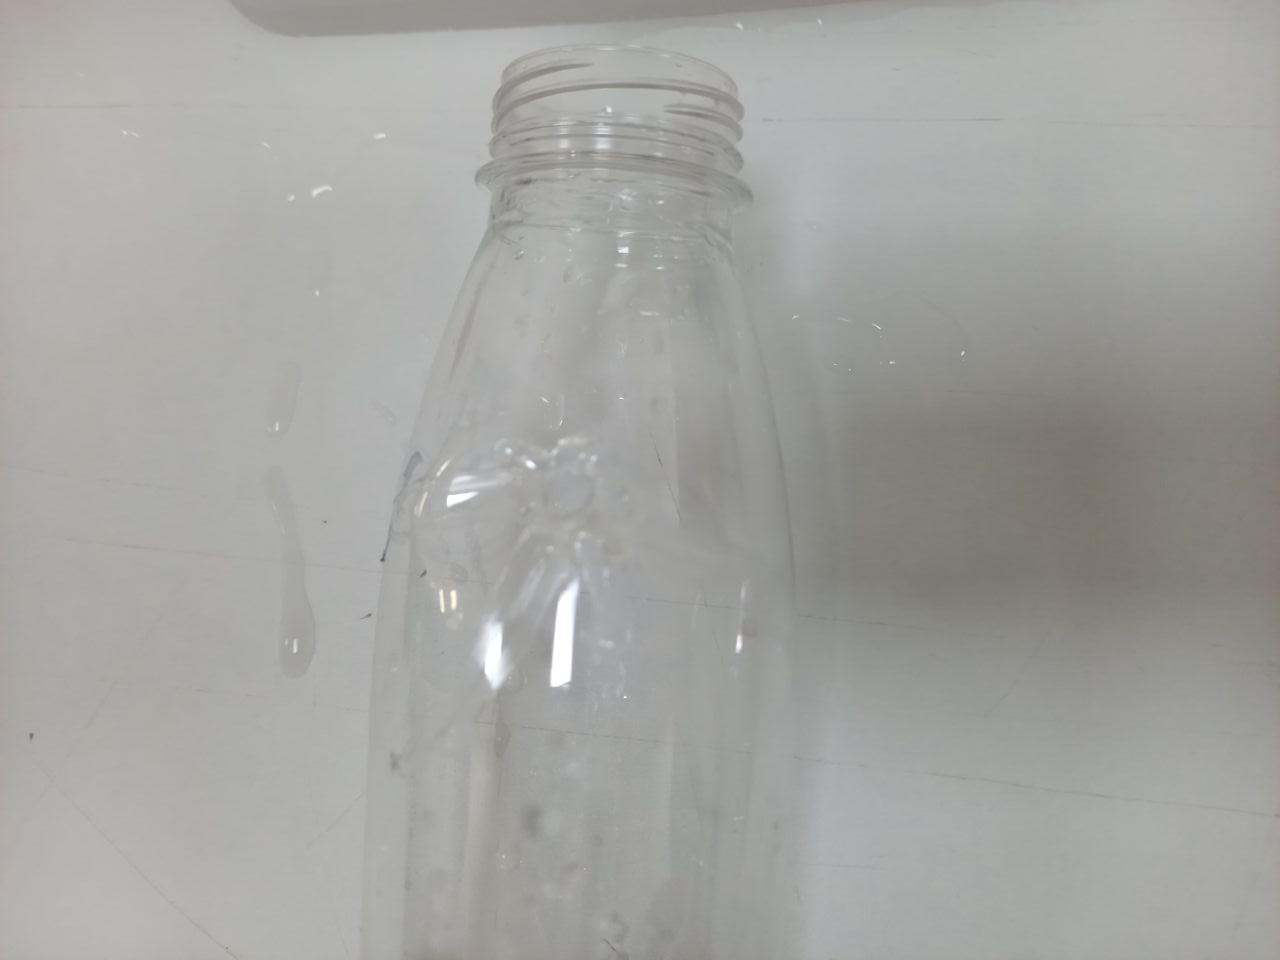
Step 2. Pass the juice collector tube through the hole
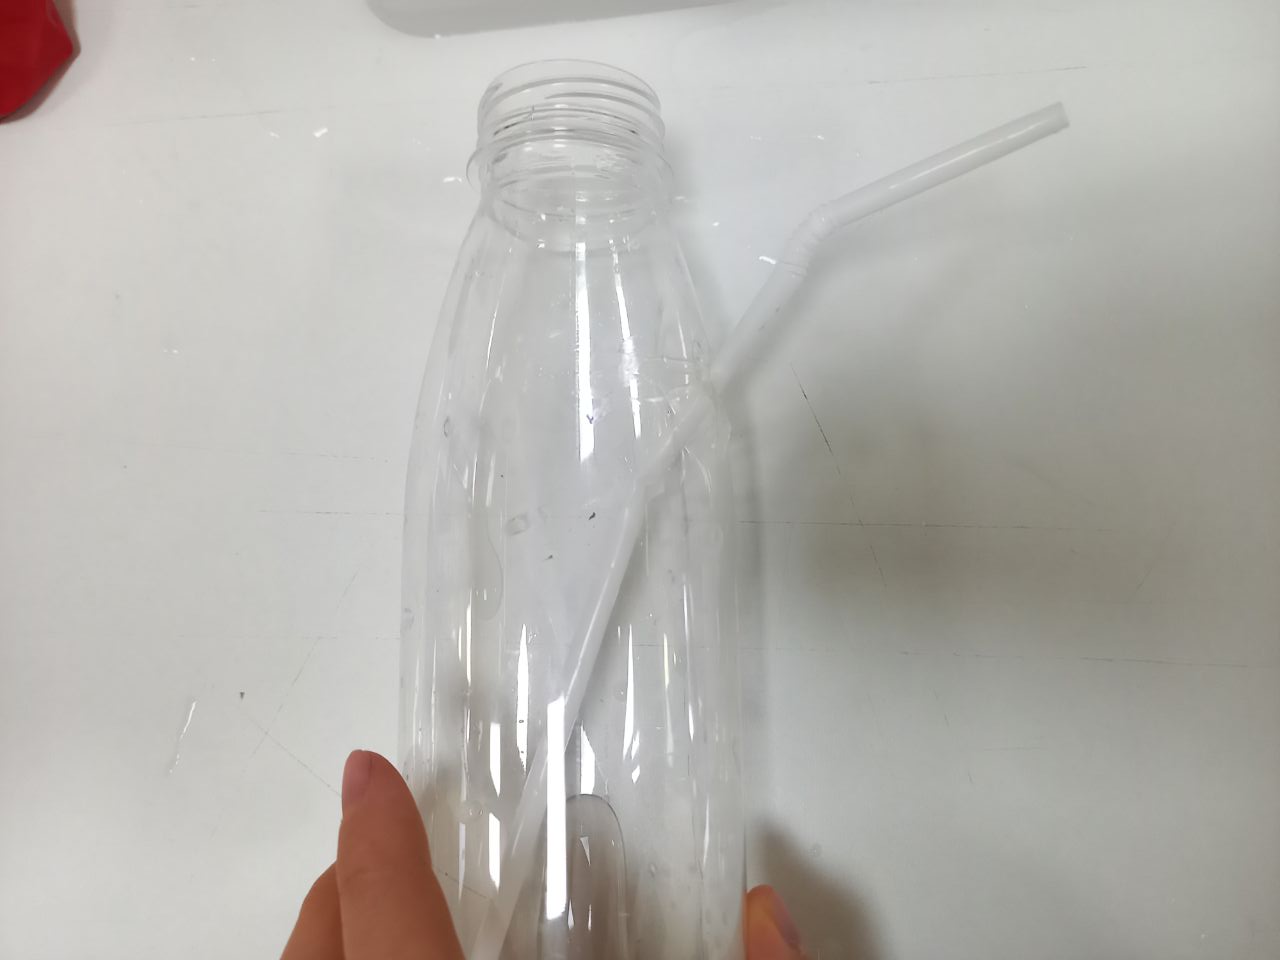
Step 3. Inflate the balloon and place it on the head of the bottle without blowing out the air
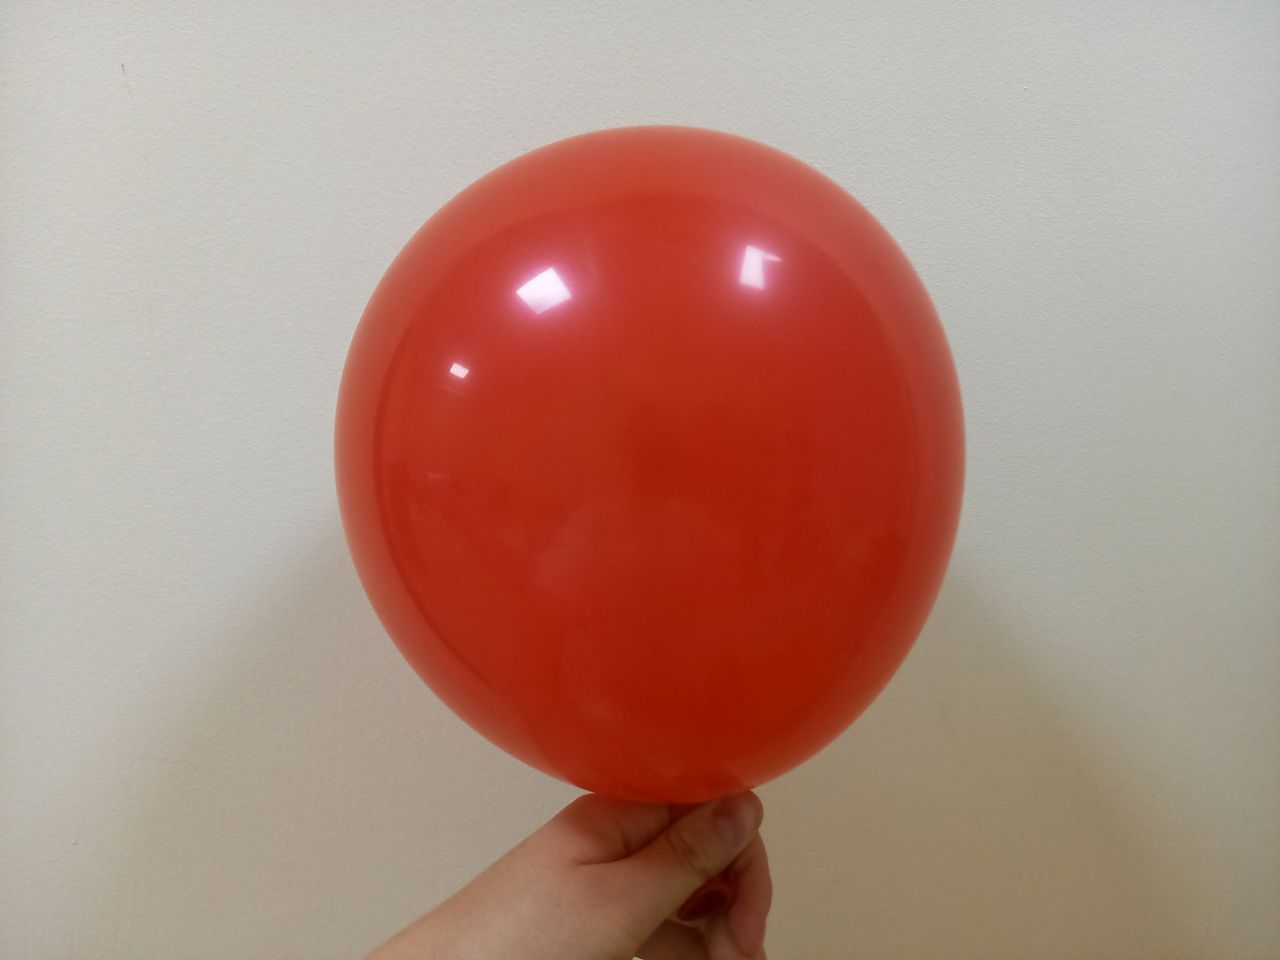
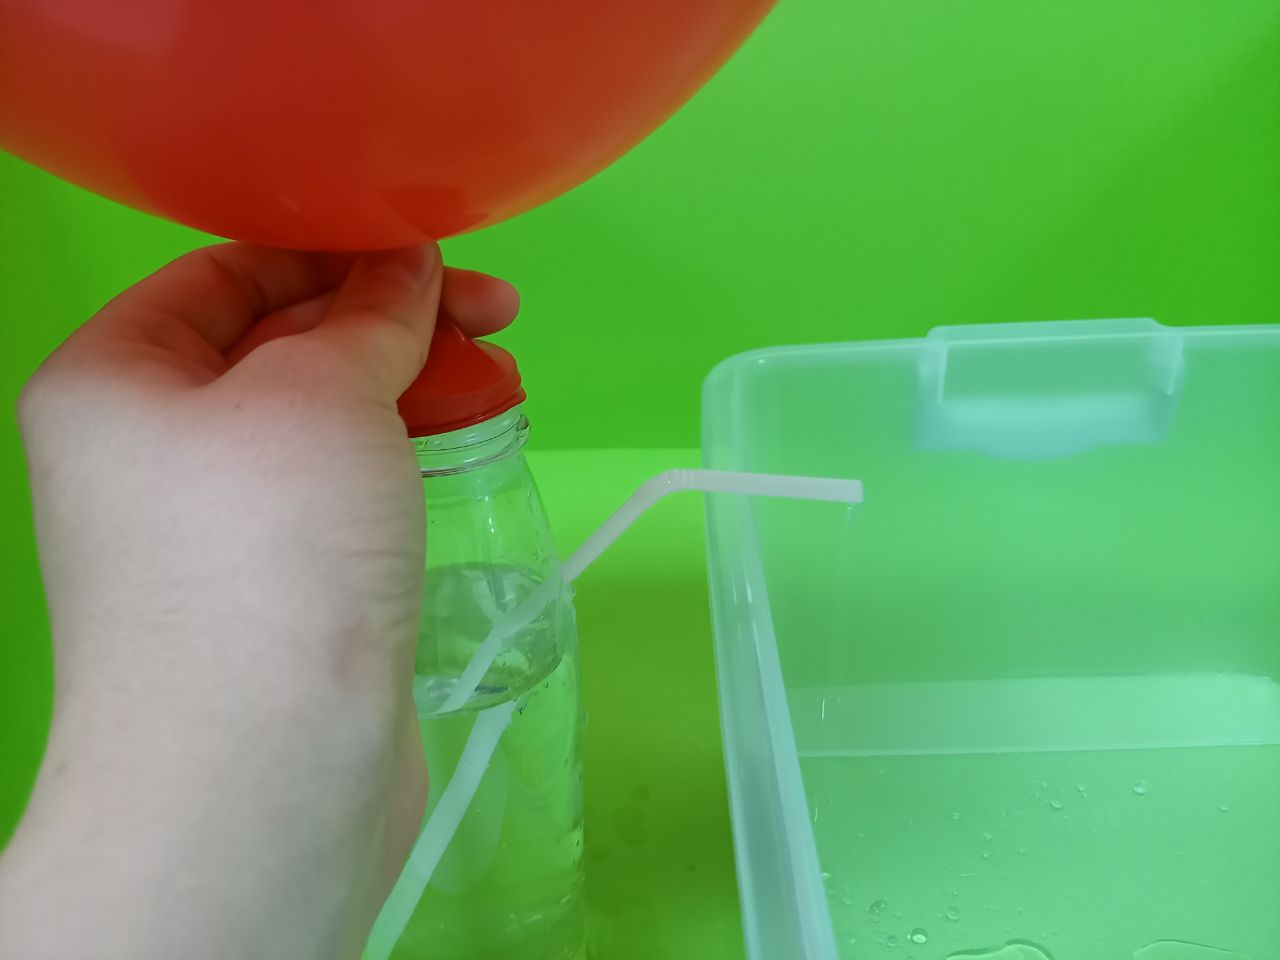
When you exhale air from the balloon, it creates pressure on the bottle and thus pulls the water out, creating a perfect fountain
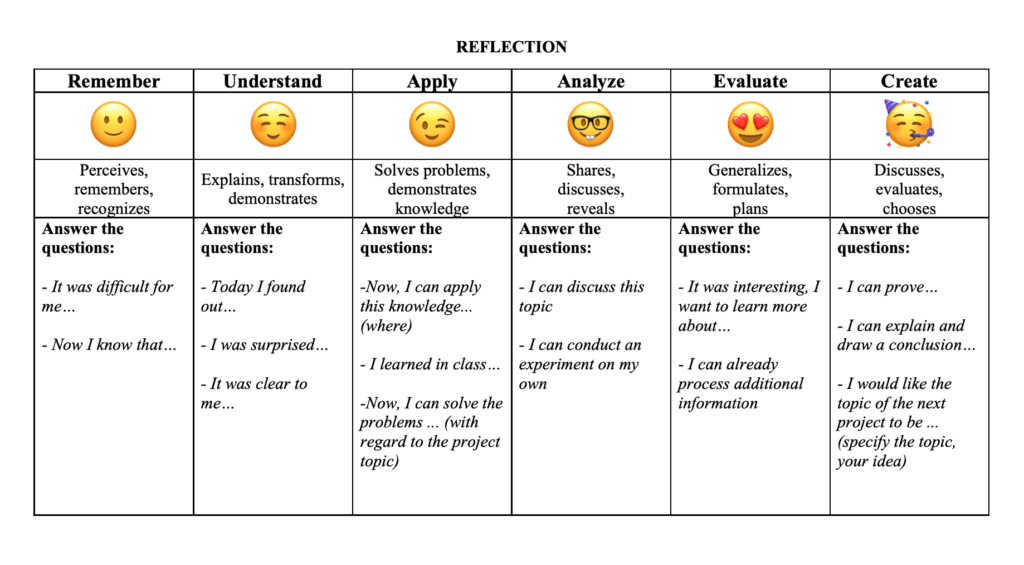
Answer the questions
- what did you notice during the practical work?
- why does water flow when you inflate the balloon and place it on the bottle?
- how would the water flow if you made 5 holes in the bottle instead of 1 hole?
- So let’s see what actually happens in this experiment?
The air inside the cylinder is at a higher pressure. When you place the inflated cylinder on the neck of the bottle, the air pressure on top of the bottle increases. This puts pressure on the water in the bottle, which rises through the straw and comes out, forming our little fountain
Conclusion
In this lesson the students learned about the properties of water. They made a fountain that works under pressure.

In this project, each student will be awarded a STEAM category title:
– You have studied, the physical properties of water, investigated the fluidity of water you are a true scientist – researcher!
– You, through practical work, have shown your creativity and qualifications.
Evaluation