Week 1
Teacher’s guide:
- Divide the students into groups;
- Give brief instructions on how to work with scissors and cardboard;
Goals:
- To improve understanding of the types of angles;
- Develop spatial reasoning.
Before starting work, familiarise yourself with the safety procedures [ safety insructions]
Introduction
Measuring angles can help to improve spatial understanding and the relationship between numbers and measurements. Angles are not only useful in learning, they also help us to understand and use the things around us.
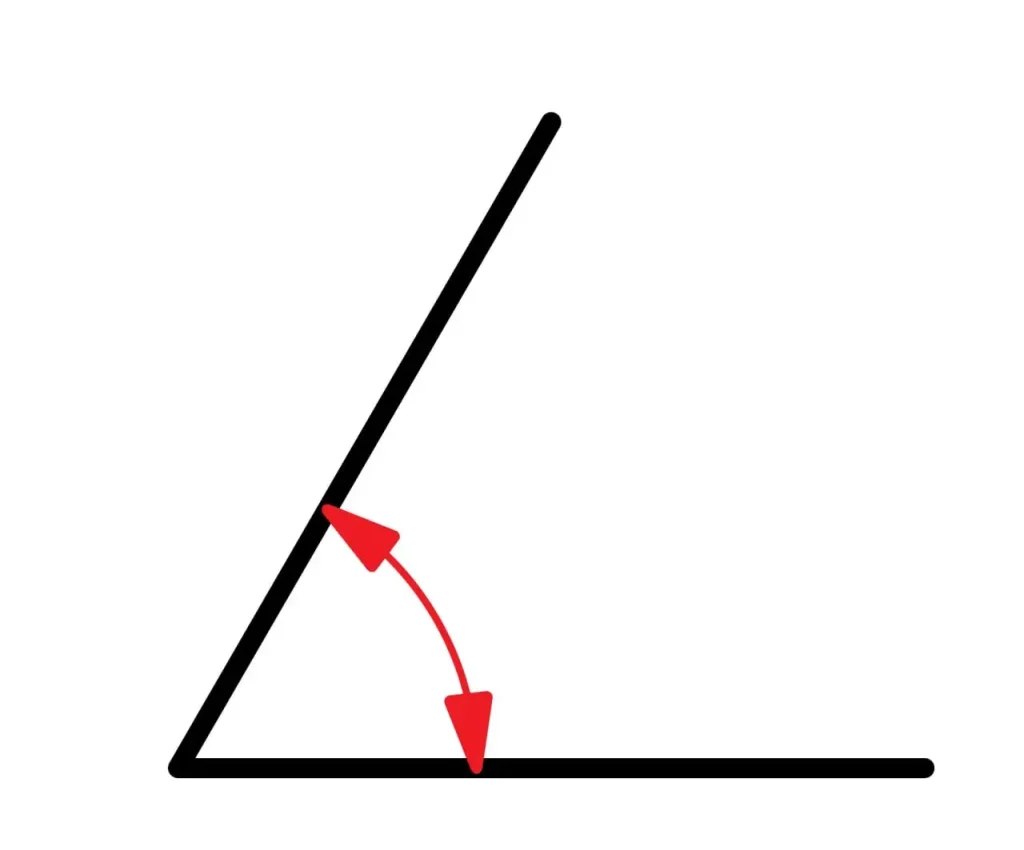
An angle is a geometric figure that consists of two rays and a vertex.
Each angle has a name, depending on its size: acute, straight, obtuse, unfolded, convex, total.
An acute angle is an angle that is smaller than a right angle (<90°).
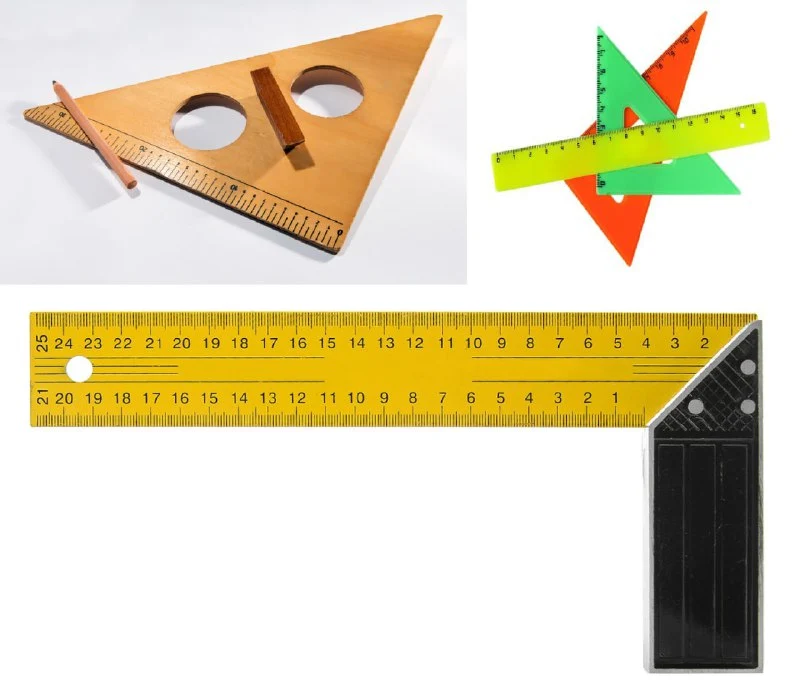
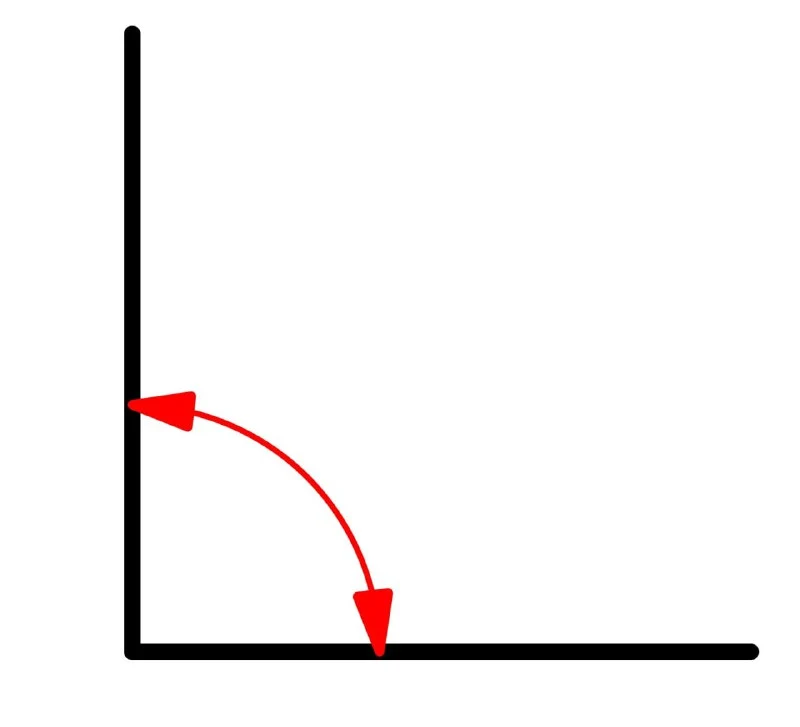
An angle whose sides are perpendicular to each other is called a right angle. A right angle is 90°.
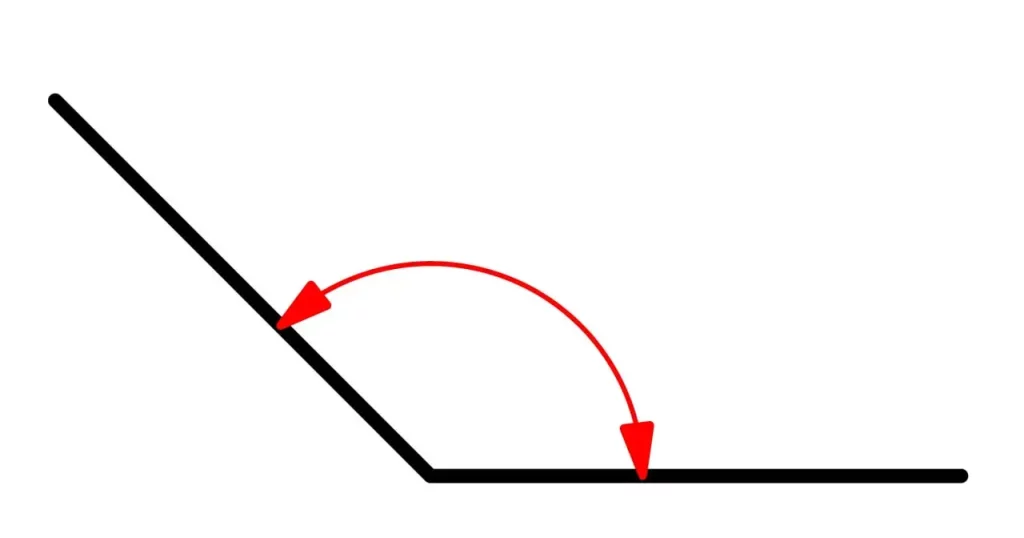
An obtuse angle is an angle that is larger than a right angle, but smaller than an unfolded angle:
90° < obtuse < 180°.
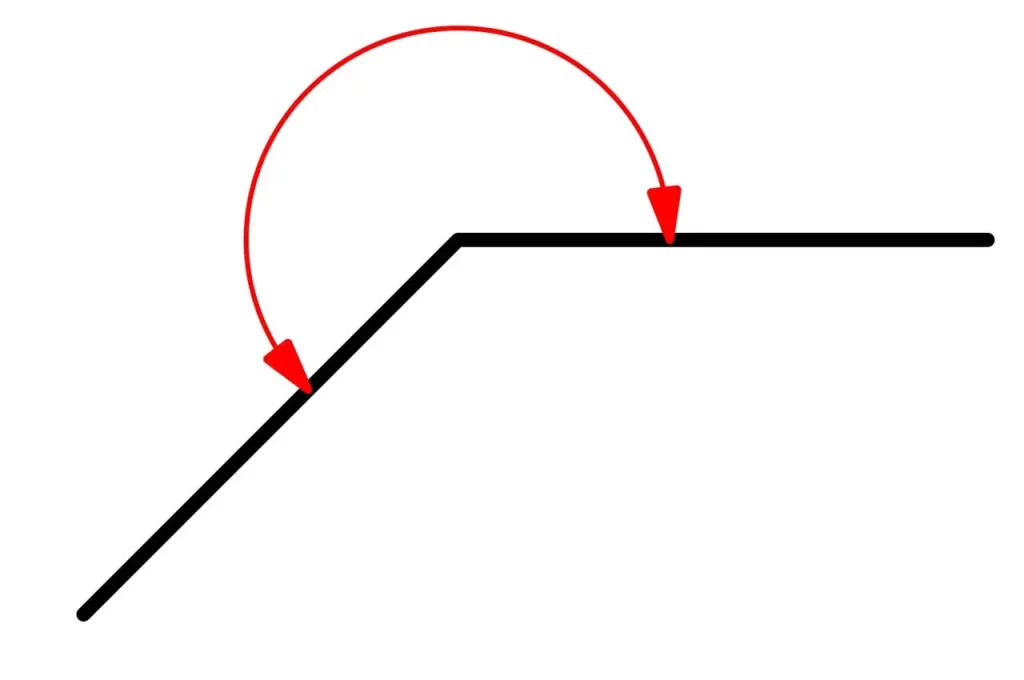
A convex angle is an angle that is larger than an unfolded angle, but smaller than a total angle:
180° < convex angle < 360°.
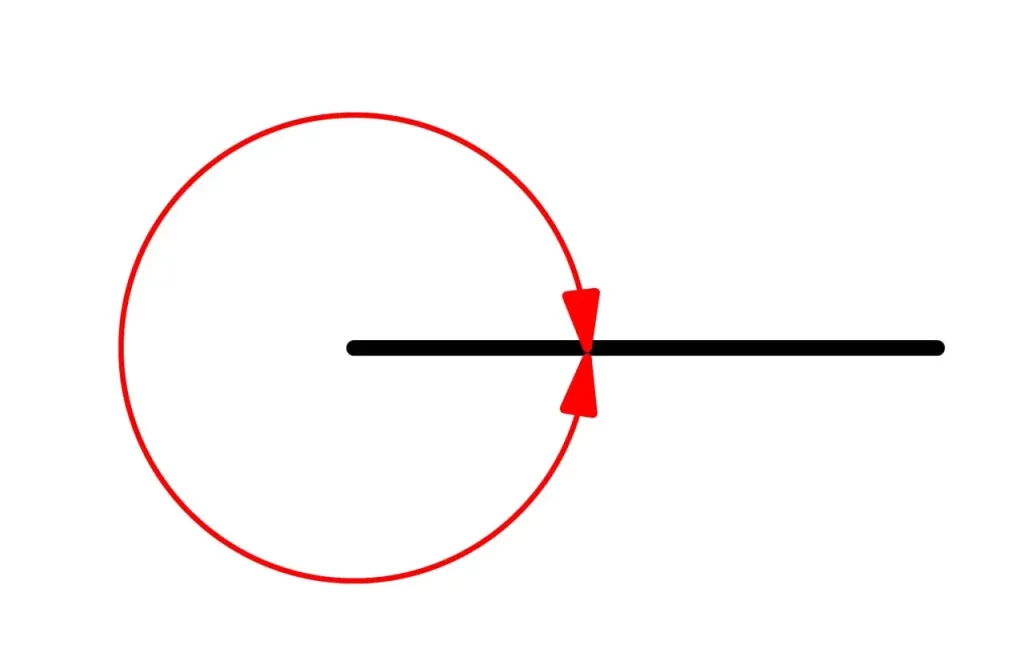
A full angle is an angle whose both sides coincide with a single ray.
Resources:
[1] https://izamorfix.ru/matematika/planimetriya/vidy_uglov.html
[2] https://math-prosto.ru/ru/pages/geometry_primary/angle/
Practical part
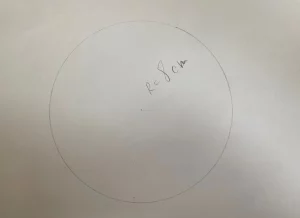
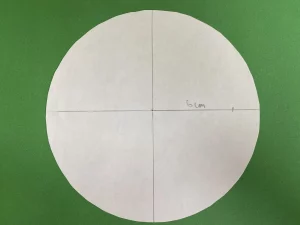
On an A4 sheet, draw a circle with a radius of 8 cm. Cut out the circle.
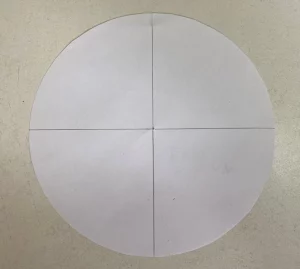
Divide the circle into four parts.
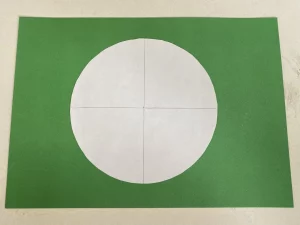
Glue the circle in the middle of a sheet of coloured cardboard.
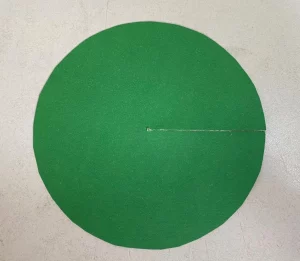
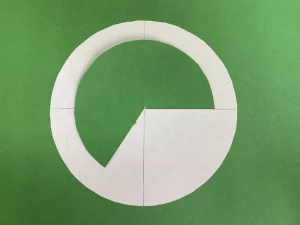
Cut out a circle from a piece of other coloured cardboard with a radius of 6 cm. Draw one radius to the centre of the circle and make an incision as shown
Measure a radius of 6 cm on the right-hand side of the white circle and make an incision
Place the circle cut out of the coloured cardboard in the white circle notch as shown below
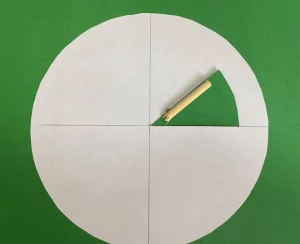
Cut a 5 cm piece of wooden skewer and glue it to the outer end of the circle from a piece of cardboard
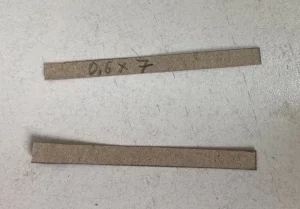
Cut out pieces of coloured cardboard measuring 0.6 cm by 7 cm. Make arrows from the pieces and glue them in the areas shown in the picture.
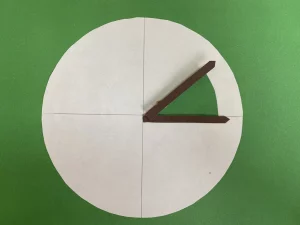
Paint the corners in the relevant areas using coloured pencils or felt-tip pens
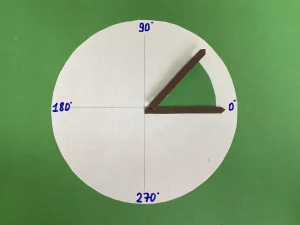
Cut out pieces of coloured cardboard as shown in the illustration
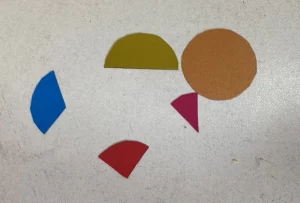
Glue the parts to the main board
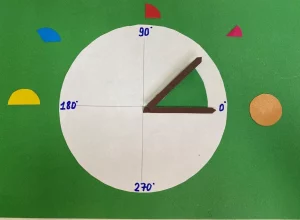
Tape the edges of the pieces with pieces of wooden skewer and sign the corners
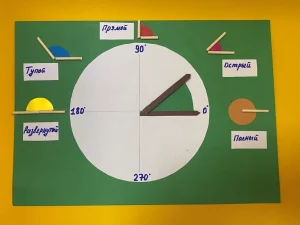
Conclusion
Pupils have built a mathematical model to improve their understanding of the types of angles. It is recommended to think about improving the design of the layout.