Week 1
Teacher’s Guide:
- Divide students into 2 groups;
- Conduct a brief instruction on working with scissors and cardboard products;
Goal
- Learn to draw geometric shapes;
- Learn to determine the location of objects in space (right, left, top, bottom, front, back);
- Develop imaginative and logical thinking
Read the safety instructions before you start [ safety insructions ].
Introduction
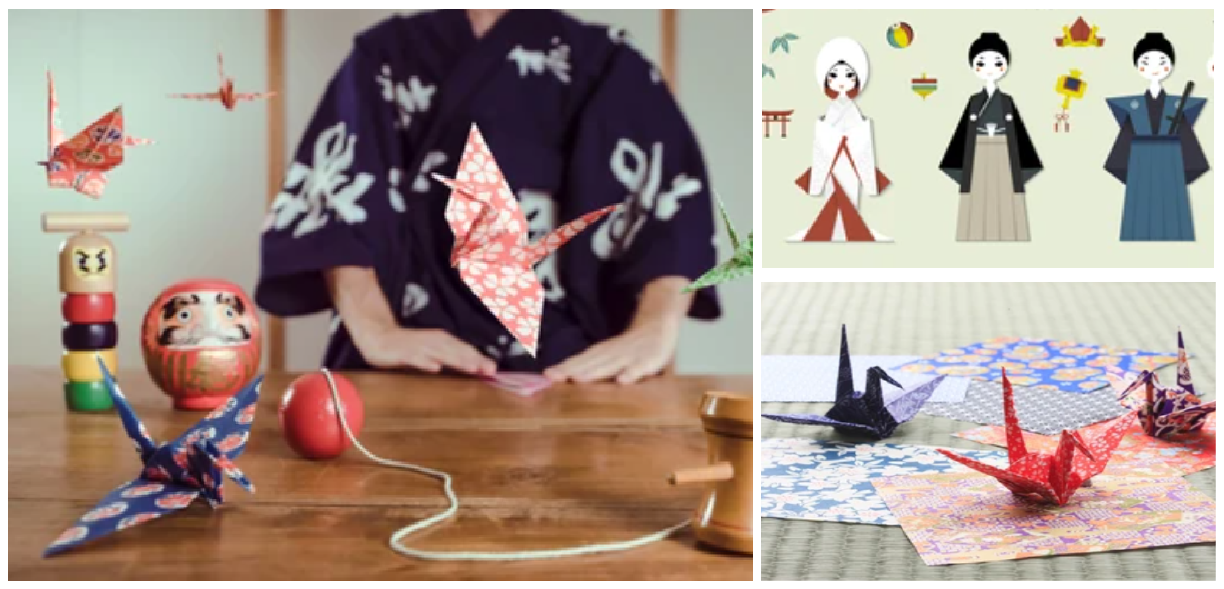
Origami is the ancient Japanese art of paper folding.
The art of origami originated in ancient China. Initially, the folding of figurines was used for religious ceremonies. For a long time, only people from the upper classes could use origami. In most cases, origami is folded using a square sheet of paper.

Most of the symbols needed to draw an origami scheme for a product were put into practice by the Japanese master Akira Yoshizawa (1911 – 2005). In most cases, origami is folded using only a sheet of paper without the use of scissors and glue.
References
Practical part.
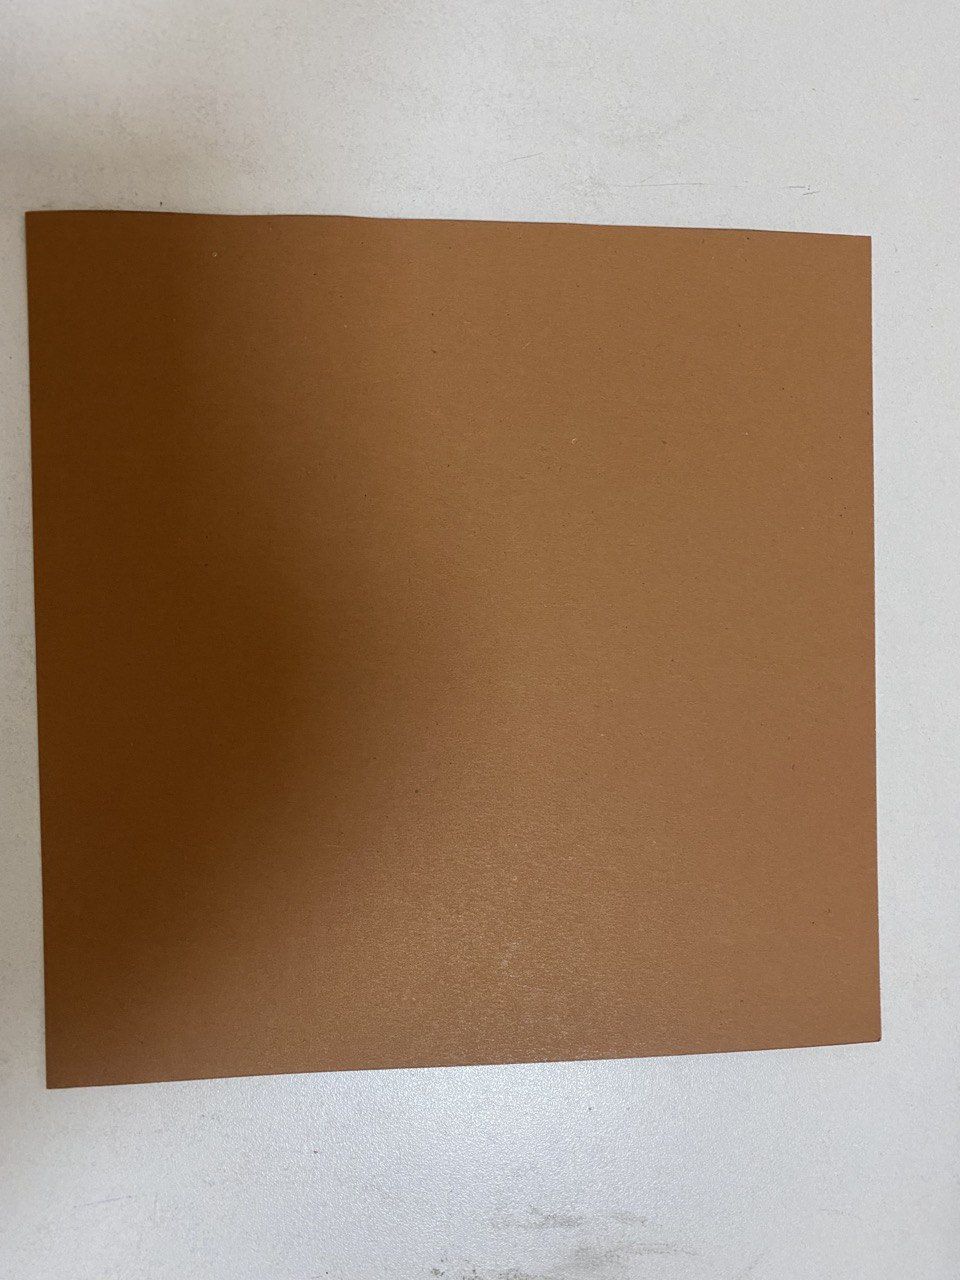
Give each student one piece of colored card.
Measure the width of a sheet of colored cardboard
Use the resulting width and cut out a square with a side equal to the width of the cardboard.
Bend the square to get two equal parts

Bend the part again in the same way.

Open the piece and fold the edges (corners) inwards

Bend the left and right side of the part inward

Fold out the remaining edge (corner)

Open Detail

Fold the bottom up

Open the part to get the shape of the table as shown in the picture.

Take the remaining pieces of a sheet of colored cardboard
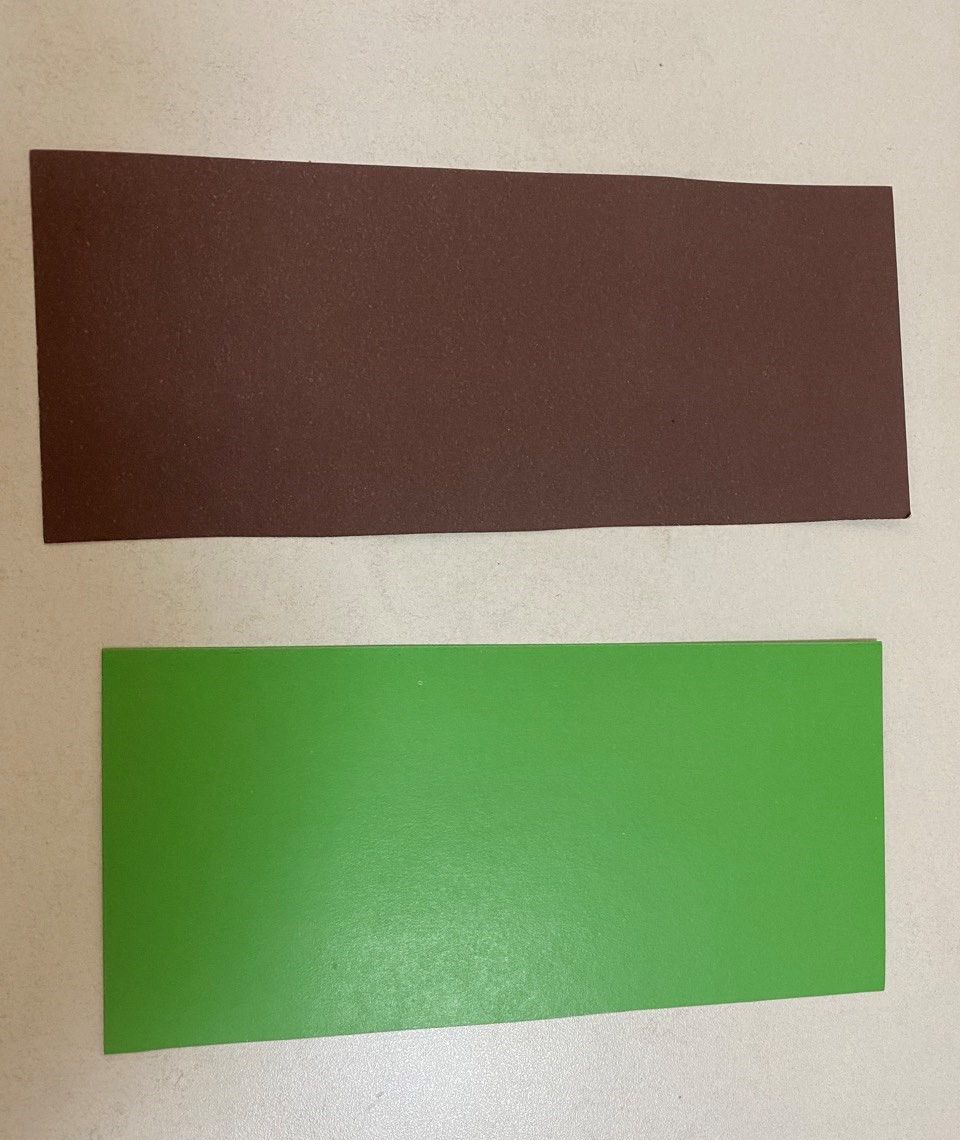
Cut out the following shapes:
- An equilateral triangle with a side of 4 cm
- Square with a side of 4 cm
- A circle with a radius of 2 cm (also, in order to draw a circle, students can use any round object with an identical radius)
%20-%20Copy.jpg)
.jpg)
Ask the students to play the game.
Position two students so that they stand with their backs to each other.

The first student on the left must dictate the location of the figures aloud to the other student.
For example:
- The triangle is located under the table
- The circle is above the table
- The square is to the right of the table
The task of the second student is to arrange the figures according to the instructions of the first student.
Conclusion
This project introduced the students to geometric shapes and taught them how to draw them. It identified where the shapes are located in space.
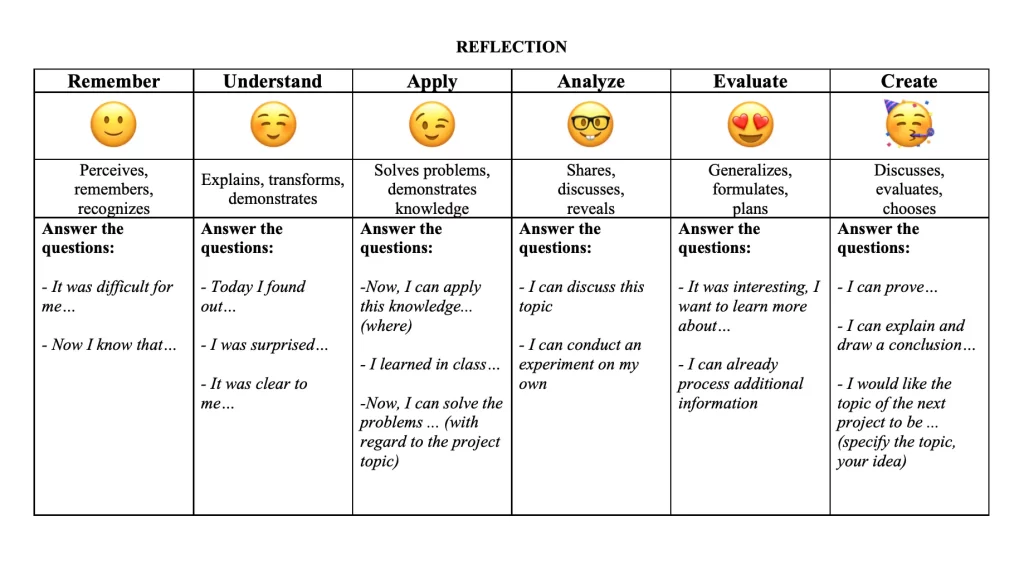
Evaluation