Week 1
Project objective
- To study movement in human life
- Learning about arm movement
- Make moveable hands out of paper
Teacher’s guide
– In the practical part of the project, pupils work in groups of 3-4 people.
– Pupils should be introduced to topics like movement, body parts, movement of living things and objects.
– Before starting the practical part, familiarise and provide the students with all the necessary materials.
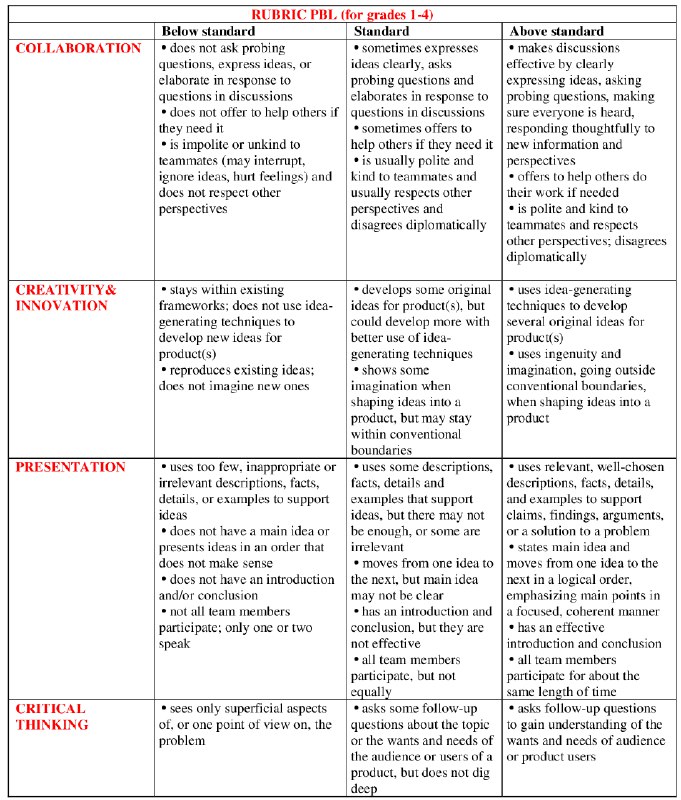
– At the beginning of the lesson explain the PBL (project based learning) rubrics to the students. Skills 4K (critical thinking, collaboration, creativity, anticipation)
Safety in Steam lessons
It is recommended that teachers are fully aware of the safety procedures before the beginning of the lesson. If necessary (if they are using items specified in the PPE guidelines), brief the students. Visit Safety in Steam lessons Safety precautions in STEAM lessons
Theoretical Part
Movement is everywhere, even inside people.
So what is movement?
Movement is the change in position of objects or a living thing in relation to other objects or living things. Living beings, i.e. human beings, animals – they move and objects can be moved. Humans and animals move with the help of muscles and objects move, provided they are moved.
For example, a human being can walk, run, jump, swim, crawl, slide, and can move body parts (arms, legs, etc.). The science which studies the movements of body parts is called biomechanics.
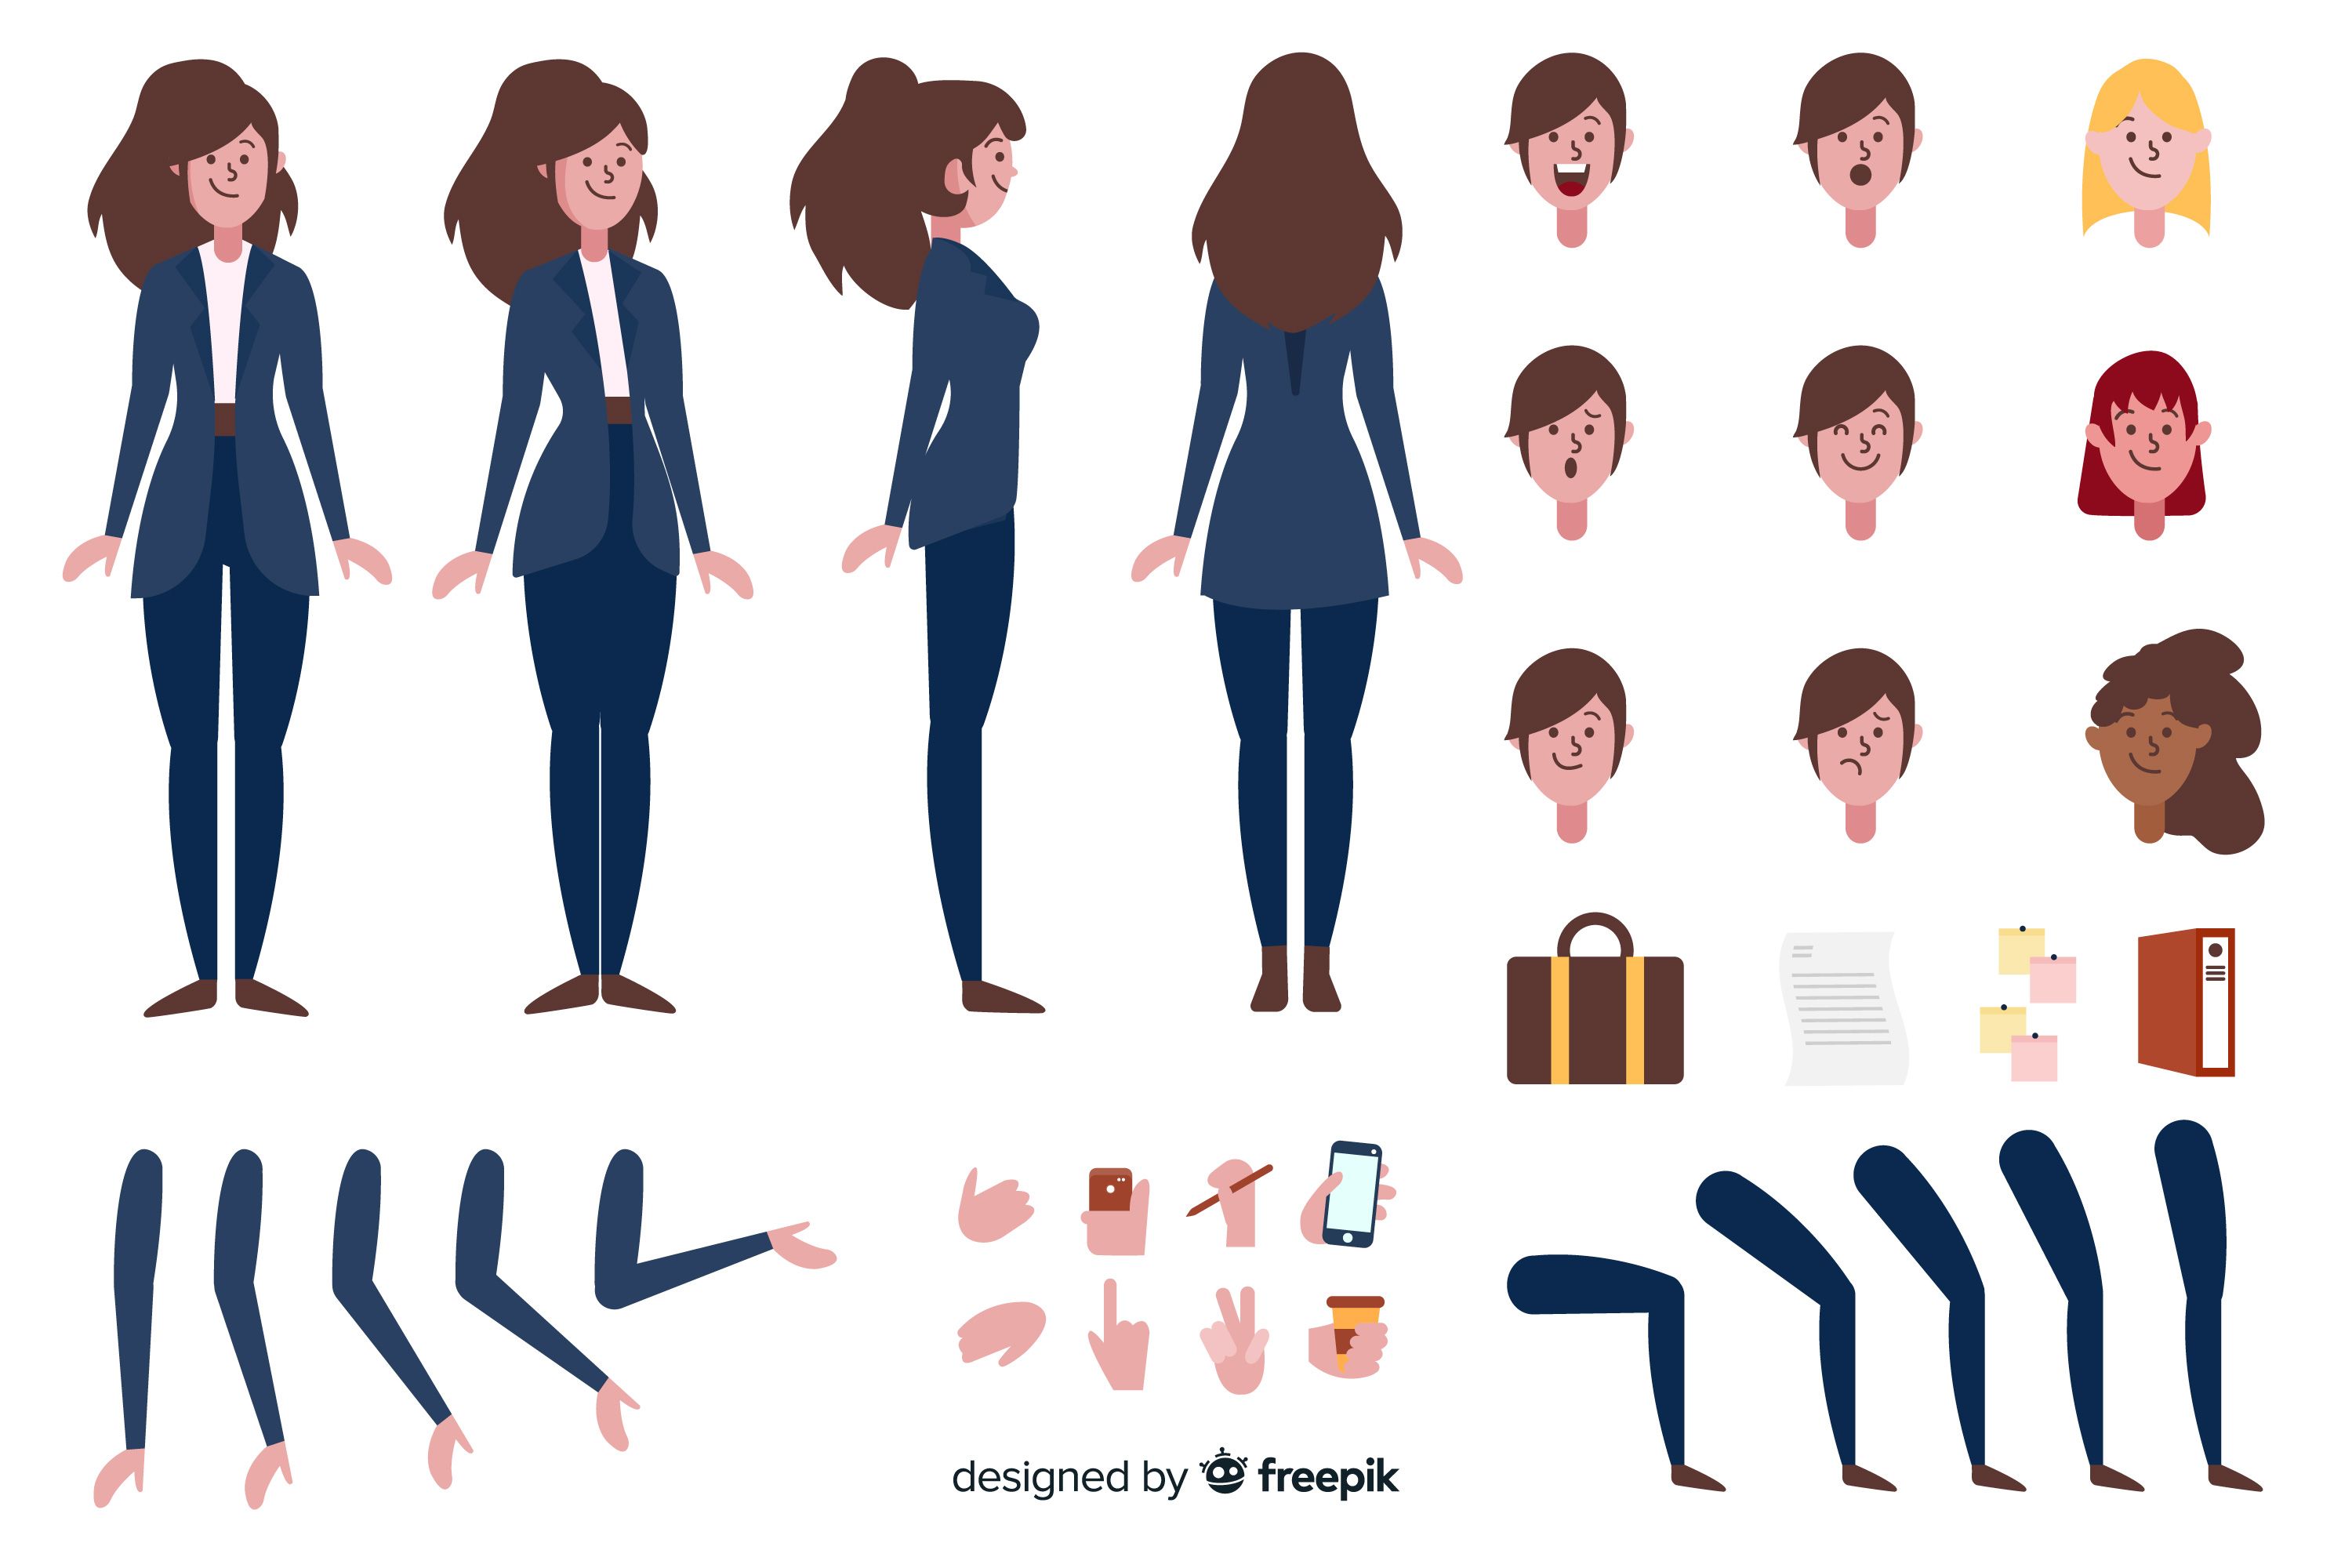
Study the picture and tell us which body parts we can move.
The practical part
| Step 1: Movable hands can be made from any paper. Take coloured A4 paper. |  |
| Step 2: Then place the palm of your hand | 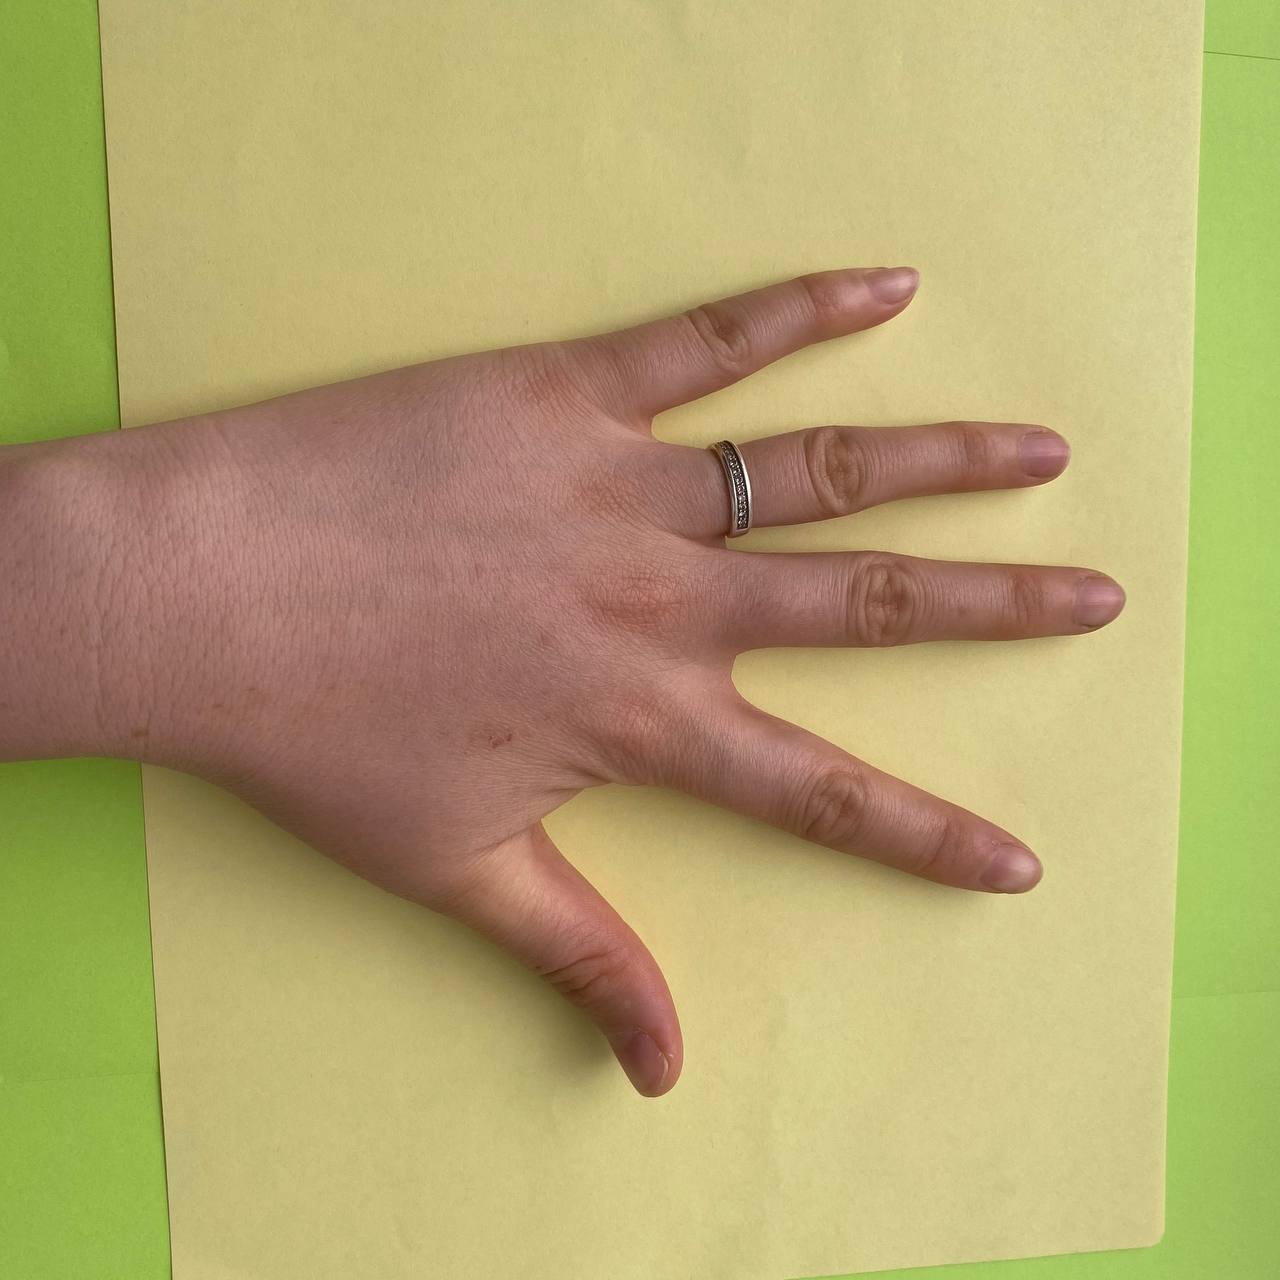 |
| Step 3: Draw your hand using a pencil | 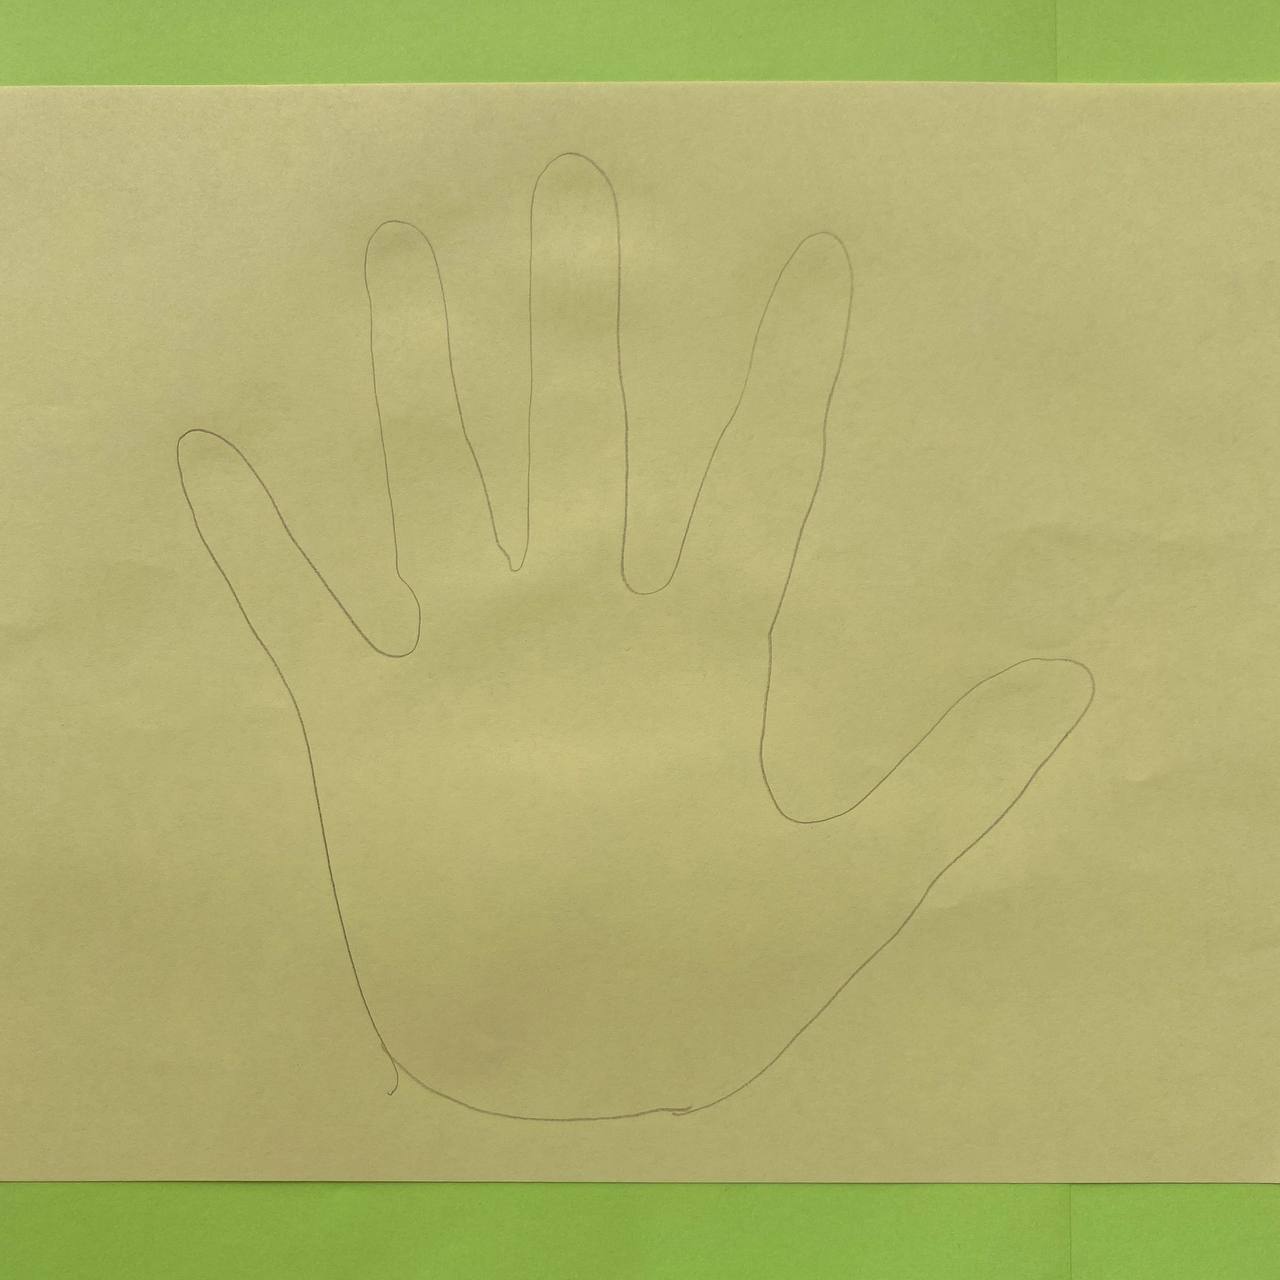 |
| Step 4: Cut out the hands from the paper. Then draw the strips as shown | .jpg) |
| Step 5: Prepare thin double-sided adhesive tape | 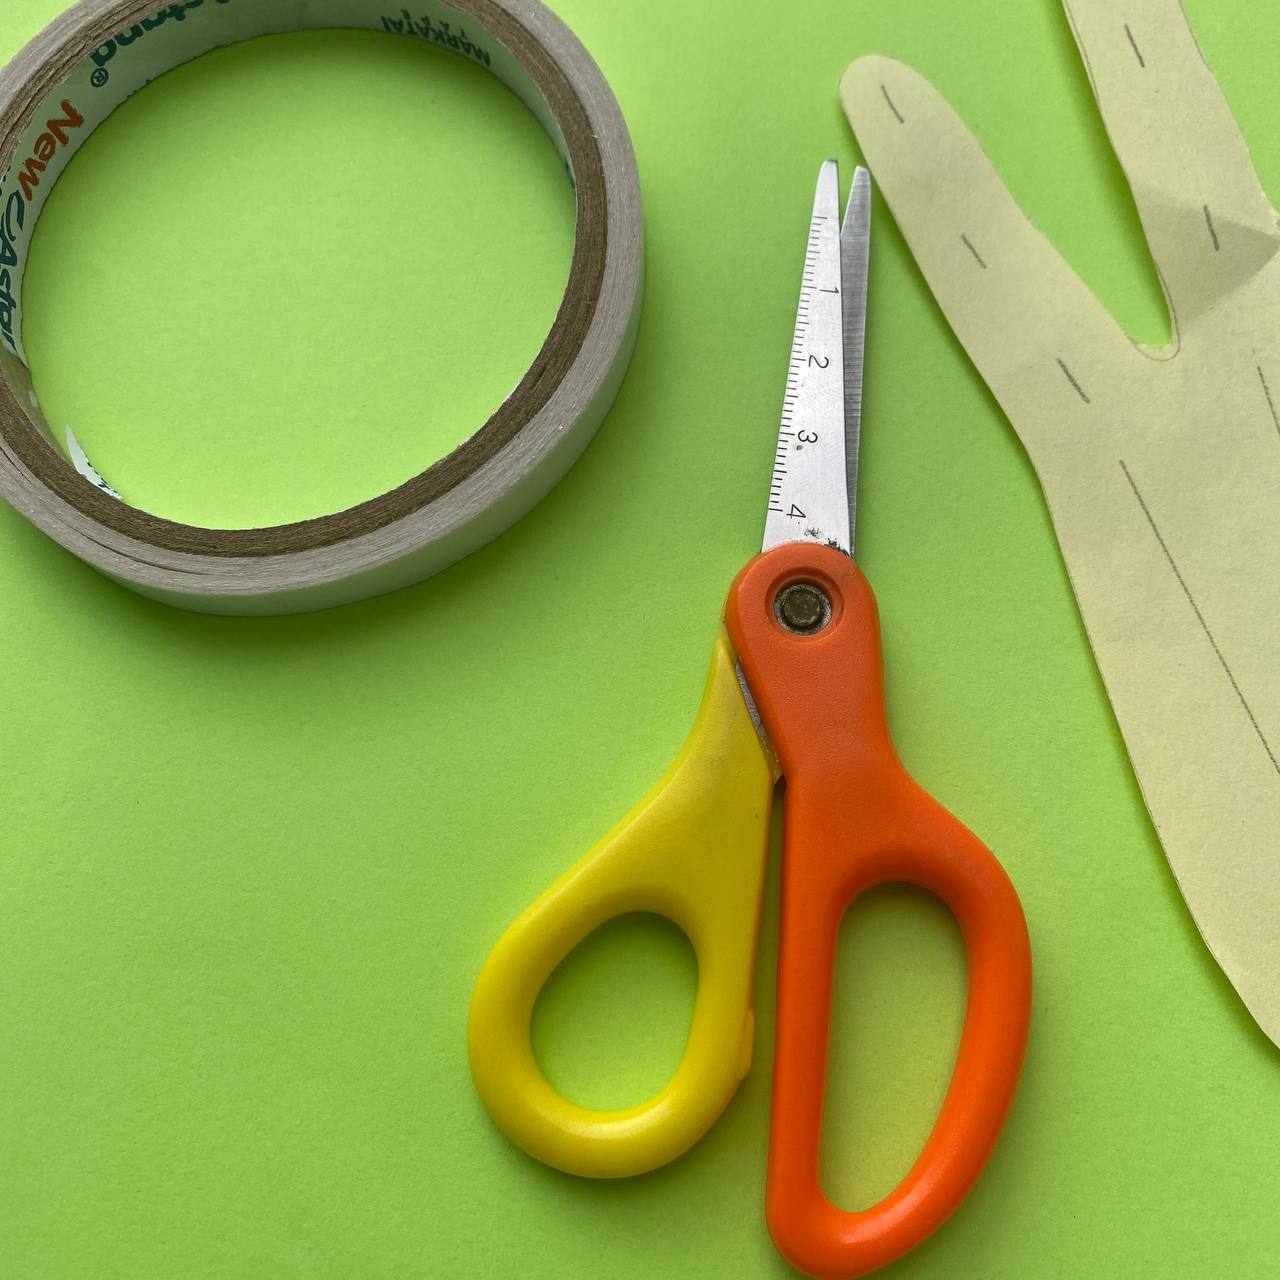 |
| Step 6: Glue the double-sided adhesive tape along the dotted lines | 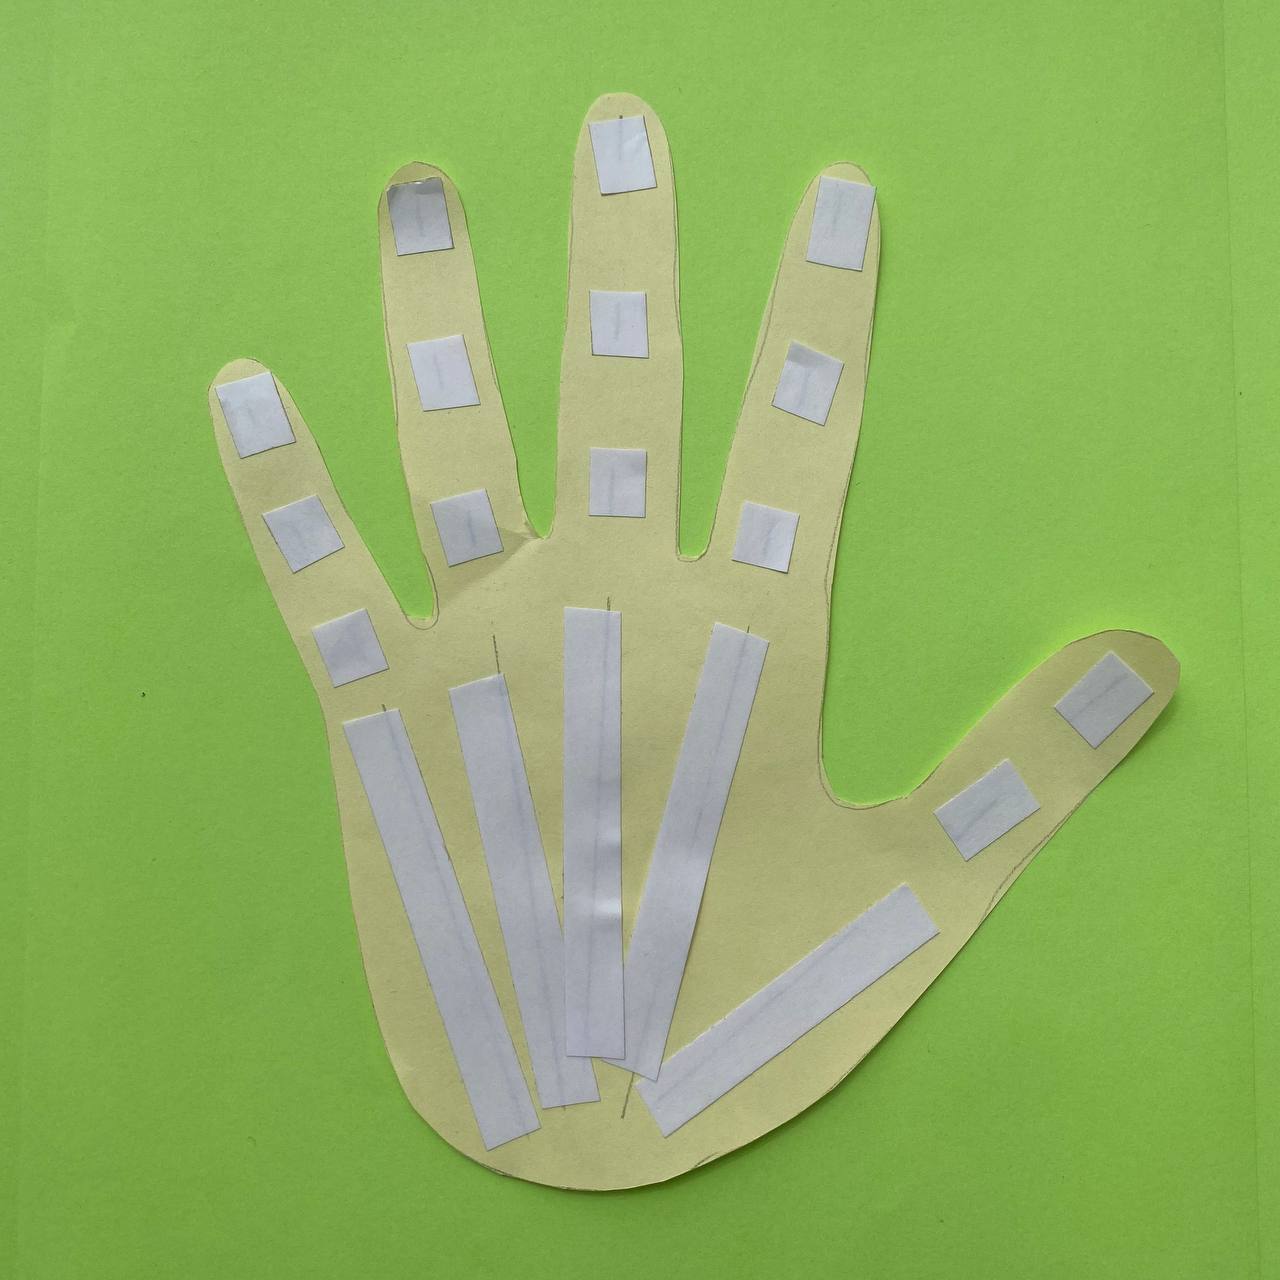 |
| Step 7. Then remove the film, leaving the sticky side | 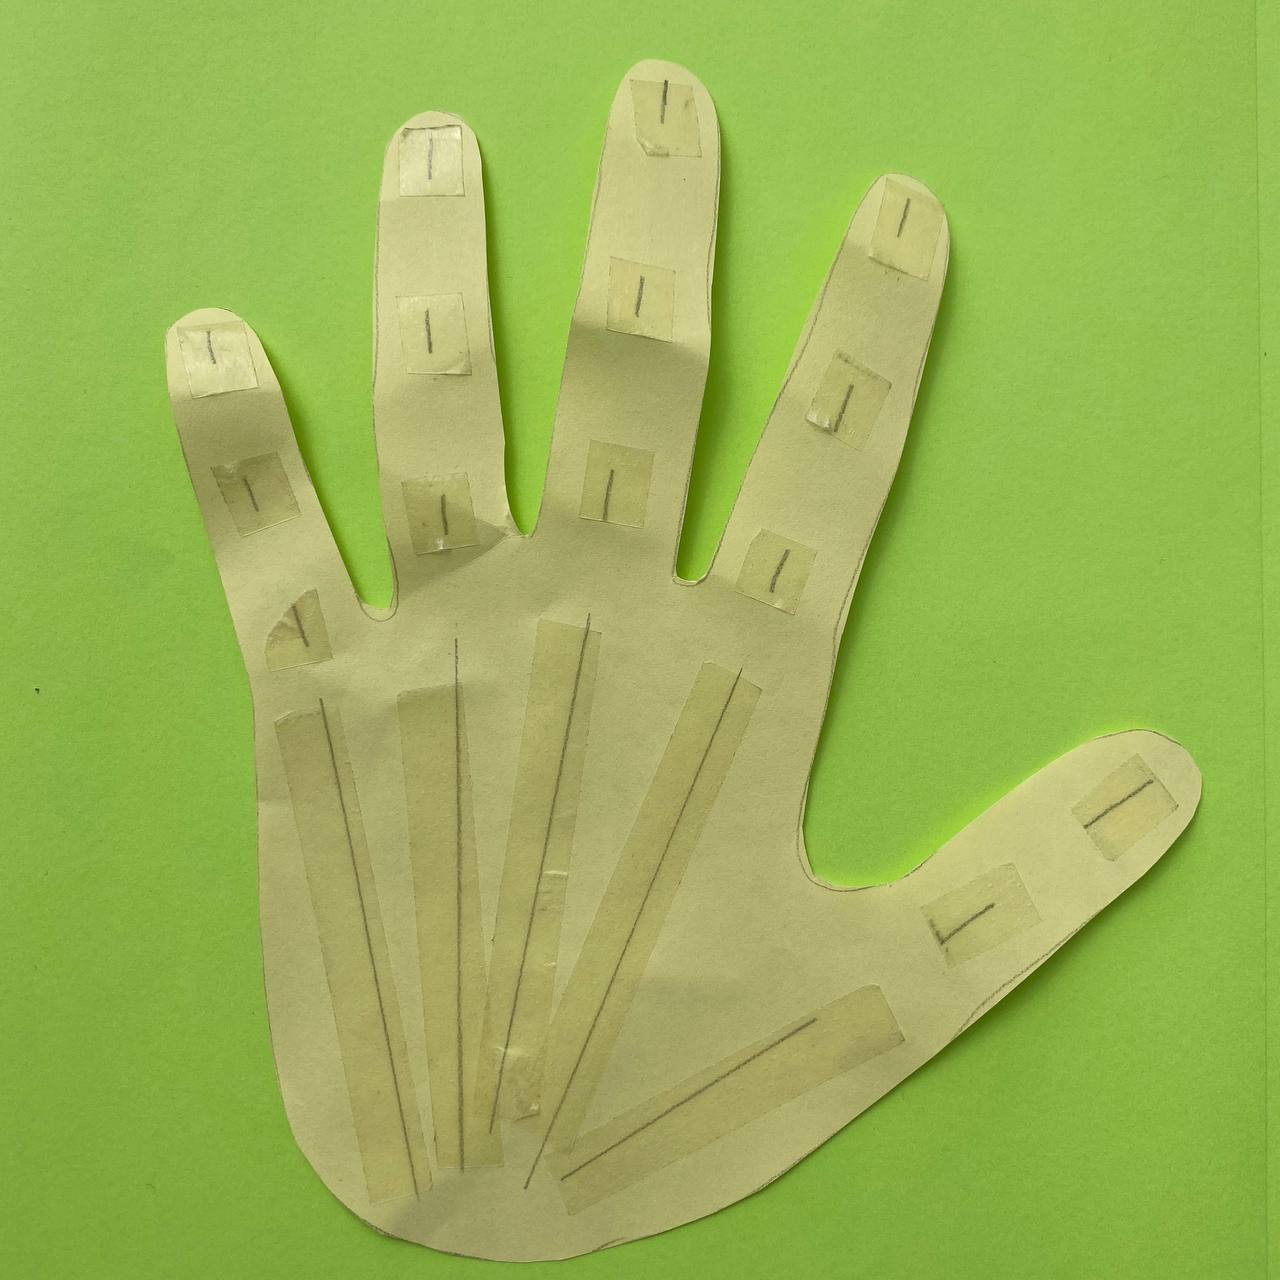 |
| Step 8: Prepare the tubes | 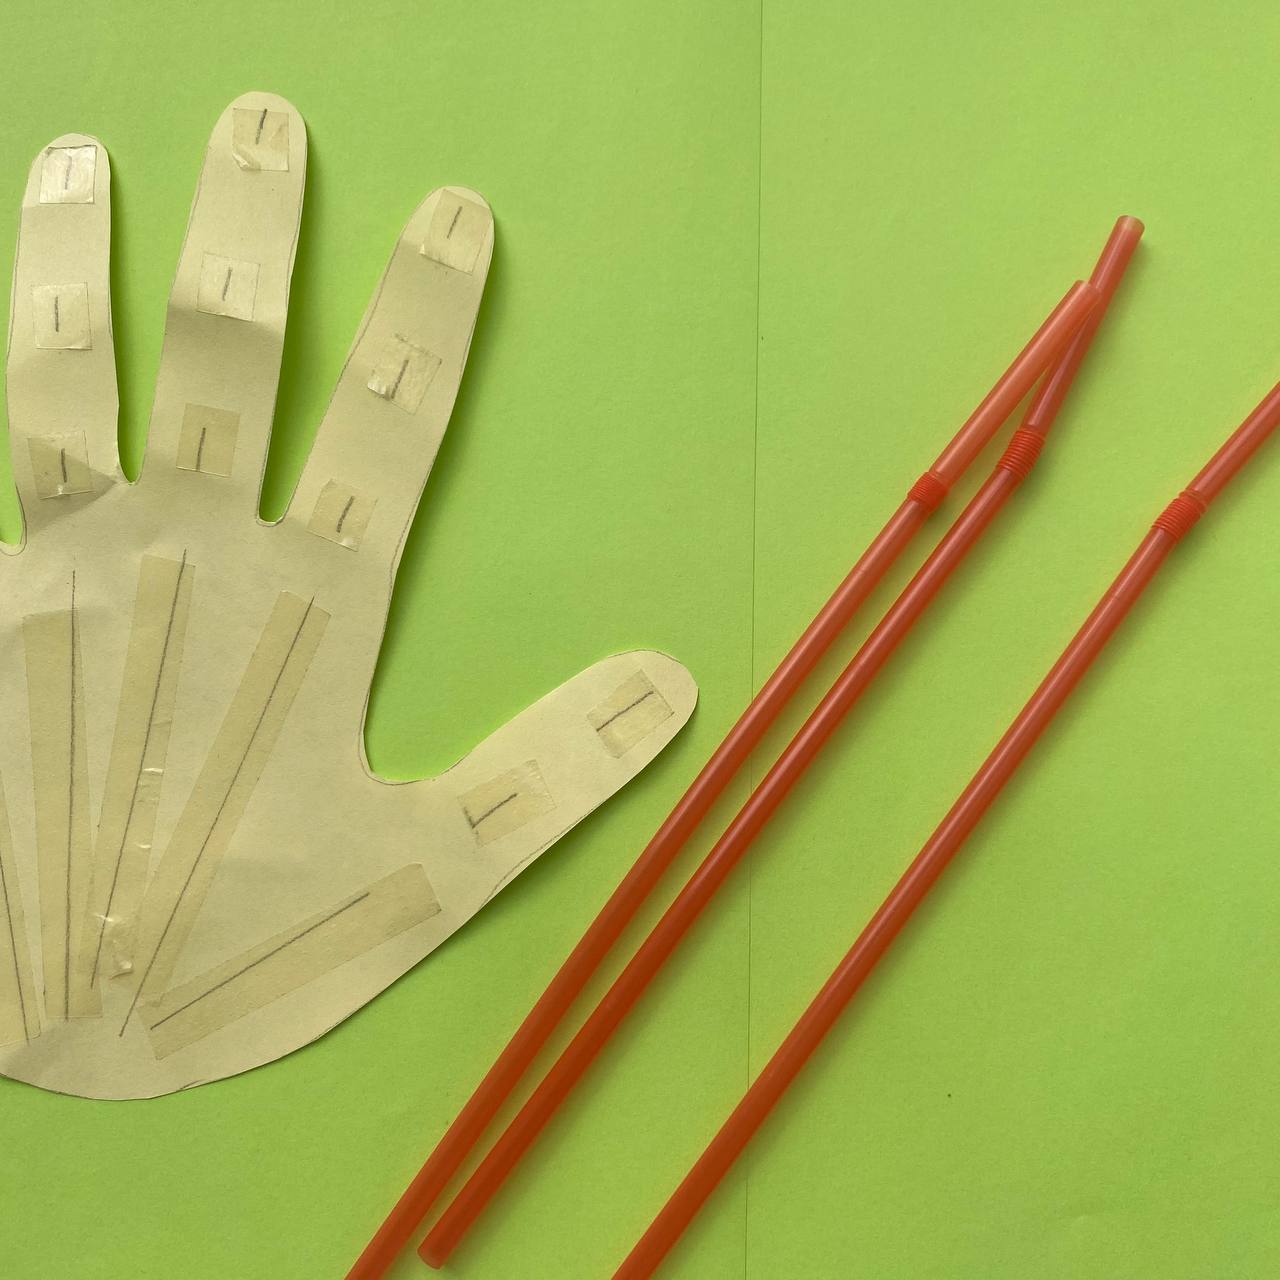 |
| Step 9: Cut out the pieces from the tubes and glue where the tape was glued | 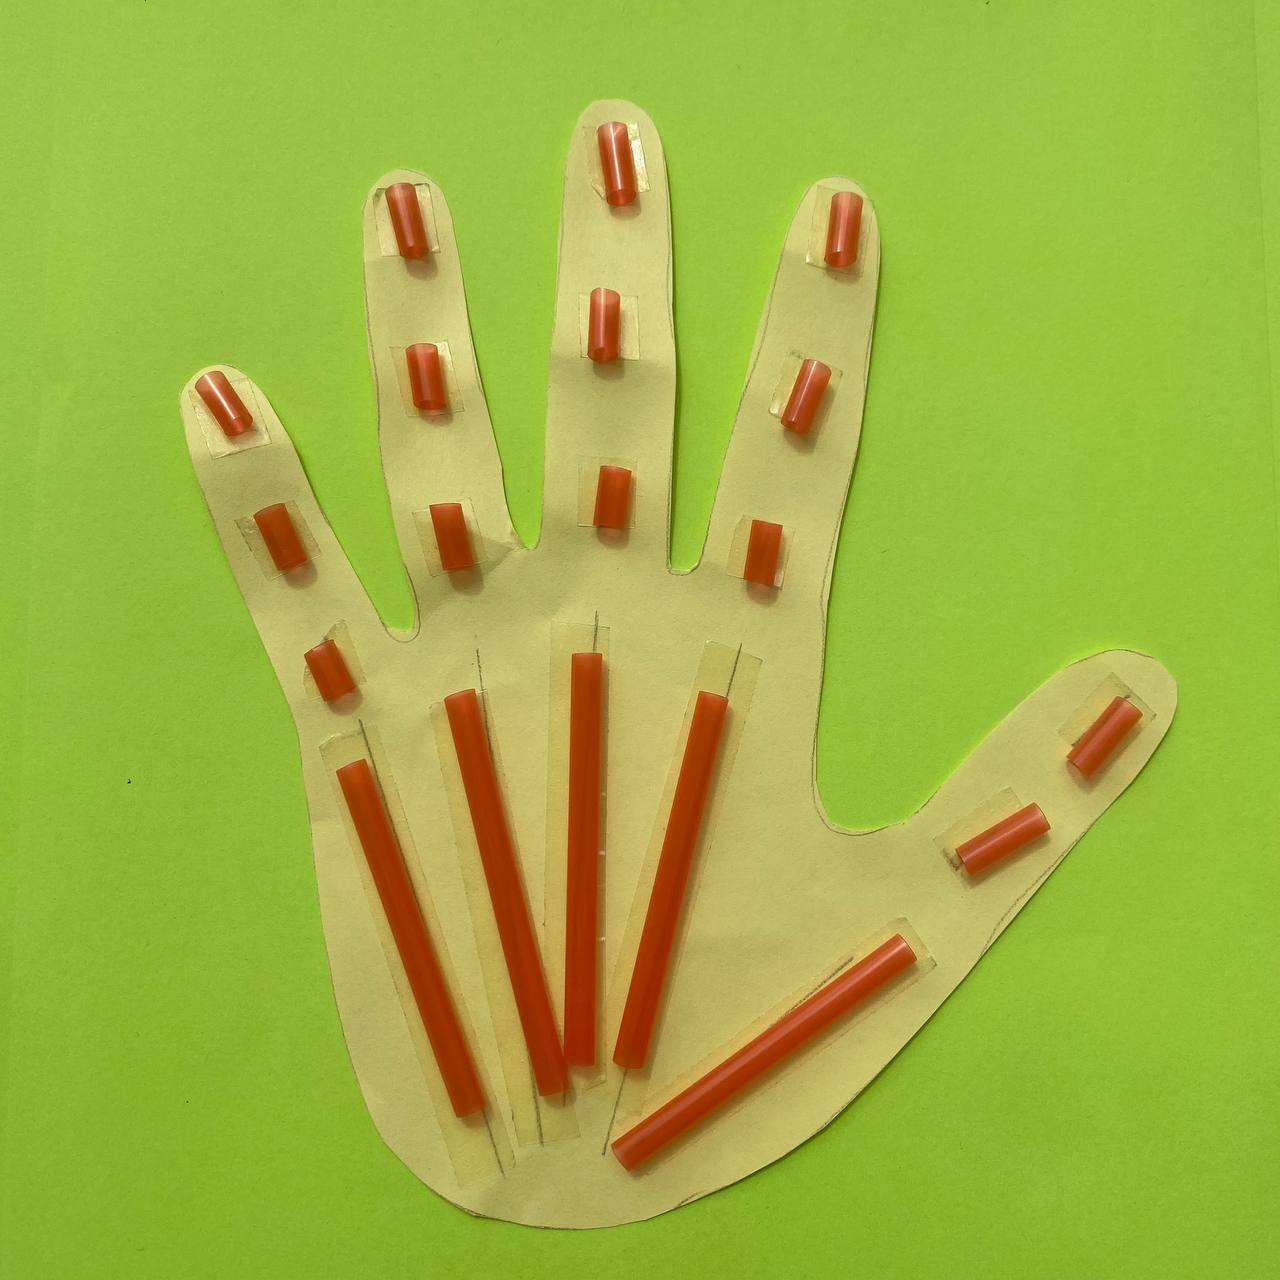 |
| Step 10. Prepare the string, run it through the tube at your fingertip and tie and run it all the way to the end | 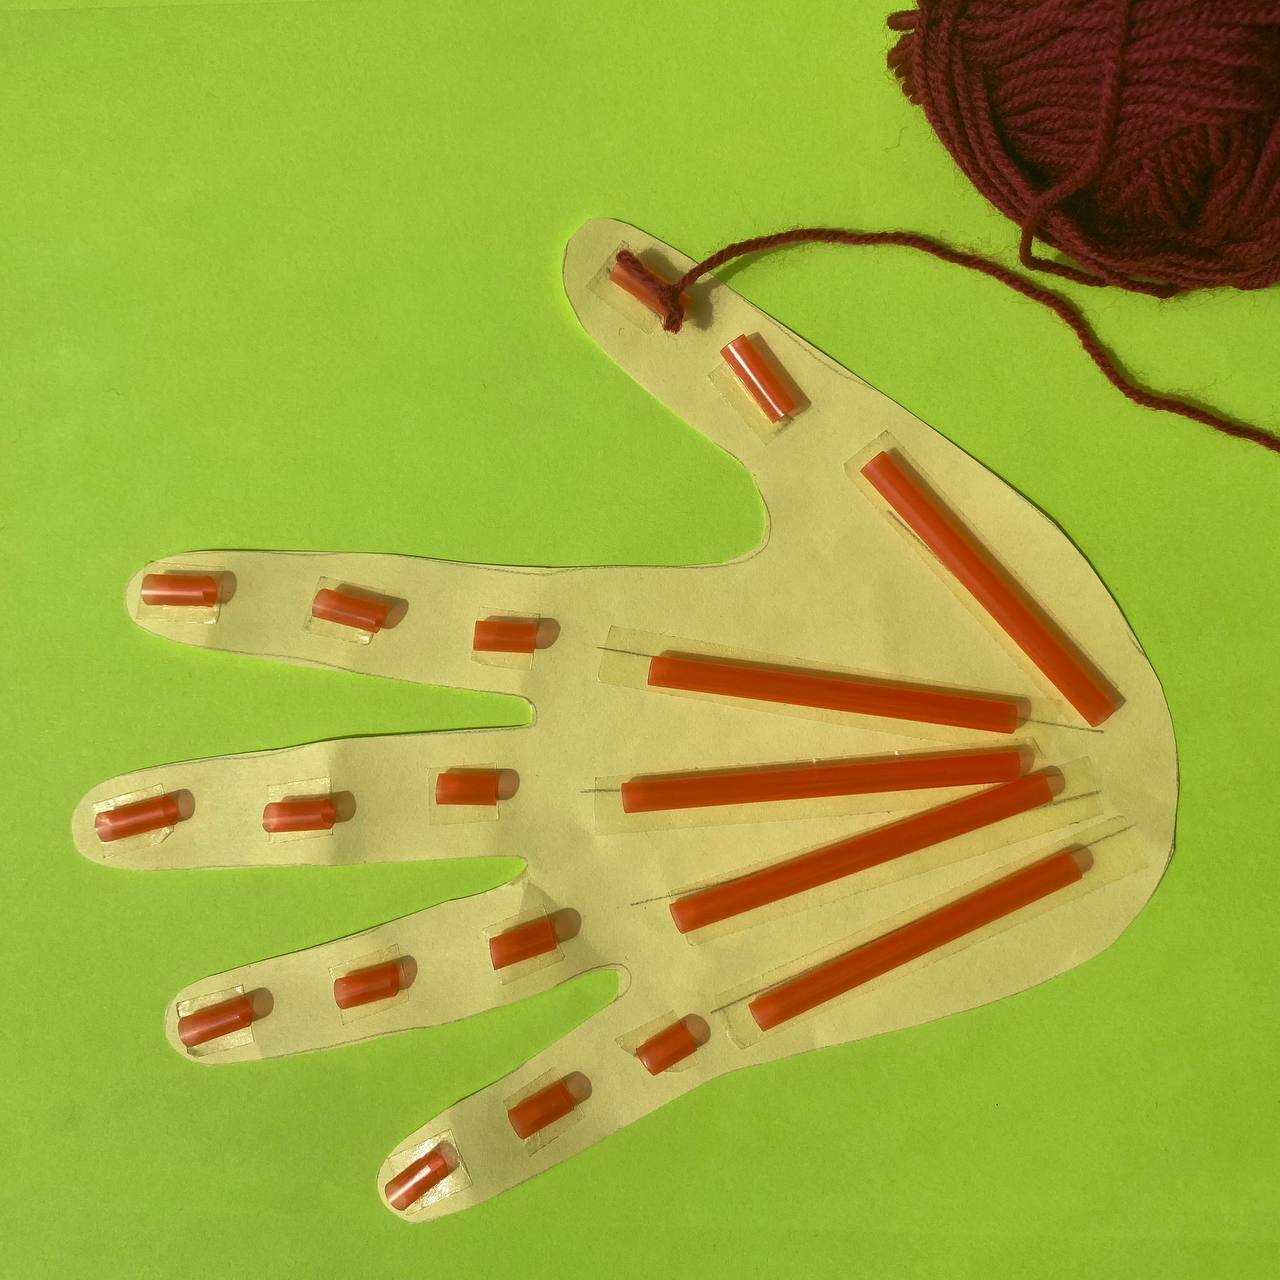 |
| Step 11. Then do the same on the remaining fingers. Five strands should come out | .jpg) |
| Step 12: Prepare the right sized tube and pen paste | 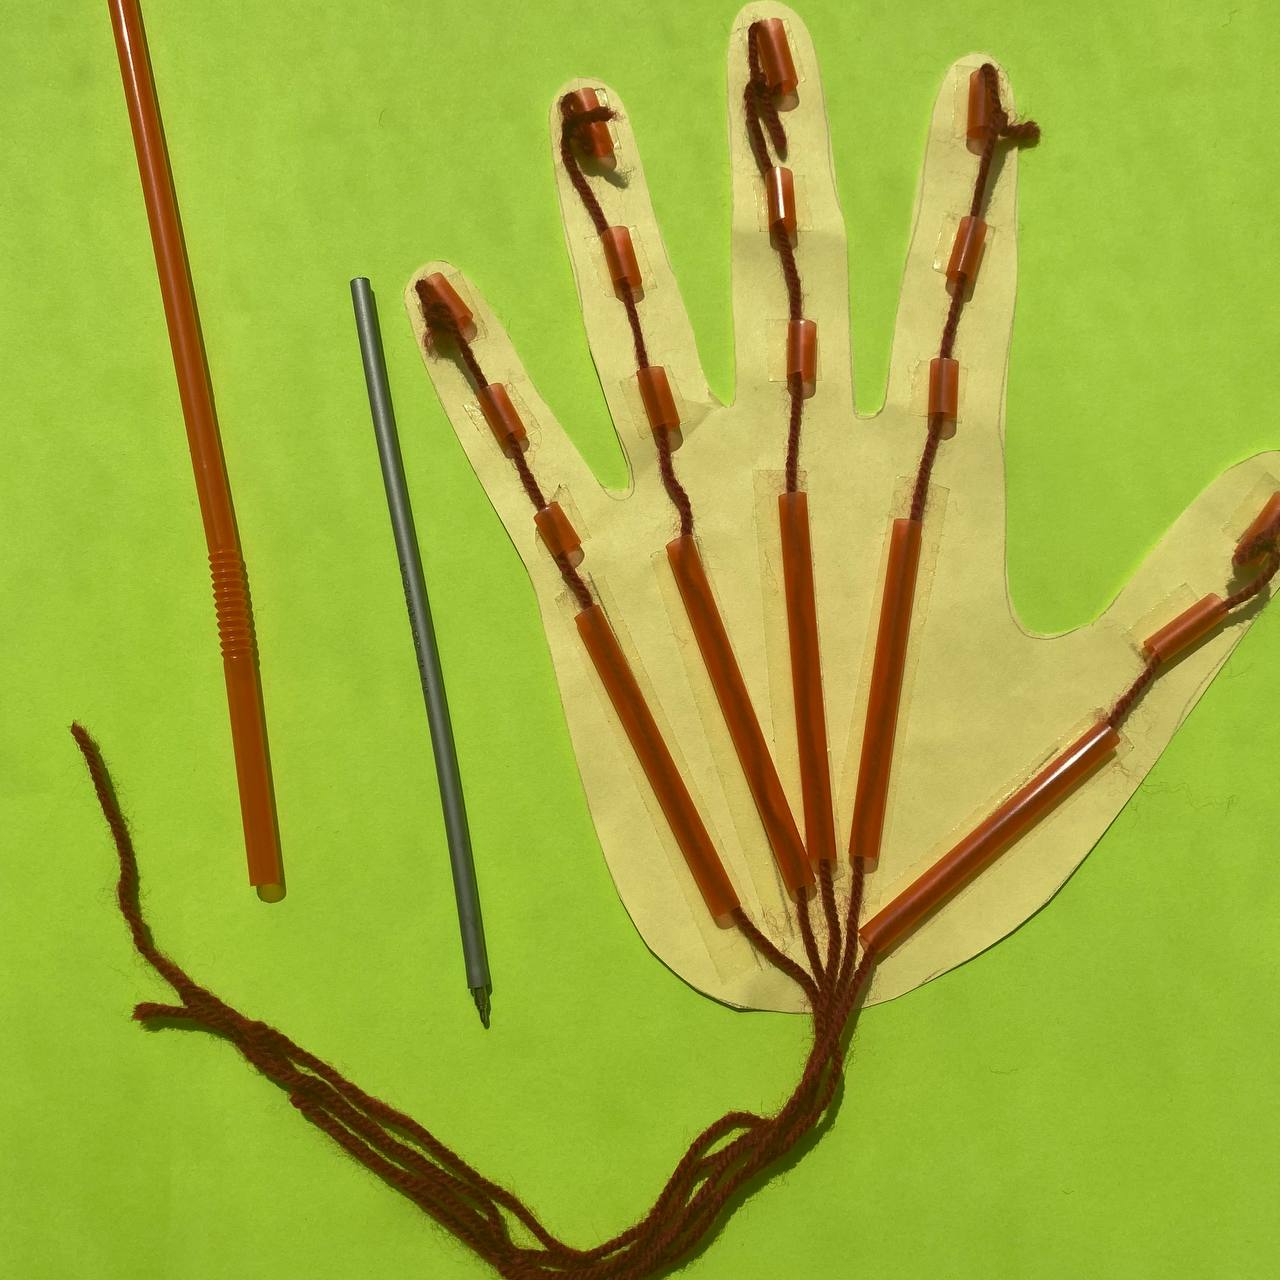 |
| Step 13. Using pen paste, thread the thread through the tube | 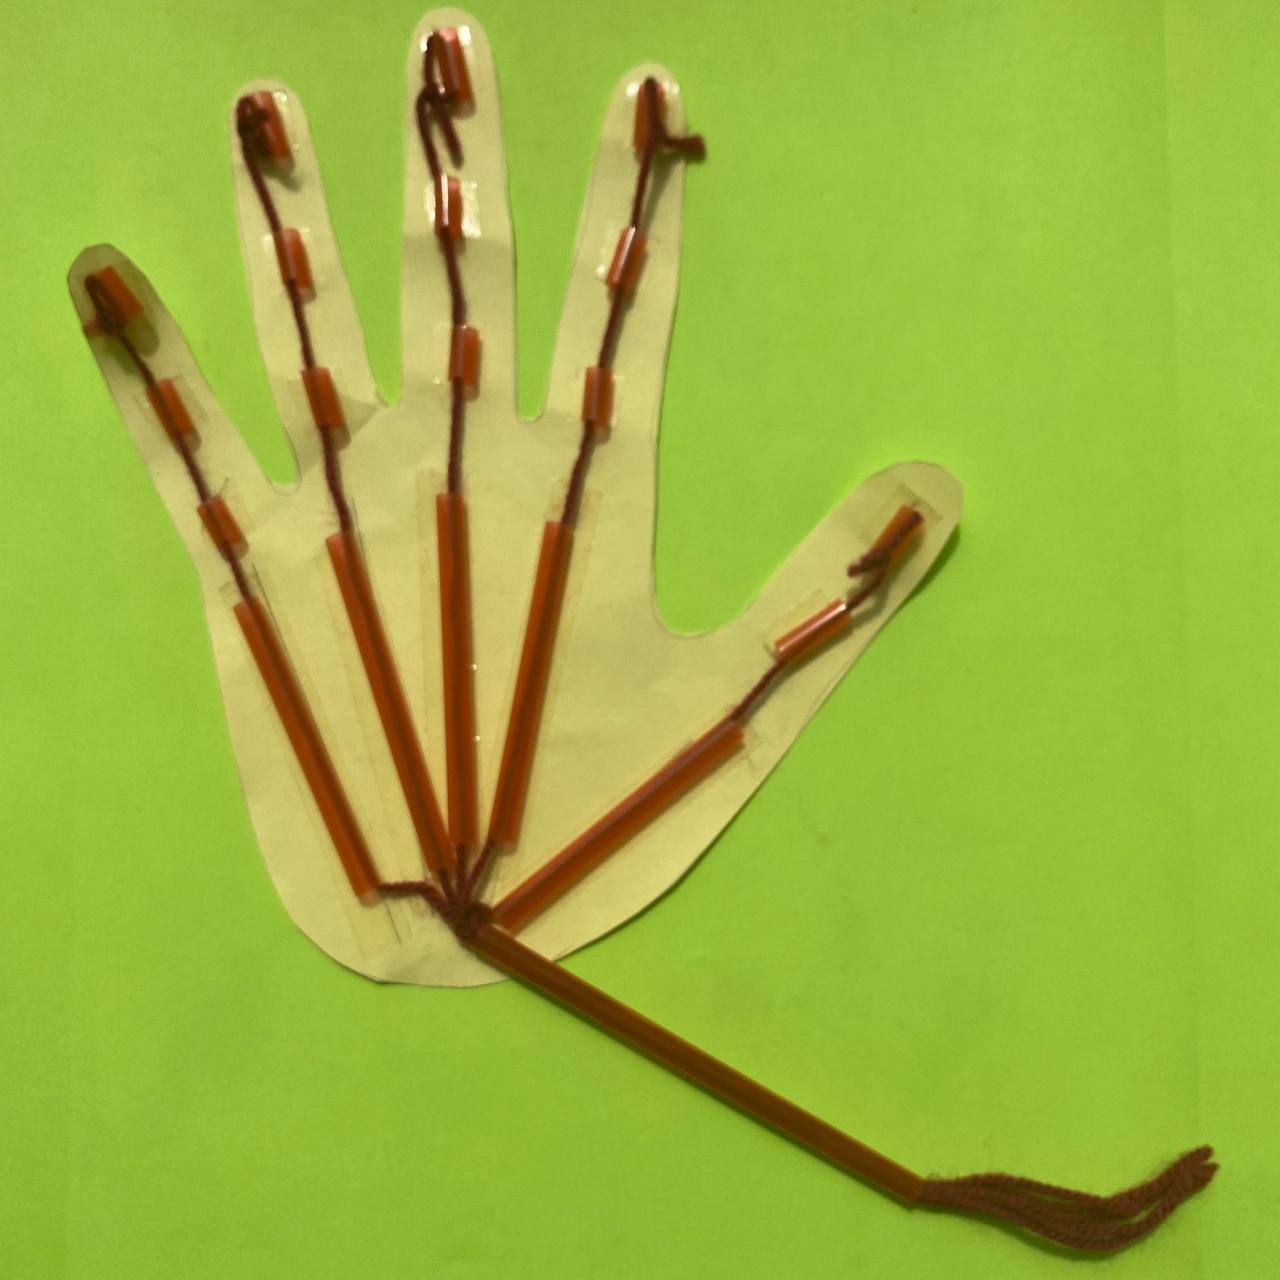 |
| Step 14. Now slowly pull the threads towards yourself. Test the finished hand | 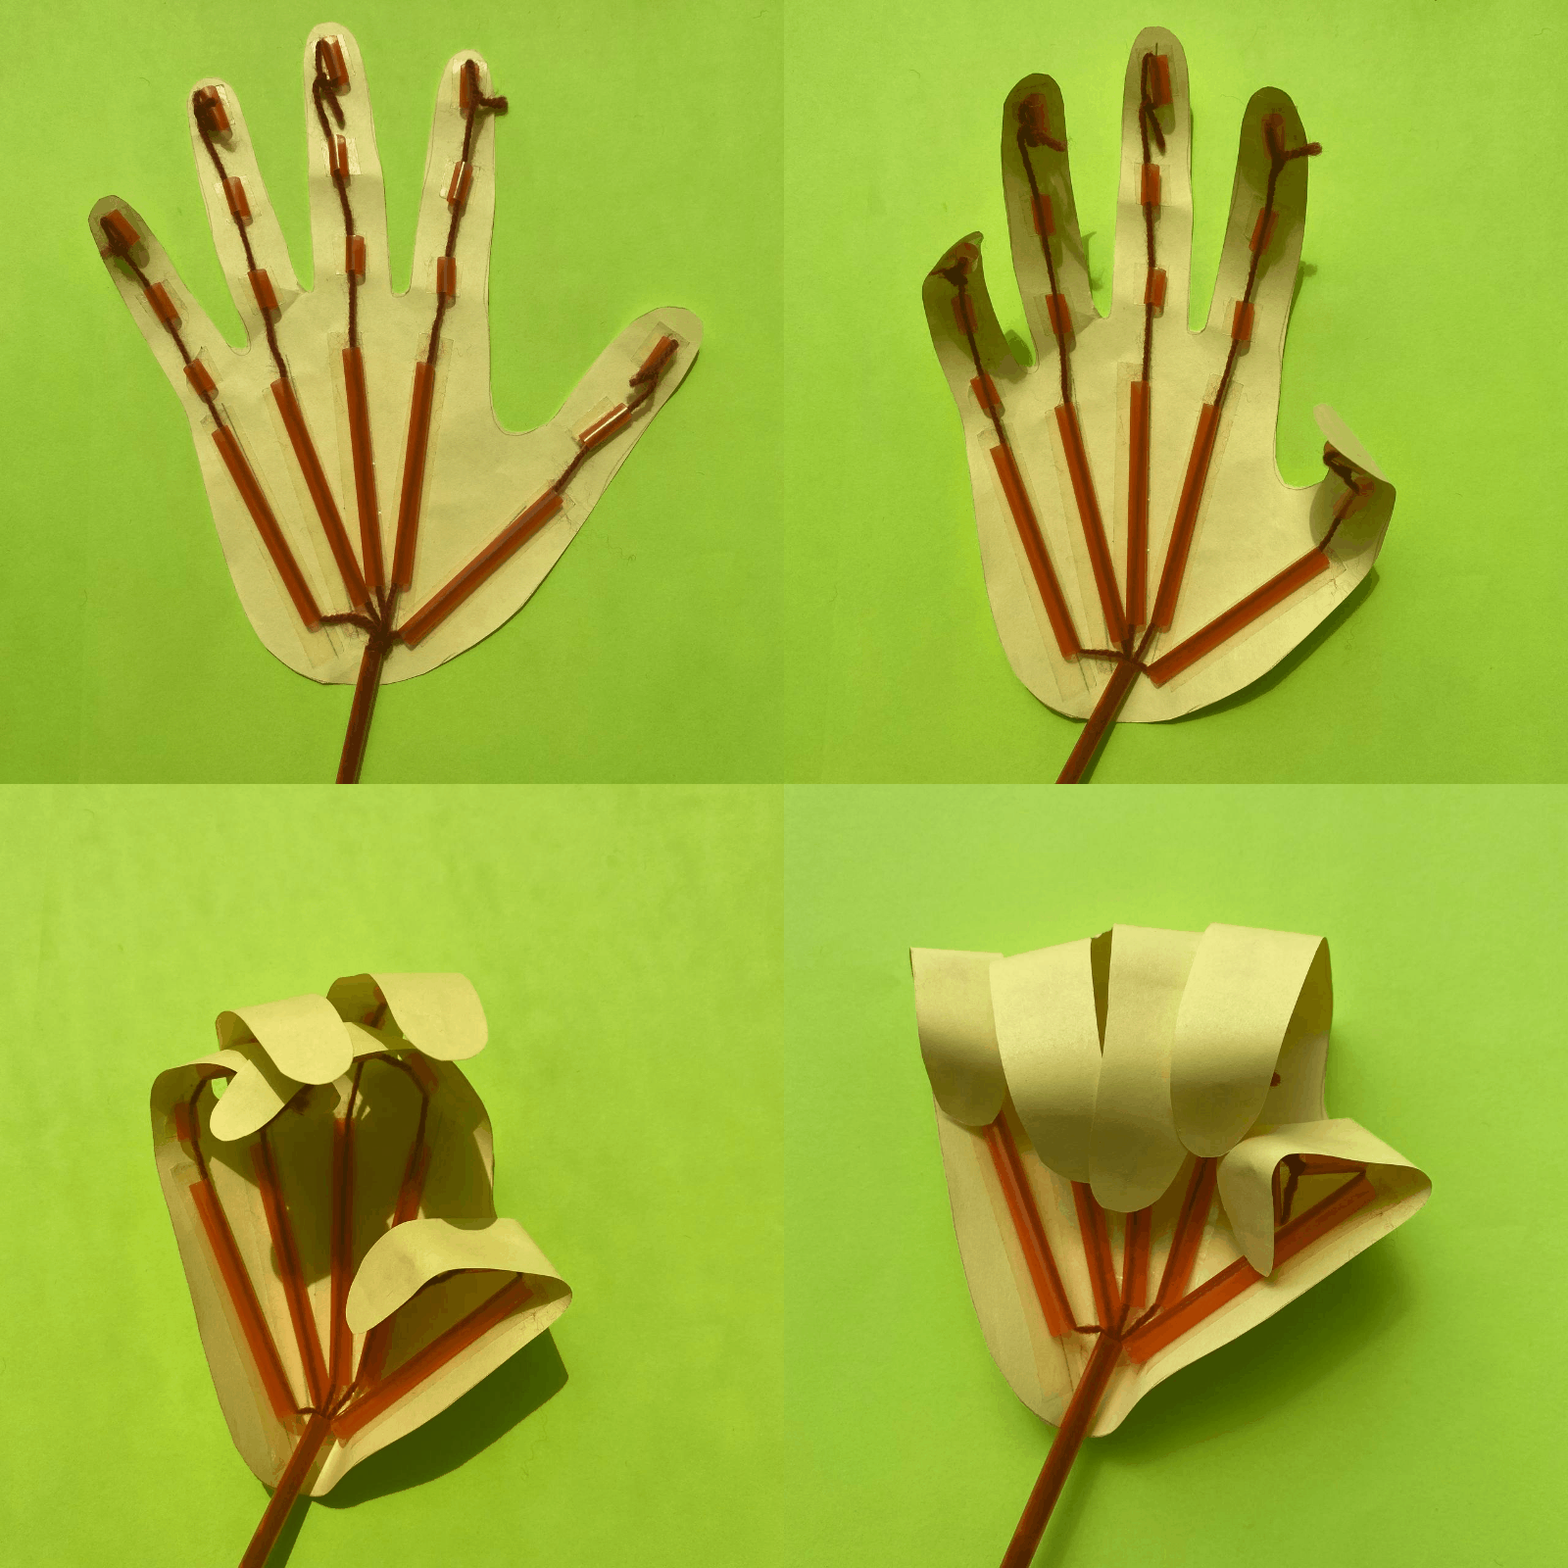 |
| Step 15: Try to hold objects on your hand | 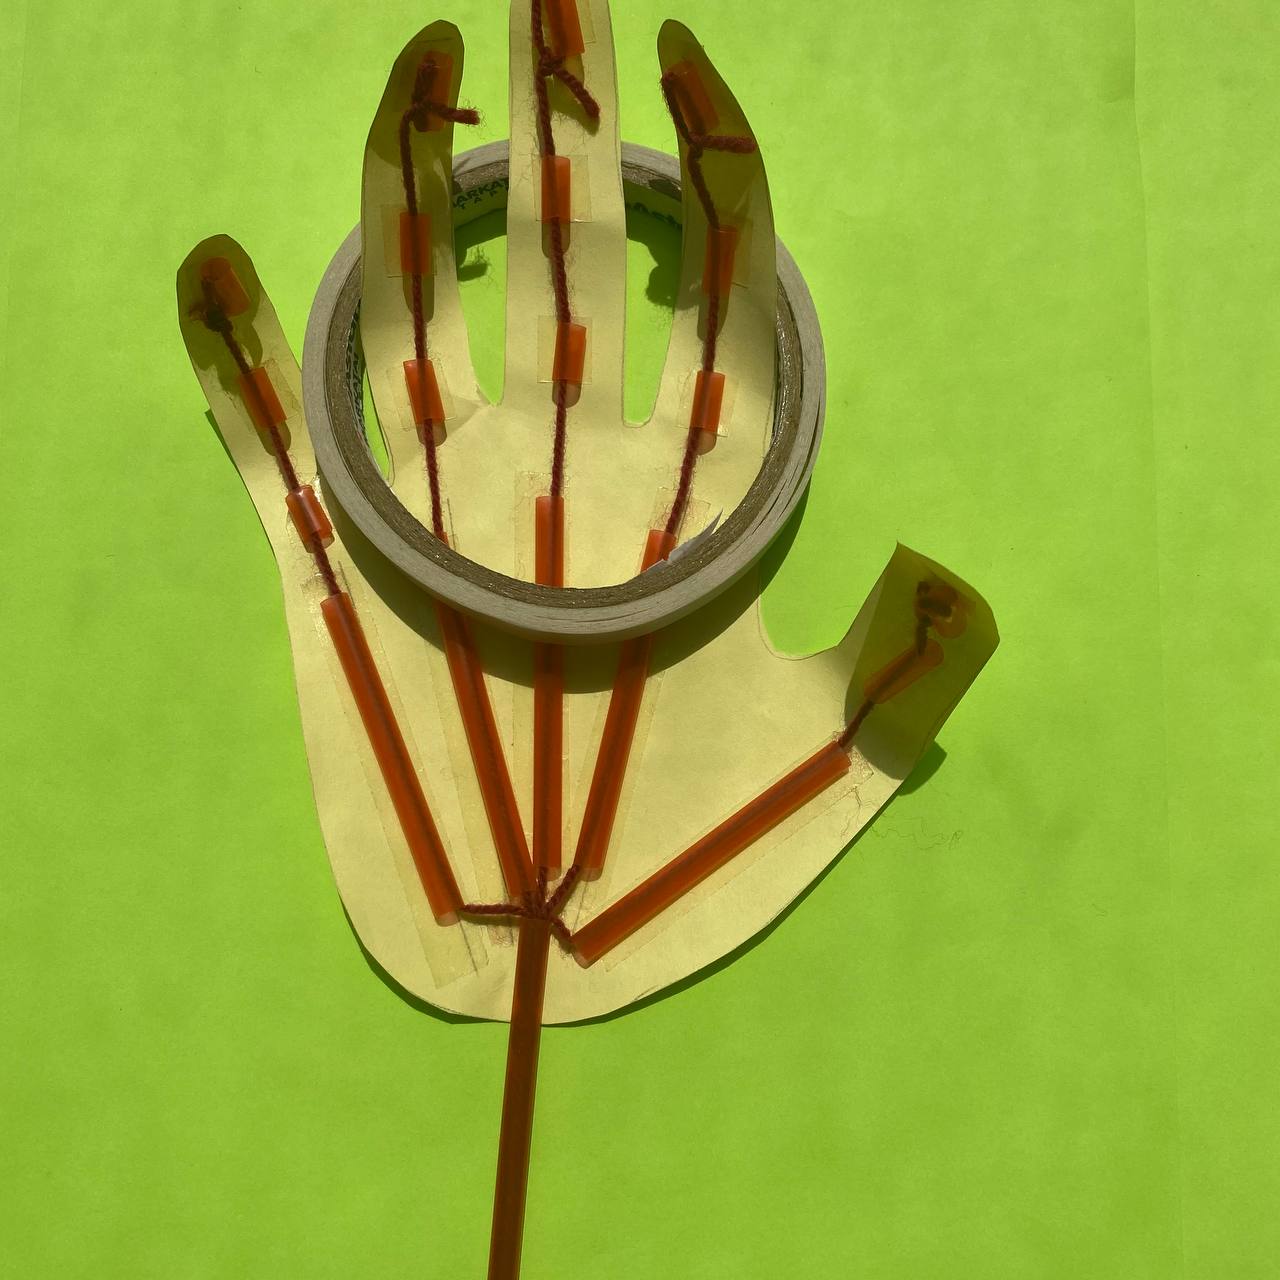 |
| Step 15: Think about how our hands move. How do we control them?! | 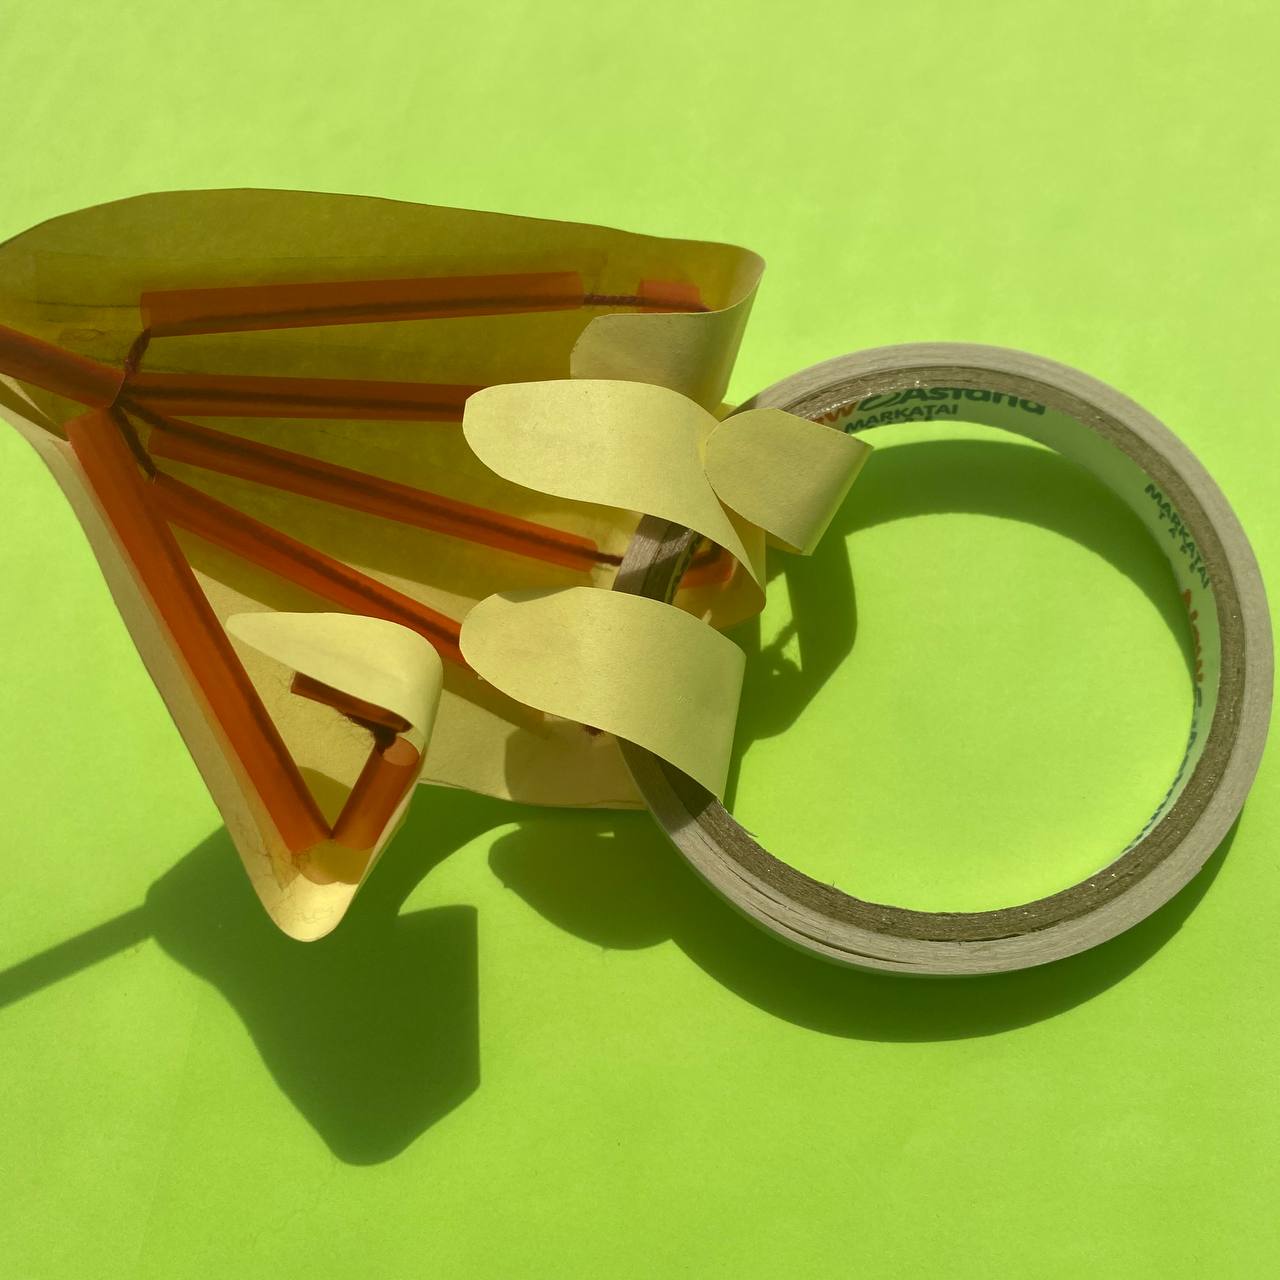 |
Conclusion
In this project the pupils have explored the importance of movement in human life. They carefully studied the anatomy and function of hands. They also made a model of a real arm out of paper – moving arms.
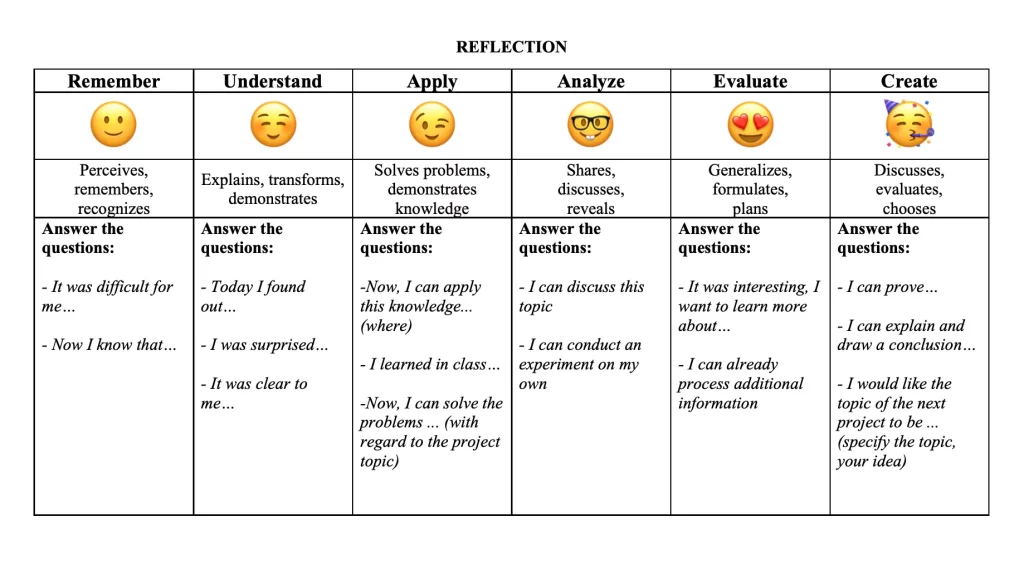
Evaluation