Week 1
Teacher’s Guide:
- Divide students into groups;
- Conduct a brief instruction on working with scissors and cardboard products;
Goals:
- Learn to work with a stencil and a compass.
- Consolidate knowledge of geometric shapes.
- Develop abstract thinking, learn flat modeling, improve fine motor skills of fingers.
Read the safety instructions before you start [ safety insructions ].
Introduction
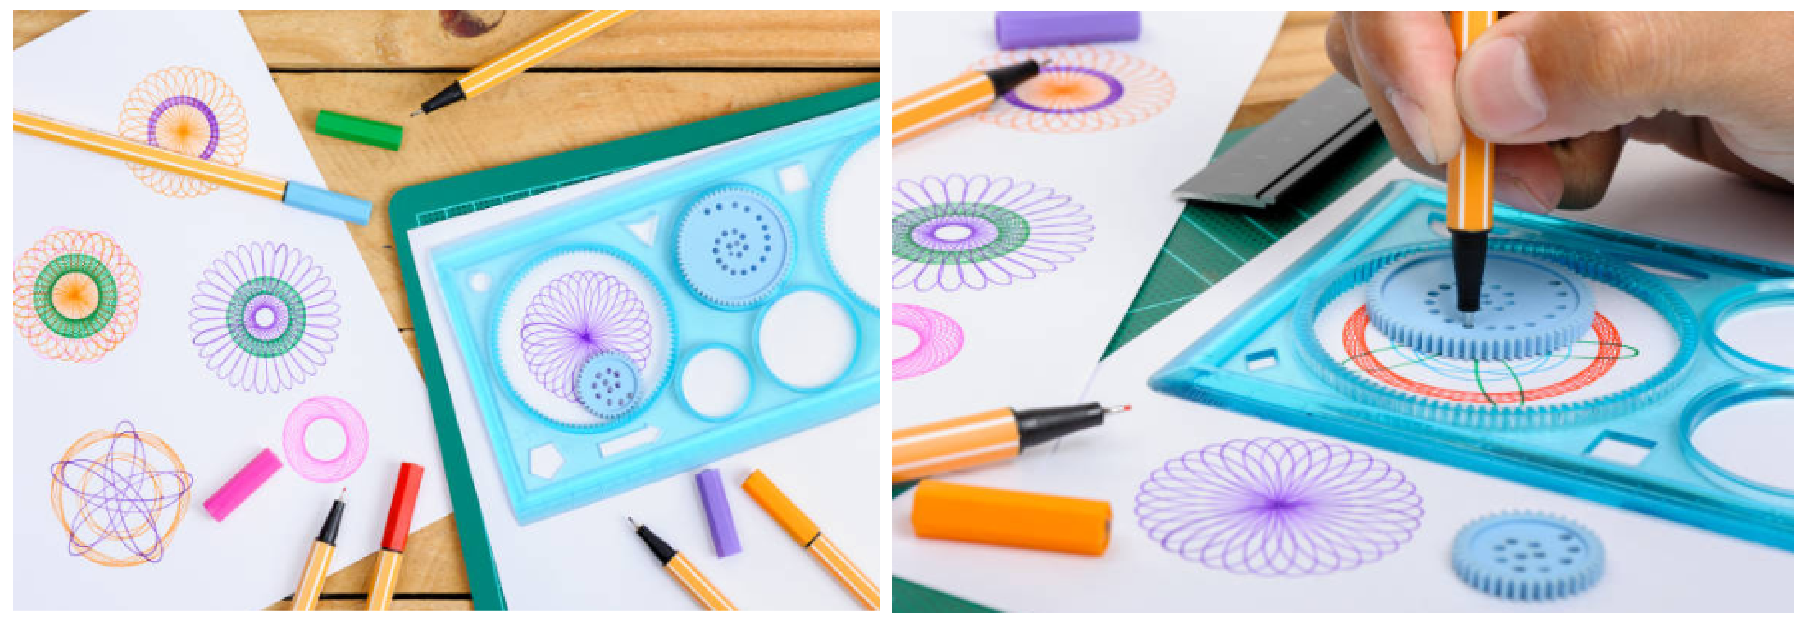
With the help of a spirograph, beautiful symmetrical patterns are obtained. A spirograph is a drawing device that in its standard form is a ruler with round jagged holes inside. The ruler is accompanied by a set of curly stencils having the correct geometric shape (triangle, square, rhombus and others) and wheels with holes inside.
The spirograph was invented in 1962 by British engineer Denis Fisher. Fisher needed to quickly and accurately learn how to draw smoothly curving lines, and so he invented such a ruler. The engineer’s family really liked the spirograph and decided to release the resulting line as a toy.
The spirograph is used as an educational game for children. Using a spirograph, you can get different shapes from different colors. Many details obtained using such a ruler resemble fragments of letters: hooks, curls, ovals, sticks. Spirograph contributes to the development of hand-eye coordination, imagination and preparation of children’s hands for writing.
References
[1] https://infourok.ru/proekt–moj–drug–spirograf-4335166.html
Practical part
- Cut out an 18 cm square from cardboard (each student should get one square)
- Expand the ruler by 7 cm
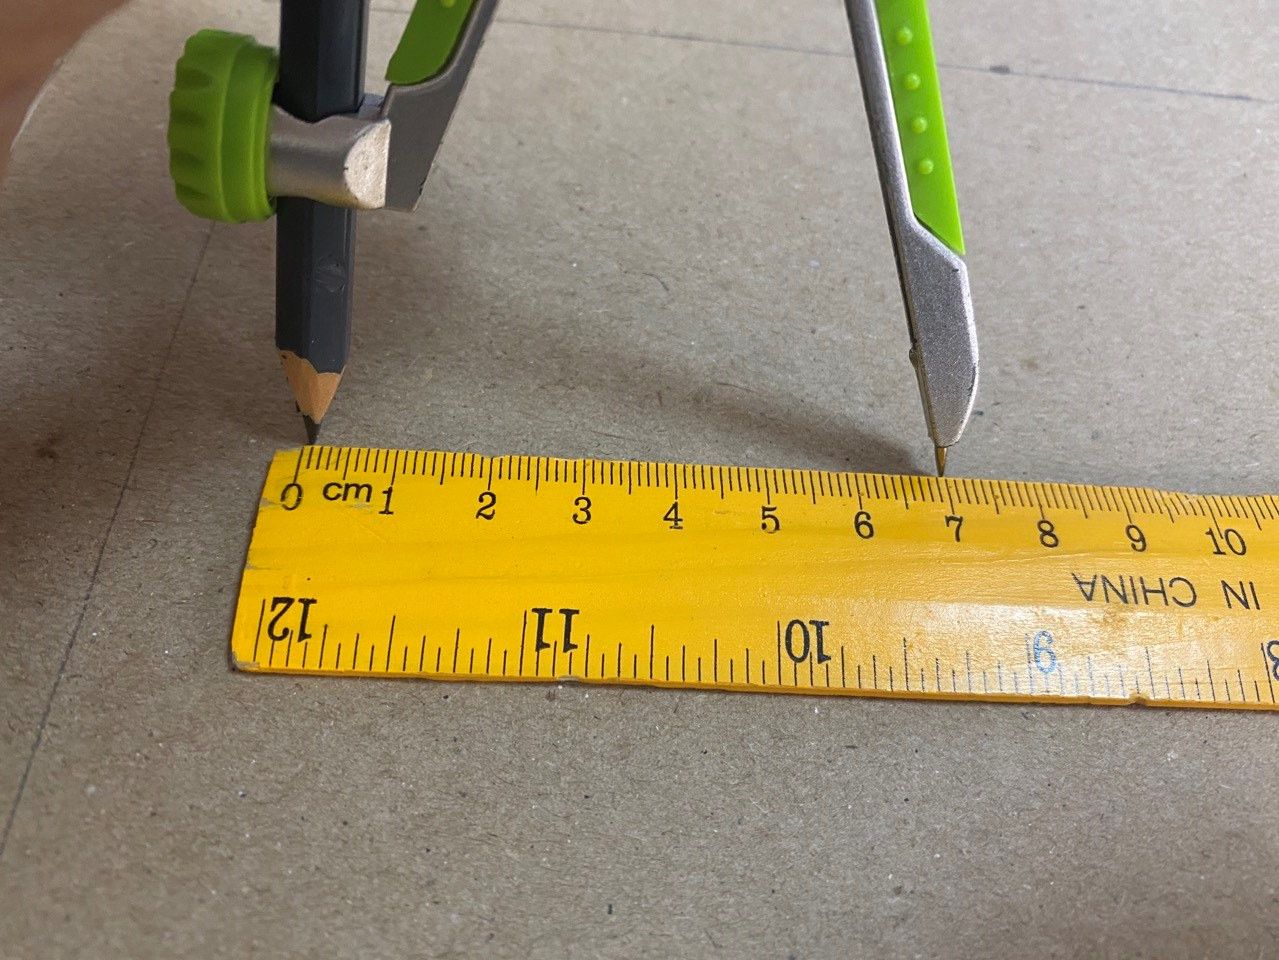
Draw a circle in the center of the cardboard square using a compass
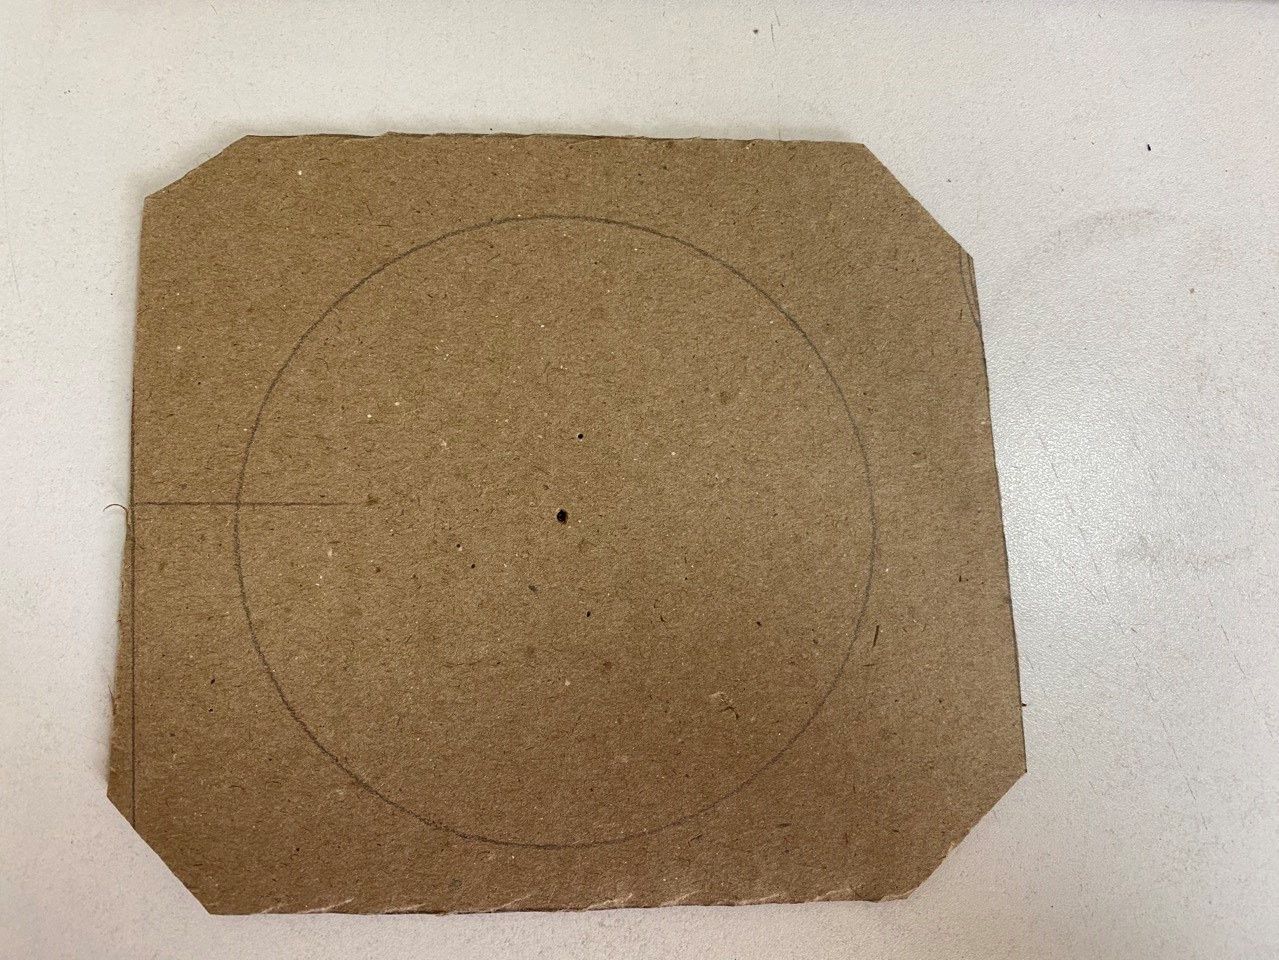
Cut out the center piece of cardboard
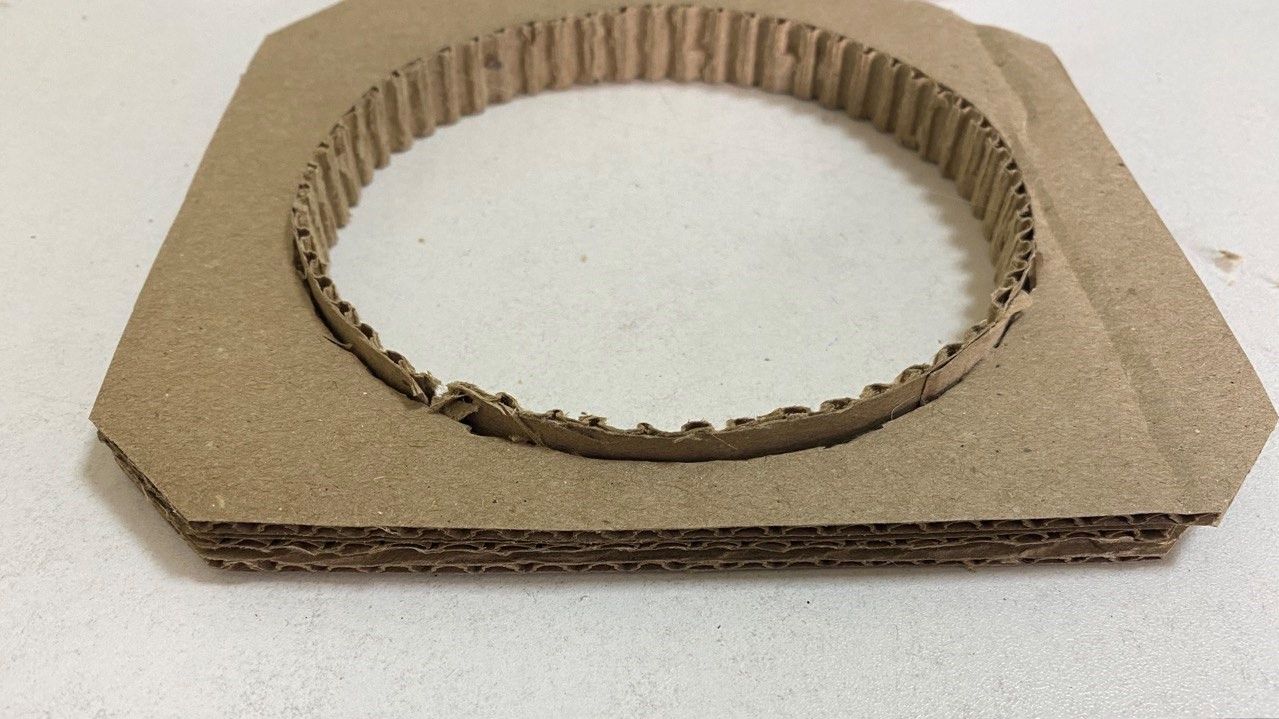
Three students should get three squares with a round hole in the middle. Ask the students to glue the received parts to each other using paper glue.
Cut out a rectangle with a width of 1 cm from cardboard
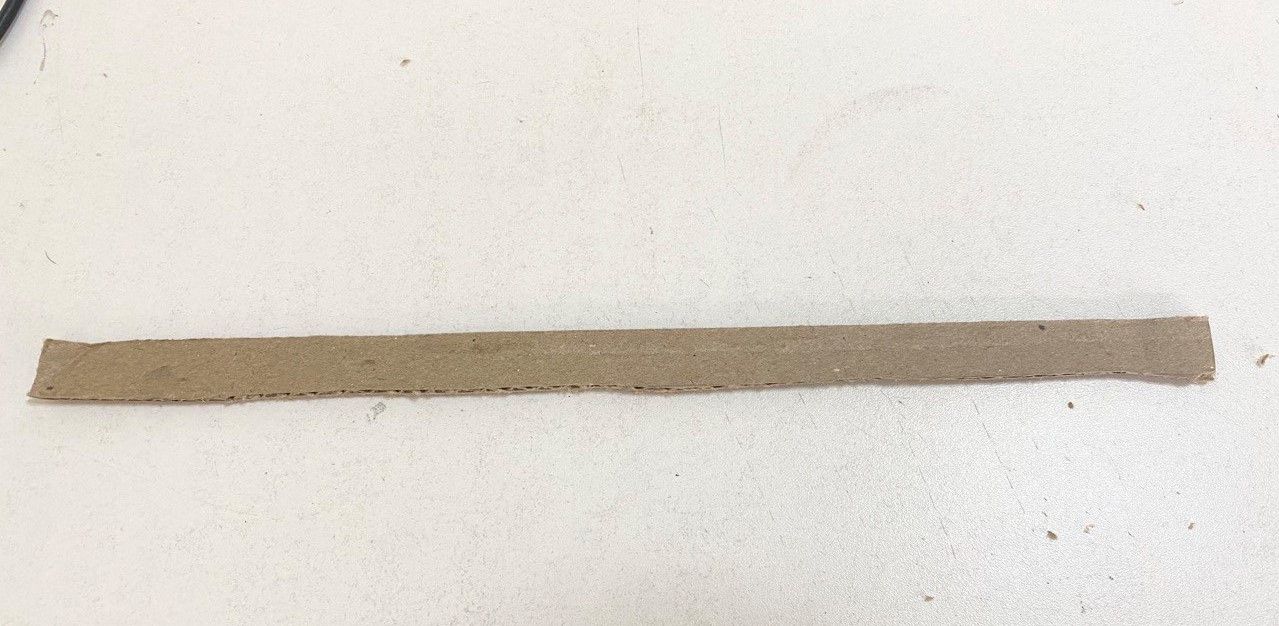
Separate one outer piece of cardboard using a pencil.
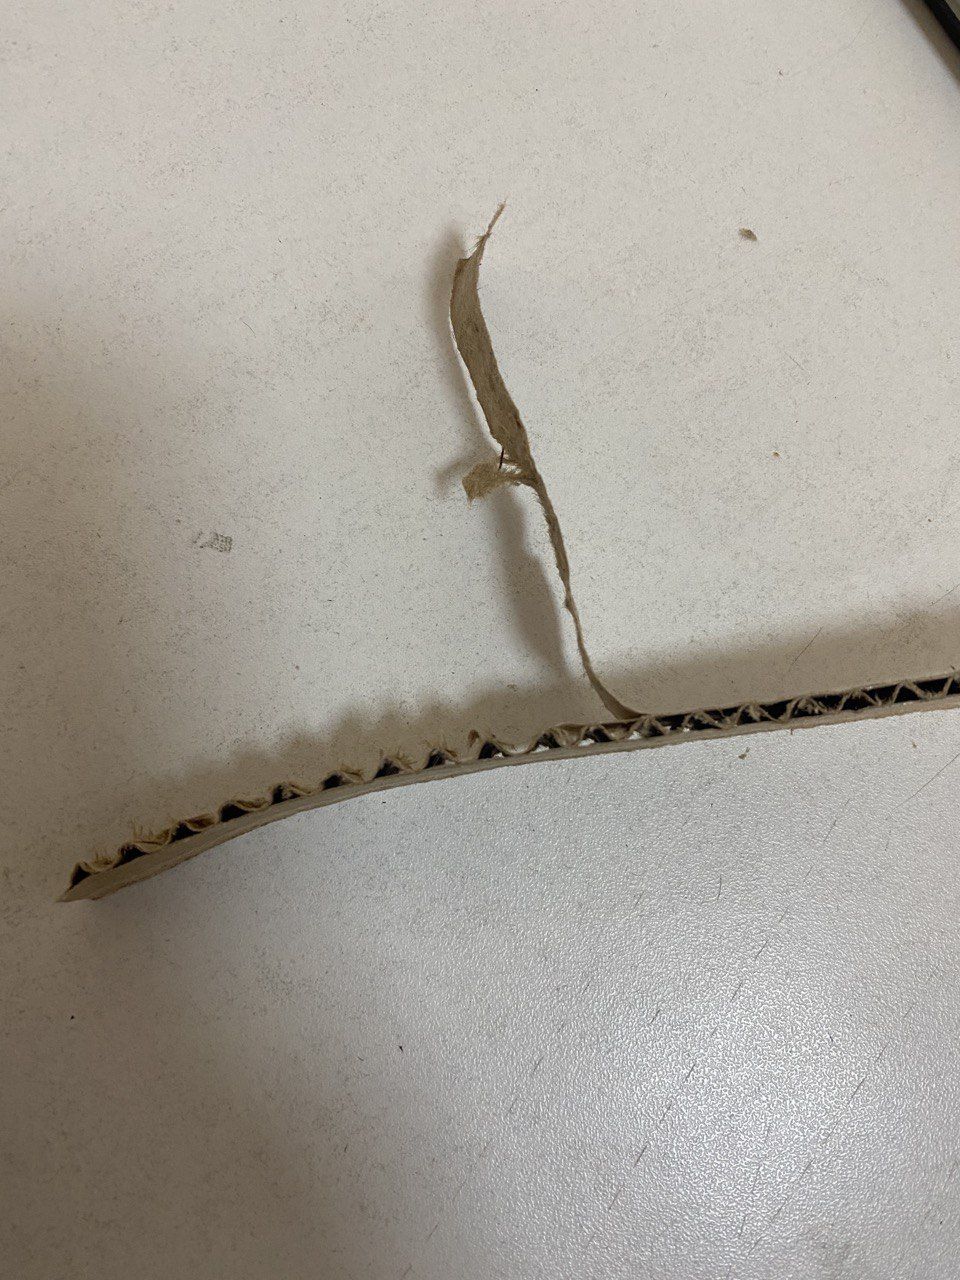
Glue the inside of the part with a piece of cardboard
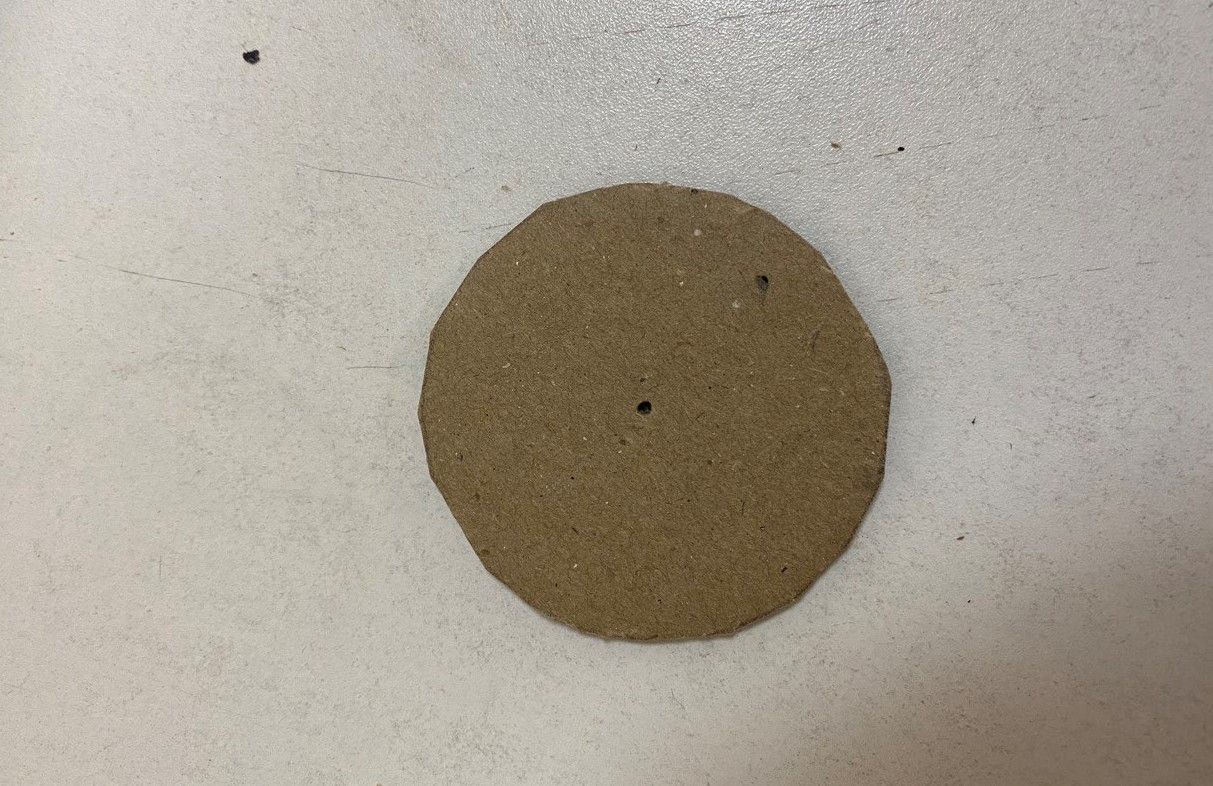
Cut out a circle with a radius of 22 mm from cardboard
Cut out a rectangle with a width of 1 cm from cardboard
Separate one outer piece of cardboard using a pencil.
Glue the outer part of the circle with a piece of cardboard using thermoplastic glue (only the teacher uses thermoplastic glue)
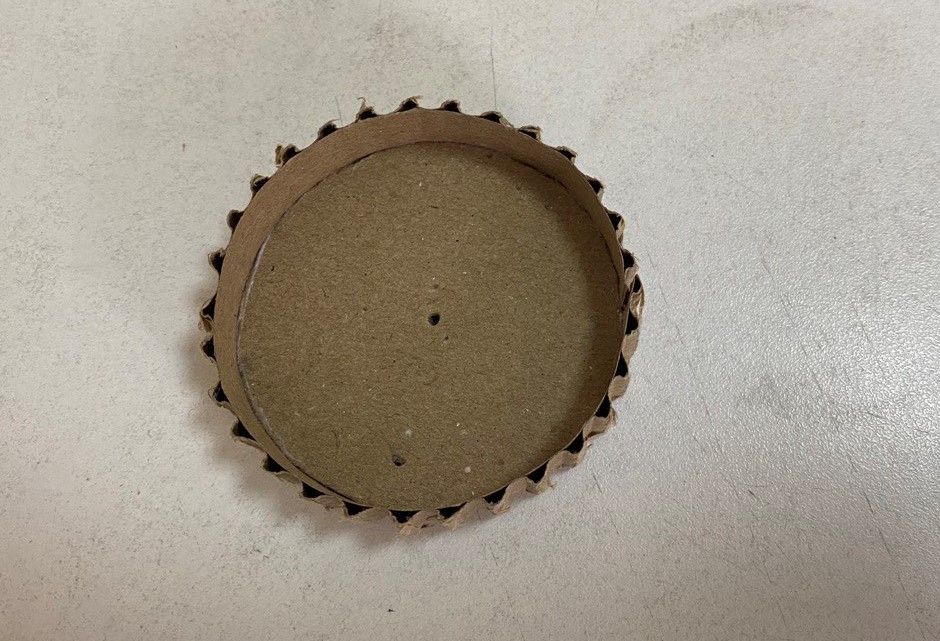
Using a pen, make a hole closer to the edge of the circle.
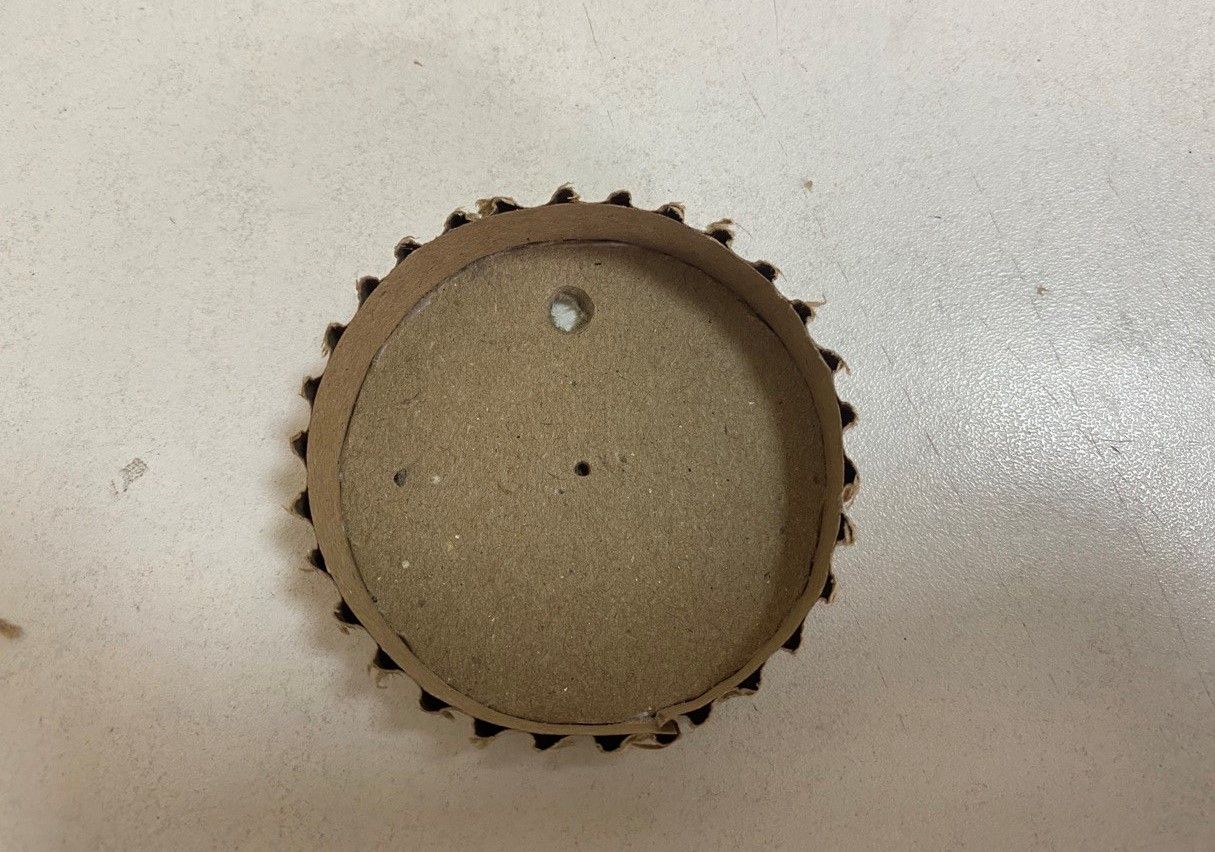
In the same way, make 2 more circles with radii of 3.2 mm and 1.7 mm
- Position the circle in the hole of the cardboard
- Put the pencil in the hole of the small circle
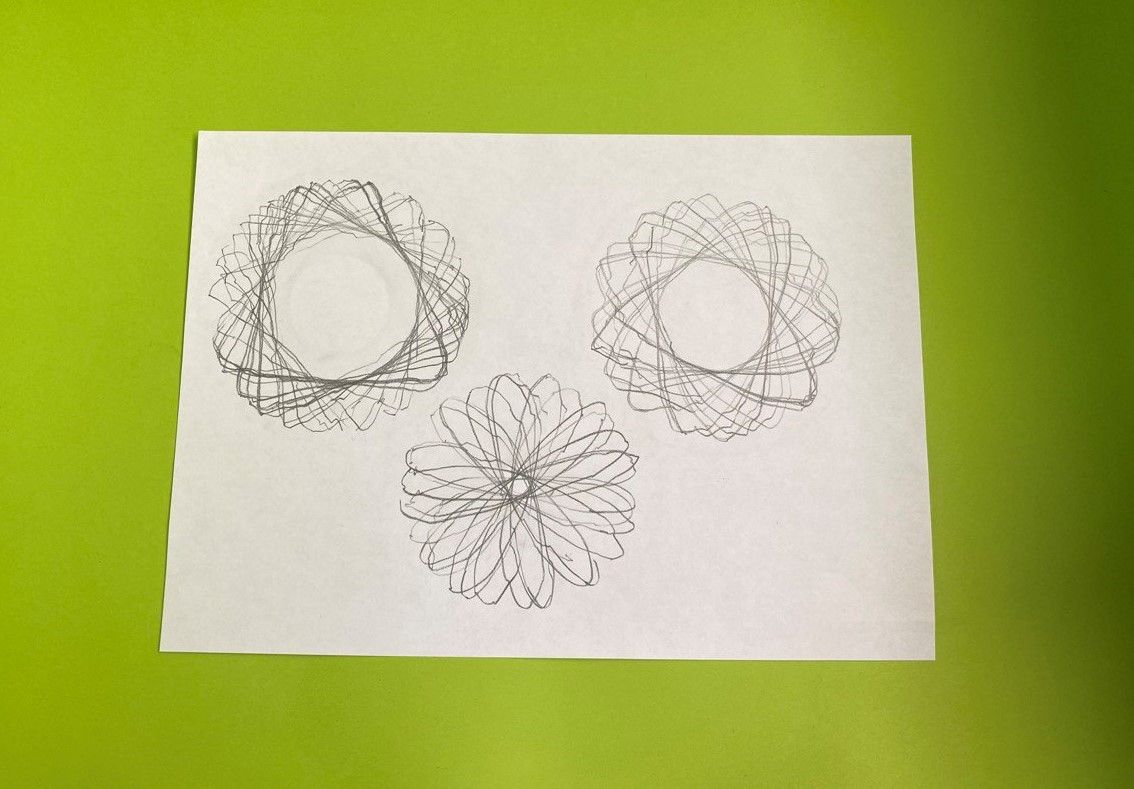
Make circular motions with a pencil clockwise based on the outer circle
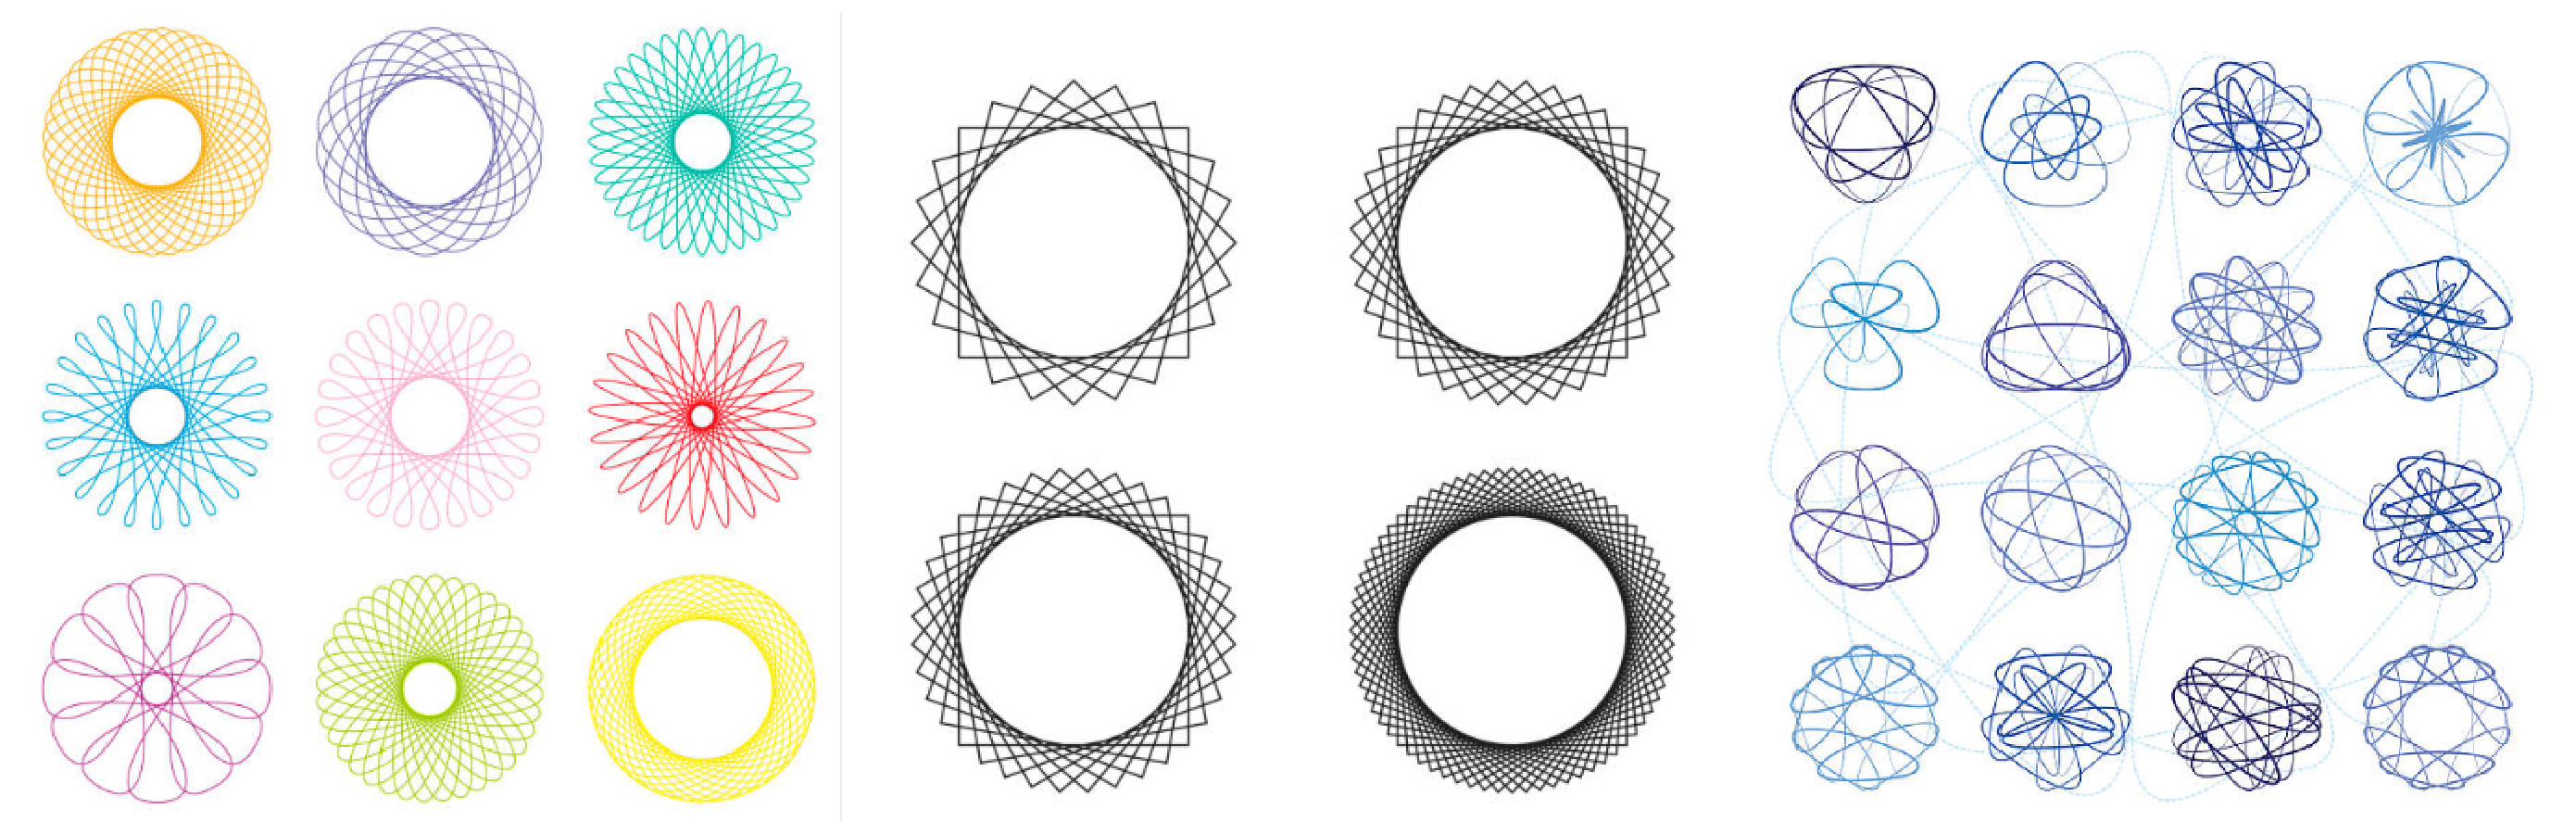
Three different circles should make three different patterns (images)
Conclusion
In this project, students developed abstract thinking and learned flat modeling by constructing a spirograph model. The students also learned how to work with a stencil and a compass.
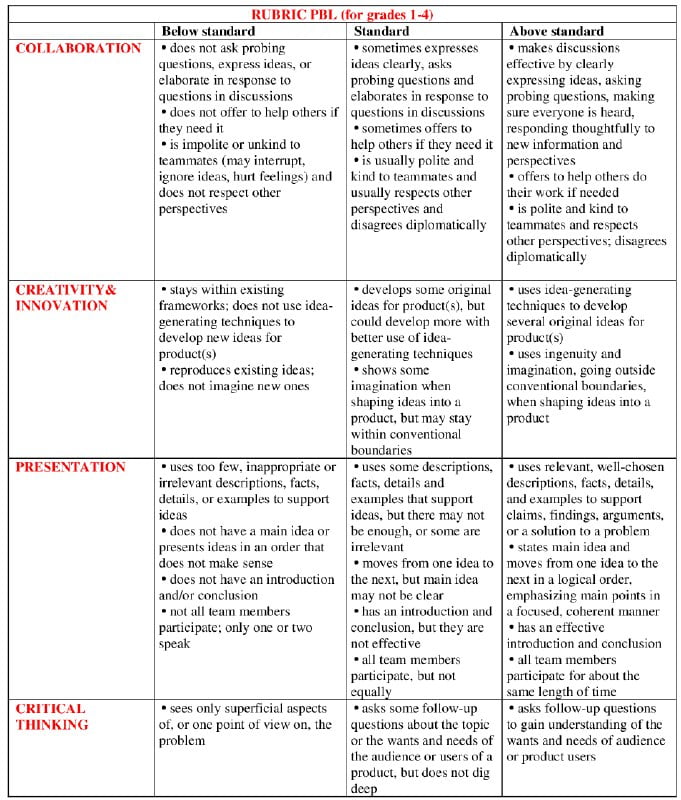
Evaluation