Week 2
Organizer making.
Divide students into groups of 6 people. The organizer consists of 6 parts that need to be combined. Give each student one sheet of cardboard (if the group is only 3 people, each student should make two pieces instead of one).
Draw on a sheet of colored cardboard 3 squares with a side of 21 cm and 3 squares with a side of 19 cm (3 students cut out 3 squares with a side of 21 cm, the remaining 3 students cut a square with a side of 19 cm).
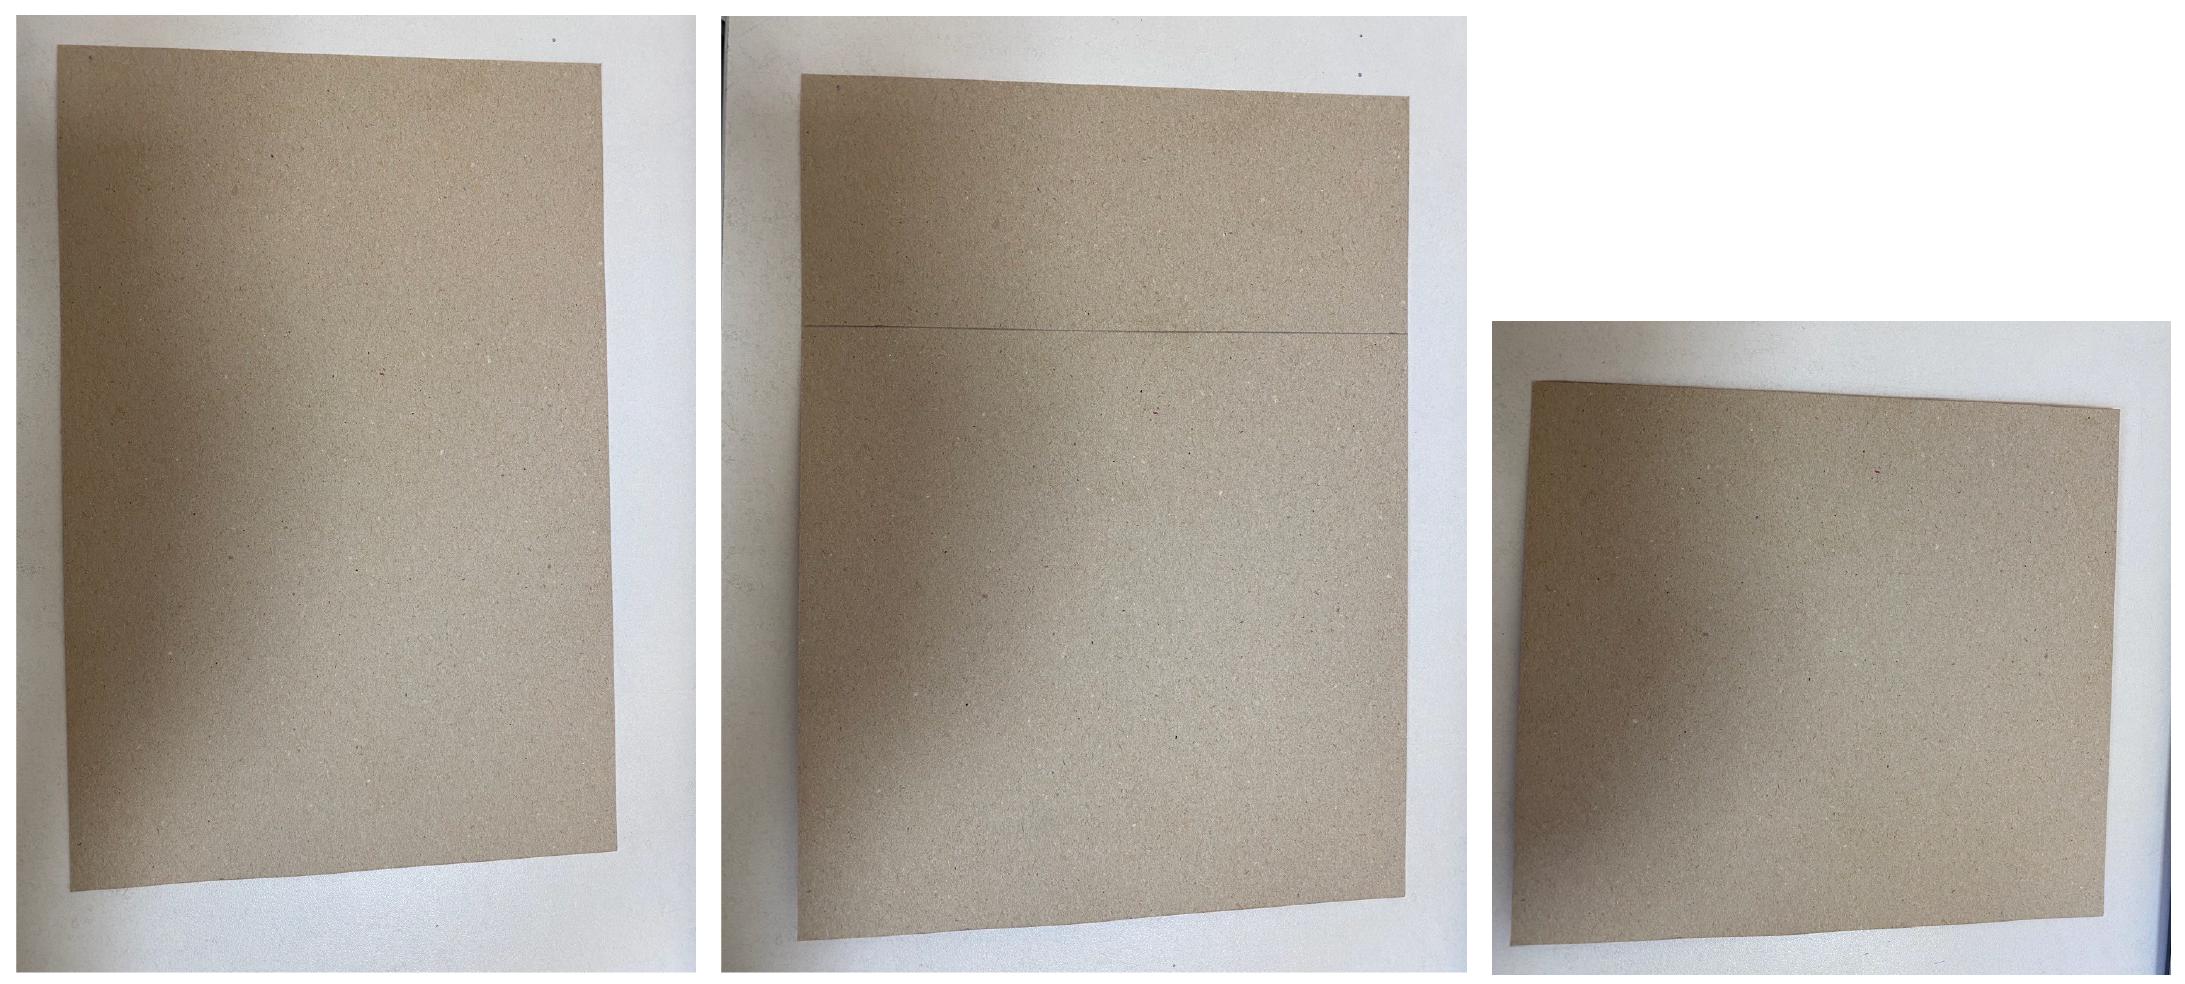
Further, for all squares, the instructions are the same.
Fold the square in half from top to bottom
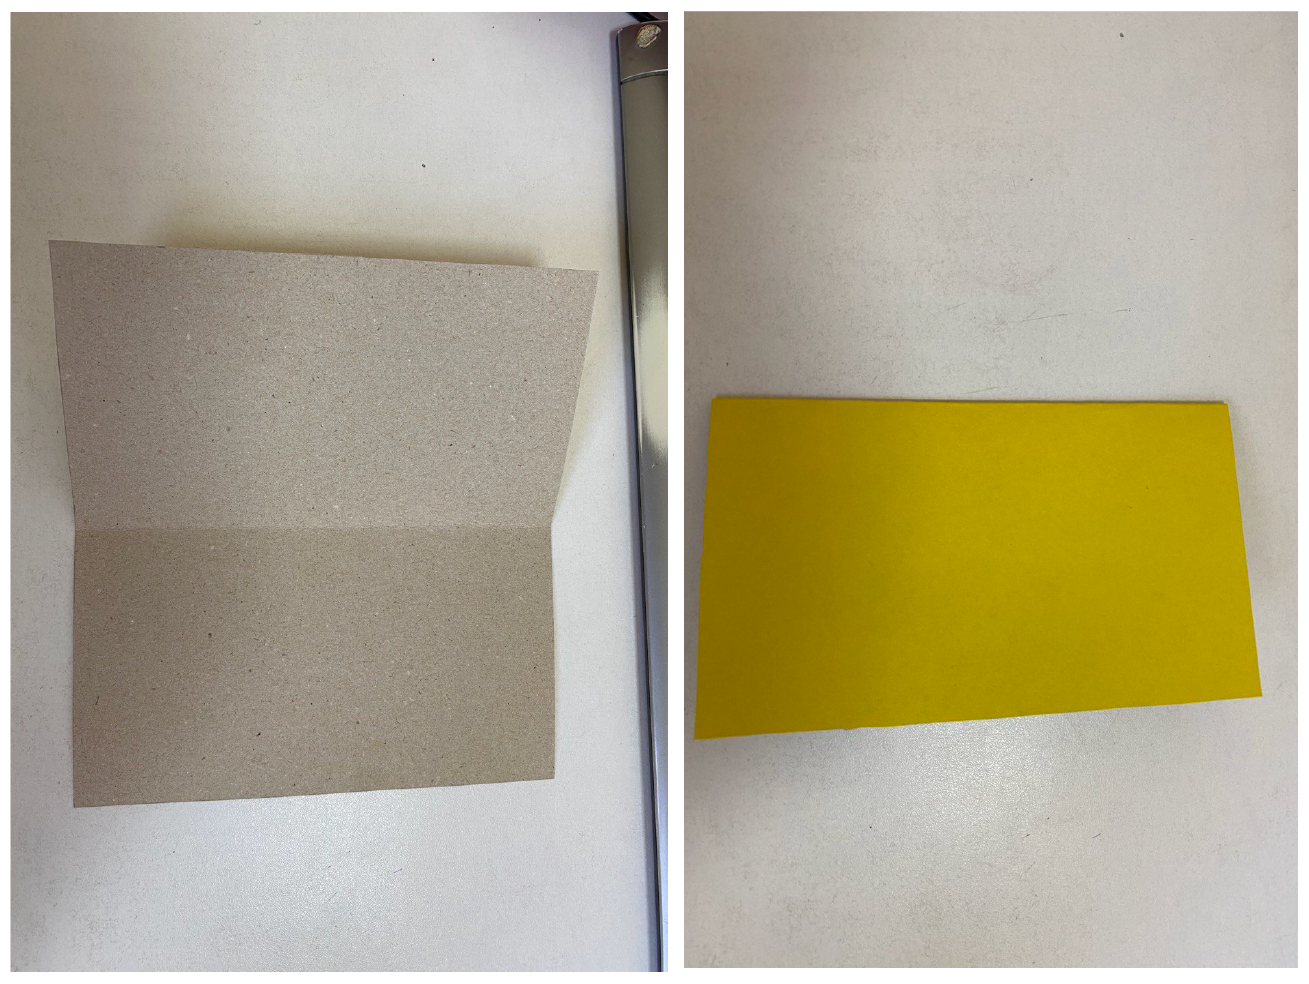
Bend the square diagonally from right to left
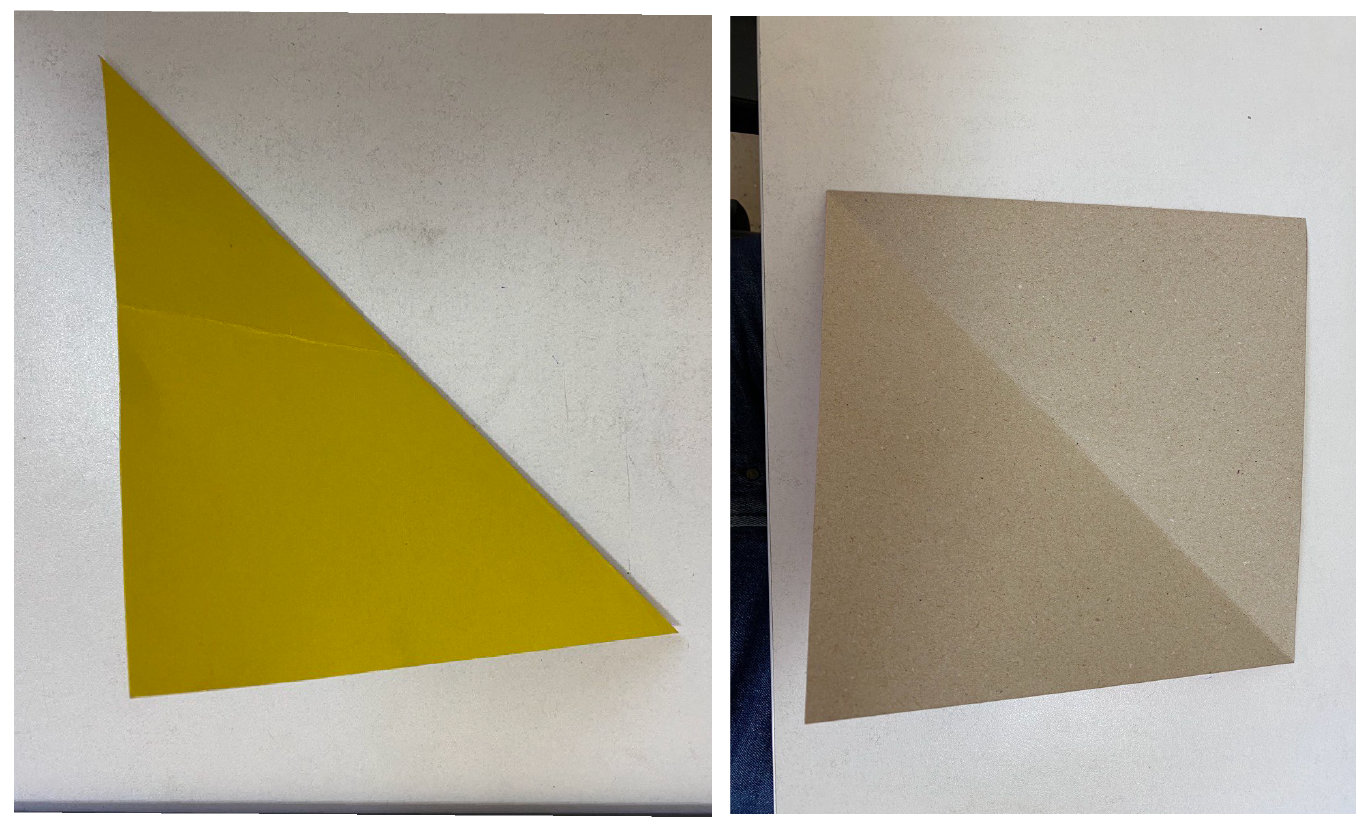
Fold the left and right sides of the square inward towards the center line
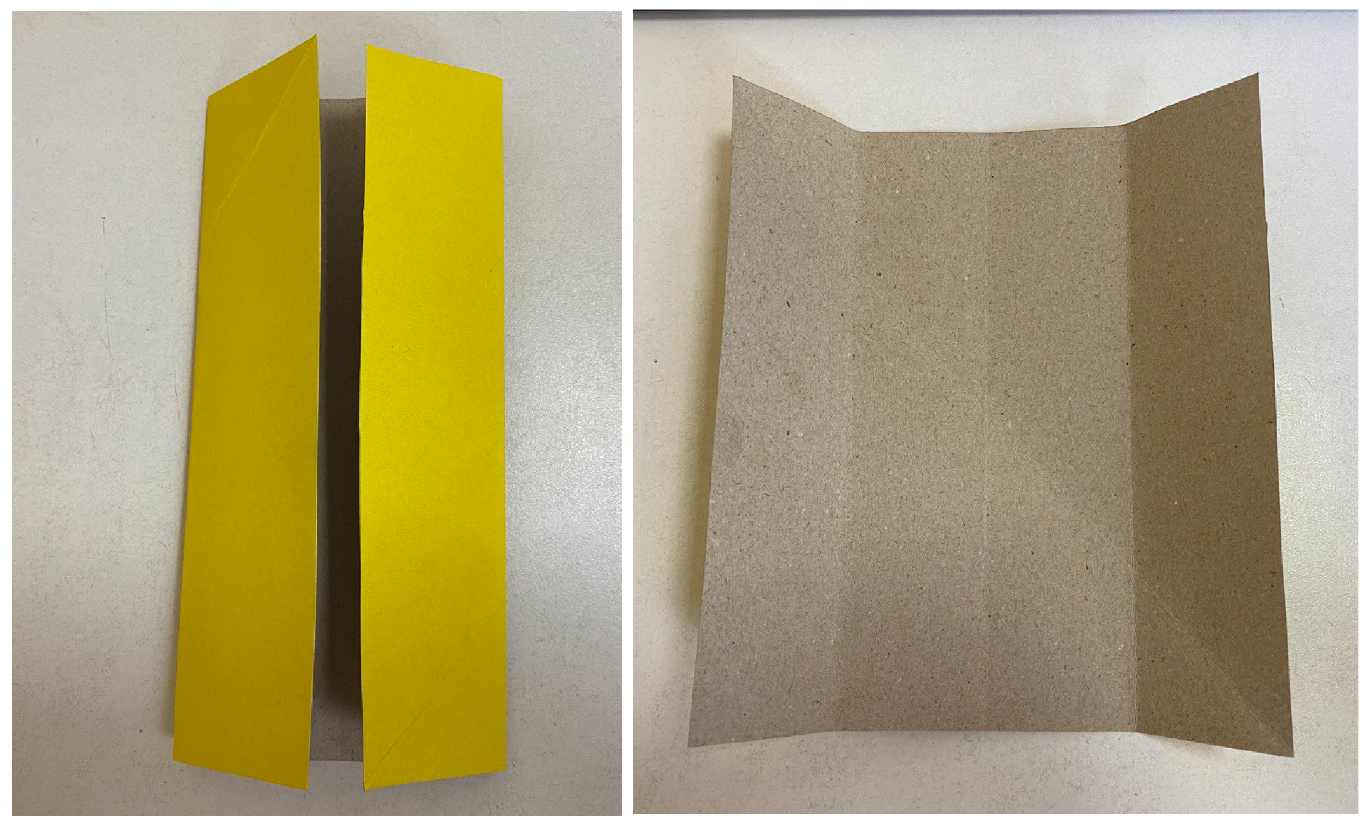
Fold the top and bottom sides towards the center line. Open a sheet of cardboard.
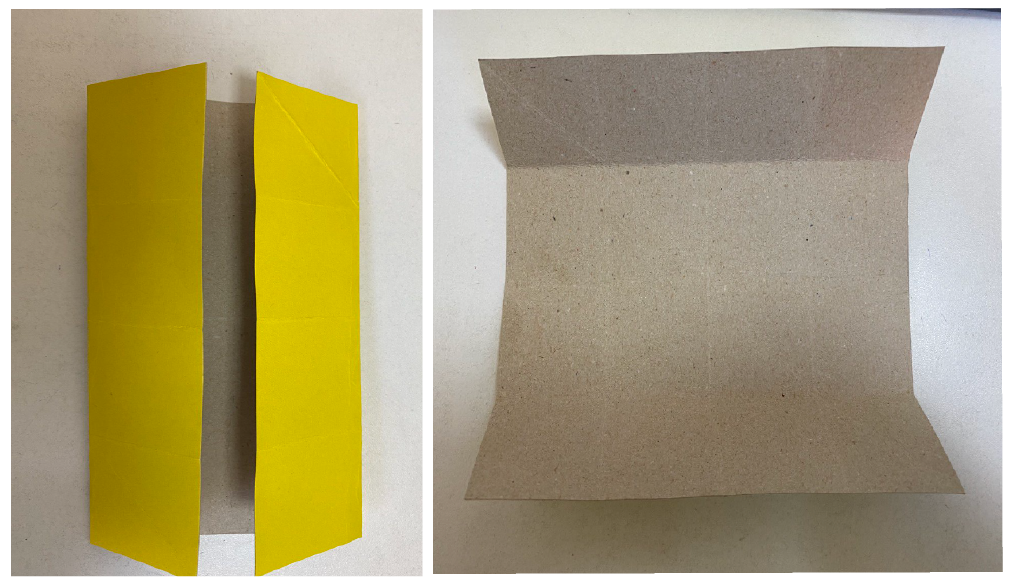
- Bend the corners to the inside as shown in the figure.
- Fold the right and left sides inward towards the center line
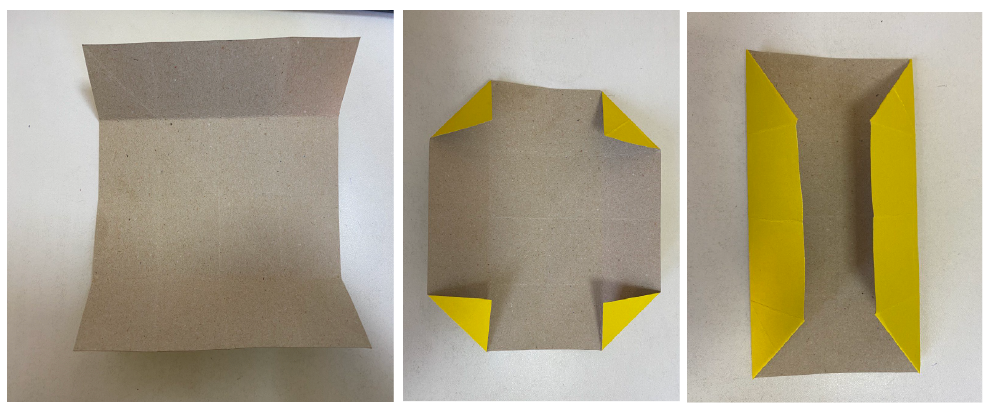
Turn the part over and cut off at one end (upper or lower) 0.5 cm.
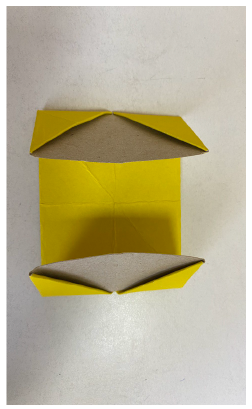
Slip one end over the other.
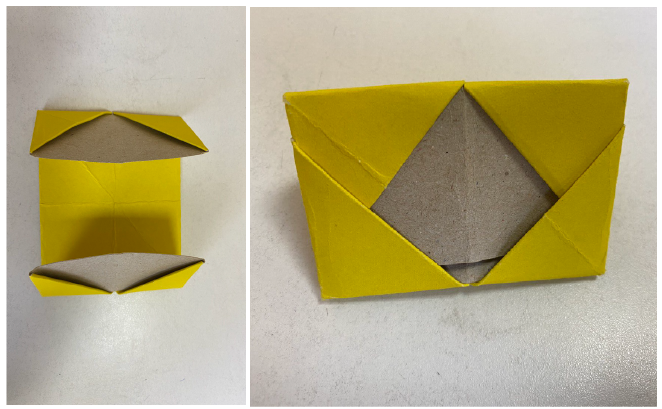
6 students should get 6 parts identical to those shown in the figure
.jpg)
Glue the parts using paper glue and duct tape. Glue a piece of colored cardboard to the bottom end with duct tape.
.jpg)
Conclusion
In this project, students developed knowledge of geometry through the study of the life of bees and their homes. The students also assembled a hexagonal organizer from triangular parts. The students examined the honeycomb from the geometric side and learned to distinguish types of angles.

Evaluation