Week 2
Practical part
In this project, we create a solar collector model. In general, we divided the work that needed to be done into 3 weeks. The second week we connect the cans and cut out and prepare cardboard papers.
Step 1. Divide 5 people into groups. Read all the necessary materials.
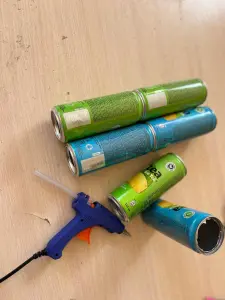
Step 2. Connecting ready-made cans from two into one hot melt adhesive.
Thus, an air flow passes through the interconnected cans.
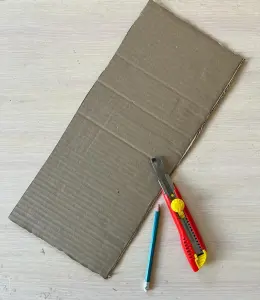
Step 3. Cut out a rectangular shape 44*19 cm in size from cardboard.
This will be the collector stopper to which the banks are attached.
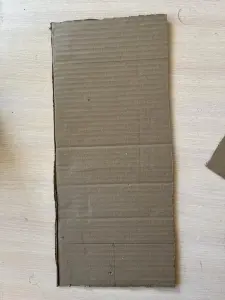
Step 4. We divide the rectangle measuring 44*19 cm into 3 parts of 7 cm, 30 cm and 7 cm.
Step 5. On one of the edges of a rectangle measuring 44*19 cm, draw a circle with a diameter of 5 cm and cut it out.
The heated air will exit through this hole.
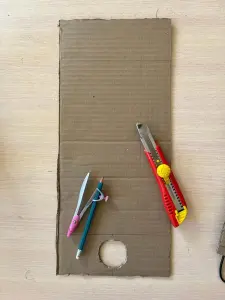
Step 6. Cut out two more pieces of a rectangle measuring 44*9 cm from cardboard.
These parts form the side surfaces of the collector.
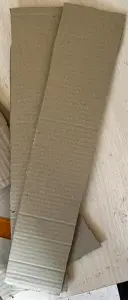
Step 7. From the cardboard we cut out four more pieces of rectangles measuring 18.5*9 cm.
When two of these parts form two side surfaces, the other two are used to hold cans.
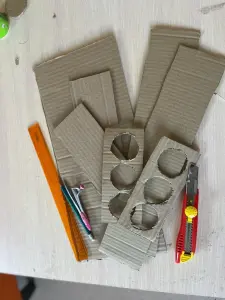
Step 8. On two rectangles with a size of 18.5*9, draw three circles in the diameter of the circumference of the can.
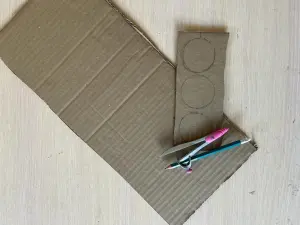
Step 9. Cut out the drawn circles in step 8.
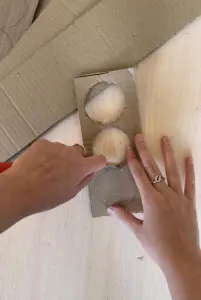
Step 10. On one of the side edges of the 44*9 cm rectangles, we make and cut out a circle with a diameter of 5 cm.
Through the holes on both sides, the air flow will penetrate inside.
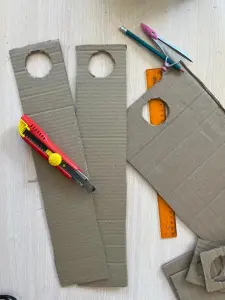
Step 11. Finished cardboard papers.
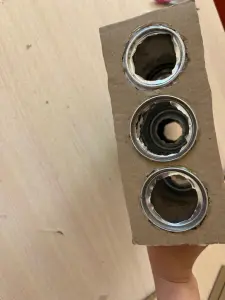
Step 12. We connect the 18.5*9 cm rectangle with the cut out holes for the can and the can with hot glue.
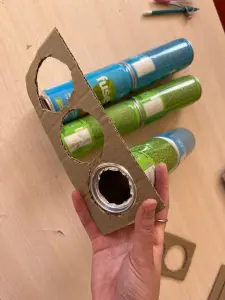
Step 13. Three individual cans are fully fixed using the Step 12 method.
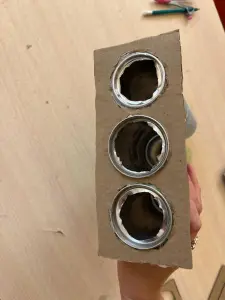
Step 14. For the other side of the cans, we also repeat this process using cardboard measuring 18.5*9, in which holes are cut.