
Week 1
Purpose of the work:
– explore the internal structure of the stem
-study the root system structure of the plant
Run time:
Expected results:
After completing the work, students can:
- develop teamwork skills
- be able to analyze and summarize the information received
- draw logical conclusions
Teacher’s Guide:
- The task is performed in groups of 3-4 people
- Working with a knife requires special care
- Before starting laboratory work, please read the safety rules by following the link:
To download the worksheet, follow the link:
Theoretical part
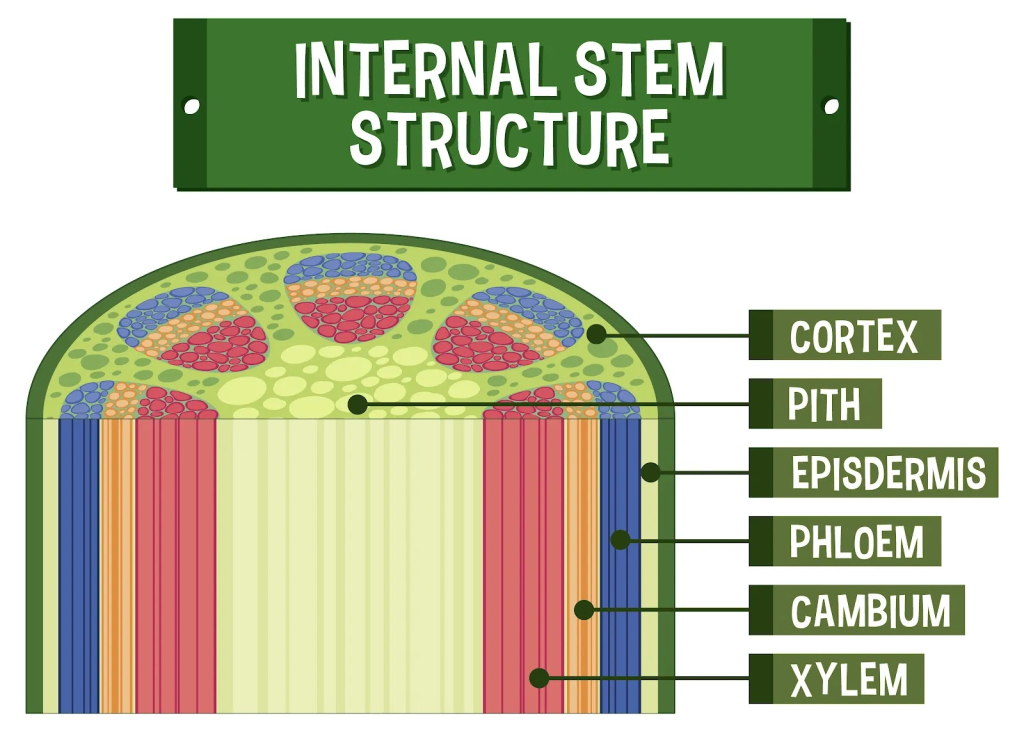
The stem is the main above-ground part of the plant that connects the roots to the leaves and flowers. Let’s explore the main tissues found in the internal structure of a plant stem:
Epidermis: The outermost layer of the stem is called the epidermis. It consists of a single layer of cells that protect the inner tissues from physical damage, pathogens, and water loss. The epidermis may also have specialized structures like stomata, which allow gas exchange and transpiration.
Cortex: The cortex lies beneath the epidermis and is made up of parenchyma cells. These cells store food and water and provide structural support to the stem.
Vascular Bundles: Vascular bundles are the “vascular highways” of the plant stem. They consist of two main types of tissues:
Xylem: Located toward the center of the stem, the xylem is responsible for transporting water and minerals from the roots to the rest of the plant. It is composed of vessel elements and tracheids, which are dead cells with lignified walls, providing strength and rigidity.
Phloem: Situated toward the periphery of the vascular bundle, the phloem is responsible for transporting photosynthetic products (sugars) from the leaves to other parts of the plant for growth and storage. The phloem contains sieve tube elements and companion cells.
Cambium: The vascular bundles are separated by a thin layer of meristematic tissue called the cambium. The cambium is responsible for secondary growth, leading to the thickening of the stem over time. It produces new xylem cells to the inside and new phloem cells to the outside, increasing the girth of the stem.
Pith: The pith is the central part of the stem and is composed of parenchyma cells. Its main function is to store and transport nutrients throughout the stem.
Sources:
1.Онлайн-школа Фоксфорд (foxford.ru)
2. Изображение от <a href=”https://ru.freepik.com/free-photo/beautiful-macro-wood-concept_11379288.htm#query=%D0%B3%D0%BE%D0%B4%D0%B8%D1%87%D0%BD%D1%8B%D0%B5%20%D0%BA%D0%BE%D0%BB%D1%8C%D1%86%D0%B0%20%D0%B4%D0%B5%D1%80%D0%B5%D0%B2%D0%B0&position=28&from_view=search&track=ais“>Freepik</a>
Practical part
Experiment №1
Step 1. For research, a light microscope with a magnification of 64,160 (possibly 640) times is required. With it, you can examine the cells and tissues of the stem. You can also see how they differ in external form, forming the various layers that were mentioned above.
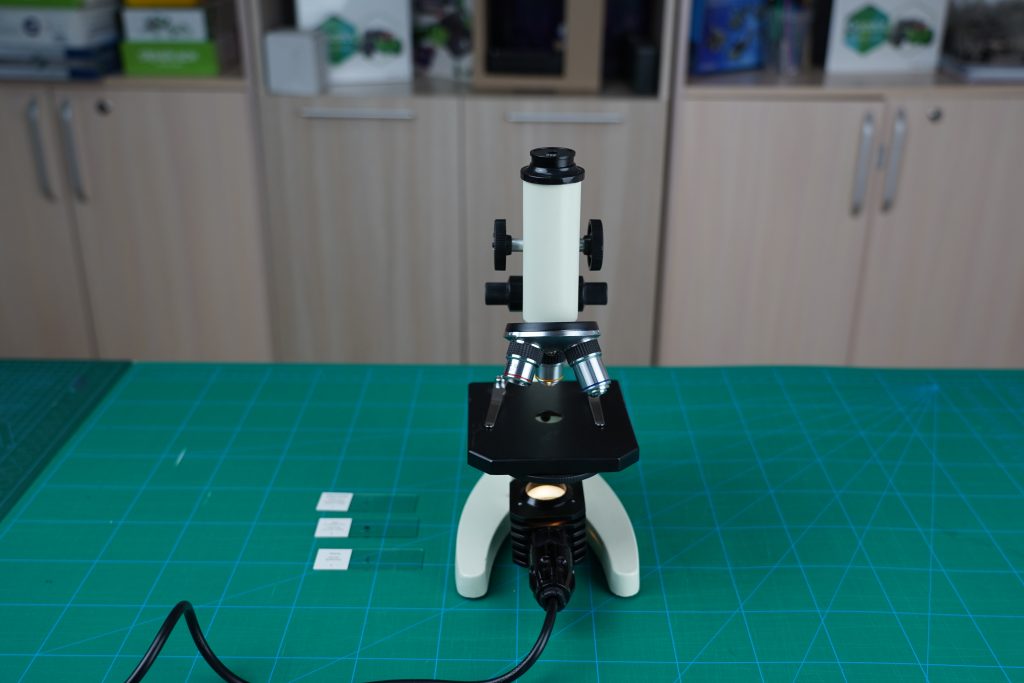
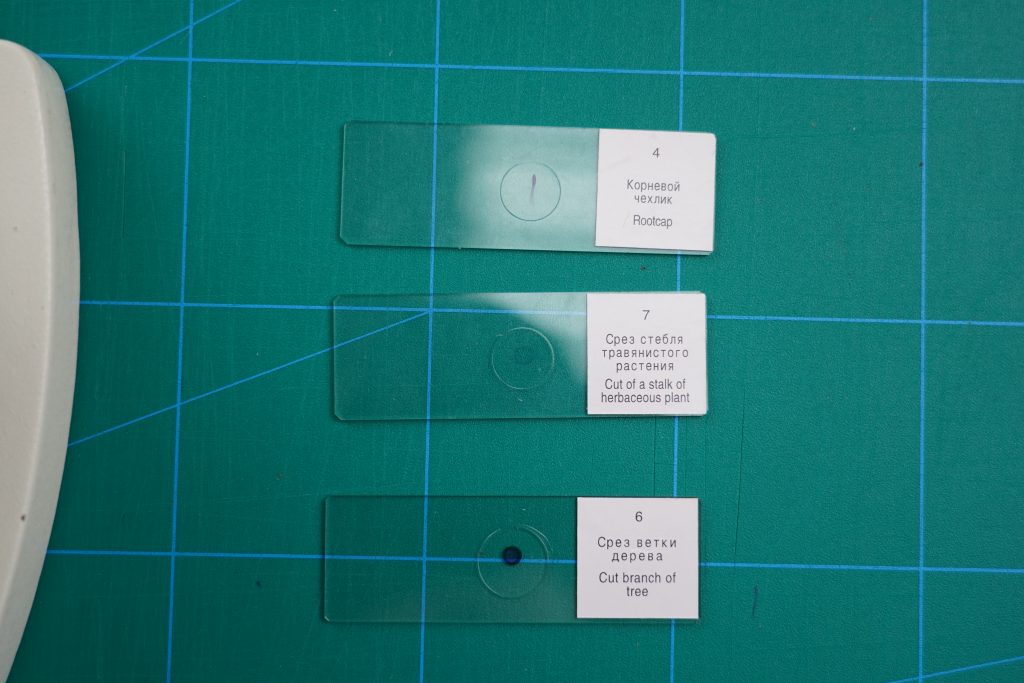
Step 2. First, turn on the microscope and set it up for efficient use. Attach the finished micropreparation with clips to the stage.
Research part
Step 3. When adjusting the desired lens to the preparation, examine its parts, first under a low magnification microscope, then under a large one.
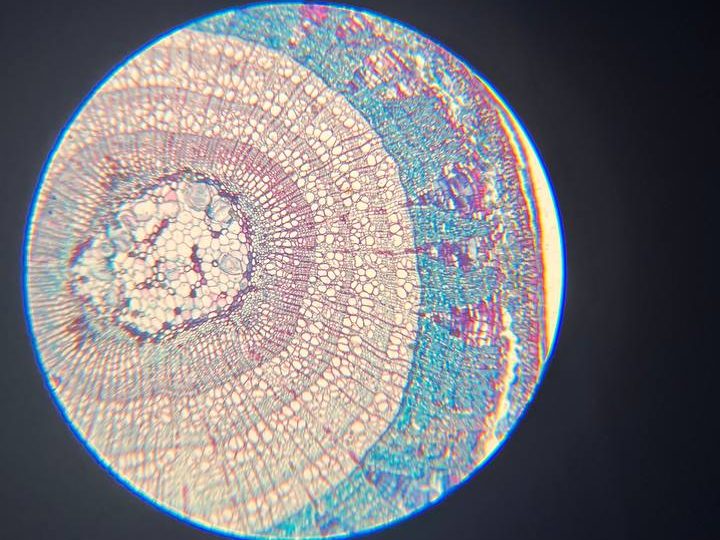
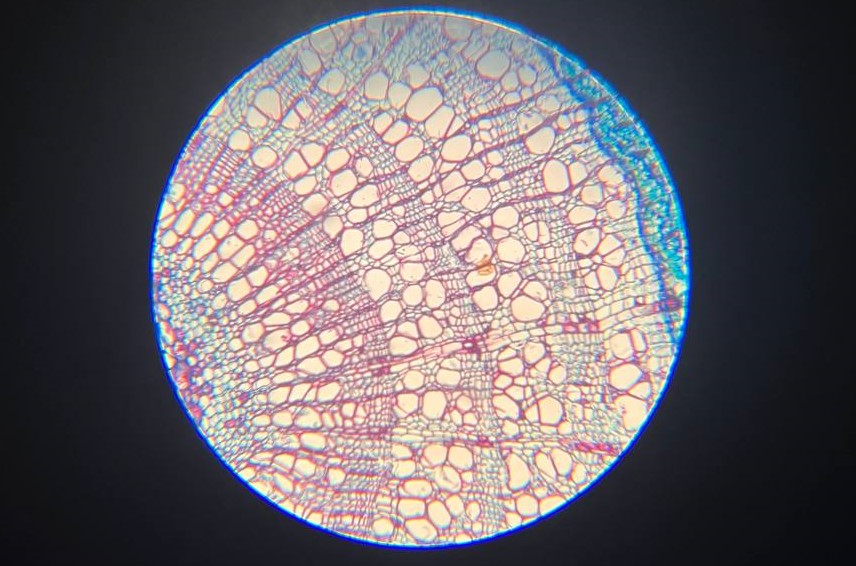
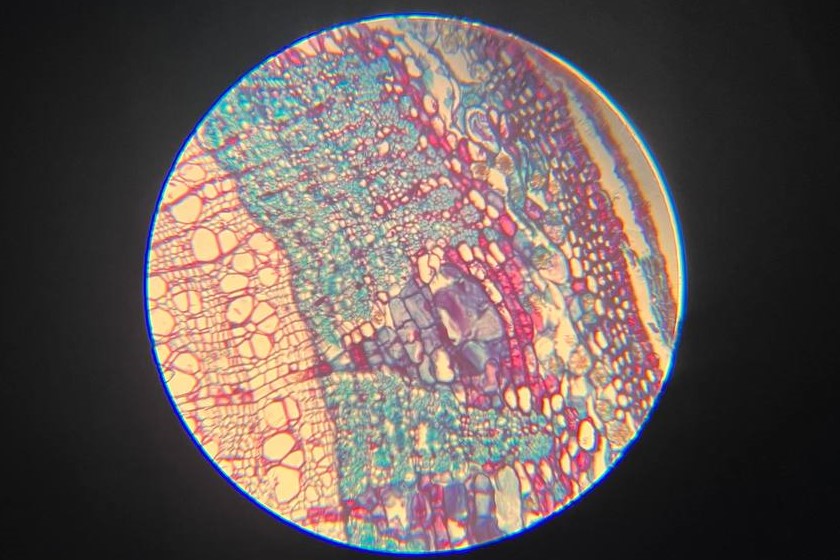
A cross section of a tree branch magnified under a microscope with magnification of (1) 64, (2) 160 and (3) 640 times.
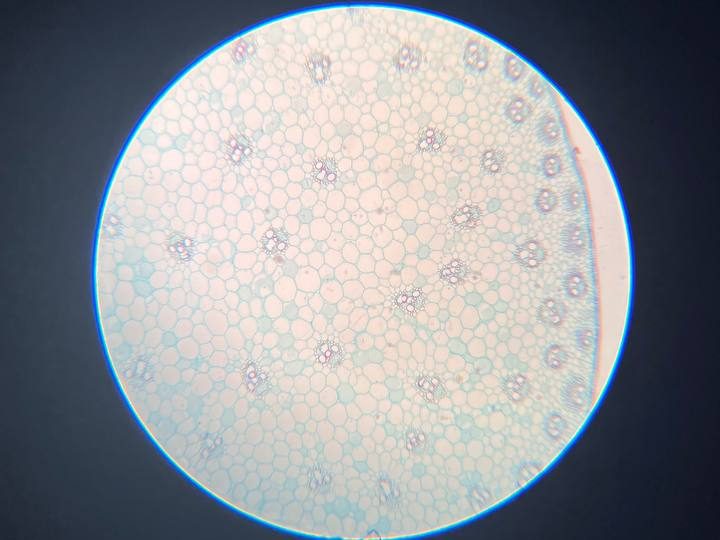
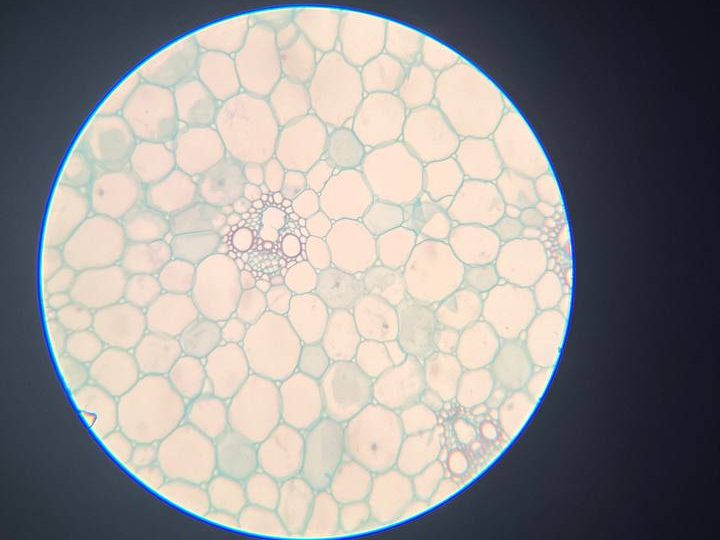
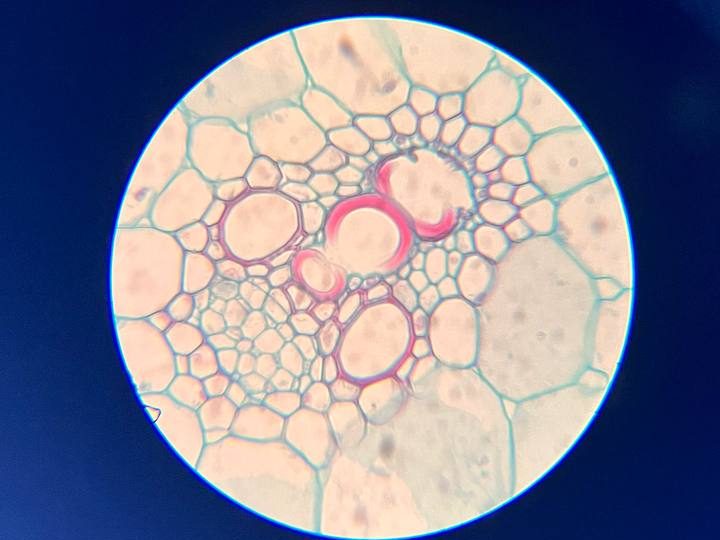
A cross section of the stem under a microscope with magnification of (1) 64, (2) 160 and (3) 640 times.
Step 4. Draw a conclusion, by answering the following questions:
- What types of cells in this preparation could you see through a microscope?
- Can you determine the age of a plant by observing the growth rings of a given plant?
- During the observation, were any anomalies or unusual structures noticed? If yes, please describe them.
Experiment №2
In this experiment, we will study the process of root formation in plant seeds.
Step 1. To do this, fill two transparent glasses with damp cotton wool.
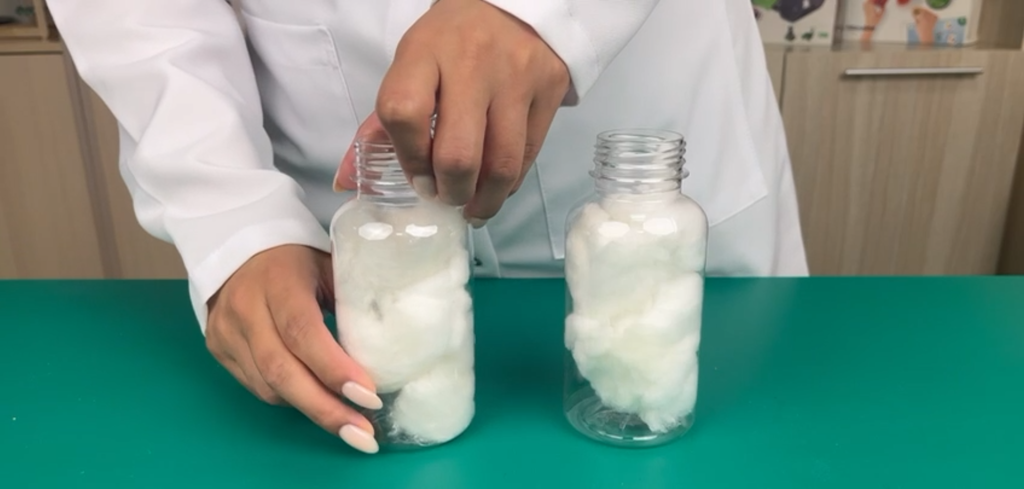
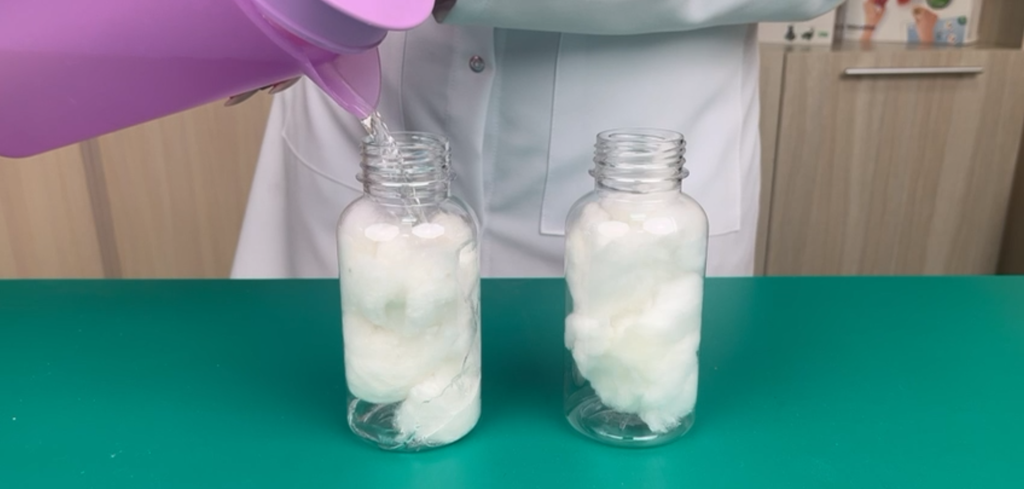
Step 2 Place a few plant seeds in each glass. Arrange the seeds so that they are closer to the side of the glass.
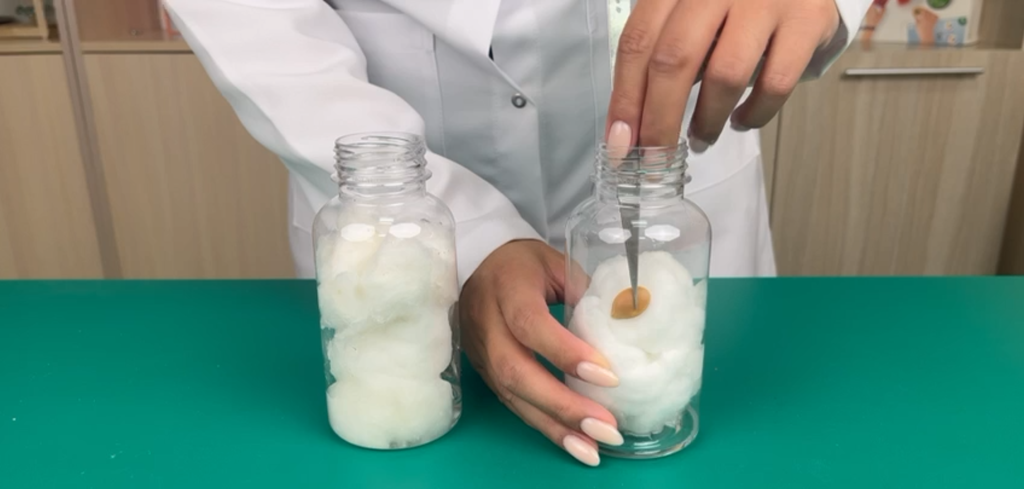
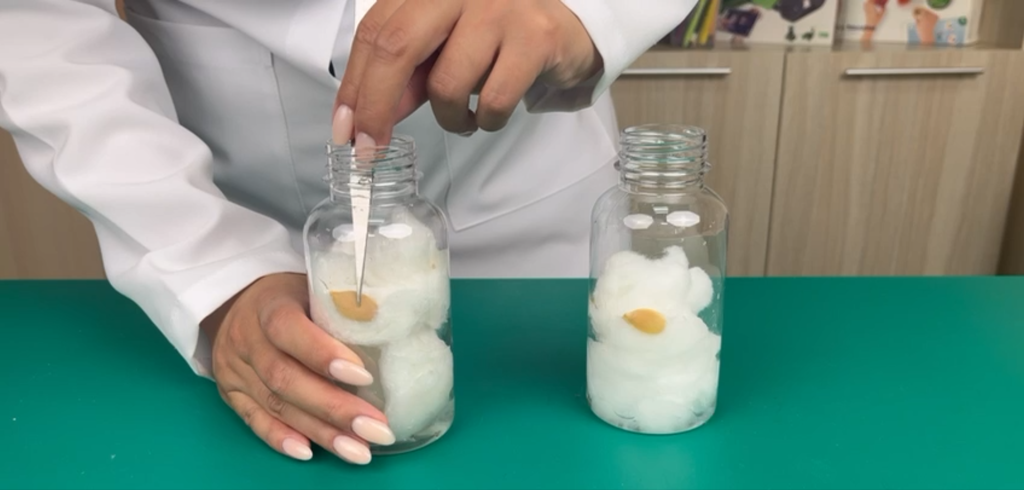
Step 3. Place one of the glasses in a well-lit place with sunlight, and the other in a dark place.
Watch and observe the seeds for 3-7 days. The experiment can be extended, if it’s necessary.
While observing the progress of the experiment, complete the table on a daily basis, write down the number of seeds in which changes were observed:
seed coat rupture | primary root initiation | root hairs initiation | stem germination | |
24 hours | ||||
48 hours | ||||
72 hours | ||||
96 hours |