
Lesson 2
FPM10A Fingerprint Recognition Module
Usually used in security systems. These sensors include a chip that processes the image, makes the necessary calculations to determine the correspondence between the recorded and current data. With the right software, you can even display a photo of your print on the display. Well, the most remarkable thing is that there is a separate library for Arduino, using which you can set up the sensor quickly and easily.
When using the fingerprint sensor, there are two main steps. First you need to write data to the sensor’s memory, that is, assign your own unique identifier for each print, which you will use for comparison in the future. After recording the data, you can proceed to the search by comparing the current print image with those recorded in the sensor’s memory. To record fingerprints, you can use ready-made software or a sketch for Arduino (depending on the platform under which you install the scanner).
Connection on Arduino:

Libraries
In this example, we will need the handy Adafruit Fingerprint Sensor Library. With the help of it, we will first write down two prints and assign them an ID, then the program will show the specified ID based on the print.
Download Adafruit Fingerprint Sensor Library.
Install the library as shown in the video
https://youtube.com/watch?v=4fj8Lfk4hjA%3Flist%3DPLIlBnumqqiAXhk7nWJMtJQdaKzHYwFI_W%26index%3D2
Adding fingerprints
Now let’s go to the example folder of the previously downloaded library and run “enroll”. There you must first set the ID number, then put your finger on the sensor so that it remembers the match.
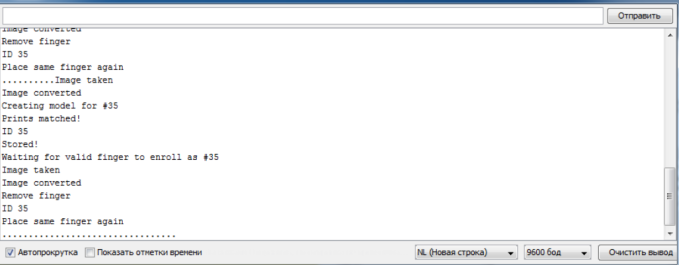
After that, run “fingerprint” and check if the fingerprints match.

Now let’s run our main sketch