Lesson 2
At the beginning of the lesson ask some questions about the previous lesson (3-5 minutes):
1. What kind of Earth models did you make in the last lesson?
2. What is the structure of the planet Earth?
3. describe the Globe. What is it used for?
In the second week you will continue to construct the Globe.
Practical part
Step 1: Assemble the globe. Join the three pieces with the edges cut out (octagons-1 large and 2 small-totaling 3 pieces) with the folded octagons one by one, along the lines cut out
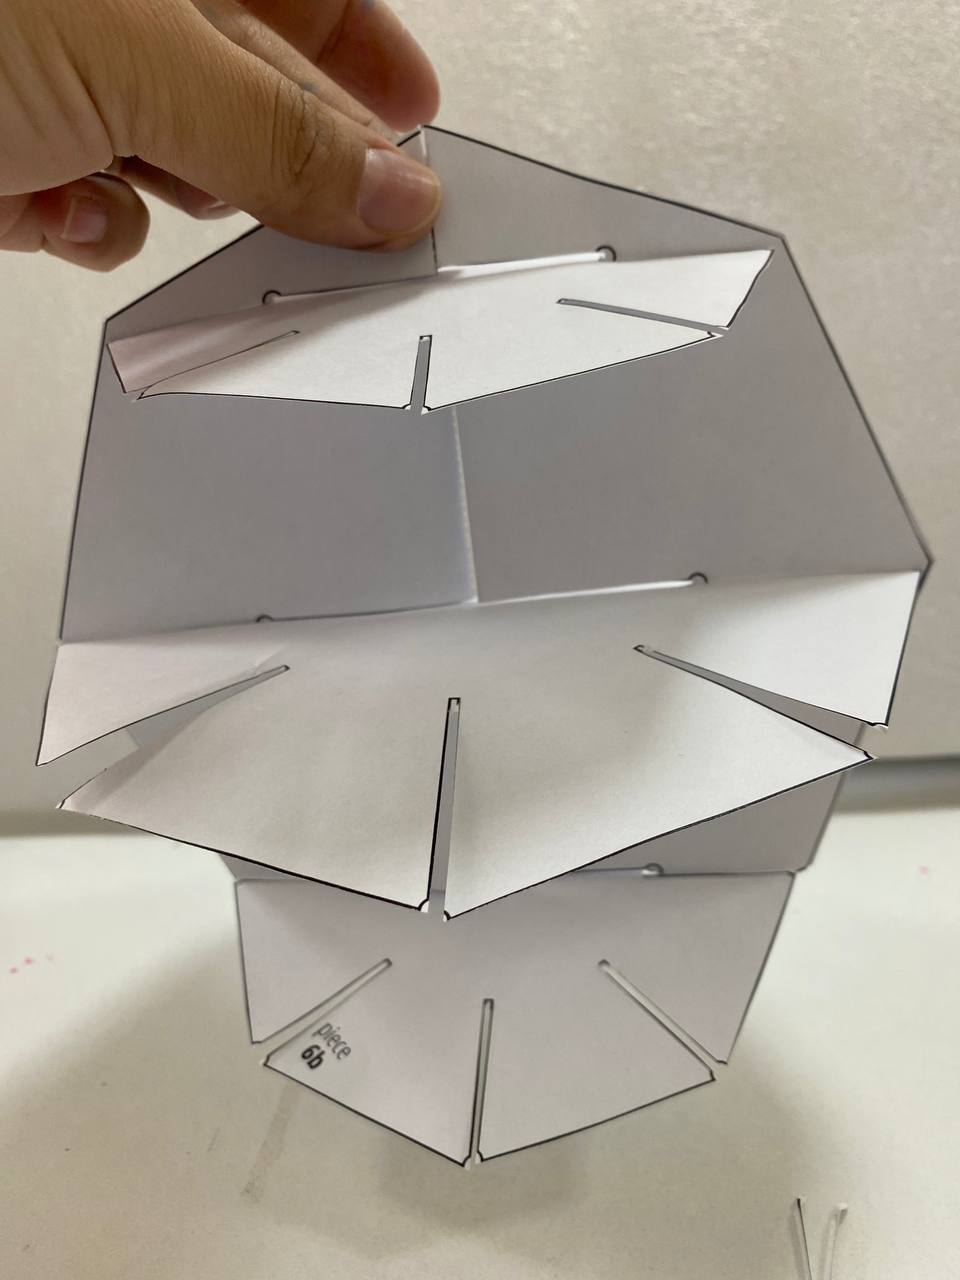
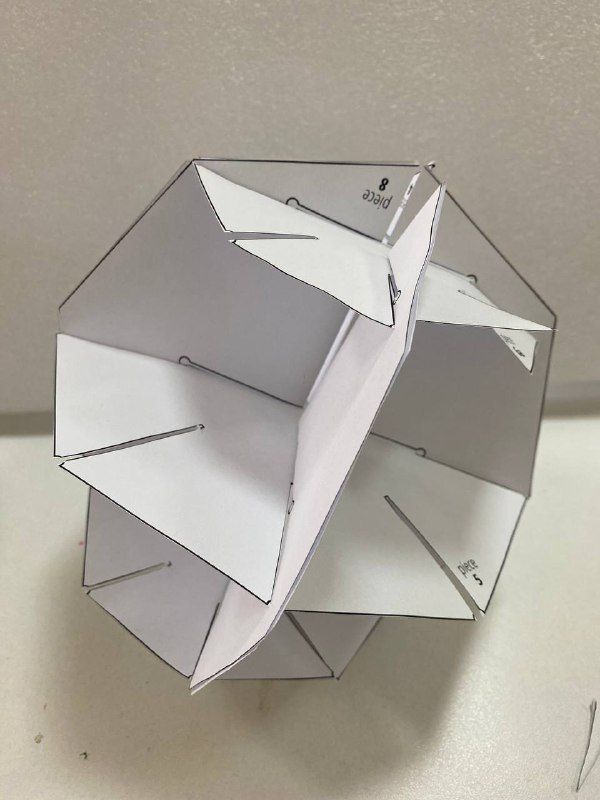
Step 2. A polyhedron (spherical) should come out
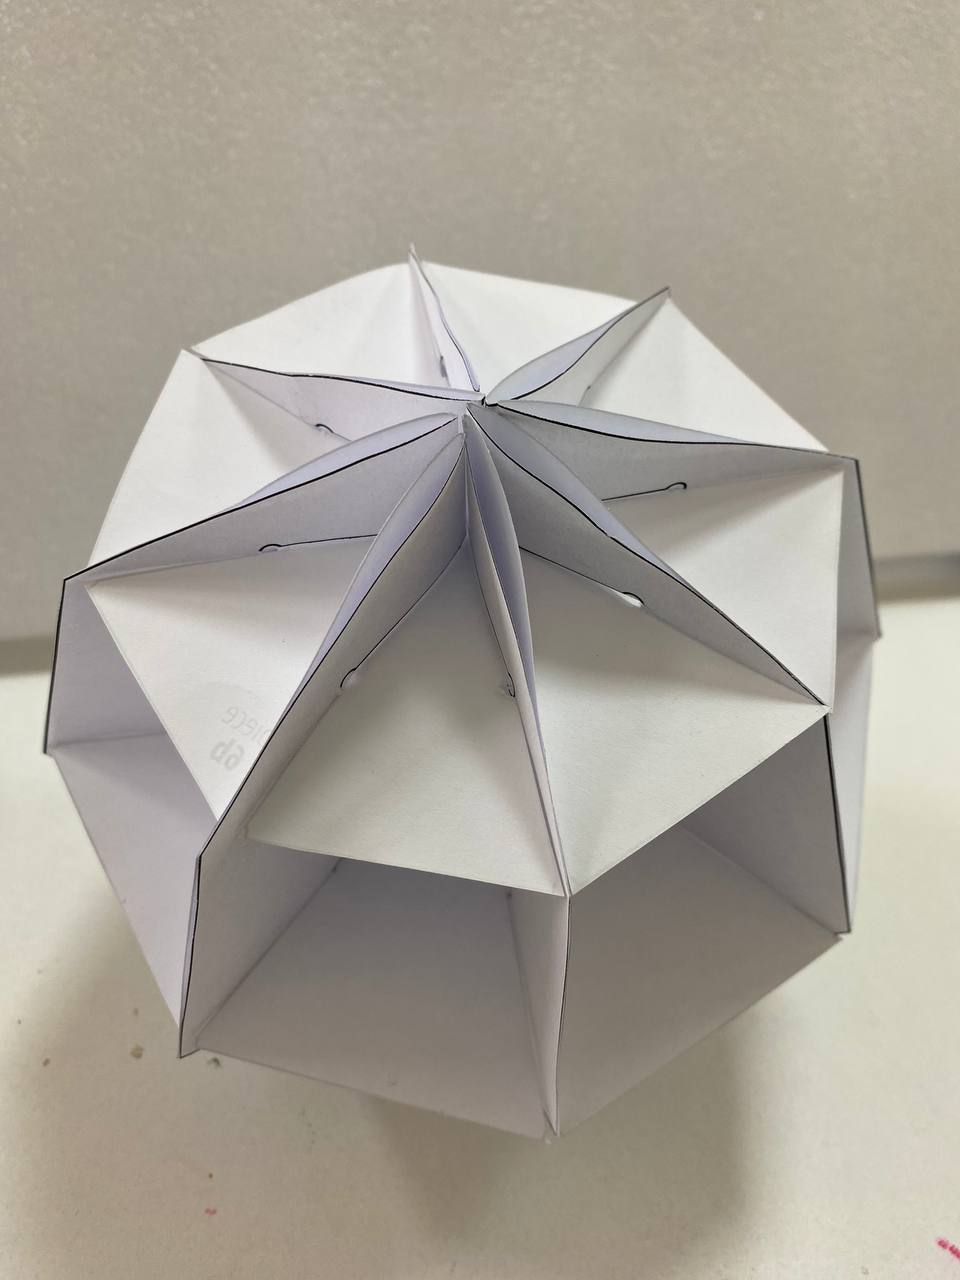
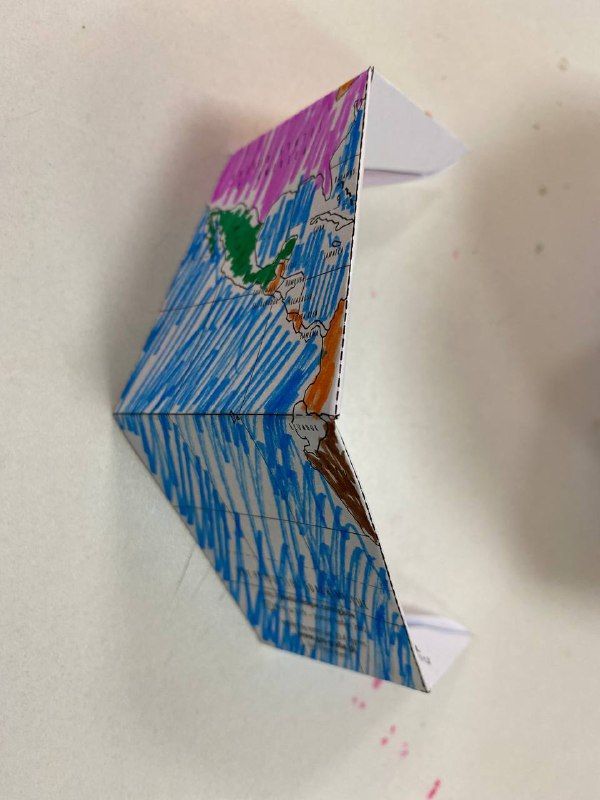
Step 3. Next, join the pre-coloured world map together. To do this you need to fold in 3 dotted lines.Then insert each piece of paper into a polygon with the exact centre of the two sheets
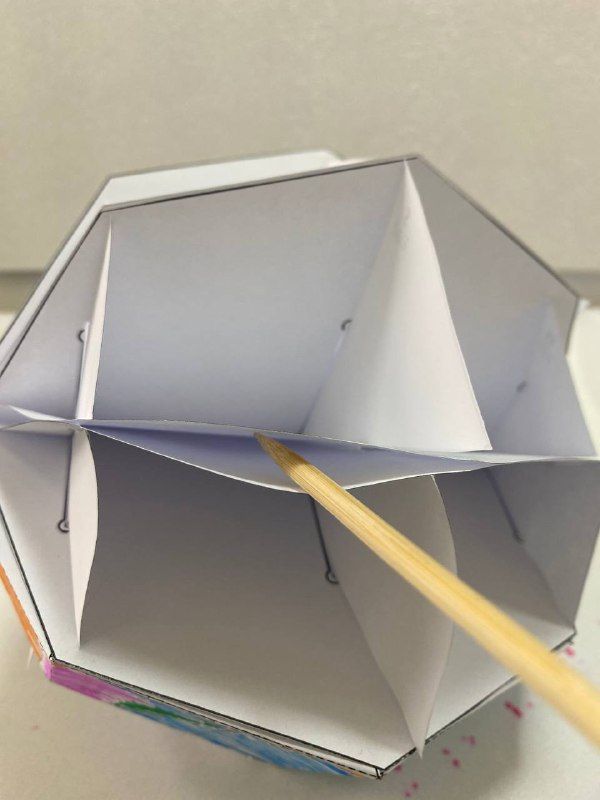
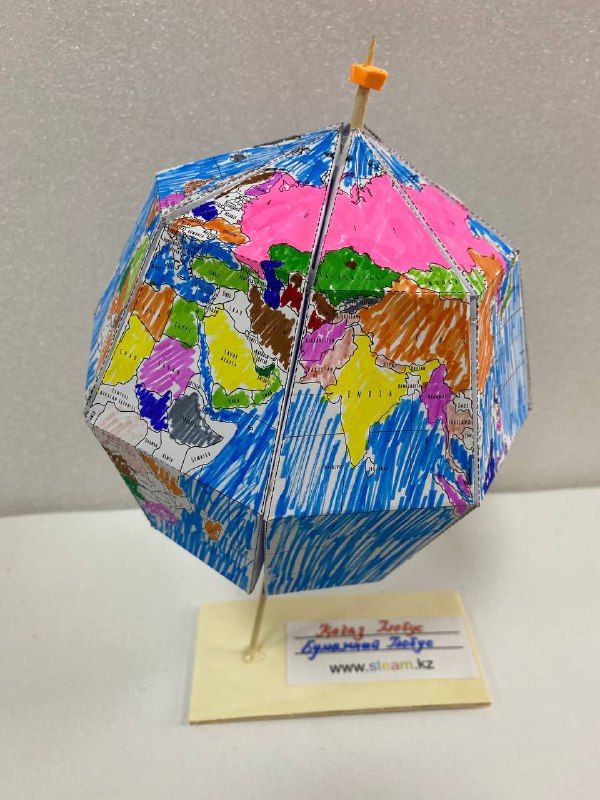
Step 4. Guide the sharp part of the skewer through the centre of the polyhedron and place it with hot-melt glue, with the teacher on the plywood.
Congratulations your globe is ready!
Conclusion
Thus, on this project the pupils have learned the model and structure of the globe. They learned about the Globe and its applications. With the help of the necessary materials, the pupils assembled the Globe out of paper on their own.
On this project, each student is awarded a STEAM title, in three categories:
– You independently, investigated the internal structure of the Earth and their properties, You are a real scientist – a geologist!
– You independently made a model of the Earth and assembled a Globe out of paper. This in turn is a technological process. Congratulations, you are a young engineering technologist!
– You have independently researched the Earth’s crust and in particular have painted the continents and oceans of the Earth. You are an artist and cartographer!
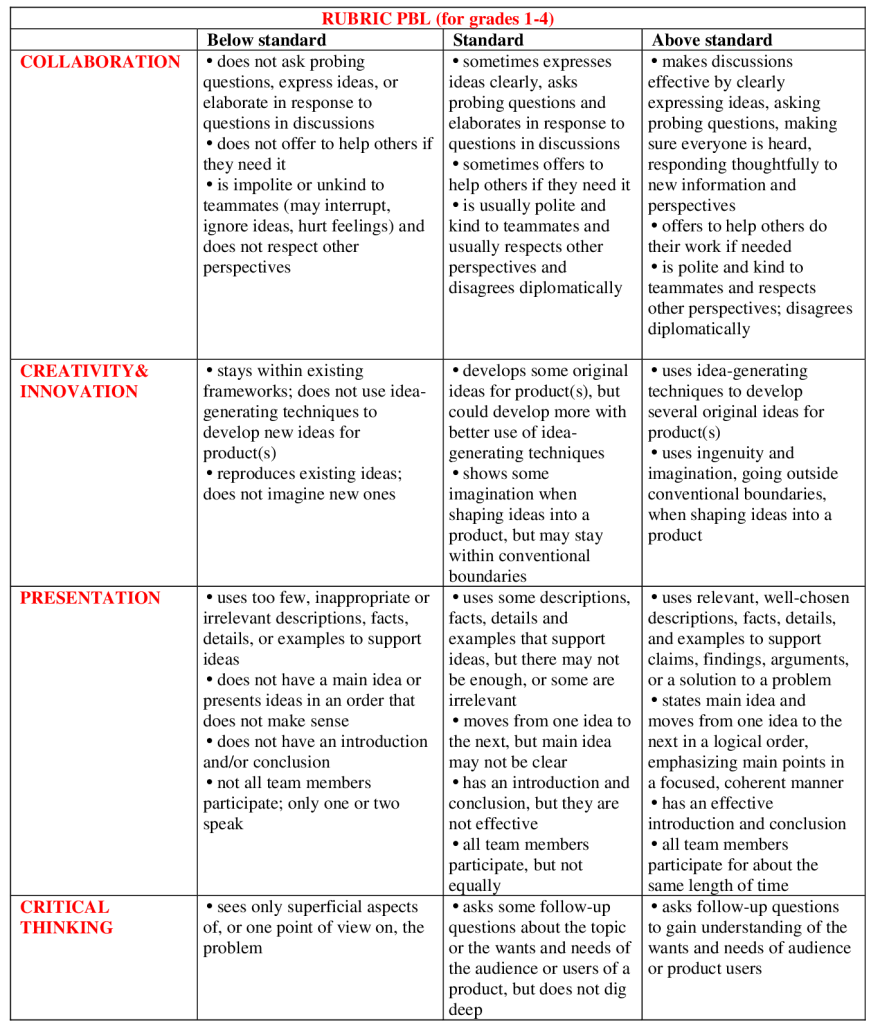
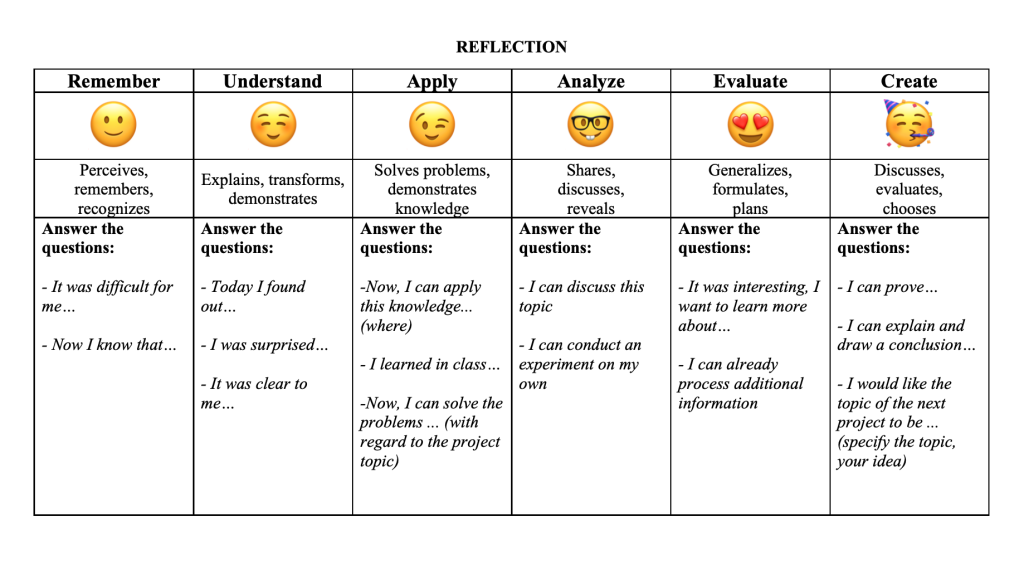
Evaluation