
Lesson 1
Objective:
- to investigate electrical circuits
- unit of electrical energy
- calculation of the price of electricity
Expected Outcomes:
After studying the project, students will have:
- Understanding the process of how electricity works
- bridging the gap between theoretical knowledge and its application in the real world
- form teamwork skills
- analyze and summarize the information obtained
- independently draw logical conclusions and draw inferences
Teacher’s guide:
Divide students into groups.
Download the worksheet:
Before beginning practical work, familiarize yourself with the safety rules by following this link:
Theoretical part
Electricity is a type of energy used to power electrical devices such as lamps, computers, refrigerators, etc. Electricity is generated in special places called power plants. It travels like a wave through wires and cables to reach homes and schools.
It is important to remember that we must use electricity carefully so that we do not overuse it.
A watt (W) is a measure of a unit of electricity. In scientific calculations, a watt is the rate of change of energy (how much energy changes).
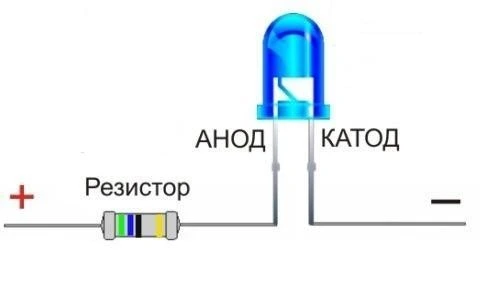
The long part of the LED wire represents the positive charge-anode and the short part the negative charge-cathode.
A resistor is a passive electronic component designed to limit or control the flow of electric current.
Practical part
Traffic light
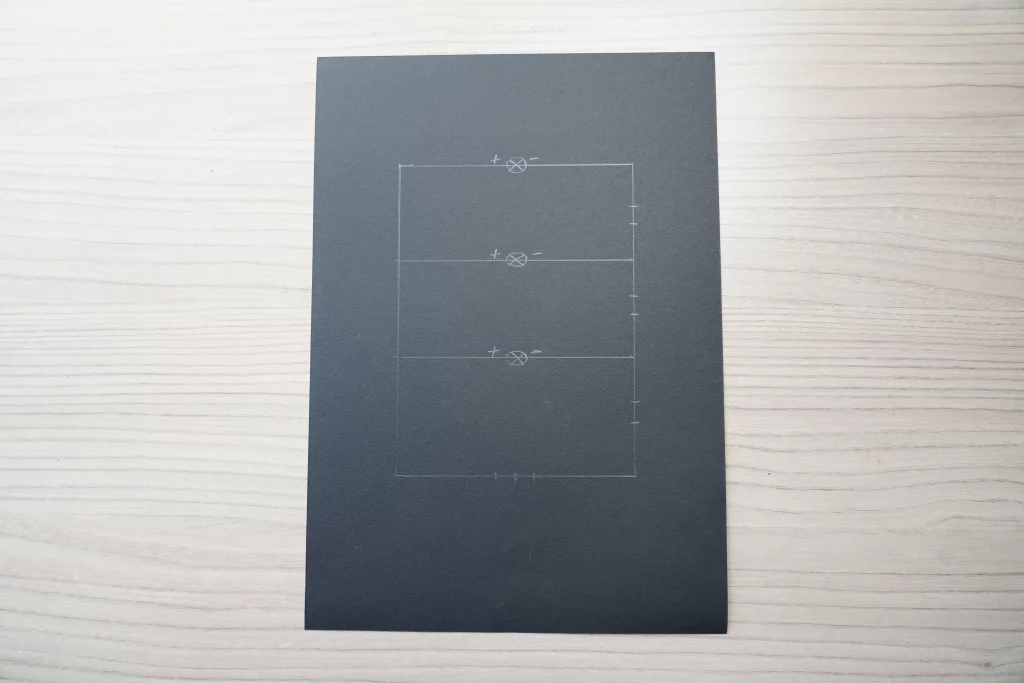
Step 1. Draw a diagram on the cardboard as shown in the picture. Leave 6 cm on top of the cardboard and 4.5 cm on the right and left. The distance between the LEDs is 5 cm. Distance between the LED and battery compartment is 6 cm.
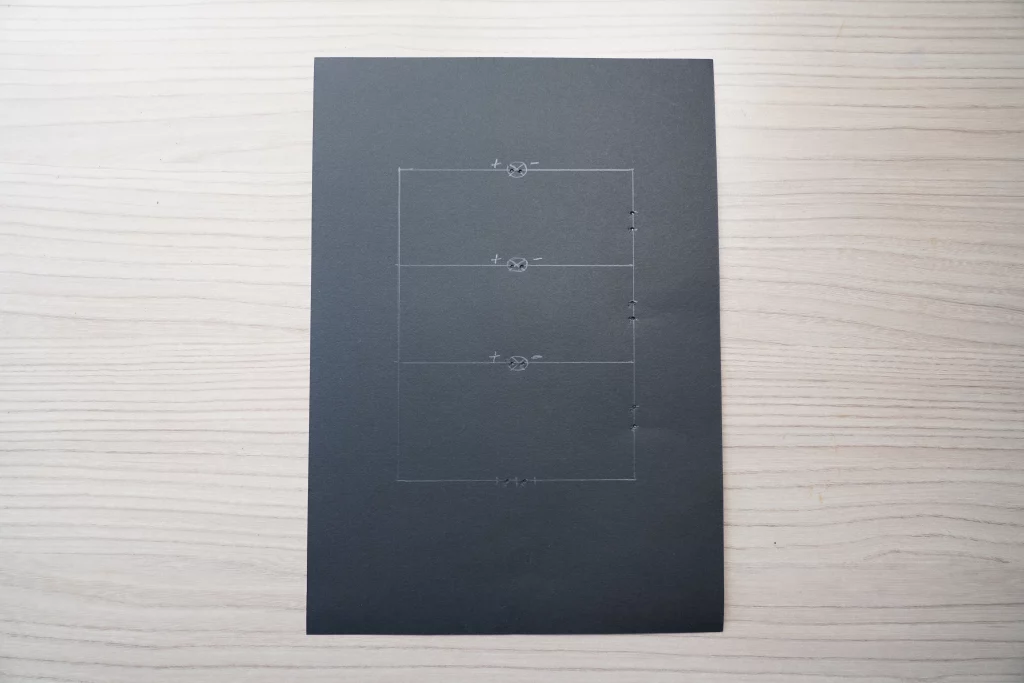
Step 2. Make the holes you marked on the cardboard. Through the perforated areas, the LEDs, switches and battery compartment connection parts with wires must be transferred to the next cardboard surface.
Step 3. Place the LEDs in the marked places on the cardboard in the order of the traffic light colors. Also place the switches and battery compartment.
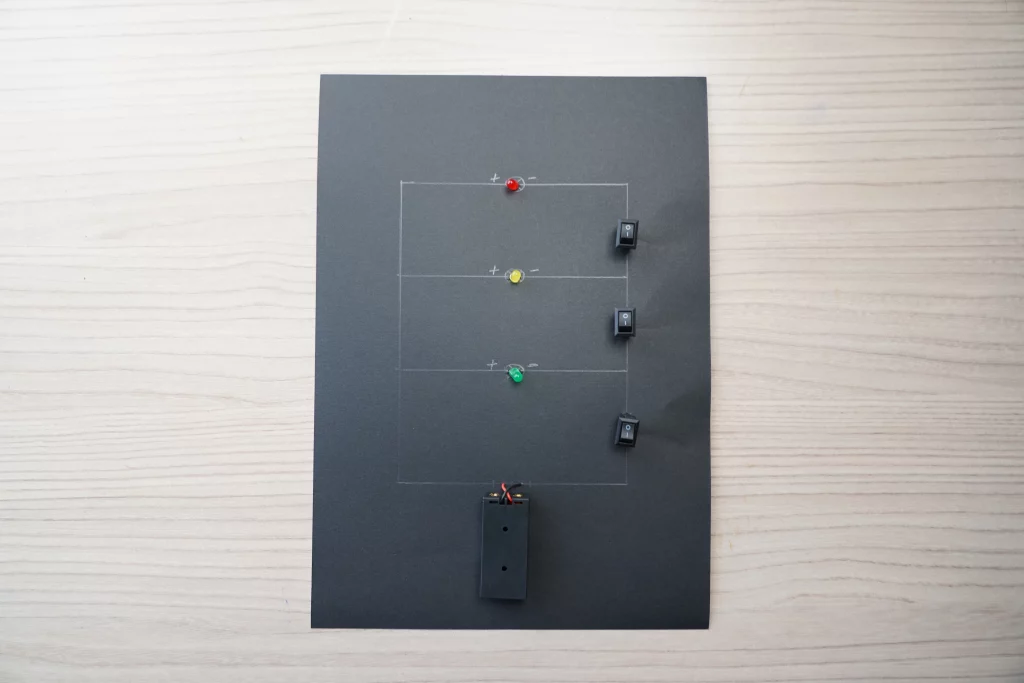
Step 4. Wrap the black wire coming out of the battery compartment around the switch, and wrap the red wire around the long part of the green LED. Connect the short part of the LED and the switch through the resistor.
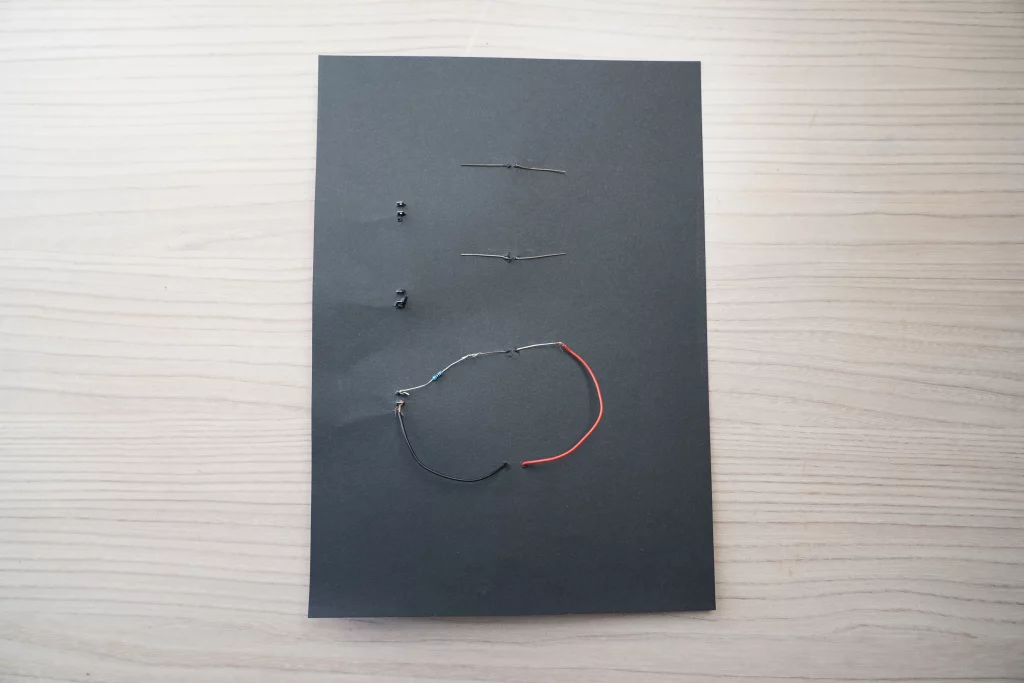
Step 5. Wrap the ends on one side of both wires around the connector where the black wire is wrapped around.
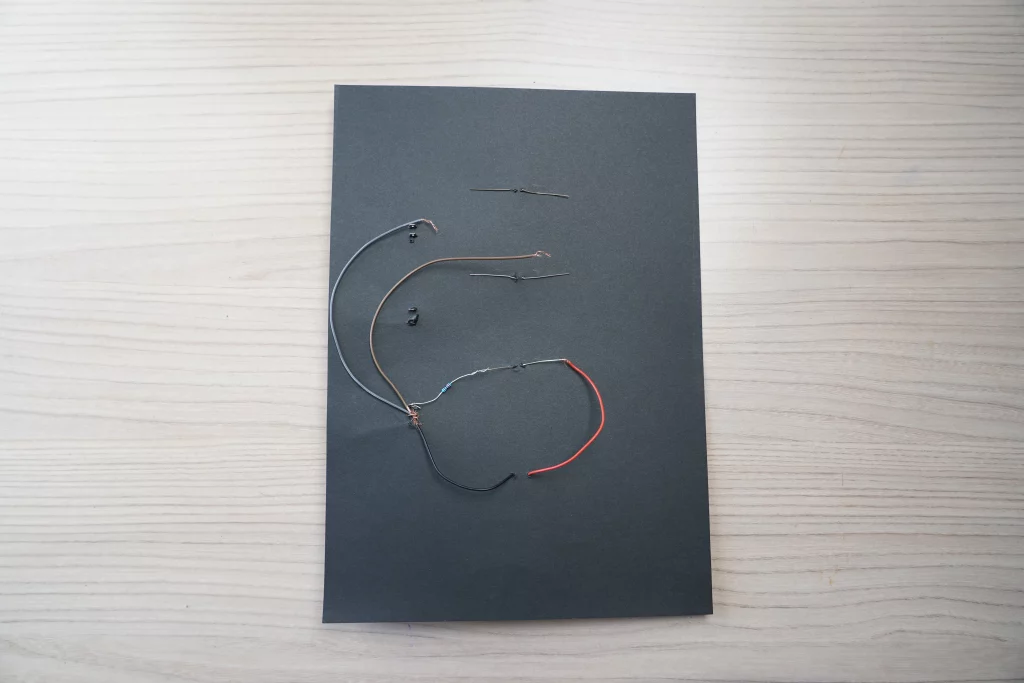
Step 6. Wrap the two wires around the long part of the green LED. Wrap the other end of one wire around the yellow LED and the other end of the other wire around the red LED.
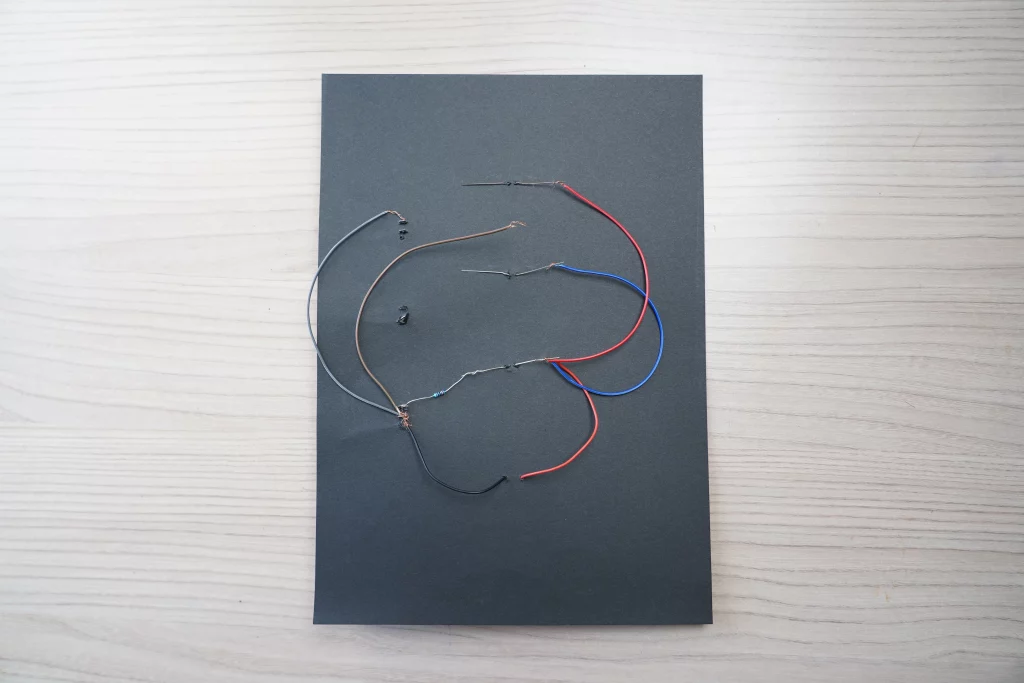
Step 7. Wrap the remaining ends of the two wires wrapped around the two switches.
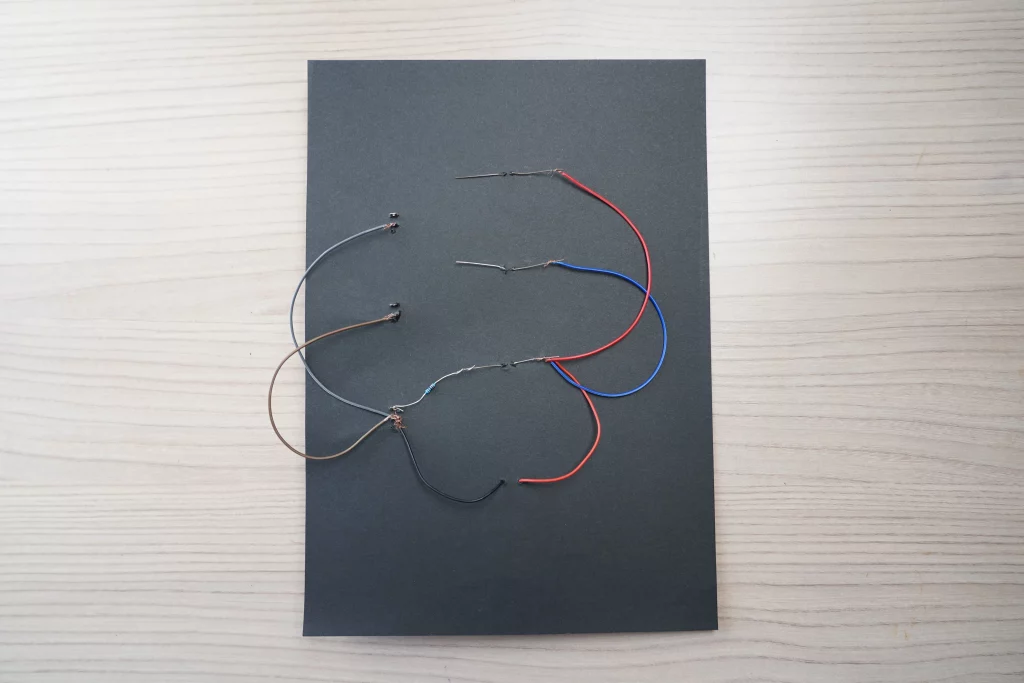
Step 8. Connect the short part of the yellow LED and the switch through the resistor. Connect the short part of the red LED and the switch through the resistor.
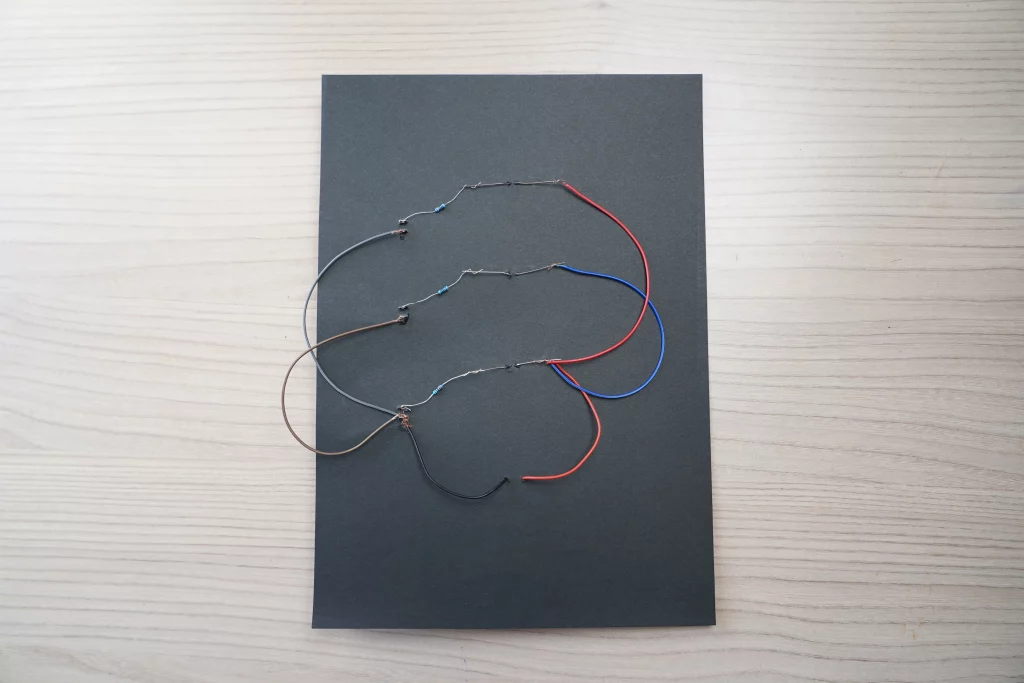
Step 9. The traffic light is ready. You can turn the LEDs on and off by flicking the switches next to each color.
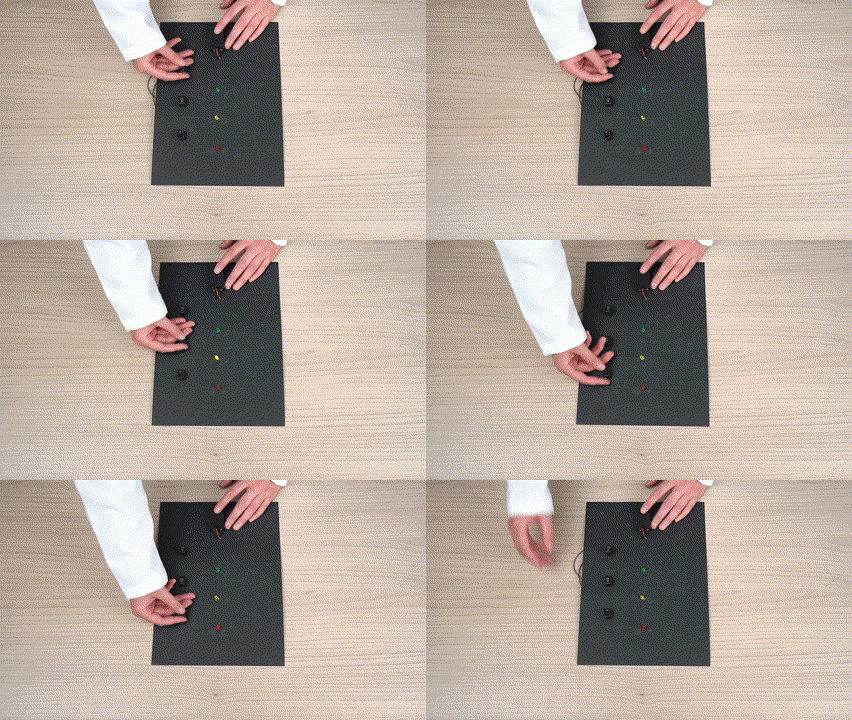
Step 10. Draw conclusions by answering the following questions:
- What parts and circuitry do you use to connect the LED to the battery to make the traffic light work?
- What functions do resistors perform and how do I properly connect them to the traffic light circuit?
- What additional improvements or features can I add to the traffic light?