Week 1
The aim of the project is to
1. to explore space and time.
2. To make a sundial.
Teacher’s guide
– In the lessons, each pupil works in groups.
– Pupils should be introduced to topics like Space and Time.
– Before starting the experimental part, familiarise and provide the pupils with all the necessary materials.
– Show and explain to the students how to work the protractor.
– At the beginning of the lesson explain the PBL (project based learning) rubrics to the students. Skills 4K (critical thinking, collaboration, creativity, anticipation)
Safety in Steam lessons
It is recommended that teachers are fully aware of the safety procedures before the beginning of the lesson. If necessary (if they are using items specified in the PPE guidelines), brief the students. Visit Safety in Steam lessons: Safety
Theoretical Part
Dear students, answer the questions:
– How and by what do we measure time?
– What is time?
– Do you value your time?
– What is a sundial and when was it used?
Time is fleeting and cannot be turned back. Appreciate your every second!
Time is something we deal with every day and characterise as past, present and future.
Time is measured – in seconds, minutes, hours, days, weeks, months and years.
Time is tracked by a clock (chronometer)
What is a sundial?
A sundial is a device for determining the time by the change in the length of the shadow from the gnomon and its movement on a dial. The invention of the sundial dates back to the time when man recognised the relationship between the length and position of the sun’s shadow and the position of the sun in the sky.
Nowadays, sundials are practically not used as they should be, and have given way to various kinds of other watches.
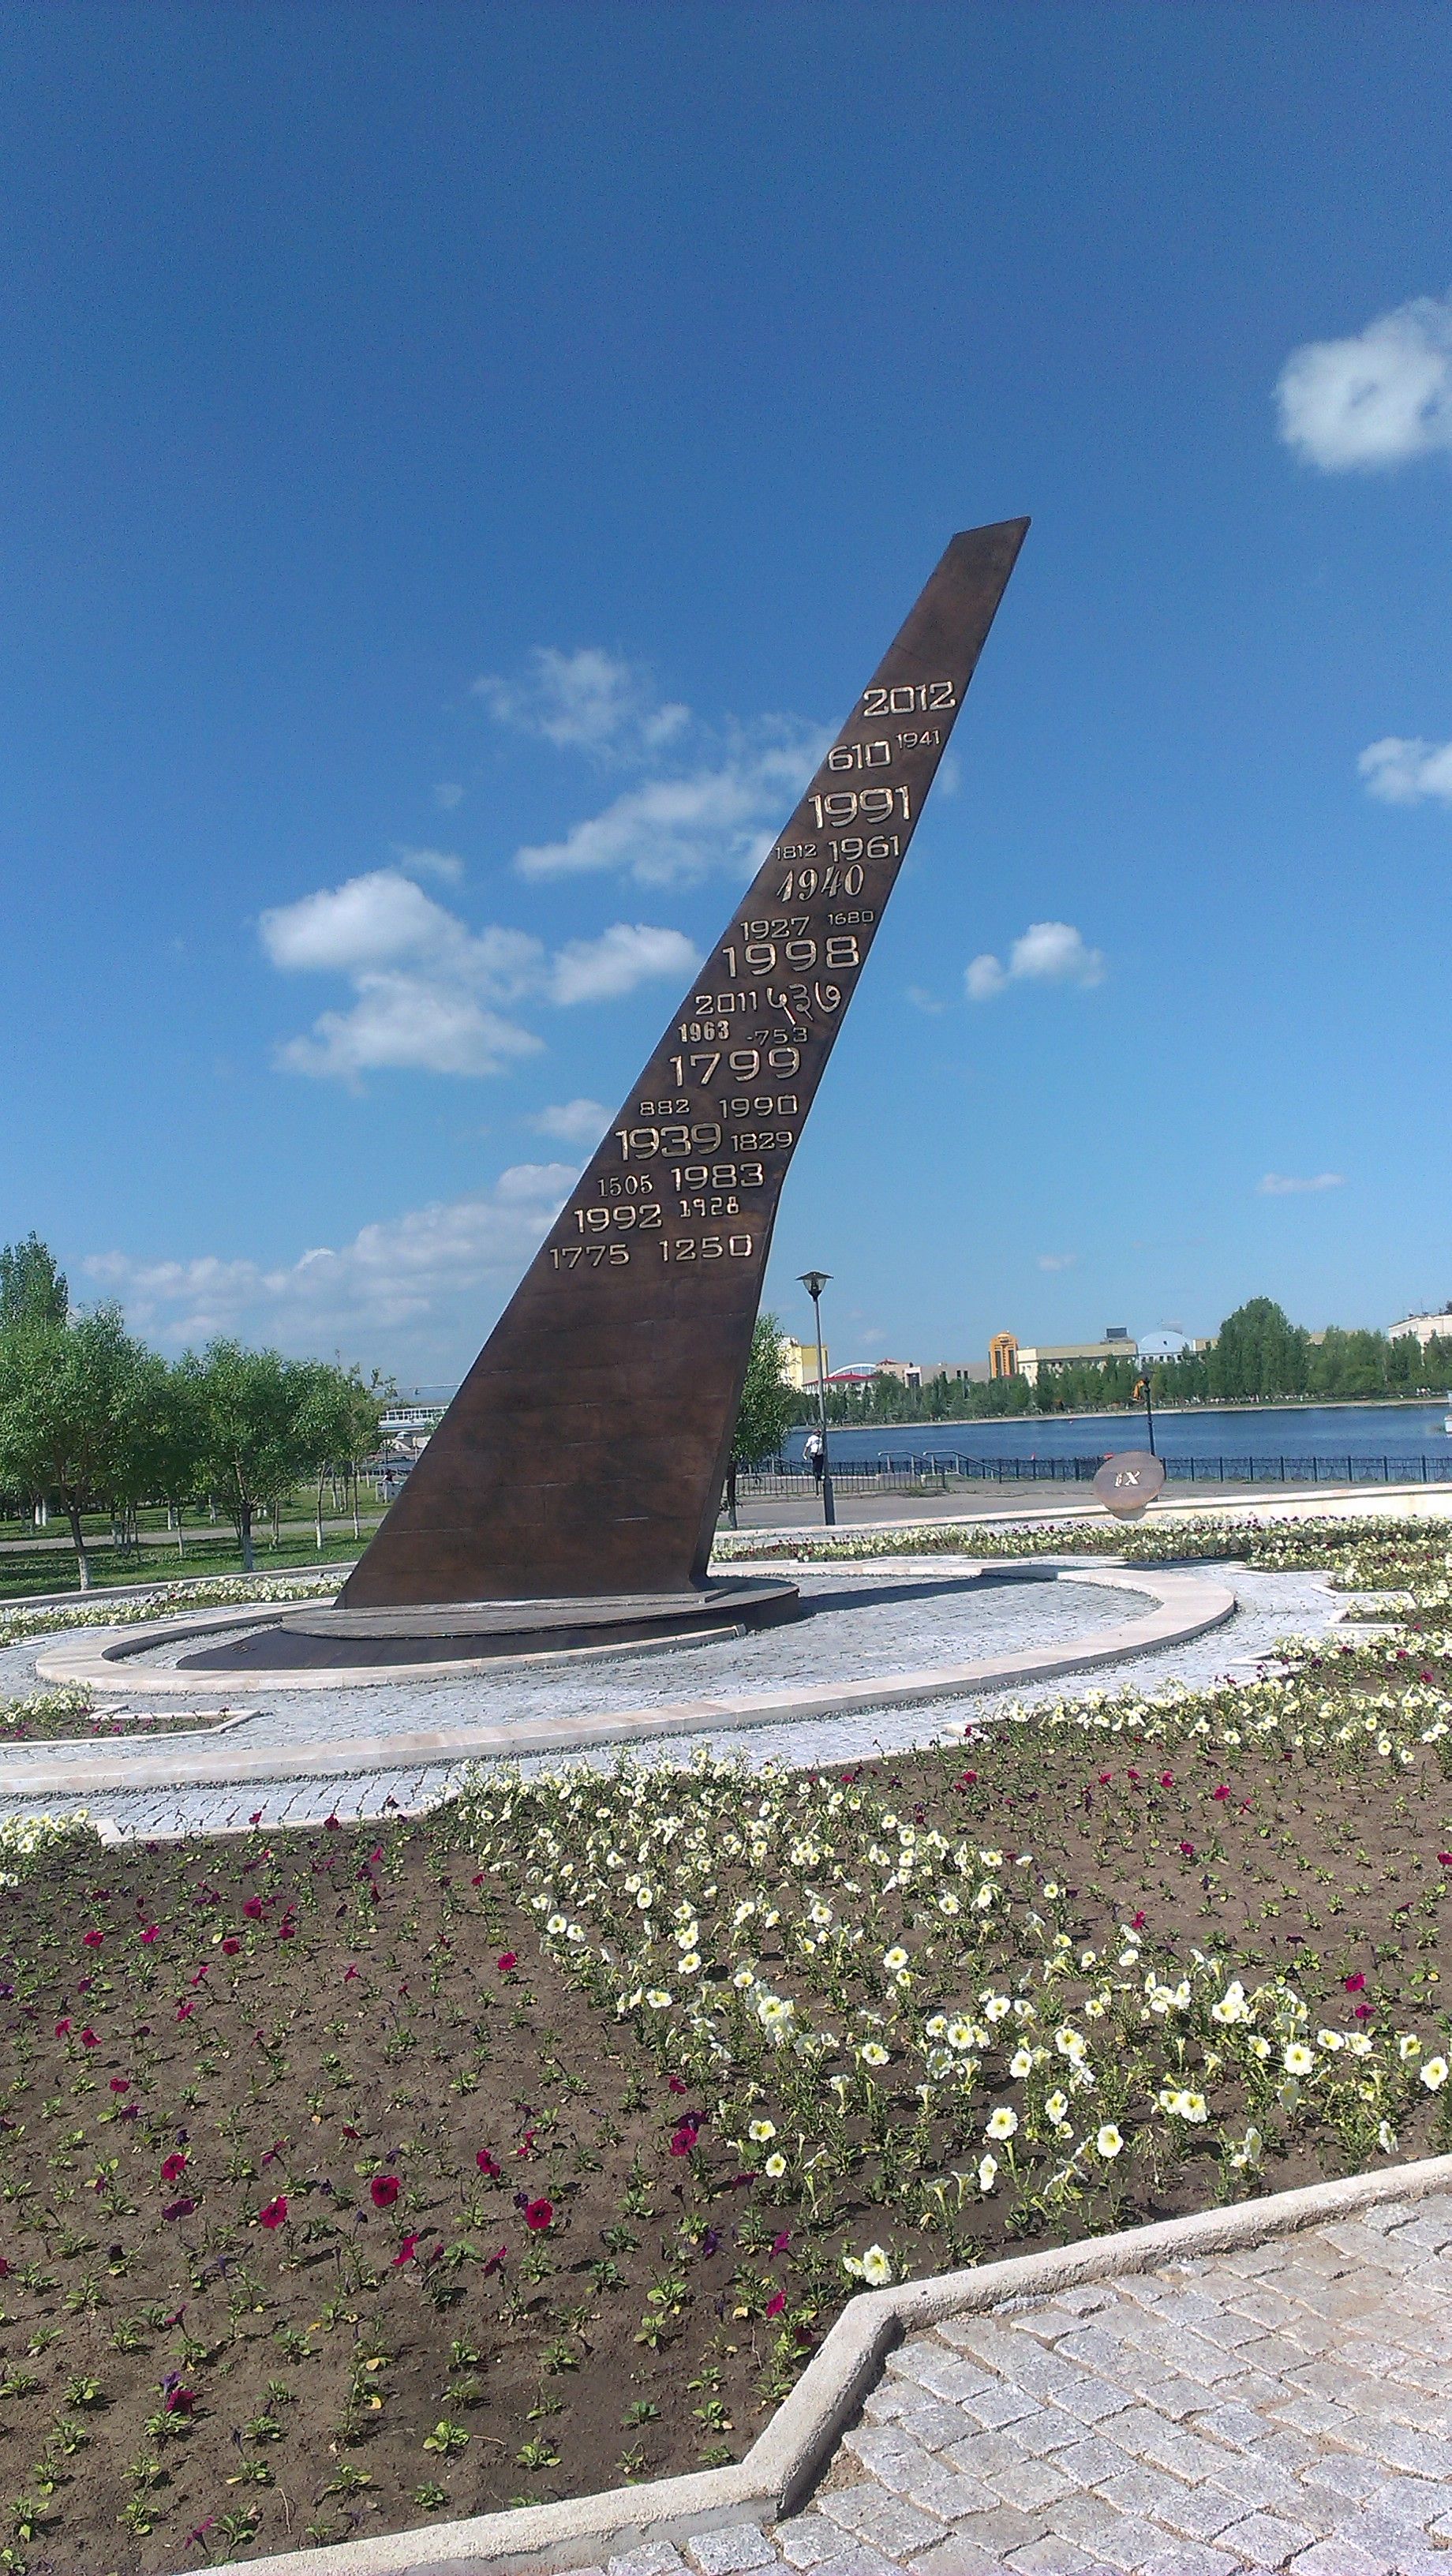
Did you know that there is a sundial made of bronze in our capital, Astana.
Practical part
Step 1: Familiarise yourself with all the necessary materials for the sundial
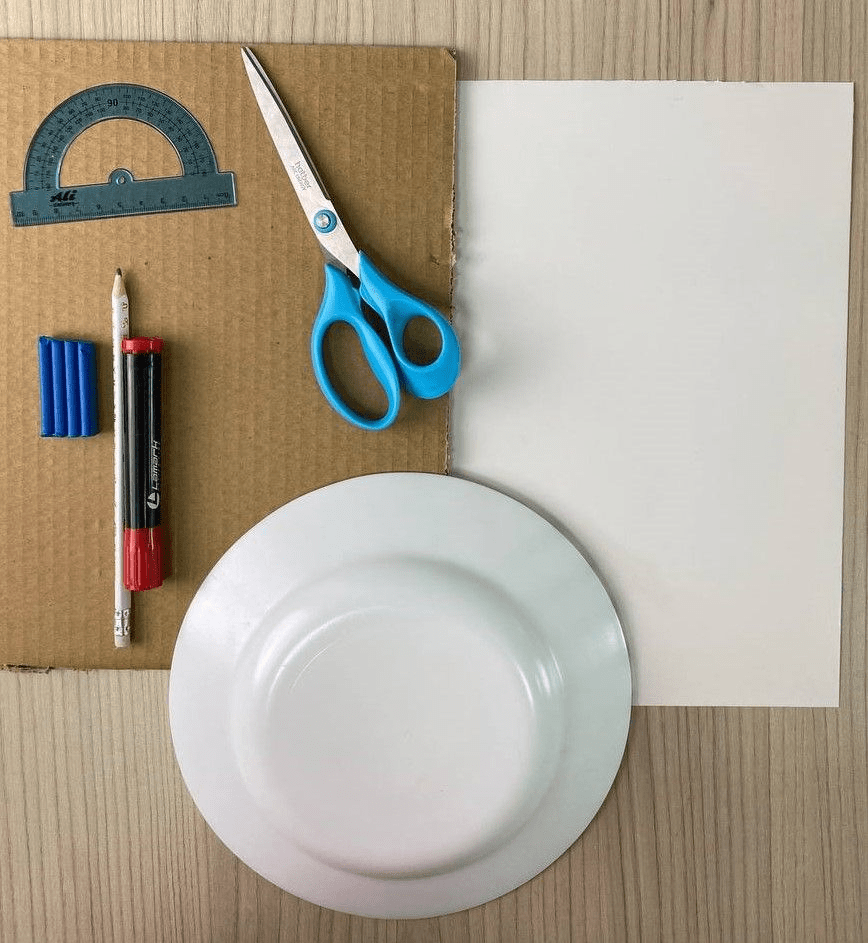
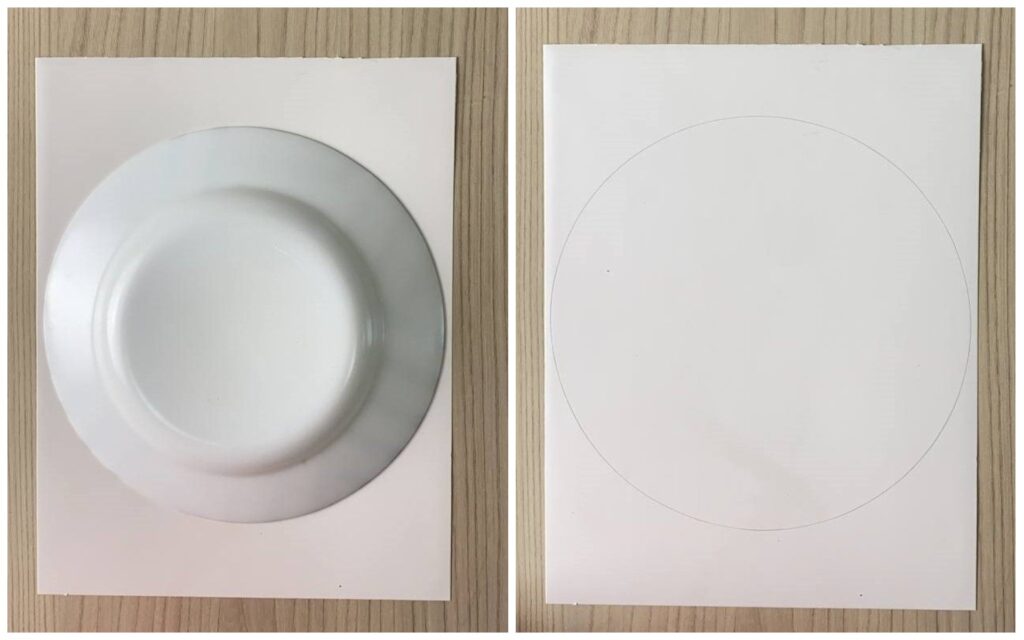
Step 2: Take a piece of white cardboard. Attach a plate or compass. And use the plate (or compass) to draw a circle on the Paper.
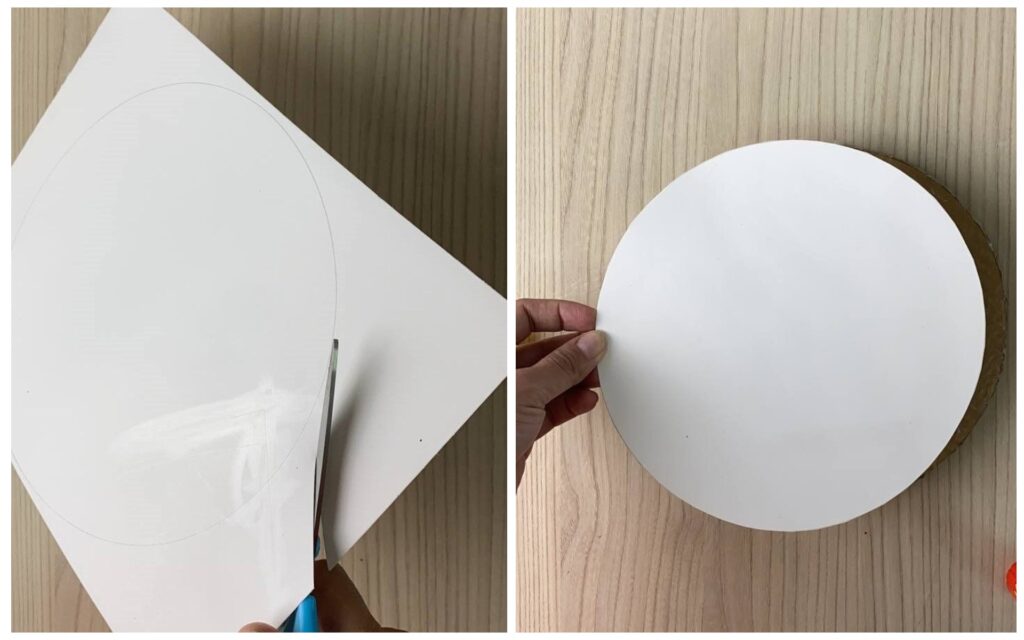
Step 3: Next, cut out a circle
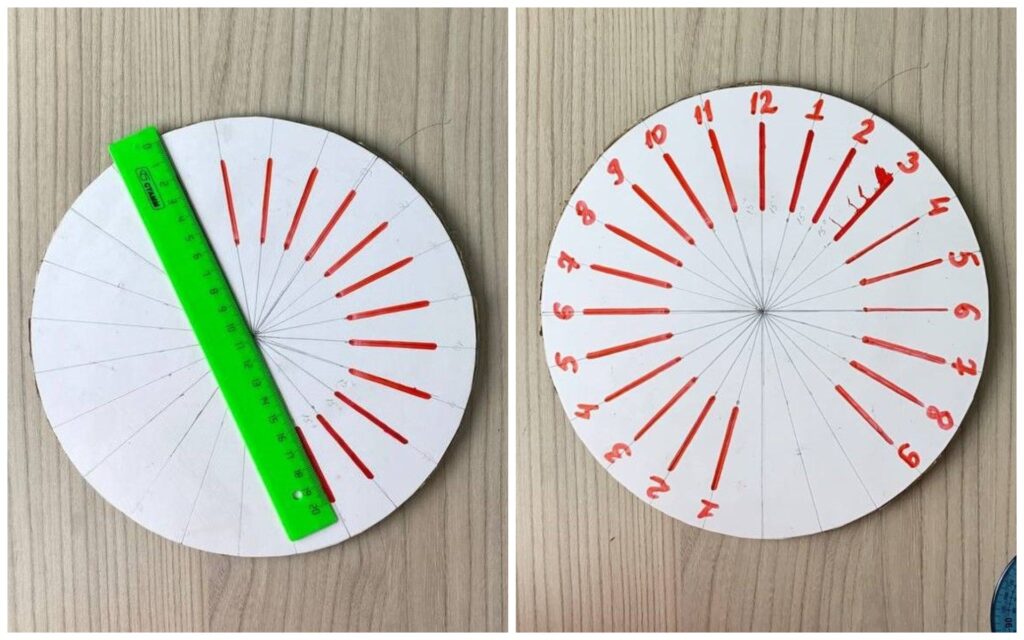
Step 4: Draw a dial (where the time is indicated)To do this, draw 2 perpendicular lines on white cardboard using a ruler.
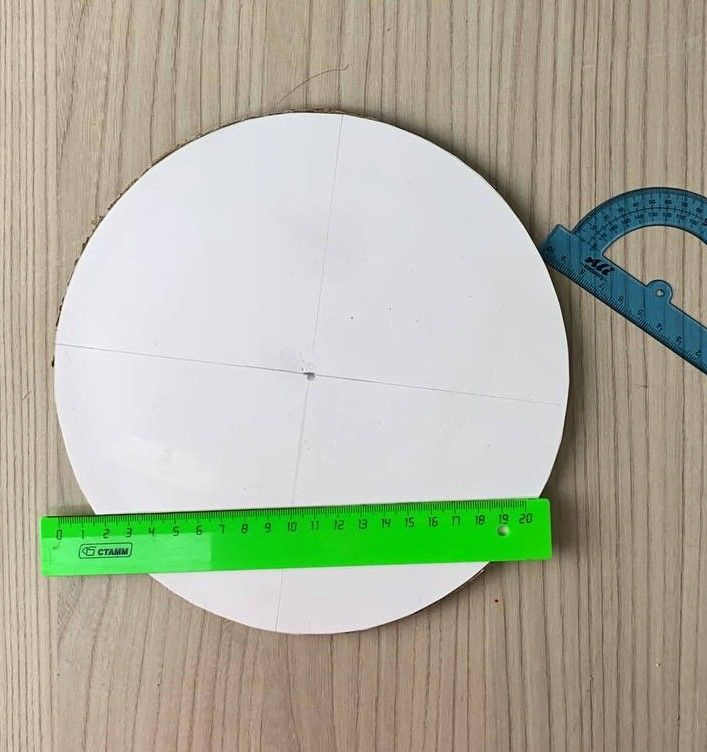
Step 5. After marking the centre, use a protractor to mark every 15 degrees and draw lines.
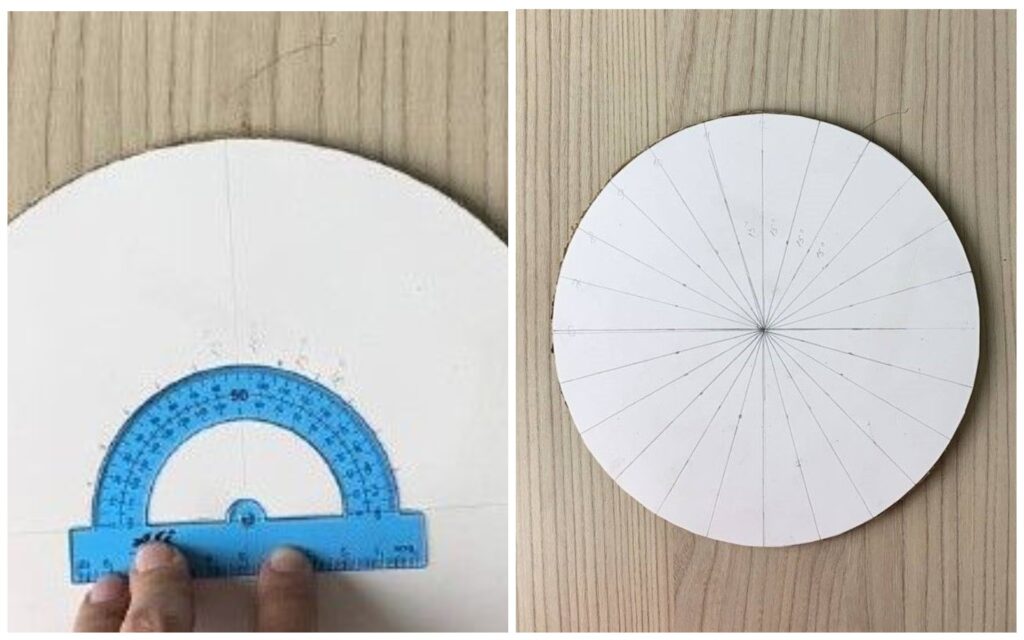
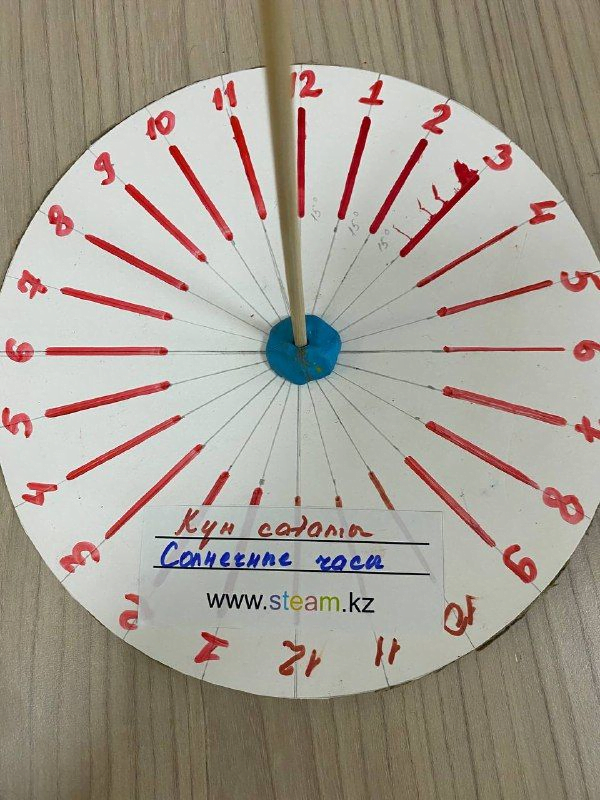
Step 6: Use a felt-tip pen to highlight these lines. And by marking the number 12,– numbering in ascending order, from the right side starting with 1,2,3….– numbering in descending order, on the left side starting with 12,11,10…
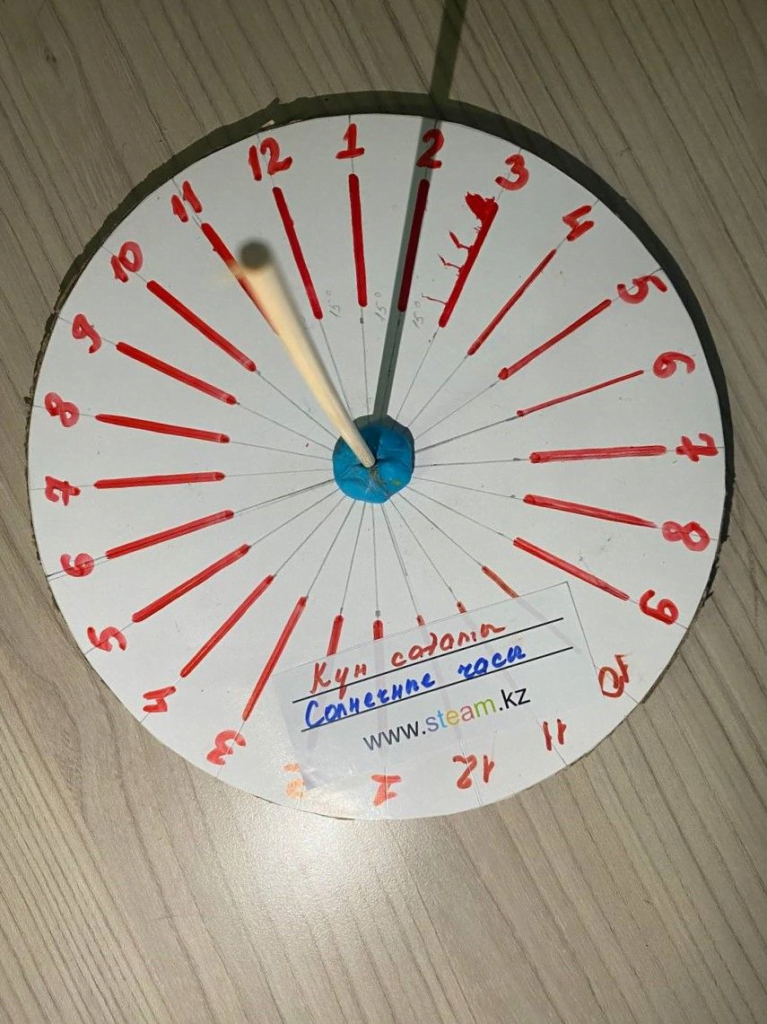
Step 7: Use plasticine to centre the gnomon (shadow clock hand)
Step 11. Turn off the lights and use the torch on your smartphone to check the sundial. Torch means sunshine.

Conclusion
Thus, in this project, the students have:
1. have been introduced to the meaning of Time and measurement.
2. Made a sundial.
3. Tested how the sundial works with a torch

In this project, each student is awarded a STEAM title, by category:
– You, on your own, investigated the structure of a sundial and measured time You are a real metrology scientist!
– You have created a model of a real sundial on your own. Congratulations, you are a young engineering technologist!
Work at home
1. Think about where the Sun Clock should be installed.
2. If you are in Nur-Sultan, visit a park where a real sundial is located with a teacher or parent. Or try to set up your own sundial on the school grounds with your teacher.
Evaluation