Week 2
The practical part
Design of a hydroponic system
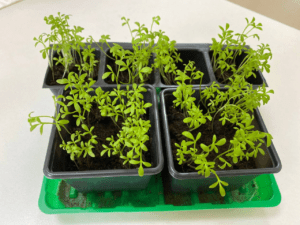
Step 1. You planted a plant last week. Courted for a week.
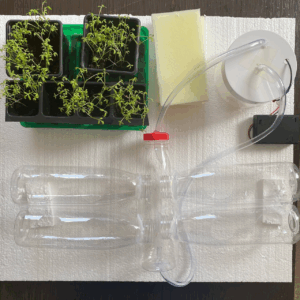
Step 2. For the construction of a hydroponic system, you need:
- – plastic bottles 5 pcs
- – hot glue gun
- – scissors
- – foam rubber
- – silicone hose 1 m
- – pump
- – battery compartment with batteries
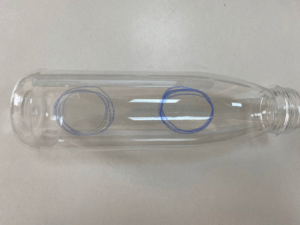
Step 3. Take 4 pieces of plastic bottles and using scissors, make round holes on the sidewall.
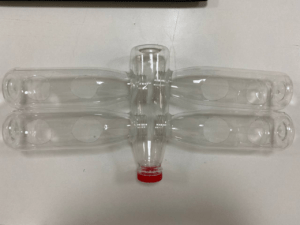
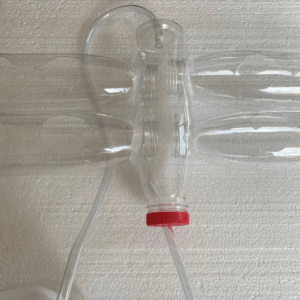
Step 4. Take another 1 bottle and make 4 holes, from the side, symmetrically.
Step 5. Then connect the bottle necks to these holes
Step 6. At the bottom and on the bottle cap (in the middle), make a small hole for the silicone hose
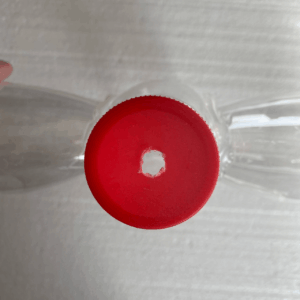
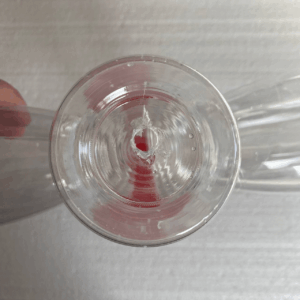
Step 7. After that, run the hose from both sides
Then fix the hole with hot glue. In order to avoid water leakage.
Step 8. Prepare the container for the nutrient solution and the pump. Make three holes on the lid.
1 – for pump output o
2 – for entry from hydroponics
3 – for the wire
Step 9. Immerse the pump into it (the BATTERY COMPARTMENT is OUTSIDE), run the hose from the pump, then the second hose.
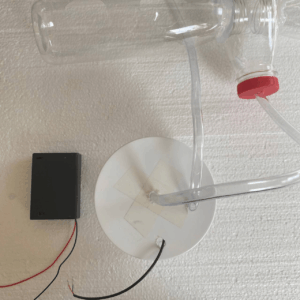
Step 10. Connect the pump to the battery compartment.
To do this, connect the red wire of the battery compartment to the red wire of the pump and wrap it with electrical tape
Also connect the black wire of the battery compartment to the black wire of the pump and wrap it with electrical tape
Then put 3 batteries in the battery compartment in the correct direction.

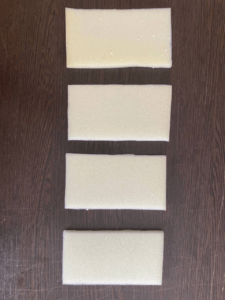
Step 11. Take the foam rubber and cut it into equal pieces. The size is 7cm*14cm.
Foam rubber is necessary in order to keep the plant.
Step 12. Check the system for tightness.
In the next lesson, you will transplant the plant and start the system.