
Lesson 1
Project objectives
– Develop an automatic lighting system to reduce energy costs;
– To construct a smart garage door on a remote control that will become part of a smart home.
Teacher’s guide
Before starting work, ask questions, talk about a smart home, a smart garage, ask what students think. For example:
– What is a smart house, a smart garage?
– What technologies can be used in a smart garage?
– What ideas will the students offer for a smart garage?
– Have you seen an smart garage before?
You can divided into groups of 4-5 students.
Introduction
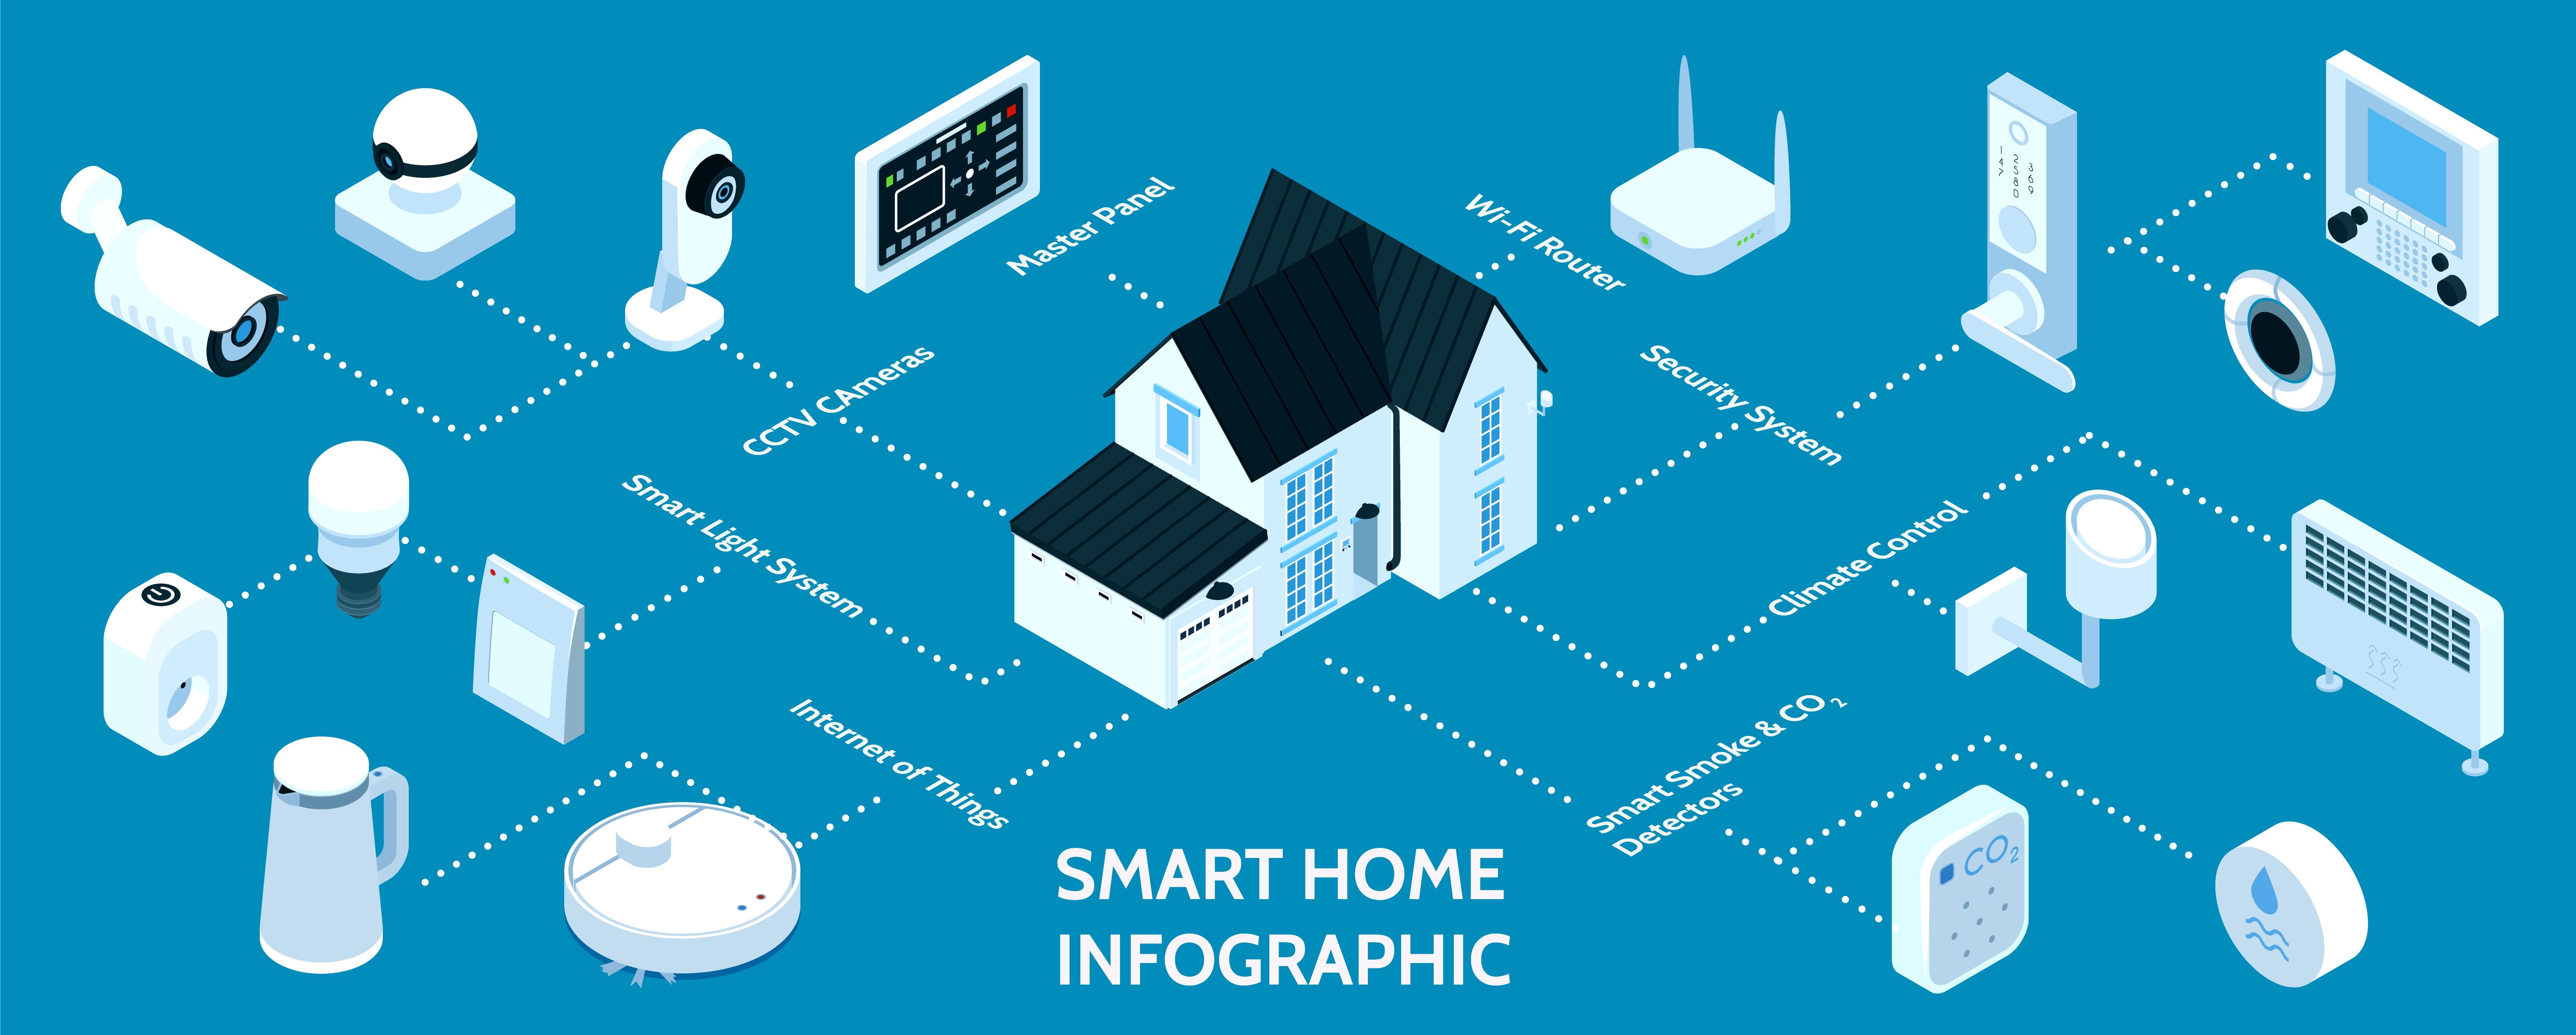
A smart home is a home system devices capable of solving certain everyday tasks and performing actions without full or partial human participation. This is an extremely flexible system that the user designs and configures independently depending on their own needs. This assumes that each owner of a smart home independently determines which devices to install and what tasks they will perform.
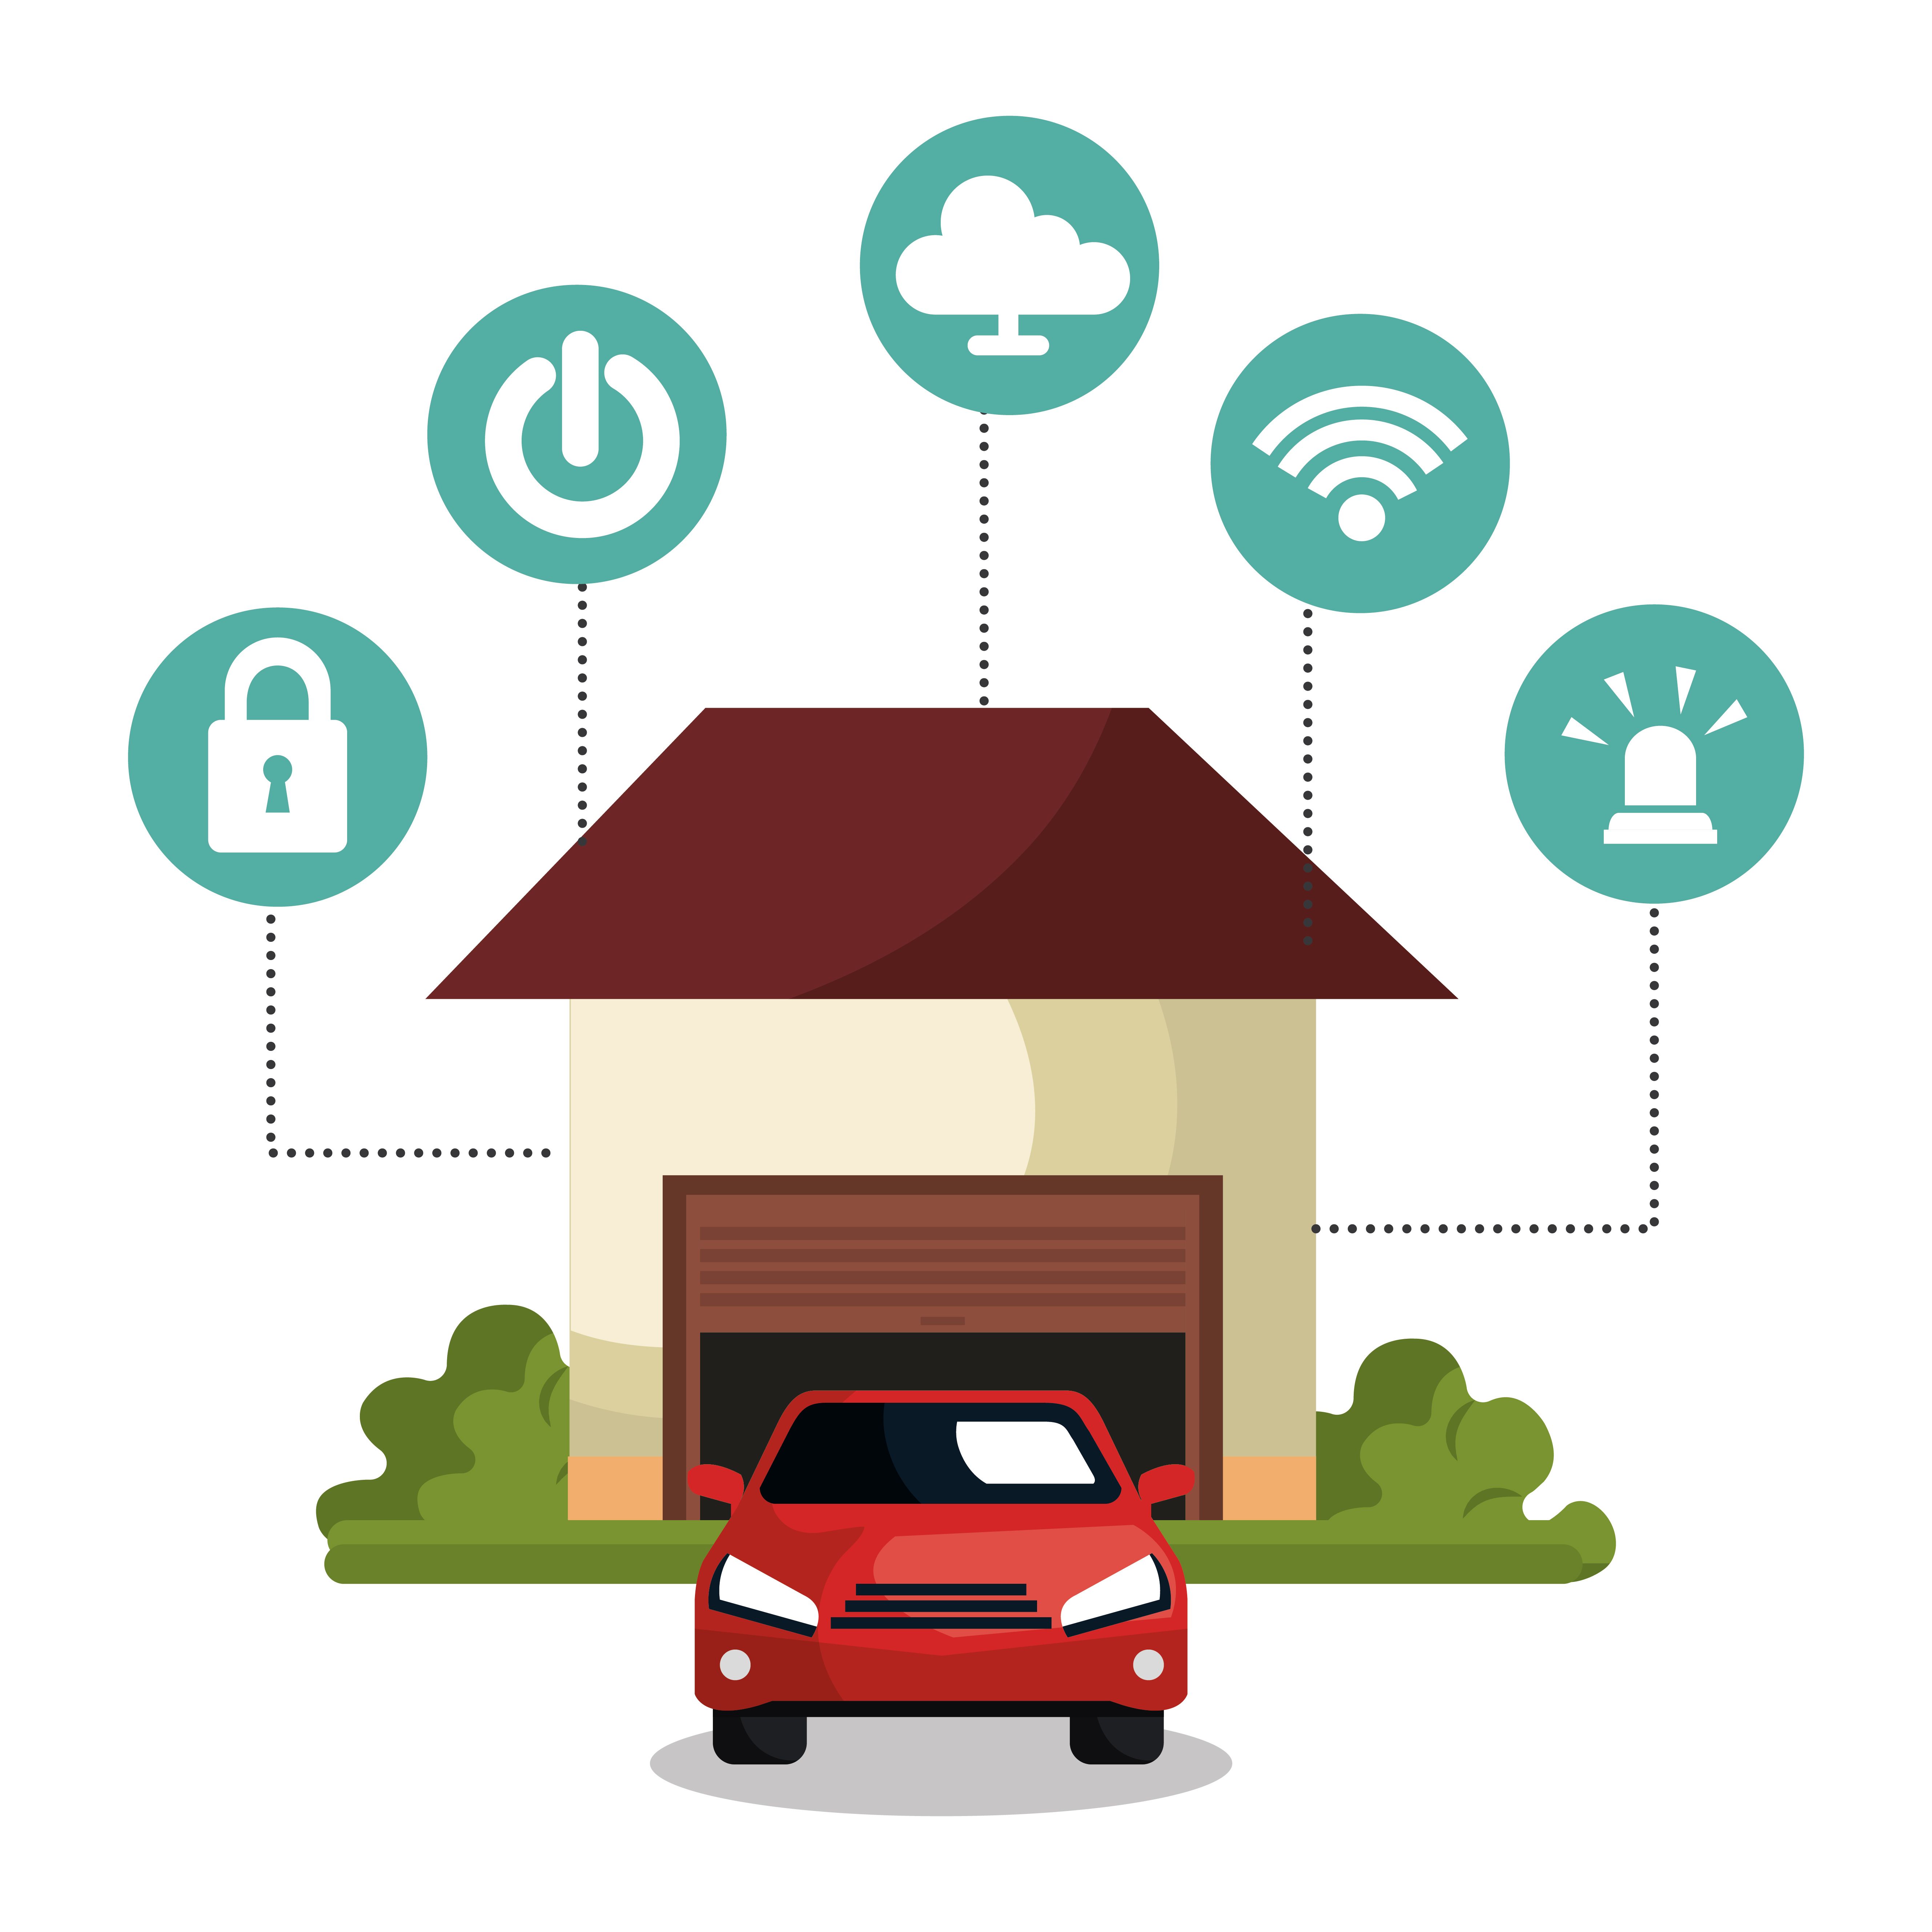
The Smart Garage system is becoming very popular. Since it helps to provide comfortable living conditions, at the same time reducing the cost of resources consumed. By installing such a system, we are relieved of the need to control the operation of such subsystems as lighting and security, which we will consider in this project.
Light sources are controlled via motion sensors. Such lighting involves automatically turning on the light when a person enters the room and turning off when leaving. Such a system will help to significantly save electricity costs.
And automatic gates on remote control will provide convenient access to the garage and restrict access to outsiders.

Let’s start making a garage layout. Build a garage from improvised means. You can use cardboard, wood, 3D printer, boxes, etc. Turn on your imagination, come up with your own garage design. Come up with a mechanism for opening the gate. Take as a basis the principle of operation of a stepper motor and think about what ways you can open and close the gate easily. Below we have given an example of how we did it. By the next lesson, each group should bring a ready-made layout of the garage and present their work, that is, why the groups decided to make exactly such a design, what they were inspired by and most importantly how the gate opening mechanism will work.
Example of a garage layout. Watch the video..

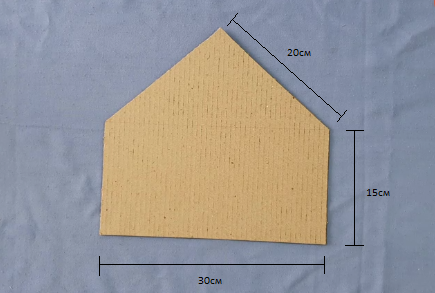
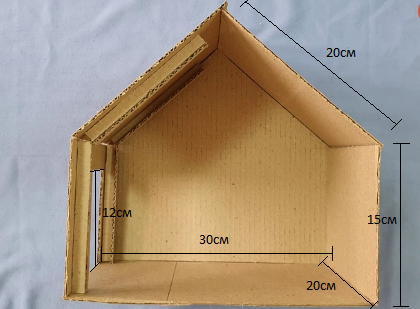
We will need cardboard papers, scissors, ruler, pencil, tube, thick rope, glue. We will make a garage out of cardboard papers. The dimensions are shown in the figures, connect the parts according to the instructions.
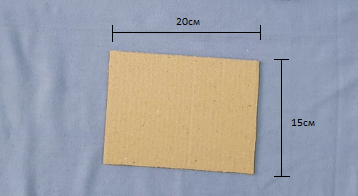
1. This is the side wall of the garage. We’ll only make one side wall to see what’s inside.
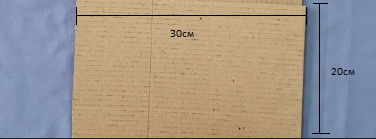
2. Dimensions of the garage floor.
3. The back wall of the garage. We connect the walls together as in the video.
4. Dimensions of cardboard for the roof. You need two of these.
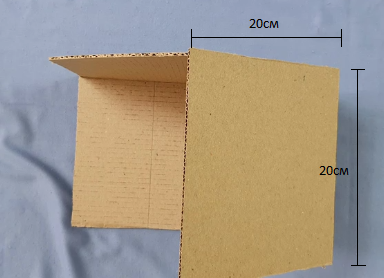
5. The front wall where the entrance to the garage will be. Cut out a place for the gate.
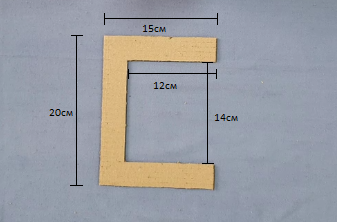
6. These are the parts for the gate rails. Cut and paste as in the video.

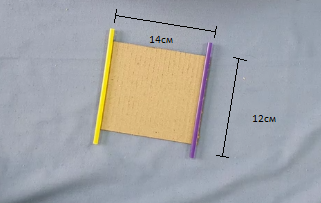
7. Now we will make the gate itself. We glue the tubes on cardboard paper, tie a rope on top and put them on rails. We use the tubes as wheels that will walk on rails.
How will it work? In the next lessons, we will assemble a diagram and write a program in Arduino.
Done, our garage layout is ready. In the next lessons we will make a smart system in the garage and put them on the layout.