Week 2
Work on creating a seismograph model
Students assemble the model according to the instructions
You can additionally offer a mini-competition for the most creative model
Assembly Instructions

Coil winding
Measure the width of your magnet

Fold a sheet of paper so that it is slightly wider than the magnet and seal it. It will be used to wind the wire.
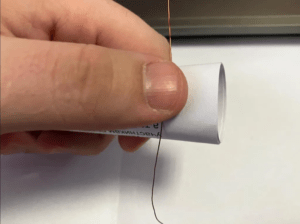
Leave 15 cm of wire at the beginning and wind the wire about 50 times.
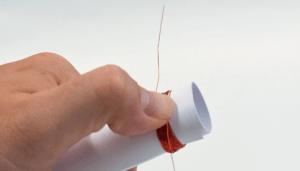
When you have finished winding, cut the wire, leaving a second 15 cm of wire at the end. Remove the inductor from the tube 15 cm of wire at the ends will be used to attach the crocodile clips
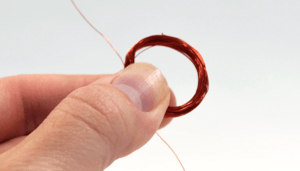
Seal the inductor with electrical tape on opposite sides

Making a cup and a pendulum
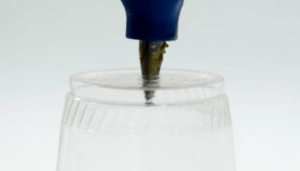
Heat up the glue gun, then use the tip to melt a smooth hole at the bottom of the cup, wide enough, for a rope to pass through
Put a drop of hot glue on the magnet and keep the reel handy for quick attach it
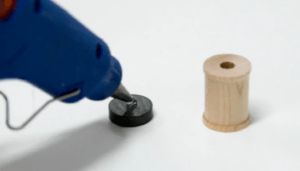
Press for 10 seconds to ensure good grip.
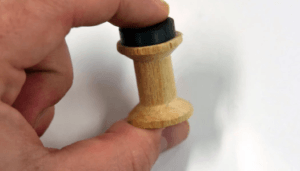
Then glue the thread to the other side of the spool
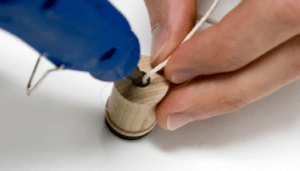
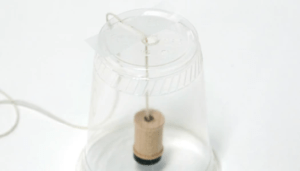
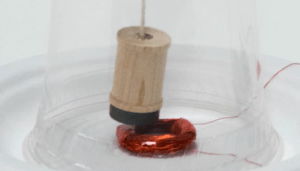
Pass the rope through the hole in the glass
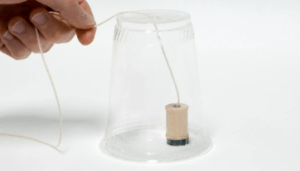
Glue the rope to the top of the cup, to hold the coil in place, about 2 cm above the edge
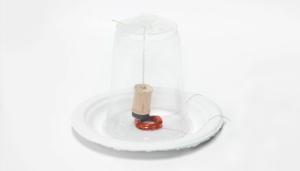
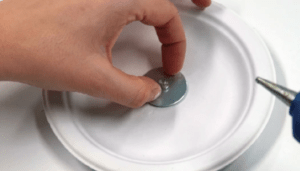
Glue the washer to the center of the plate. The washer dampens the vibrations of the magnet, stabilizing the movement.
Glue the inductor to the washer

Center and glue the glass to the plate so that the coil and magnet hang directly over the inductor and the ends of the wire are on the outside of the glass
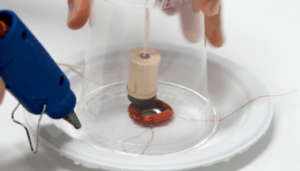
If necessary, adjust the rope and tape so that the magnet is within the
a few millimeters from the inductor, allowing free rotation. The closer the magnet, the more pronounced the results will be.
Carefully sand the ends of the wires, removing about 1 cm of thin insulating coating
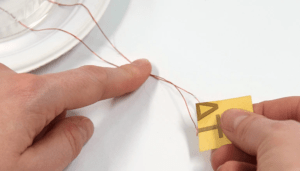
Now you can connect the microcontroller