Week 4
Students build a model of an inertial shock absorber to see how the mechanisms that dampen the effects of aftershocks in large buildings, such as skyscrapers, work. Once assembled, students can compare the readings from their seismograph by placing it on the inertial shock absorber and see the difference in the readings.
 |  |
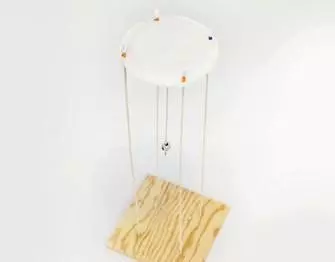
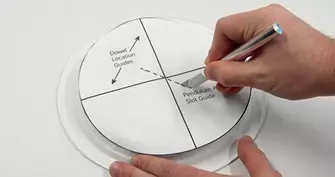
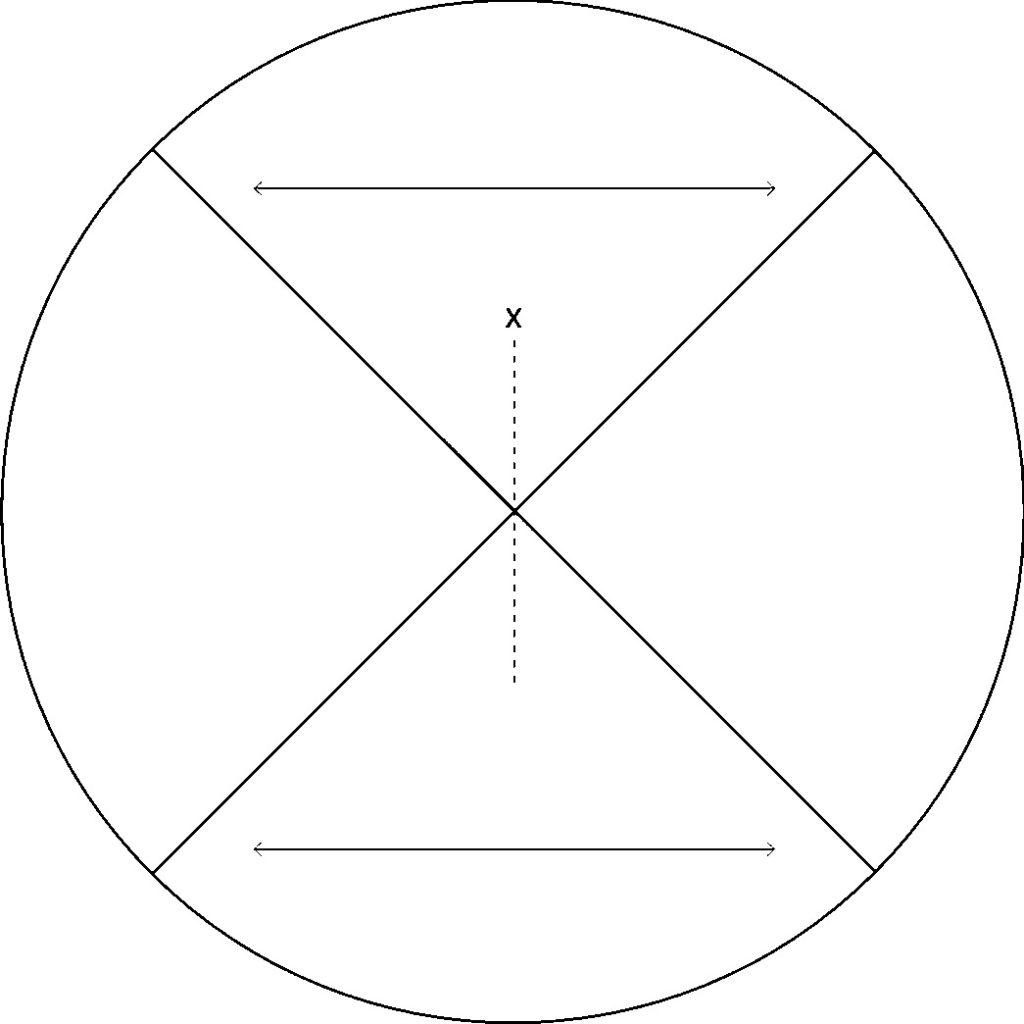
| 1 | Print and cut out the template. Align the center of the template with the center of the back of the plate. | 2 | Stick the template with tape so that it stays still while you make cuts on the plate. |
 |  |
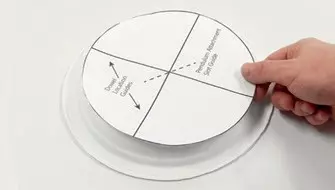
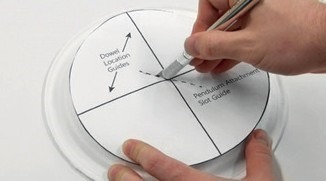
| 3 | Carefully cut along the dotted line. | 4 | Place the second plate under the first, and tape them together. |
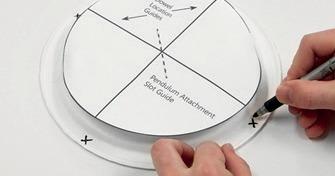 |  |
| 5 | Repeat Step 3 and cut the second plate. | 6 | Make “X” shaped marks along the edges of the plate where the guide lines for setting the wooden skewers end. |
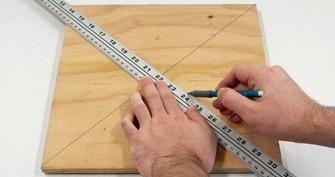 |  |
| 7 | Take a piece of wood plywood or a piece of PVC and mark diagonals on it from one corner to the opposite to make an X. | 8 | Align the guide lines for setting the wooden skewers along the marked diagonals. Use the buttons to keep the plate in one place. |
 | 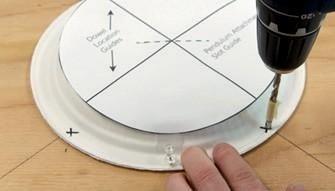 |
| 9 | Attach a piece of duct tape to the drill to act as a depth indicator so you don’t drill through the wood plywood or PVC. | 10 | Drill each X mark along the edges of the plate. Once you’re done, remove the plate from the plywood or pvc |
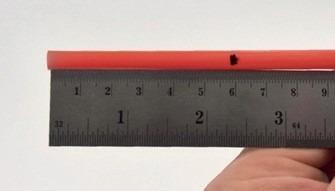 |  |
| 11 | Then cut the tube into 4 pieces of 6 cm each | 12 | Pieces of tubes will hold the top plate with wooden skewers |
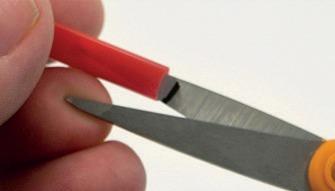 | 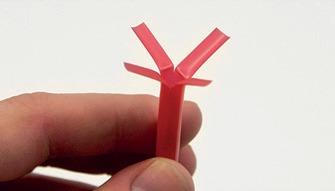 |
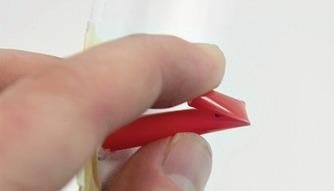
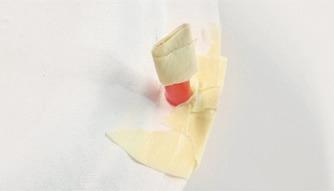
| 13 | Make a mark on one of the scissor blades 2 cm from the end. Insert the scissors into the tube to the mark, and then cut the tube. | 14 | Repeat Step 13 three times until you have the petals evenly spaced, then unfold them. |
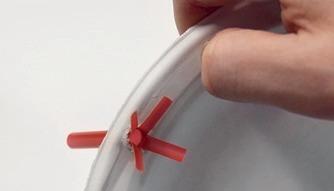 |  |
| 15 | Insert the cut tube into one of the holes along the edges of the top plate. | 16 | Secure the open petals securely with duct tape. |
 |  |
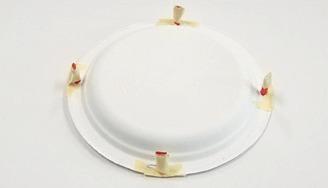
| 17 | Repeat Steps 13-16 three times. | 18 | Flip the plate over so the straws are facing up. |
 |  |
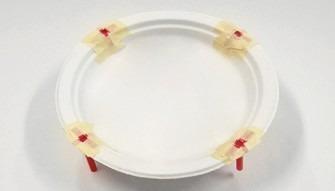
| 19 | Make a mark on the tube at a distance of 2.5 cm from the plate, and bend it. | 20 | Wrap the bent part of the tube with duct tape. |
 | 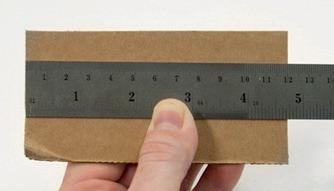 |
| 21 | Repeat Steps 19-20 for each tube. | 22 | Cut the cardboard into three pieces so that each piece is approximately 5 x 5 cm. |
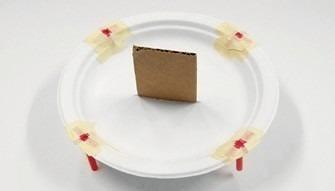 | 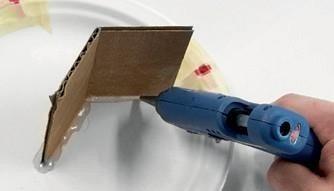 |
| 23 | Use hot glue to glue one piece of cardboard over the cut you made earlier. | 24 | Next to the first piece of cardboard, glue the second piece at a wider angle. |
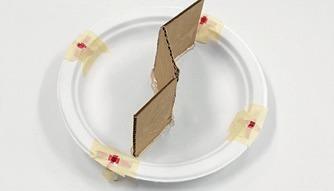 | 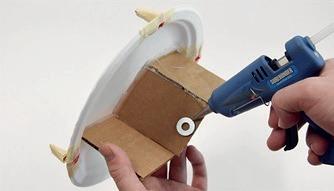 |
| 25 | Glue a third piece of cardboard at a wide angle to give the structure support. Glue the seams between the pieces of cardboard. | 26 | Glue the washer in the center of the middle cardboard along the bottom edge. |
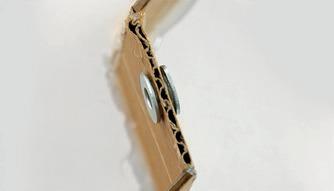 | 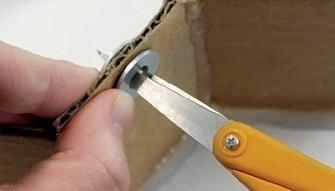 |
| 27 | Glue the washer on the opposite side of the middle cardboard. | 28 | Cut out the excess cardboard in the washer hole. |
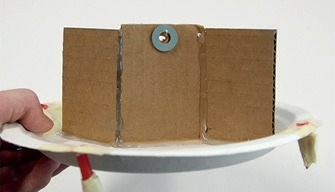 | 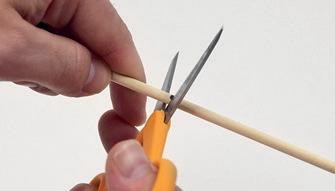 |
| 29 | After you cut out the extra cardboard from the holes, you should have a piece like this | 30 | Use scissors to cut the wooden skewer so that it is 37 cm long. |
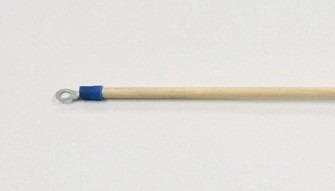 | 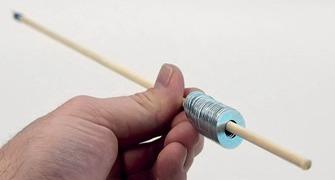 |
| 31 | Glue a ring insulated tip to the end of a wooden skewer | 32 | Put 20 washers on a wooden skewer |
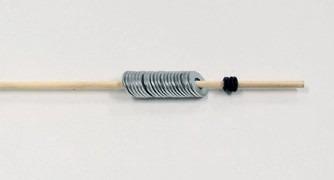 | 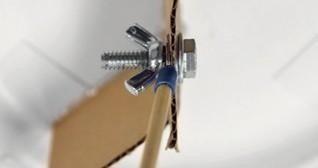 |
| 33 | Use the rubber grommet to secure the washers to the swingarm. | 34 | Connect the pendulum to the base with a bolt, washer and wing nut. Don’t overtighten the nut so that the pendulum can swing freely. |
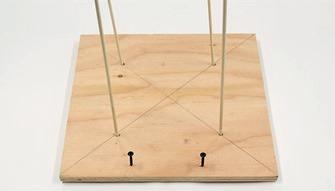 | 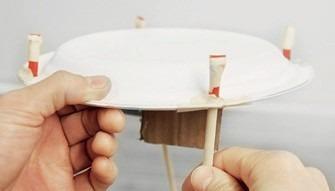 |
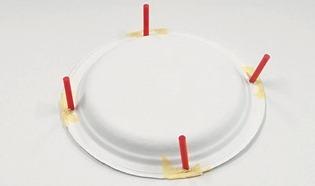
| 35 | Insert wooden skewers into the holes you made in the base. | 36 | Insert the tops of the wooden skewers into the tubes on the paper plate. For a tighter fit, wrap the ends of the tubes with duct tape. |
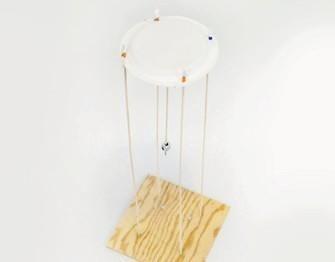 | 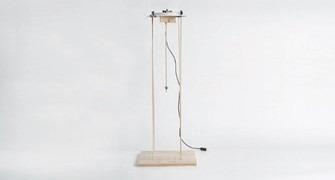 |
| Your inertial shock absorber should look like this! | Now you can install your seismograph on it and connect it to the microcontroller! |
Inertial damper template
Assessment of learning outcomes
Project Presentation Structure
During the lessons, in groups of 2 to 4, students create a STEM project “Building a model of a seismograph and an inertial shock absorber to study the nature of an earthquake”
Structure and protection of the project
The project consists of the following structural elements:
- Presentation (authors, problem, idea, method of solution, conclusions, prospects are indicated).
- Prototype (created a working prototype of the project during the lessons).
- Answering questions during the defense (project presentation skills and understanding of its relevance)
Project Evaluation Criteria
| Evaluation criteria | Points | Comments | |
| 1 | Formulation of the research problem. Significance and relevance of the problem | ||
| 2 | Correspondence of the set problems, goals and objectives to the subject of the project | ||
| 3 | Structuring the content of the project: consistency and consistency | ||
| 4 | Correspondence of the content to the subject of the project: – the degree of disclosure of the problem; – compliance with the plan. | ||
| 5 | Working prototype | ||
| 6 | Teamwork – during the work on the project, the distribution of roles – during the defense | ||
| 7 | Oratory | ||
| 8 | Answers on questions | ||
| 9 | Creativity | ||
| Number of points |
The following criteria are distinguished for evaluating project work:
1 point – not implemented;
2 points – implemented partially;
3 points – fully implemented.
The maximum number of points for the project is 27 points.
It is recommended to transfer the sum of points for work into traditional evaluation norms according to the following scheme:
Rating “5” (excellent) is given for the amount of 22-27 points. Rating “4” (good) corresponds to the sum of 16-21 points.
Grade “3” (satisfactory) corresponds to the sum of points 11-16 points